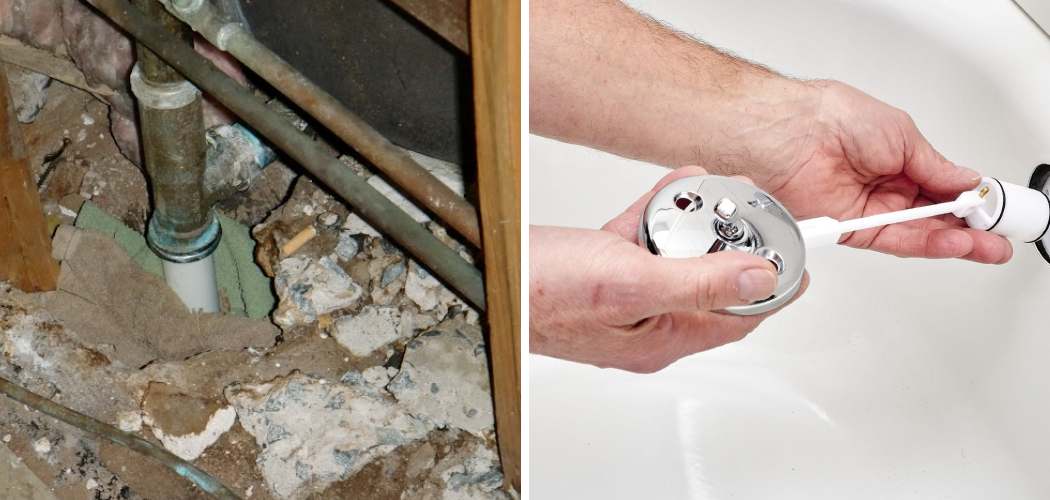
Replacing a drain pipe under a bathtub may seem like a daunting task, but with the right tools and guidance, it can be accomplished by a determined DIY enthusiast. This process may be necessary when there are leaks, blockages, or simply as an upgrade to newer plumbing standards.
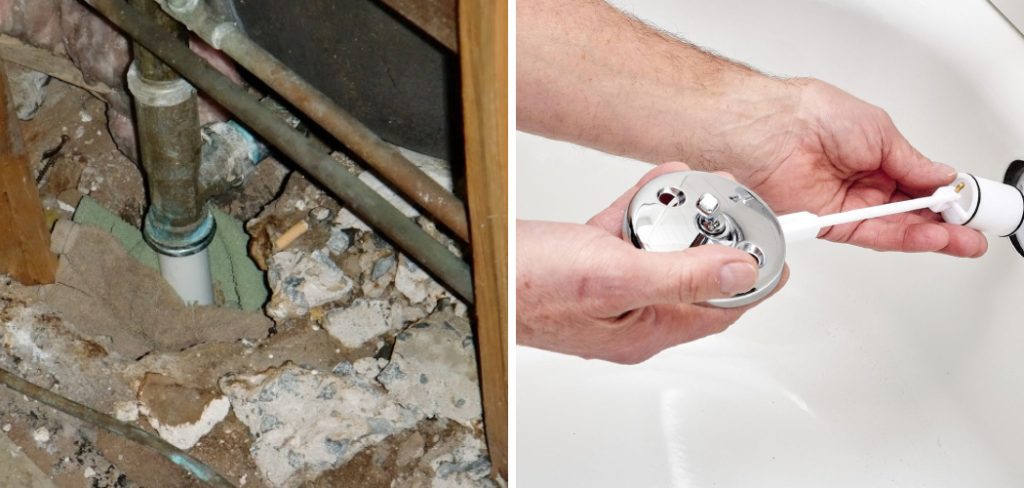
This guide on how to replace drain pipe under bathtub will walk you through each step, ensuring a smooth and efficient replacement. By following these instructions, you can save on costly plumbing service fees and gain the satisfaction of completing the repair yourself.
Why Replace the Drain Pipe Under Bathtub?
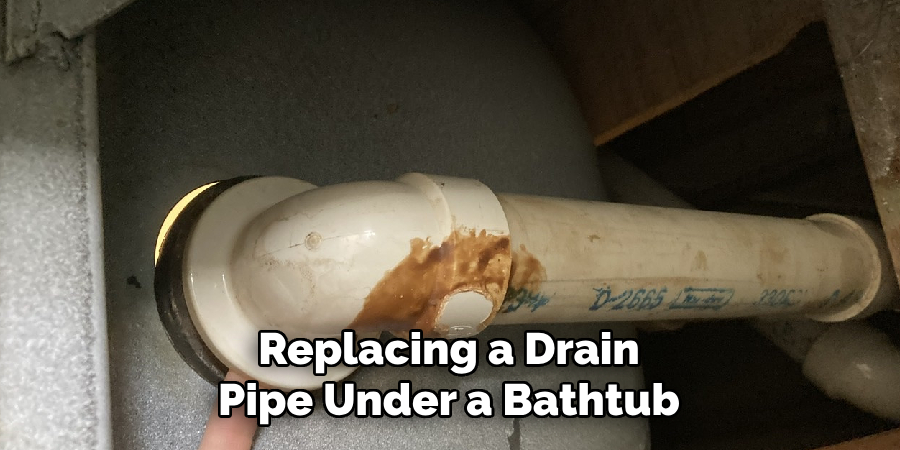
Replacing the drain pipe under a bathtub is crucial for maintaining optimal plumbing function and preventing potential water damage. Over time, drain pipes can develop rust, corrosion, or leaks that compromise their efficiency and durability. These issues not only lead to water wastage but may also cause structural damage to your bathroom if neglected.
Additionally, older pipes may not comply with current building codes or standards, necessitating an upgrade for both safety and efficiency. By replacing the drain pipe, you ensure a reliable and smooth water drainage system, contributing to the overall health of your home’s plumbing infrastructure.
Materials Needed
Before beginning the replacement process, gather all necessary materials and tools to complete the job efficiently. These may include:
Wrenches (Adjustable or Pipe):
A wrench is used to loosen and tighten nuts and bolts, making it essential in the process of replacing a drain pipe under a bathtub.
Screwdriver:
A screwdriver is used to remove screws and bolts that are holding the drain pipe in place.
Plumbers Putty:
Plumbers putty is a sealant used to create a watertight bond between pipes, fittings, and fixtures.
Hacksaw:
A hacksaw is used to cut through the old drain pipe for removal.
PVC Pipes and Fittings:
PVC pipes and fittings are necessary for replacing standard plastic drain pipes. Make sure to measure and purchase the appropriate sizes needed for your specific bathtub configuration.
8 Step-by-step Guidelines on How to Replace Drain Pipe Under Bathtub
Step 1: Turn off the Water Supply
Before commencing any work on the drain pipe, it is crucial to turn off the water supply to avoid potential flooding or water damage. Locate the main water shutoff valve in your home, typically found near the water meter or where the main water line enters the house.
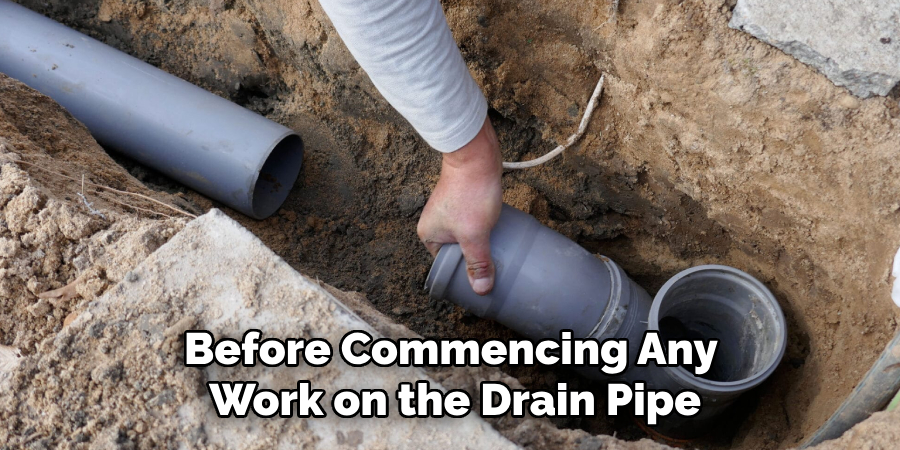
Turn the valve clockwise until it’s fully closed. Once the water supply is turned off, open a faucet in the house to drain any remaining water in the pipes. This step ensures a dry working environment, allowing you to proceed with replacing the drain pipe safely.
Step 2: Remove the Bathtub Stopper
The bathtub stopper needs to be removed to access the drain pipe underneath. Depending on the type of stopper, you may need to unscrew it or simply pull it out. If you have a lift-and-turn stopper, loosen the setscrew with a screwdriver and remove the stopper by lifting and turning it counterclockwise. For other types, refer to your bathtub’s manufacturer’s instructions for removal.
The stopper should be removed completely to avoid any hindrance during the replacement process. If the stopper is attached to a lever or linkage, detach it as well.
Step 3: Locate Drain Pipe Assembly
Underneath your bathtub, there should be a drain pipe assembly consisting of a waste tee and an overflow tube connected to the main drainpipe. The waste tee is where water collects and drains out, while the overflow tube prevents water from overflowing when the bathtub is filled with too much water.
The main drainpipe may be connected to the bottom of the waste tee or attached through a slip-nut connection. Take note of how these components are connected as this will guide you in reassembling them later on.
Step 4: Remove Old Drain Pipe
Using your wrench, unscrew any connections between the old drain pipe and other pipes or fittings. For PVC pipes, use a hacksaw to cut through the pipes if necessary. Once all connections have been loosened or removed, carefully pull out the old drain pipe assembly from underneath the bathtub.
Butt joints, where two pipes meet end-to-end, may require a little force to separate. Be careful not to damage any surrounding pipes or fittings in the process.
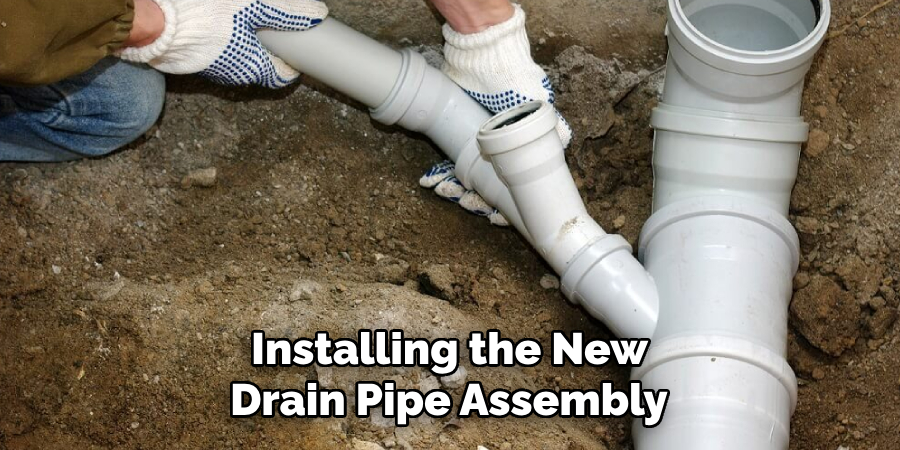
Step 5: Clean and Prepare a New Drain Pipe
Before installing the new drain pipe assembly, make sure to clean all connections and surfaces thoroughly. This removes any debris or old sealant that may hinder a secure fit between the new components.
Butt joints may require a little sanding or buffing to ensure smooth and even connections. If necessary, also measure and cut the new PVC pipes to fit your specific bathtub configuration.
Step 6: Assemble New Drain Pipe
Using your wrench, connect the waste tee to the main drainpipe by tightening the slip nut connection. Then, attach the overflow tube to the top of the waste tee using another slip nut connection. If necessary, use plumbers putty to create a watertight seal between the connections.
The length of the overflow tube should be adjusted to fit your bathtub’s specific depth. Refer to manufacturer instructions for proper adjustment.
Step 7: Install New Drain Pipe
Carefully place the new drain pipe assembly underneath the bathtub, making sure all connections are aligned and secure. Use your wrench to tighten any slip nut connections if needed.
For added security and durability, you can also use PVC cement to glue the slip-nut connections together. However, this step is optional and may require extra time for drying before continuing with the installation process.
Step 8: Test and Reassemble
Once the new drain pipe is securely installed, turn on the water supply and test for any leaks or issues. If everything appears to be working correctly, reassemble the bathtub stopper and any other components that were removed before starting the replacement process.
Congratulations, you have successfully replaced the drain pipe under your bathtub! Make sure to clean up any debris or tools used during the installation and enjoy a properly functioning drainage system in your bathroom.
Following these step-by-step guidelines on how to replace drain pipe under bathtub can help make the process of replacing a drain pipe under a bathtub more manageable and successful. However, if you encounter any difficulties or are unsure about any steps, it is always best to seek professional plumbing assistance.
Additional Tips
- If you encounter stubborn connections that won’t loosen with a wrench, try using penetrating oil or heat from a hairdryer to help loosen them.
- Take photos of the old drain pipe assembly before removing it for reference when installing the new one. This can serve as a helpful guide in case you forget how certain components should be connected.
- Wear protective gloves when handling any tools and materials to prevent cuts or injuries.
- Regularly check and clean your drain pipes to avoid clogs and potential damage.
- If you notice any leaks or issues with the new drain pipe, consult a professional plumber for assistance. Avoid using harsh chemicals as they can cause damage to your pipes over time. Instead, try using natural methods such as baking soda and vinegar to clear out minor clogs.
Frequently Asked Questions
Q: How Often Should I Replace the Drain Pipe Under My Bathtub?
A: There is no specific timeline for replacing drain pipes under bathtubs as it depends on various factors such as the material and usage. However, regular maintenance and early detection of issues can help prolong the lifespan of your drain pipes.
Q: Can I Replace the Drain Pipe Under My Bathtub Myself?
A: While DIY plumbing projects can be fulfilling, it is always best to seek professional assistance for major repairs or replacements to avoid further damage and ensure proper installation.
Q: What Are Some Signs That Indicate I Need to Replace My Drain Pipe Under the Bathtub?
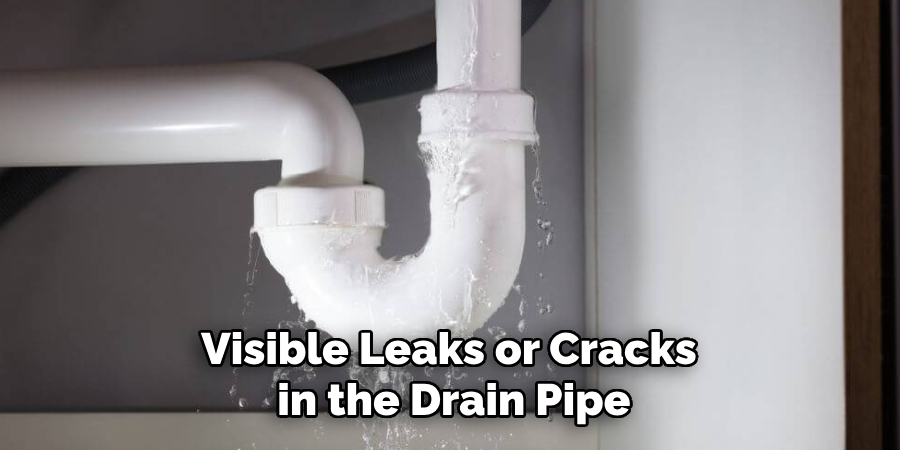
A: Some common signs include slow drainage, foul odors, water stains on ceilings or walls below the bathtub, and visible leaks or cracks in the drain pipe assembly. If you notice any of these issues, it is best to address them as soon as possible to avoid further damage and costly repairs.
Conclusion
Replacing the drain pipe under your bathtub can be a manageable task with the right tools, preparation, and guidance. By following the step-by-step instructions on how to replace drain pipe under bathtub provided, you can ensure the proper installation of the new drain pipe, resulting in a more efficient and functional bathroom drainage system. Regular maintenance and early issue detection play crucial roles in extending the lifespan of your plumbing components reducing the need for frequent repairs.
However, when in doubt or faced with challenging situations, consulting a professional plumber is the best course of action to prevent further complications. Whether tackling the project yourself or seeking expert help, prioritizing the integrity of your home’s plumbing ensures peace of mind and long-term reliability.

