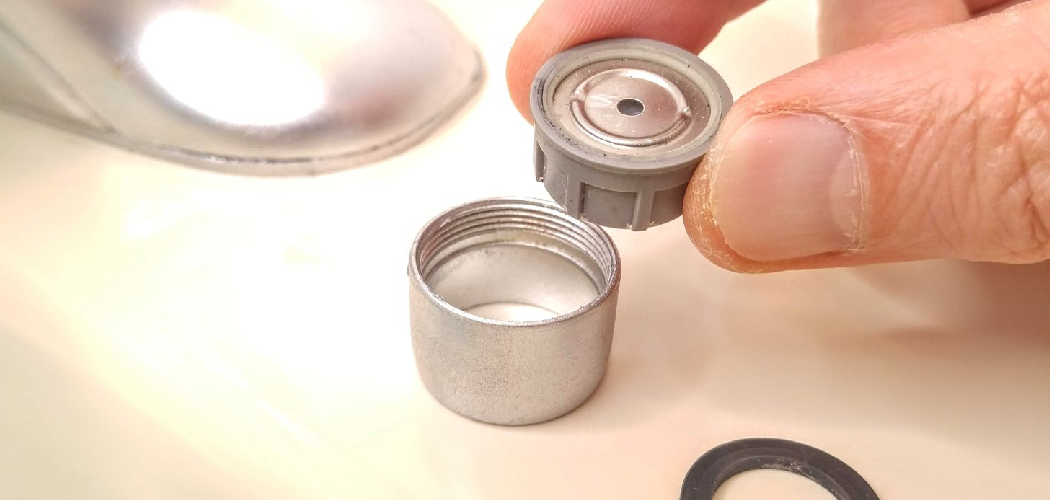
A faucet aerator is a small but essential device located at the tip of most faucets. It features a threaded design and works by mixing air with water, creating a steady, splash-free stream while also conserving water. Over time, faucet aerators can develop common issues that necessitate replacement. Clogged aerators caused by mineral buildup, worn-out threads, or poor water pressure are frequent problems homeowners face, leading to inefficient faucet performance. Addressing these issues promptly ensures both functionality and water efficiency are maintained.
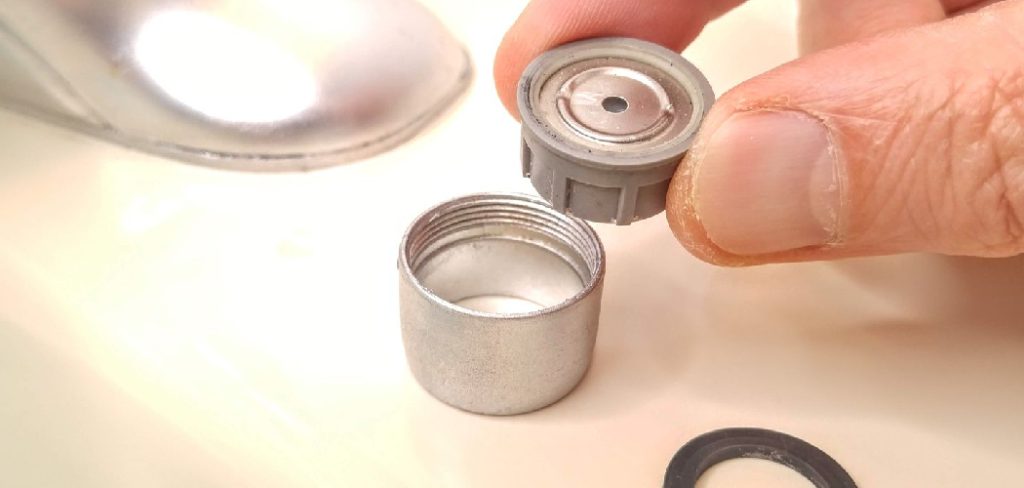
This article serves as a comprehensive step-by-step guide on how to replace faucet aerator quickly and effectively. Whether you’re tackling a clogged aerator or dealing with a deteriorating component, this resource offers clear instructions to identify the problem, safely remove the old aerator, and install a new one. With just a few minutes of effort, you’ll have your faucet back to optimal performance.
What Is a Faucet Aerator and Why It Matters
A faucet aerator is a small yet essential component that attaches to the faucet’s tip. Its primary function is to regulate water flow and direction by mixing air with the water stream, creating a steady and controlled flow. This not only makes washing tasks more efficient but also helps conserve water, ultimately reducing utility bills. Additionally, aerators minimize splashing, making them critical for smoother and cleaner faucet operation.
Function of a Faucet Aerator
- Controls water flow and direction.
- Helps conserve water and reduce utility bills.
- Minimizes splashing for smoother operation.
Common Signs It Needs Replacing
Over time, faucet aerators may wear out or become clogged. Some common signs that it’s time for a replacement include:
- Reduced water pressure.
- Uneven spray or unusual water flow patterns.
- Visible mineral or rust buildup on the aerator.
Types of Aerators
Not all aerators are the same. They come in several types to suit different faucet designs, including:
- Standard-thread, male-thread, and female-thread types to match various faucet styles.
- Recessed aerators, which require special tools for installation and removal.
Understanding these fundamentals ensures you can choose the right aerator and keep your faucet performing at its best.
Tools and Materials Needed
To replace or clean a faucet aerator, it is important to gather the right tools and materials to make the process efficient and prevent damage to your faucet. You will need:
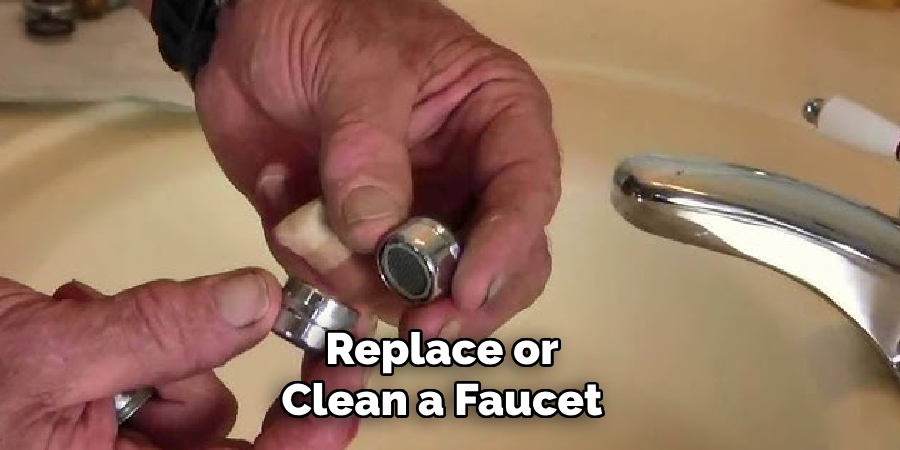
- Adjustable wrench or pliers (use a cloth to protect the faucet’s finish).
- Rubber jar gripper or aerator key, particularly useful for tight or recessed aerators.
- New faucet aerator (ensure the size and thread type match the old one for compatibility).
- Old toothbrush or small wire brush to clean the threads and remove any debris.
- Teflon tape (optional, but helpful for sealing if needed to prevent leaks).
- Towel to protect surfaces from scratches and to catch any water spills during the process.
Having these tools and materials on hand ensures that the task can be completed smoothly and effectively, restoring optimal faucet functionality.
How to Replace Faucet Aerator: Remove the Old Faucet Aerator
Step 1: Identify the Type of Aerator
Begin by determining the type of aerator installed on your faucet. Standard aerators are visible and extend slightly from the faucet head, while recessed aerators are flush with the faucet head and may require a specialized removal tool. Identifying the type will help you prepare the proper approach and tools.
Step 2: Unscrew by Hand (if possible)
For standard aerators, grip the aerator firmly and twist it counterclockwise to unscrew it. It’s important to avoid using excessive force, as this may damage the aerator or faucet threads. If the aerator is not stuck or overtightened, it should come off with minimal effort.
Step 3: Use Tools for Stuck Aerators
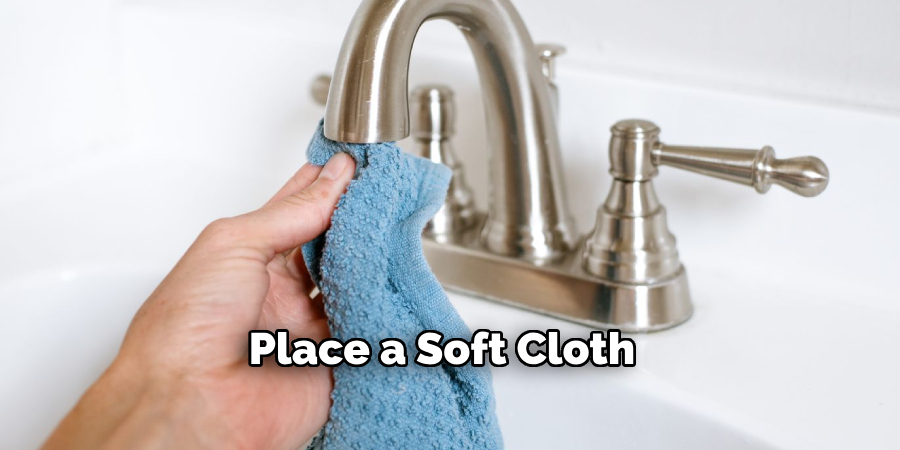
If the aerator is stuck and cannot be removed by hand, wrap a soft cloth around it to protect its surface from damage. Then, use pliers or a wrench to turn it counterclockwise gently. For recessed aerators, you’ll need a removal key or an aerator tool for effective extraction. Be patient and apply steady pressure to avoid causing damage.
Step 4: Clean the Threads
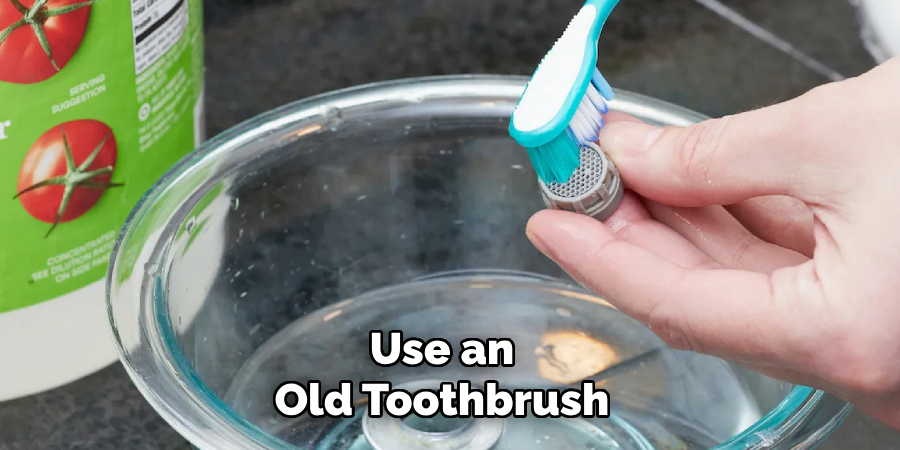
Once the aerator is removed, use an old toothbrush or small wire brush to clean the threads on the faucet. This process will remove any mineral buildup, debris, or grime that may have accumulated over time. Additionally, inspect for any signs of rust or corrosion and address them as needed before installing a new aerator.
Installing the New Faucet Aerator
Step 1: Match the Thread Type
Before beginning the installation, compare the old aerator with the new one to ensure they are compatible. Aerators come in two types of threading—male-threaded and female-threaded. Check the type of faucet to determine which one is suitable. A male-threaded faucet requires a female-threaded aerator, and vice versa. This step is crucial to ensure a proper fit and a leak-free seal.
Step 2: Align and Insert the New Aerator
If the new aerator does not come with a pre-installed rubber washer, insert one before proceeding. Hold the aerator up to the faucet head and align the threads carefully. Begin screwing the aerator onto the faucet by hand, turning it clockwise. Take care to maintain proper alignment to avoid cross-threading, which can damage both the faucet and the aerator.
Step 3: Hand-Tighten First
Once the aerator is threaded onto the faucet, tighten it by hand. Avoid overtightening, as excessive force can cause damage to the threads or the aerator itself. Ensure the aerator is sitting flush and evenly against the faucet head. A properly aligned and hand-tightened aerator should be sufficient for most installations.
Step 4: Use a Wrench If Needed
If you notice leaks or if the aerator feels loose after hand-tightening, use a wrench to tighten it further gently. Place a soft cloth or towel over the aerator to protect its finish before applying the wrench. Turn the wrench lightly—just enough to create a snug seal without over-tightening. Once secure, turn on the faucet to check for leaks and proper water flow. If any issues persist, recheck the alignment and connections.
Testing the Installation
Turn on the faucet and closely observe the water flow. Ensure the water streams smoothly and evenly through the aerator. Check around the base of the aerator for any leaks, which may indicate a potential issue with alignment or tightness. If water sprays unevenly or leaks appear, carefully remove the aerator, inspect the washer for proper placement, and reattach it securely.
Make sure to test both the hot and cold water settings to confirm the aerator operates effectively with varying temperatures and pressures. Proper testing ensures that the installation has been successful and that any minor adjustments can be made promptly to avoid future issues.
Maintenance Tips for Faucet Aerators
Regular maintenance of your faucet aerators is crucial to ensure optimal water flow and prevent potential issues. Here are some helpful tips to keep your aerators in excellent condition:
Regular Cleaning
Over time, mineral deposits can accumulate on the aerator, impacting its performance. To clean it, unscrew the aerator and soak it in vinegar for a few hours every few months. This will help dissolve any buildup and restore proper water flow.
Avoid Hard Water Damage
Hard water can lead to quicker mineral buildup within the aerator. If you live in an area with hard water, consider using a water softener. Alternatively, clean the aerator more frequently to minimize damage and keep it efficient.
Keep a Spare Aerator
Having a spare aerator on hand can be highly useful, particularly for households with higher water usage or older plumbing systems. A spare ensures that any immediate replacements are quick and stress-free.
Inspect Washer Seals
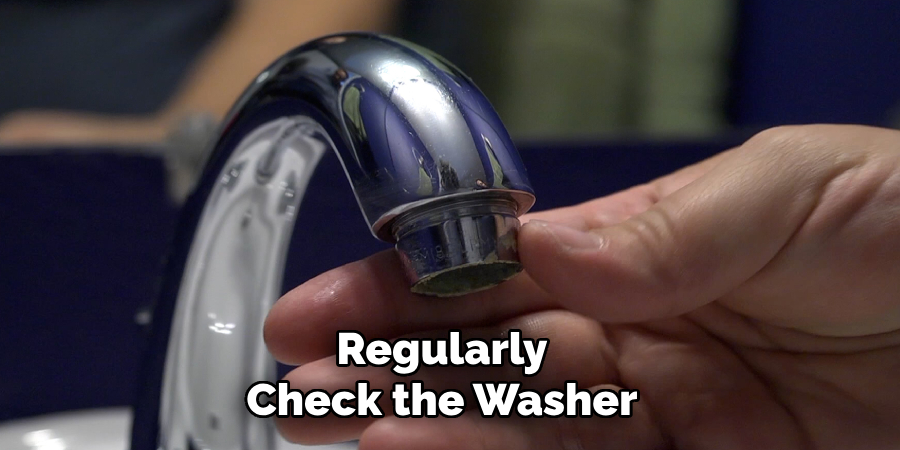
The rubber washer inside the aerator can deteriorate over time, becoming brittle or cracked. Regularly check the washer and replace it if necessary to prevent leaks and maintain a tight seal.
Following these maintenance tips will help prolong the lifespan of your faucet aerator and ensure consistent performance in your household.
Frequently Asked Questions About Faucet Aerators
1. What is the Purpose of a Faucet Aerator?
A faucet aerator introduces air into the water stream to create a steady, splash-free flow. It also helps conserve water and improve water pressure, making your faucet more efficient.
2. How Often Should I Clean My Faucet Aerator?
It’s recommended to clean your aerator every 3-6 months, or more frequently if you notice reduced water pressure or live in an area with hard water.
3. Can I Remove My Faucet Aerator if I Don’t Want One?
While you can remove an aerator, doing so may lead to uneven water flow and splashing. Additionally, you may end up using more water, which could increase your utility bills.
4. Are Faucet Aerators Universal?
Faucet aerators come in various sizes and thread types. While many are standard, some faucets may require a specific fit. Be sure to check the size and thread type of your faucet before purchasing a replacement.
Conclusion
Replacing a faucet aerator is a simple DIY task that can significantly improve water flow and efficiency. Learning how to replace faucet aerator components is straightforward and requires minimal tools. By ensuring you have the correct thread type and a snug fit, you can avoid leaks and optimize performance. Regular maintenance, such as inspecting seals and clearing debris, will help extend the life of your aerator. With just a few minutes of effort, you can keep your faucet running smoothly and ensure it remains an efficient part of your household system.

