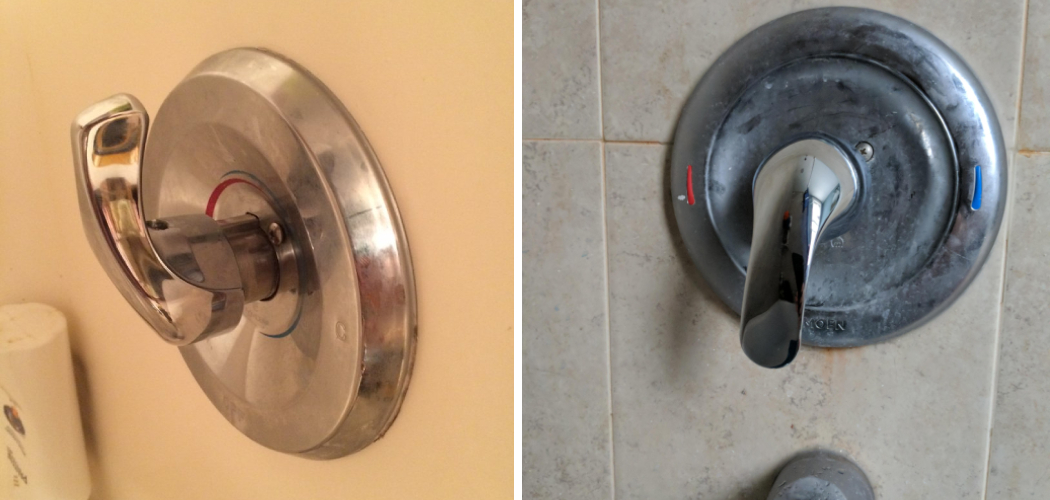
Updating or replacing your Moen shower handle can breathe new life into your bathroom, enhancing its aesthetic appeal and functionality. Whether you’re aiming for a modern look or simply need to replace a worn-out handle, this task can be accomplished with a few steps and the right tools. Moen, a trusted brand in plumbing fixtures, provides high-quality shower handles, and replacing them is a straightforward process.
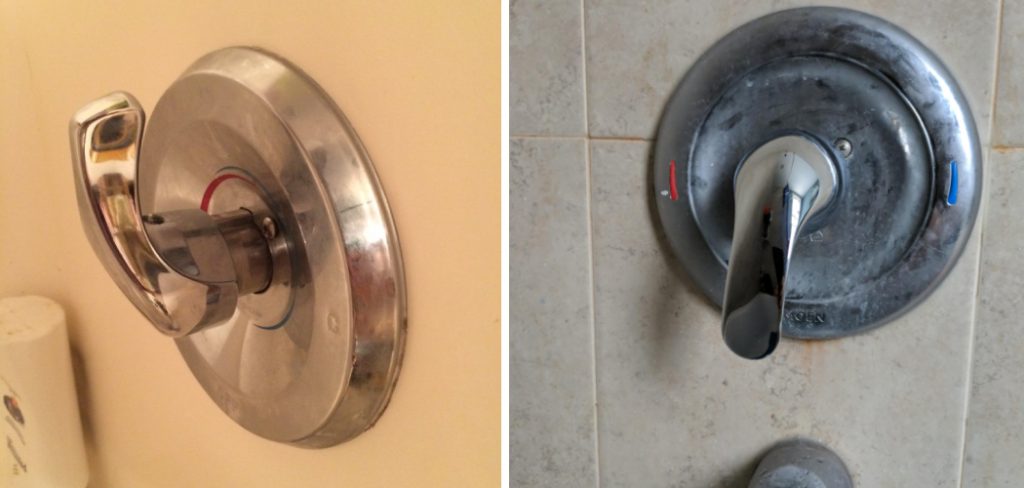
In this guide, we’ll walk you through the essential steps on how to replace moen shower handle efficiently. From removing the old handle to installing the new one and ensuring a snug fit, we’ll cover the process in detail, enabling you to upgrade your shower and enjoy a refreshing bathing experience. Let’s embark on this DIY journey to transform your shower with a new Moen handle.
Importance of a Functioning Shower Handle
It is important to have a functioning Moen shower handle, as it can greatly improve your overall showering experience. A good handle should be able to provide an easy grip for comfortable handling. It should also be durable and resistant to rust or corrosion, allowing you to use the same handle for many years.
Additionally, a proper fitting handle will give you more control over the water temperature and flow of your shower. Without a functioning Moen shower handle, you will have to resort to using other, potentially less comfortable methods for controlling water temperature or pressure.
Signs that Indicate the Need to Replace a Moen Shower Handle
- Water leaked from the handle: When water starts to leak out from around the handle, even when it’s shut off, this is a good sign that it needs to be replaced.
- The handle sticks: If the handle is difficult to turn or gets stuck in one position, this means it’s time for a new one.
- The handle is loose: If the handle wobbles or moves when you try to turn it, this means that the set screws are no longer holding tight, and a new handle needs to be installed.
- Corrosion on the handle: Corrosion buildup around the metal parts of the shower handle can weaken its structural integrity, and a replacement should be considered.
- Handle no longer looks good: Moen shower handles are known for their stylish designs, however, if yours has seen better days and is starting to look worn out or outdated, then it’s time to replace it.
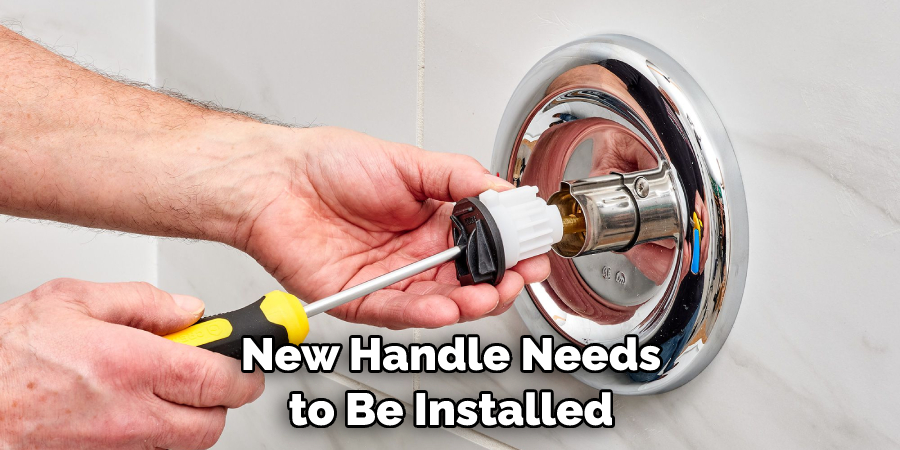
Once you’ve determined that your Moen shower handle needs replacing, the next step is to purchase a new one. Moen offers a wide range of finishes and styles to match your bathroom’s decor. You should also make sure that the handle is compatible with your plumbing, as some models are only designed to fit certain types of fixtures.
10 Steps How to Replace Moen Shower Handle
1. Gather the Necessary Tools and Supplies
Before beginning any project, it is important to make sure you have all of the necessary tools and supplies. To replace a Moen shower handle, you will need a Phillips head screwdriver, an adjustable wrench, a pair of pliers, and the new Moen handle. You may also want to purchase some plumber’s tape or silicone caulk to seal any connections.
2. Turn off the Water Supply
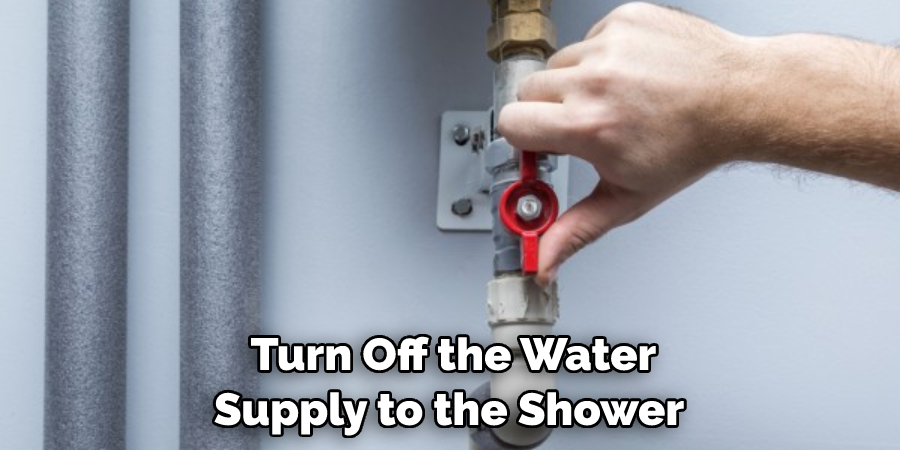
The first step in replacing your Moen shower handle is to turn off the water supply to the shower. This can usually be done by turning off the shutoff valves located behind the wall near the showerhead or by turning off the main water valve for your house. It is important to make sure that there is no water pressure before beginning this project.
3. Remove Old Handle
Once you have turned off the water supply, you can begin removing your old Moen shower handle. Start by removing any screws or bolts that are holding it in place with your Phillips head screwdriver. Once these are removed, carefully pull out the old handle from its mounting bracket and set it aside for disposal later on.
4. Clean Out the Mounting Bracket
Next, use a damp cloth or paper towel to clean out any dirt or debris from inside of the mounting bracket where your new Moen handle will be placed. Make sure that all surfaces are free from dirt and grime before continuing with the installation of your new handle.
5. Attach New Handle
Now it’s time to attach your new Moen shower handle into place! Start by lining up the holes in your new handle with those in the mounting bracket and then secure them together with screws or bolts using your Phillips head screwdriver once again. Be sure not to overtighten these screws, as this could cause damage to both components!
6. Secure Handle With Wrench
If applicable, use an adjustable wrench to further secure your new Moen shower handle into place by tightening down its collar nut onto its stem assembly below it until snug but not overly tight (this will prevent damage). Be careful when doing this, as too much force can cause damage!
7. Connect Hot and Cold Water Lines
Next, connect both hot and cold water lines from their respective shutoff valves behind the wall up through their appropriate spots on either side of your new Moen shower handle using a pair of pliers if necessary (this will depend on what type of connection was used for each line). Make sure these connections are securely tightened before moving on!
8. Apply Plumber’s Tape or Caulk
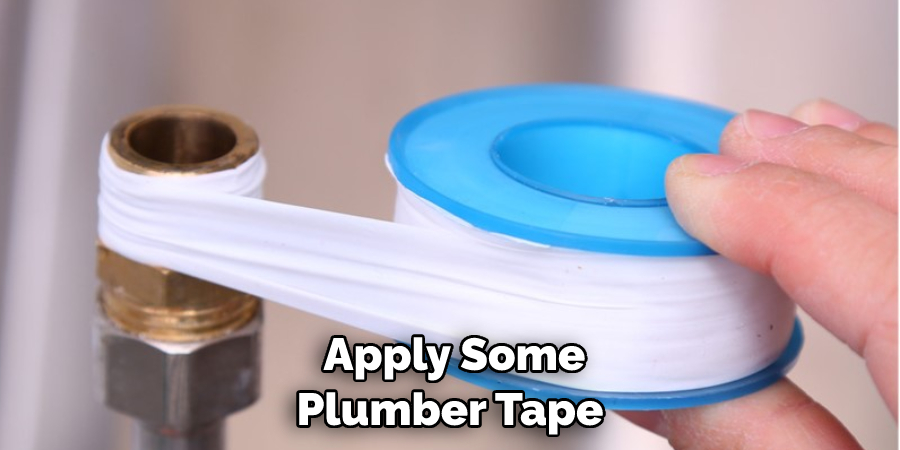
To help ensure a leak-proof connection between each line and its corresponding valve behind the wall, apply some plumber’s tape or silicone caulk around each one before securing them together tightly with a pair of pliers if needed (this will depend on what type of connection was used). Again – be careful not to overtighten these connections as this could cause damage!
9. Turn On Water Supply
Once all connections have been made securely and all lines have been tested for leaks (use a spray bottle filled with soapy water for this), turn back on your home’s main water supply, followed by opening up both hot and cold shutoff valves behind the wall near your showerhead one at a time until fully open (this will ensure that there is no pressure build-up within either line).
10. Test Your New Shower Handle
Finally – test out your newly installed Moen shower handle by turning it back and forth several times while checking for any leaks along its stem assembly below it (if there are any leaks present here, then you may need to go back and re-tighten down its collar nut). If everything looks good, then you should be good to go – enjoy!
Things to Consider When Replacing a Moen Shower Handle
It is important to keep in mind that replacing a shower handle can be an intimidating and complicated task for some. If you are at all unsure of your abilities, it is best to consult a professional plumber or handyman for assistance with this project. Additionally, when purchasing a new Moen shower handle, make sure that it is compatible with the type of plumbing setup you have.
When replacing a Moen shower handle, the first step is to turn off the water supply for the bathroom before beginning any work. This will prevent any potential water damage during installation. Once you have shut off the water supply, remove the existing handle by unscrewing it from its mounting plate and disconnecting it from its valve stem. You may need to use a special tool, such as a Moen handle removal wrench, for this step.
Next, the new Moen shower handle will need to be installed in its place. Begin by firmly securing the mounting plate on the wall with screws and washers before connecting it to the valve stem. Once connected, you can reattach the handle and secure it with its set screw. Lastly, you will need to turn the water supply back on and test out your Moen shower handle to make sure it is working properly.
Common Mistakes to Avoid When Replacing a Moen Shower Handle
- Not ensuring that the handle is compatible with your shower’s valve before purchasing: A Moen 1225 cartridge does not fit a single-handle Moentrol valve, so make sure to purchase the right part for your shower!
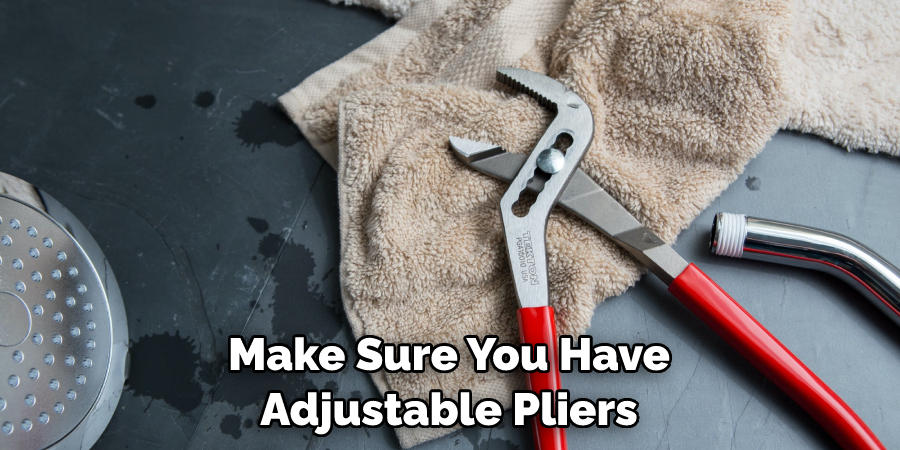
- Not verifying you have all the necessary tools and supplies before starting: Make sure you have adjustable pliers, a flat-head screwdriver, and a Phillips head screwdriver available before removing the old handle.
- Not turning off the water supply before you begin: As with all plumbing projects, it’s important to turn off the water supply for safety purposes.
- Not using a rag or towel when unscrewing the handle: Be sure to wrap your pliers in a rag or towel to protect the chrome finish.
- Not lubricating the new parts: Lubricate all of the O-rings and threads with plumber’s grade silicone grease before installing them in your shower. This will help ensure they last longer and don’t leak.
Conclusion
Replacing the Moen shower handle isn’t as daunting of a task as it may seem. After following the steps outlined in this blog post, you’ll have a well-functioning shower with an updated look. Whether you’re replacing the entire handle and escutcheon or just giving your existing hardware a new look with paint, knowing how to replace a Moen shower handle will help make any bathroom remodeling project easier.
For more troubleshooting tips and tricks, make sure to check out our blog for additional valuable information. And if you’re still unable to fix the problem, don’t hesitate to reach out to professionals who have years of experience finding solutions when it comes to how to replace moen shower handle.

