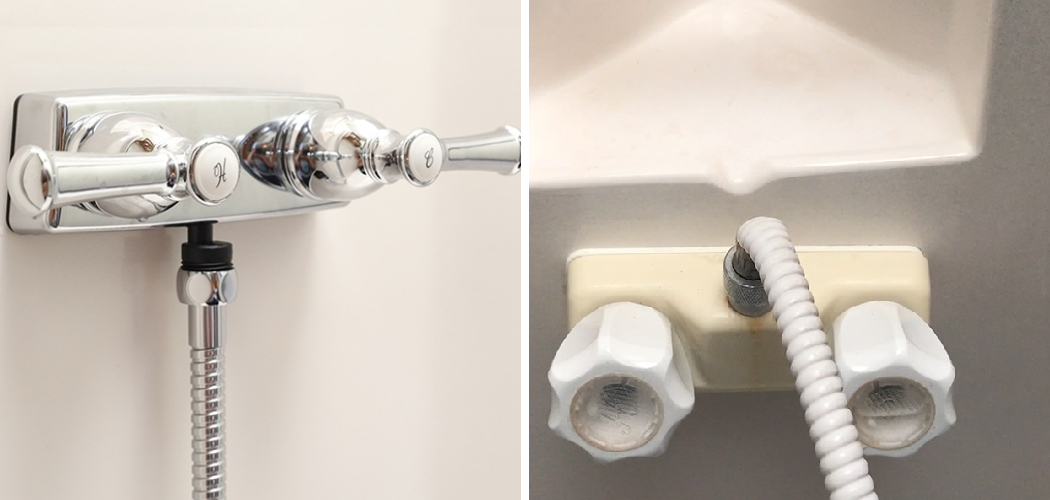
Replacing a shower faucet in an RV is essential for keeping your showers comfortable and efficient. A leaky or broken shower faucet can waste water and create uncomfortable temperatures during your showers.
If you’re looking to save money on your utility bills, replacing the shower faucet yourself could also help lower those costs. Knowing how to replace the faucet yourself is an important skill for any RV owner.
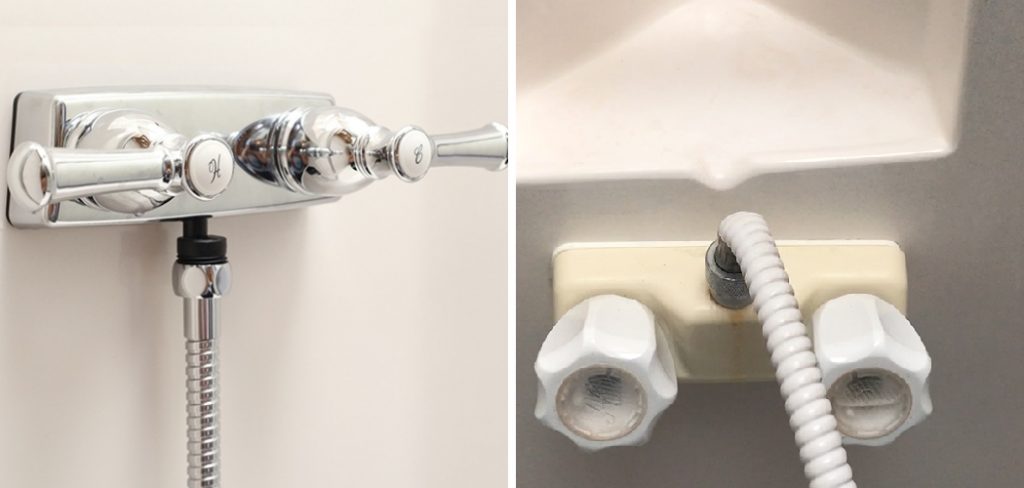
There are several advantages to replacing the shower faucet in an RV. One of the most important is that it can help to improve water pressure, making showers more comfortable and efficient. Additionally, replacing a faucet will update the look of your RV’s interior, as well as help prevent rust and corrosion build up on the valves and plumbing.
It is also a fairly easy repair to do yourself, reducing the cost of labor associated with professional help. You can find step-by-step instructions on how to replace shower faucet in rv in this blog article.
Tools You Will Need
- Adjustable wrench
- Screwdriver
- Pliers
- Basin wrench
- Shower faucet with three handles
- Pipe thread tape
- Tub/shower diverter valve (for three-handle showers)
- Supply pipe extensions
- (For three-handle showers)
- Hot and cold water supply line extensions (for three-handle showers)
- Wall cover plate
- New shower faucet handles
- Old pipe sealant remover
Step by Step Processes for How to Replace Shower Faucet in RV
Step 1: Inspect the RV’s, Water Heater
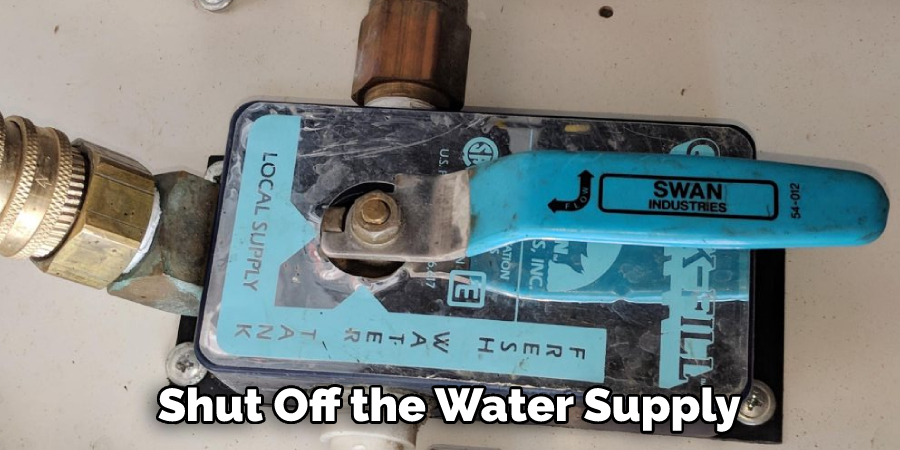
Before replacing the shower faucet in your RV, inspect the RV’s water heater. Ensure there is no corrosion or damage to the hot and cold water valves and their accompanying piping. Once you’ve confirmed that the water heater is working properly, turn off the main water supply before starting any work.
Step 2: Disassemble Plumbing Fixtures
Remove the old faucet and other plumbing fixtures by disconnecting them from the water supply pipes and unscrewing them from their brackets. Take care not to damage any of the pipes, valves, or fittings as you do this. Using a small brush and some cleaning solution, scrub the installation area around the faucet to remove all dust and debris.
Step 3: Attach New Faucet
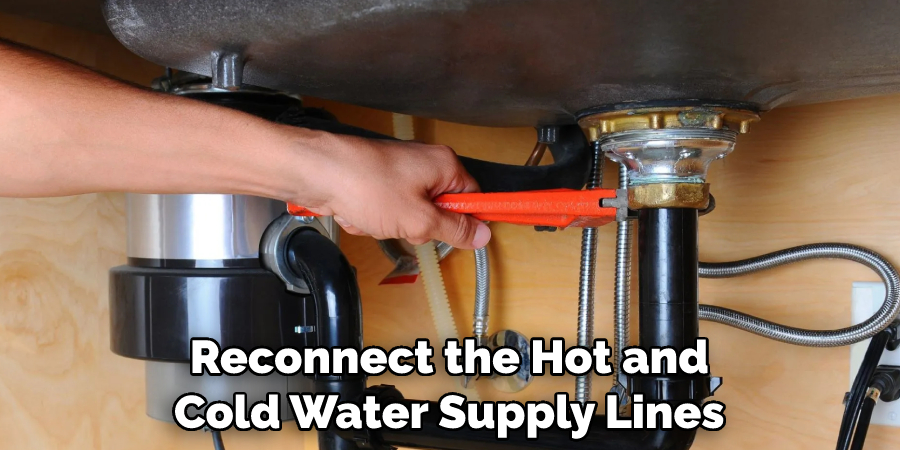
Securely attach the new faucet into place using the plumber’s tape on the threads. Ensure you follow the instructions provided with the new faucet when doing this. Reconnect the hot and cold water supply lines to the new shower faucet. Make sure you use the plumber’s tape on any threads, as it will help create a better seal.
Step 4: Test for Leaks
Once all of the connections have been made, turn the water back on. Test all of the connections for any leaks and tighten if necessary. Securely install the shower handle with two screws. Make sure that the handle is tightened properly and does not move around when turned on or off.
Step 5: Check the Faucet for Proper Operation
Check the shower faucet’s operation by turning on the water and making sure that it flows correctly. Once you have verified that everything is functioning properly, finish up your installation by reinstalling any trim or accessories (like a shower curtain). Make sure to follow all manufacturer’s instructions when doing this.
Follow the instructions outlined above; you should have no problems replacing a shower faucet in your RV.
Safety Precautions for How to Replace Shower Faucet in RV
- Ensure that the RV is connected to a power source, such as a generator or shore power, in order to complete the project safely.
- Turn off the water supply and open all faucets in the RV before beginning work on replacing the shower faucet.
- Use protective eyewear when working on the plumbing to avoid any possible debris or liquid entering your eyes.
- Unscrew and remove the old faucet, being careful not to scratch the surface of the RV with any sharp edges.
- Take this opportunity to inspect and clean the surrounding area before installing a new shower faucet.
- Install the new shower faucet per the manufacturer’s instructions, ensuring all parts are securely fastened and tightly sealed with the plumber’s tape.
- Once complete, turn on the water supply to check for any leaks before replacing all panels and trim pieces around the new faucet.
By taking these safety precautions, you can protect yourself and ensure that the job is done properly when replacing a shower faucet in an RV. With the right knowledge and preparation, replacing a shower faucet in an RV should not be difficult or time-consuming.
How Can You Maintain Your New Shower Faucet to Prevent Damage or Malfunction?
Once you’ve replaced your shower faucet in your RV, you can do a few things to maintain it and prevent damage or malfunction. First of all, you should periodically inspect the faucet for any signs of corrosion or other issues. Make sure that the water pressure is appropriate and isn’t too high or low. Consider adding a water pressure regulator if necessary to ensure the faucet is functioning properly.
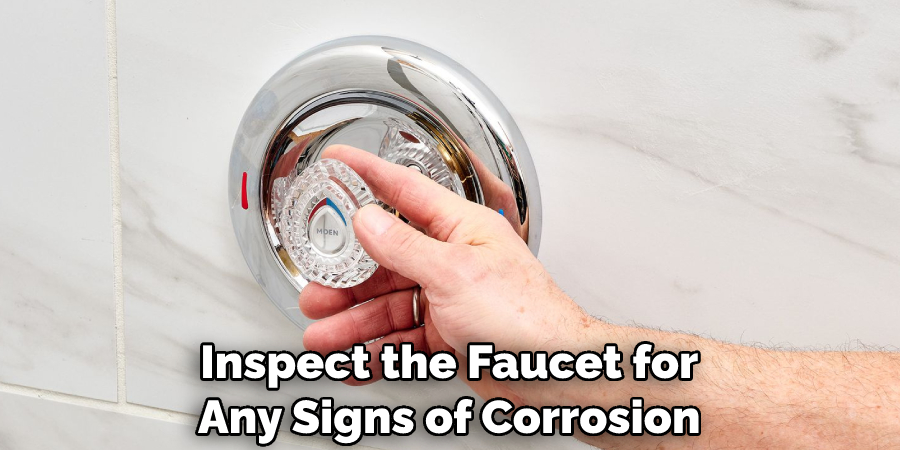
You will also want to check for any leaks, as these can lead to water damage and other issues. If you find a leak, replace the gaskets and washers where necessary. Additionally, inspect the pipes for any signs of corrosion or blockages. If you find any, use a pipe cleaner to remove the obstruction and replace corroded parts if needed.
Finally, make sure that the faucet is clean and free from debris. That way, it will remain in good condition over time and provide you with reliable service. Cleaning should be done periodically, using a soft cloth and mild soap.
Are There Any Common Mistakes to Avoid When Replacing a Shower Faucet in an RV?
Yes, there are several common mistakes to avoid when replacing a shower faucet in an RV. First and foremost, you should check for leaks prior to and after installation. A leaking faucet can cause extensive water damage over time and could be costly to repair or replace.
Additionally, you should ensure the new faucet is compatible with your RV’s plumbing system and that any additional pieces needed are in place. It is also important to turn off the water supply before beginning any work, as water damage can be a very costly issue.
Finally, when tightening the new faucet components, it’s important not to over-tighten them, which could lead to cracking or stripping of pipes. Another mistake to avoid is not taking the time to properly clean and inspect the surface where the new faucet will be installed. It’s essential that no dirt, debris, or corrosion is present prior to installation, as this could lead to water leakage and further damage.
Taking the time to properly clean and inspect the area before beginning installation will help ensure a successful replacement of your RV’s shower faucet.
What Additional Advice Can You Provide for Replacing a Shower Faucet in an RV?
Once you have shut off the water supply and disconnected the old faucet, a few additional tips can help make your shower faucet replacement a successful one. First, take some time to inspect the mounting holes in your RV’s wall before installing the new faucet.
Make sure they are clean and free of any debris or corrosion. You may need to use a drill bit to open up the holes, and it’s best to do this before installing the new faucet so you don’t damage it.
You should also measure twice before drilling any new holes in your RV wall. Measure the distance between mounting points carefully and double-check before drilling any holes. You don’t want to make a mistake and end up with a faucet that is too large or too small for your wall.
Finally, when it comes time to connect the cold and hot water supplies to your new shower faucet, use Teflon tape on the threads in order to ensure a tight seal, this will help prevent leaks and ensure your new faucet is securely in place.
Are There Any Online Resources or Repair Manuals That Can Help With Installation?
Yes, there are many resources available online to help with the installation process. If you are looking for step-by-step instructions on how to replace a shower faucet in an RV, you can find plenty of helpful tutorials and repair manuals. Many manufacturers offer installation videos or detailed written instructions that provide guidance on all aspects of replacing a shower faucet in an RV.
Furthermore, there are also a number of online forums and discussion boards that offer advice from experienced owners who have completed this process themselves. Ultimately, the most helpful resource for your installation project will be whatever manual or instructions came with the replacement shower faucet itself.
It is important to read through any instructions thoroughly before beginning the installation process to ensure that it is completed properly.
Conclusion
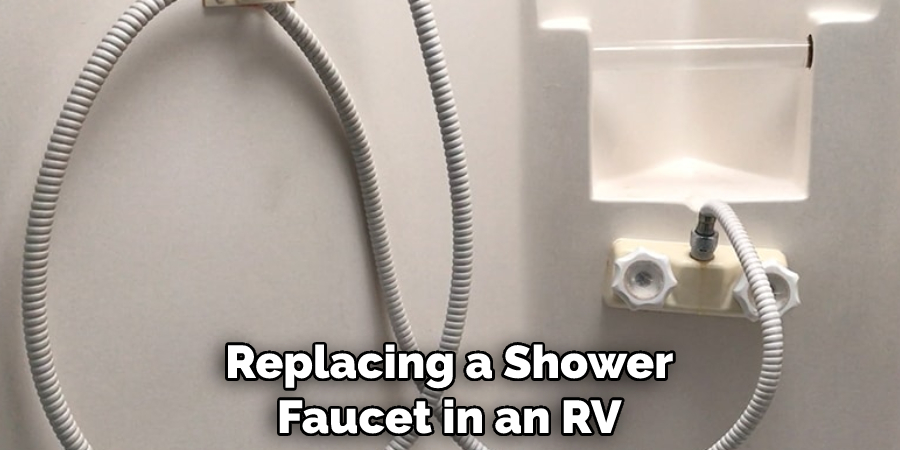
In conclusion, replacing a shower faucet in an RV is not as difficult as it may seem. With the right tools and some basic knowledge, anyone can replace a shower faucet with relative ease. Begin by turning off the RV’s water supply and removing the old faucet.
After that, install the new shower faucet and reconnect the plumbing. Finally, inspect all connections for leaks and turn on the water supply to check your work.
With these simple steps, you can replace a shower faucet in an RV quickly and efficiently. I hope reading this post has helped you learn how to replace shower faucet in rv. Make sure the safety precautions are carried out in the order listed.

