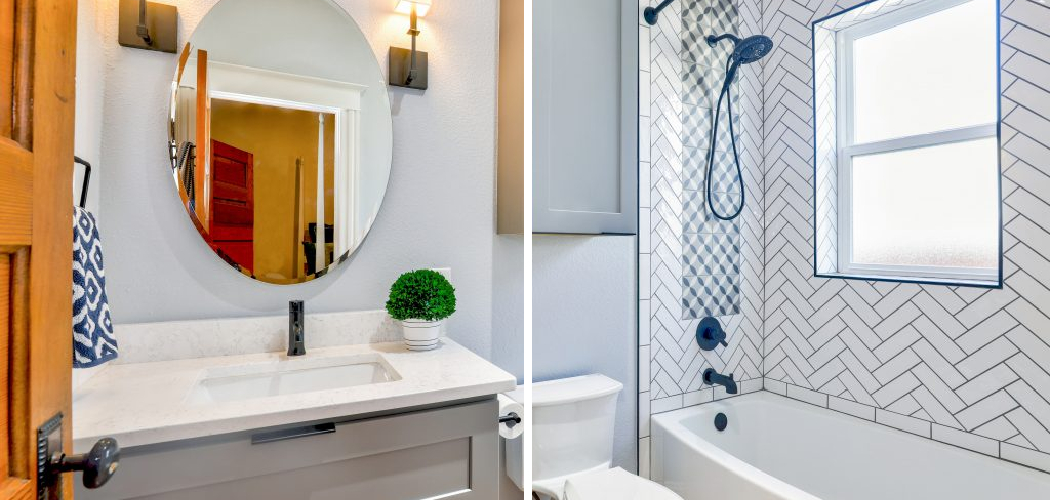
Are you looking for some advice on how to replace your shower tub combo? Whether it’s because you’re wanting to upgrade the style of your bathroom or make a repair, replacing a shower and tub combination is no small task. Fortunately, replacing this common feature in bathrooms is not as daunting as it may seem if you know what steps to take!
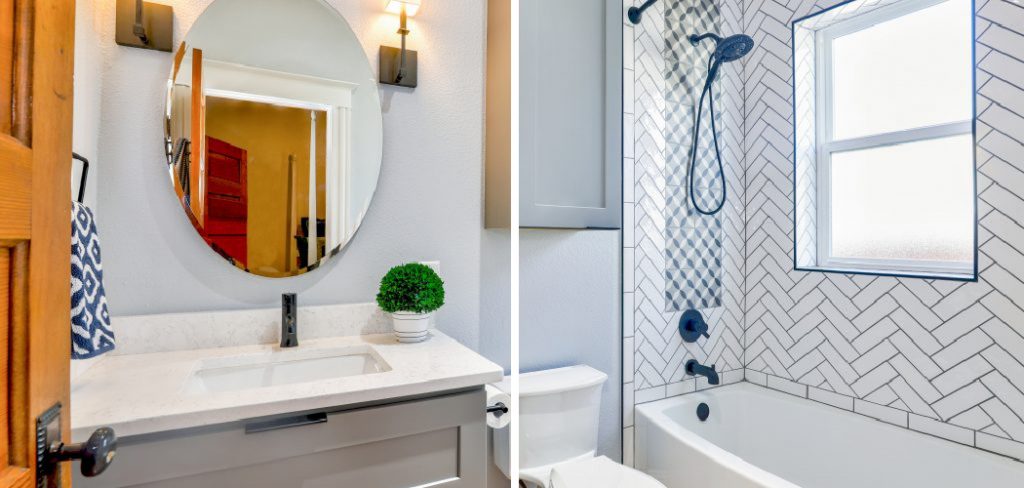
In this blog post on how to replace shower tub combo , we’ll provide detailed instructions and helpful tips that will ease the process of replacing your shower tub combo. Read on for all the information you need about how to successfully install a new unit so that you can have peace of mind when embarking on this renovation project!
Step-by-step Guidelines on How to Replace Shower Tub Combo
Step 1: Gather Materials and Tools
Before you get started on replacing your shower tub combo, make sure you have all the right materials and tools at hand. This includes a new shower/tub combo unit, a level or straightedge to ensure the tub is level, tape measure, caulk gun, drill with bits and screws, silicone sealant, and necessary plumbing components. It’s also a good idea to have a helper around to assist with any heavy lifting.
Step 2: Prepare Plumbing and Water Supply Lines
The first step in replacing your shower tub combo involves preparing the plumbing and water supply lines. To do this: shut off the main water supply; disconnect any existing pipes; test for leaks; install new shut-off valves; connect new copper pipes for hot and cold water supplies (if applicable); and connect the waste vent.
But before doing any of this, it’s important to consult a professional plumber if you’re unfamiliar with plumbing.
Step 3: Install the Shower Tub Combo Unit
Once all of the previous steps are completed you can start to install the new shower tub combo unit. Begin by placing the unit in its intended location and use a level or straightedge to ensure it is properly leveled.
Then, use caulk to seal any gaps between the studs and walls before securing the unit with screws. This is when having your helper around comes in handy since it will be difficult to do this alone. It’s important to make sure the unit is securely fastened to avoid any water leakage.
Step 4: Install Wall Panels
The next step in replacing your shower tub combo involves installing wall panels around the unit. This will help protect it from water damage and provide an attractive finish. Measure carefully before cutting any panels to size, using construction adhesive to secure them firmly against the wall.
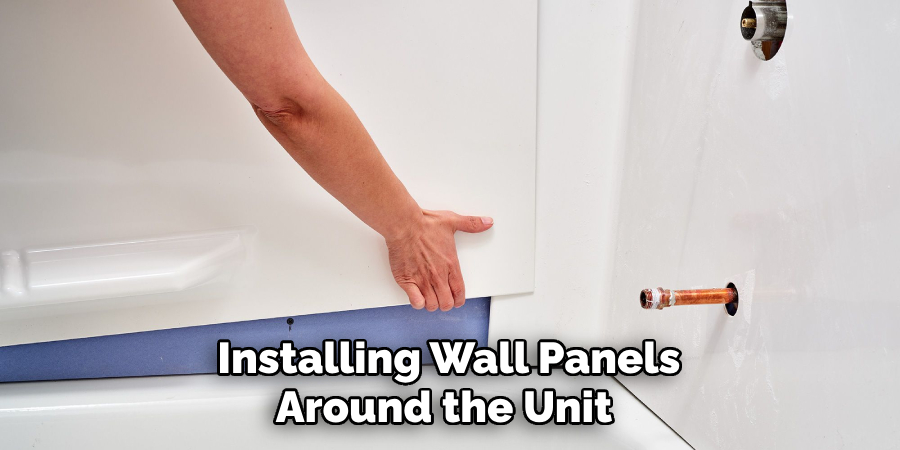
This is also the time to add any decorative accents like tile or trim if desired. However, make sure all of these items are waterproof and have been sealed properly.
Step 5: Install Accessories
Once you’ve installed the wall panels, attach all of your accessories such as faucets, towel bars, shelves, etc. to the shower tub combo unit. Make sure to follow any instructions that came with these items for safe and proper installation.
It’s also a good idea to thoroughly inspect all accessories before attaching them to ensure they are in good condition. Otherwise, any faulty or broken accessories can pose a risk of water leakage.
Step 6: Install Drain, Trap, and Overflow
The next step in replacing your shower tub combo involves connecting the drain, trap and overflow components. Begin by running a continuous bead of silicone sealant around the edge of the tub where it will meet up with the floor before tightening down all connections with a wrench or adjustable pliers.
It’s important to make sure everything is secure and there are no leaks. You can then install the drain and overflow grates/covers.
Step 7: Connect Water Supply Lines
Once all of the necessary plumbing components are installed you can then move on to connecting the water supply lines to your new shower/tub combination unit. Start by attaching a flexible hose line from each hot and cold water supply valve to the corresponding inlets on the unit.
It’s important to use a plumber’s tape or a thread sealant for any threaded connections. Once everything is connected, turn on the water supply and test for leaks.
Step 8: Test for Leaks
After all of the plumbing components are connected, it’s time to test for any leaks. To do this, turn on both hot and cold water supplies to test if there is any seepage coming from the connections or the unit itself. Make sure to use a flashlight and mirror to check for any hidden leaks that may not be visible at first glance.
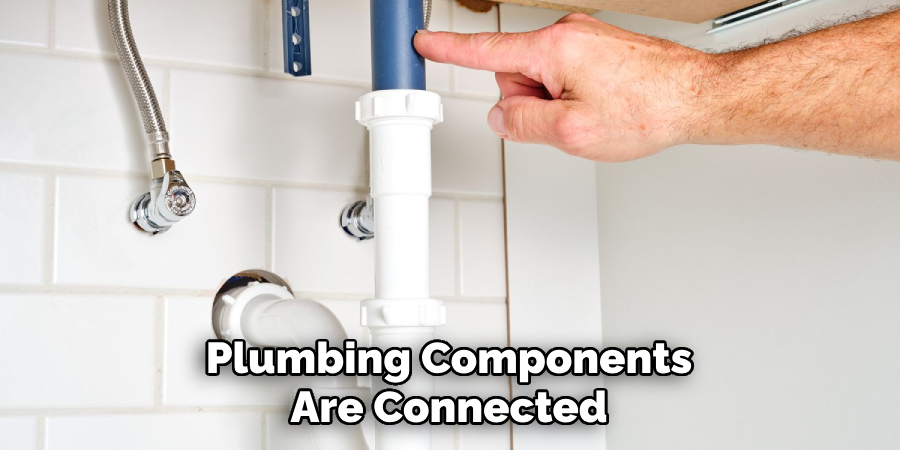
But if you do find leaks, don’t worry. You can easily repair them by tightening the connections or adding more silicone sealant where needed.
Step 9: Caulk Around Unit
Once you have determined that there are no leaks present, apply caulk around the edges of your shower/tub combination unit where it meets up with walls or floors. This will help keep out moisture and ensure that everything remains watertight. If you’re replacing an existing unit, make sure to scrape away any old caulk and debris before applying a new bead of sealant. This will ensure a tight seal.
Step 10: Install Accessories
Now that the unit is securely installed and watertight, you can move on to installing any accessories such as a showerhead or handheld sprayer, shower curtain rod, etc. It’s important to make sure that these items are installed correctly and securely to avoid any water leakage. Once everything has been installed, you can turn on the water supply to test for any leaks one last time.
Step 11: Connect Drain Pipes
The last step in replacing your shower tub combo involves connecting the drain pipes. To do this, attach a flexible PVC pipe from the unit’s drain to the vent stack before securing all connections with a wrench or pliers. This is when your helper comes in handy for any heavy lifting to make sure the pipes are secure.
After all of the connections have been tightened, you can turn on the water supply one last time to check for any leaks. It’s also a good idea to check for clogs or blockages in the pipe by running some hot water down the drain.
Step 12: Clean Up
Once everything is connected and tested for leaks, give your work area one final sweep to make sure it is free from debris and dust before enjoying your new shower/tub combination! Always remember to turn off the water supply when you’re done working and to follow any safety instructions included with your unit.

Congratulations – you’ve just successfully replaced your old shower tub combo! You can now enjoy a safe and effective shower for many years to come.
We hope these step-by-step guidelines on how to replace shower tub combo have been helpful in guiding you through this project! With all of the necessary materials and tools, as well as a bit of patience, you can successfully install a brand-new unit that will last for years to come. So grab your supplies and get started today!
Frequently Asked Questions
Q: What Type of Tools Do I Need to Replace My Shower Tub Combo?
A: You will need a level or straightedge to ensure the tub is level, a tape measure, a caulk gun, a drill with bits and screws, silicone sealant, and necessary plumbing components.
Q: What is the First Step in Replacing My Shower Tub Combo?
A: The first step should be to prepare the plumbing and water supply lines by shutting off the main water supply; disconnecting any existing pipes; testing for leaks; installing new shut-off valves; connecting new copper pipes for hot and cold water supplies (if applicable); and connecting the waste vent.
Q: How Do I Ensure that There are No Leaks When Replacing My Shower Tub Combo?
A: After all of the plumbing components are connected, turn on both hot and cold water supplies to test if there is any seepage coming from the connections or the unit itself. Make sure to use a flashlight and mirror to check for any hidden leaks that may not be visible at first glance.
Q: What is the Final Step in Replacing My Shower Tub Combo?
A: The last step should be to connect the drain pipes by attaching a flexible PVC pipe from the unit’s drain to the vent stack before securing all connections with a wrench or pliers. Once everything is connected and tested for leaks, give your work area one final sweep to make sure it is free from debris and dust before enjoying your new shower/tub combination!

Conclusion
Replacing a shower tub combo can feel like a daunting task, but with the right knowledge and the right tools – it doesn’t have to. To ensure a successful shower tub combo replacement, be sure to measure twice, mark often, and wear protective gear at all times. To avoid injuries or excessive damage, consider finding help from experienced professionals in complicated steps.
If you ever have questions throughout the process, take notes and research them thoroughly so that in the end you have a new shower tub combo that looks and works just as good as a professionally installed one.
So if you’re considering replacing an outdated shower tub combo on your own, don’t be scared! Take this project step-by-step and do your homework before beginning. Avail yourself of the expertise here outlined above before starting, and then don’t forget to sit back and admire your handiwork when it is all done! Thanks for reading this article on how to replace shower tub combo.

