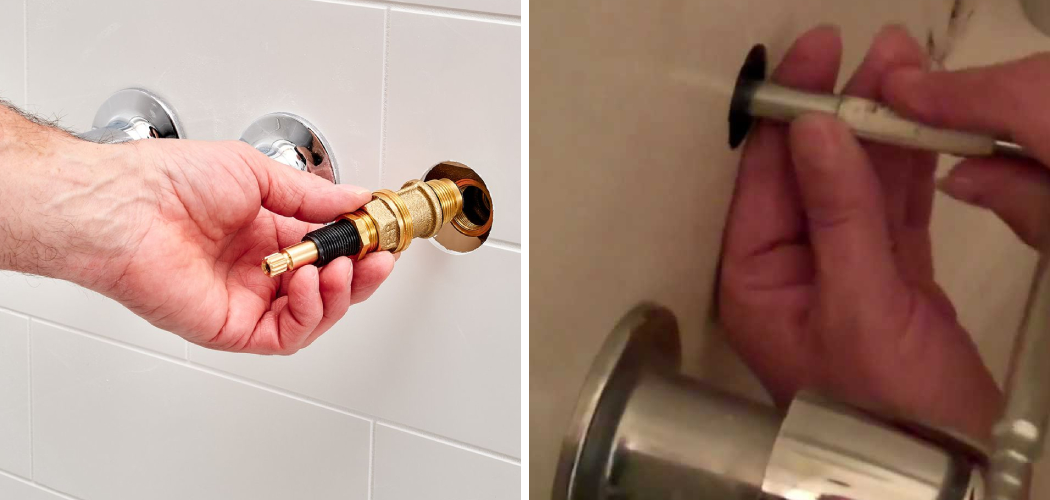
Replacing the stem in a bathtub faucet is a simple yet essential task when dealing with leaks or reduced water flow. Over time, the stem can wear out, causing drips or inefficient operation. By addressing this issue, you can save water, reduce utility costs, and restore your faucet to proper working condition. With the right tools and a straightforward step-by-step approach, this repair can be completed quickly, even by those with minimal plumbing experience.
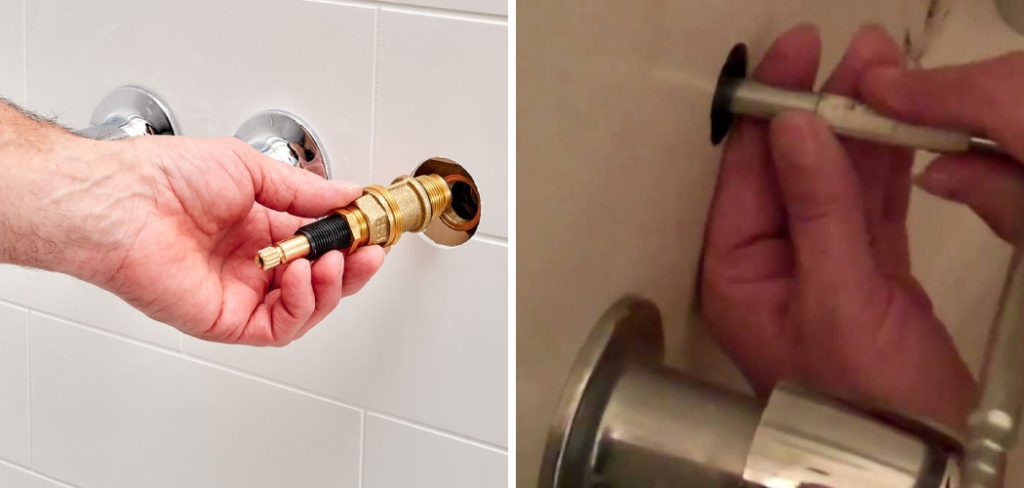
Importance of a Functioning Bathtub Faucet
A fully functioning bathtub faucet is crucial for maintaining the comfort and efficiency of your bathroom. It ensures consistent water flow, making daily tasks such as bathing and cleaning more convenient. A leaking or faulty faucet not only wastes water—impacting both the environment and your utility bills—but can also lead to long-term damage like mold growth or water stains.
Regular maintenance and timely repairs help avoid these issues, ensuring your bathroom stays in optimal condition while also conserving valuable resources. A properly working faucet is essential for both functionality and preserving the overall aesthetic appeal of your space.
What Is a Bathtub Faucet Stem?
A bathtub faucet stem is a crucial internal component of the faucet that controls the flow and temperature of water. It is a metal or plastic rod located inside the faucet, connecting the valve handle to the internal valve mechanism. When you turn the handle, the stem rotates or moves to open or close the valve, allowing water to flow or stop. Over time, the stem can wear out, corrode, or become damaged due to frequent use or mineral buildup from hard water.
This can lead to leaks, difficulty in turning the handle, or irregular water temperature control. Understanding the role of the bathtub faucet stem is vital for identifying and resolving common faucet issues effectively.
10 Methods How to Replace Stem in Bathtub Faucet
1. Gather the Necessary Tools and Supplies
Before starting, ensure you have all the tools and materials required for the job. You’ll need an adjustable wrench, screwdrivers, plumber’s tape, a replacement stem, and possibly a stem removal tool. Having everything on hand minimizes interruptions and makes the process more efficient.
2. Turn Off the Water Supply
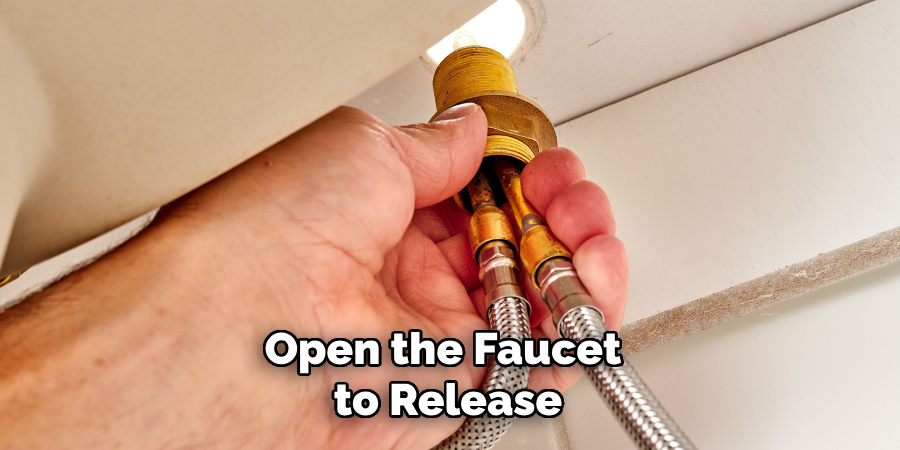
To prevent water from flooding your bathroom, turn off the water supply to the bathtub. Locate the shut-off valve near the tub or turn off the main water supply to your home. Open the faucet to release any residual water pressure before proceeding.
3. Remove the Faucet Handle
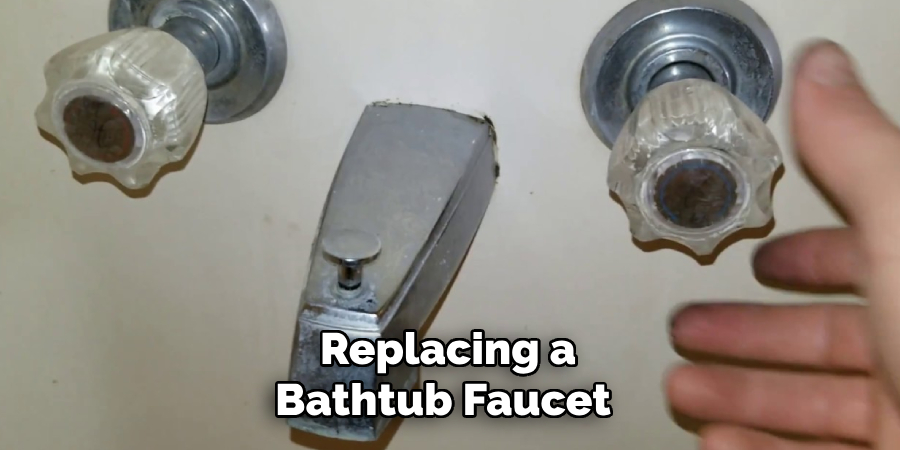
The faucet handle must be removed to access the stem. Use a screwdriver to take out the screw holding the handle in place. If the screw is hidden beneath a decorative cap, pry off the cap gently with a flat-head screwdriver. Once the screw is removed, pull the handle straight off. If it’s stuck, use a handle puller tool to avoid damaging the fixture.
4. Detach the Escutcheon Plate
The escutcheon plate, which covers the wall opening around the faucet, needs to be removed. Unscrew it by hand or with a screwdriver, depending on its attachment method. Carefully pull the plate away from the wall, and check for any caulk or sealant that might need to be cut away with a utility knife.
5. Use a Stem Removal Tool
With the escutcheon plate removed, you’ll see the faucet stem. Use a stem removal tool or an adjustable wrench to unscrew the stem from the valve body. Turn the tool counterclockwise to loosen and remove the stem. Be gentle to avoid damaging the valve body or surrounding plumbing.
6. Inspect the Old Stem
Examine the removed stem for signs of wear, corrosion, or damage. Take it to a hardware store to ensure you purchase an identical replacement. Matching the size and type of the stem is crucial for compatibility and proper function.
7. Prepare the Replacement Stem
Wrap the threads of the replacement stem with plumber’s tape to create a watertight seal. Ensure the tape is applied evenly and covers the threads completely. This step helps prevent leaks once the new stem is installed.
8. Install the New Stem
Insert the prepared replacement stem into the valve body. Hand-tighten it initially to avoid cross-threading, then use the stem removal tool or wrench to secure it firmly. Be cautious not to overtighten, as this could damage the valve or the new stem.
9. Reassemble the Faucet Components
Reattach the escutcheon plate by sliding it back into place and securing it with screws. Replace the faucet handle by aligning it with the stem and tightening the handle screw. If there was a decorative cap, snap it back into place to cover the screw.
10. Test the Faucet
Turn the water supply back on and test the faucet for proper operation. Check for any leaks around the stem, escutcheon plate, or handle. If you notice any leaks, tighten the components further or reapply plumber’s tape as needed. Once everything functions correctly, your bathtub faucet is ready for use.
Things to Consider When Replacing a Bathtub Faucet Stem
When replacing a bathtub faucet stem, there are several important factors to keep in mind to ensure a successful repair.
1. Identify the Correct Replacement Stem
Faucet stems come in many shapes and sizes, specific to the brand and model of your bathtub faucet. Before purchasing a replacement, remove the old stem and take it to a hardware store to ensure you buy an exact match. Using the wrong stem can result in improper functionality or leaks.
2. Evaluate the Condition of Surrounding Components
While replacing the stem, inspect other components such as the valve seat, O-rings, and washers for wear or damage. Replacing or repairing these parts simultaneously can prevent future leaks and extend the lifespan of the faucet.
3. Be Cautious with Old Plumbing
Older plumbing systems may have corroded or fragile pipes, making them more susceptible to damage during the repair process. Use tools carefully and avoid applying excessive force to prevent causing additional issues.
4. Turn Off the Water Completely
Ensure the water supply is completely turned off before starting the repair. Even a small amount of residual water pressure can cause unexpected leaks or spray, creating unnecessary mess and potential water damage.
5. Use Quality Tools
Using the proper tools, such as a stem removal tool and high-quality plumber’s tape, simplifies the repair process and ensures better results. Inferior tools may damage components or lead to an uneven seal.
Common Mistakes to Avoid
When replacing a bathtub faucet stem, it’s important to be aware of common mistakes that can compromise the repair process. Avoiding these pitfalls can save time, reduce frustration, and prevent potential damage.
- Forgetting to Turn Off the Water Supply
One of the most frequent mistakes is failing to fully turn off the water supply before starting the repair. Residual water pressure can lead to spills, leaks, or even flooding. Double-check that the water is completely shut off before removing any components.
- Using the Wrong Replacement Stem
Installing an incorrect replacement stem is a common error that can result in leaks or improper function. Always verify that the new stem matches the removed one in size, type, and brand. If you’re unsure, consult a professional or store expert.
- Overtightening Components
Tightening parts like the stem, escutcheon plate, or handle too much can damage threads, valves, or other parts of the faucet. Apply just enough tightness to create a secure fit without forcing components.
- Skipping the Use of Plumber’s Tape
Neglecting to wrap the stem threads with plumber’s tape can lead to leaks. This tape ensures a watertight seal and should be applied evenly before installing the new stem.
Maintenance Tips for Bathtub Faucets
Proper maintenance of your bathtub faucet can prevent leaks, extend its lifespan, and ensure smooth operation over time. Here are some practical tips to keep your faucet in excellent condition:
- Clean Regularly
Remove mineral buildup and soap scum by cleaning your faucet with a soft cloth and a mild cleaner. For stubborn deposits, use a mixture of vinegar and water to gently dissolve buildup without damaging the finish.
- Inspect for Leaks
Periodically check for leaks around the handle, escutcheon plate, or spout. Addressing small leaks early can prevent further wear or damage to internal components, such as the faucet stem or valve seat.
- Avoid Excessive Force
Operate the faucet handle gently to prevent strain on the internal mechanisms. Excessive force can wear out the stem, washers, or O-rings prematurely, leading to costly repairs.
- Replace Worn Components Promptly
Over time, parts like washers, O-rings, and valve seats may wear out. Replace these components promptly if you notice dripping or reduced performance to keep the faucet operating efficiently.
Conclusion
Replacing a bathtub faucet stem can seem like a daunting task, but with the right tools, preparation, and knowledge, it is a manageable DIY project. By carefully selecting the correct replacement parts, taking the time to inspect surrounding components, and following a systematic approach, you can ensure a successful repair. Avoiding common mistakes and adhering to proper maintenance practices will not only restore functionality to your faucet but also extend its life and prevent future issues.
Thanks for reading our blog post on how to replace stem in bathtub faucet! We hope you found it helpful and informative.

