Replacing a toilet hose may seem like a daunting task, but it’s a straightforward process that can save you time and money. Over time, toilet hoses can wear out, develop leaks, or clog, leading to inefficiencies and potential water damage. With the right tools and a bit of guidance, you can successfully replace a toilet hose in just a few simple steps. This guide will walk you through the process of how to replace toilet hose.

Importance of a Functioning Toilet Hose
A functioning toilet hose plays a crucial role in maintaining the efficiency and reliability of your plumbing system. The toilet hose is responsible for supplying water to the toilet tank, ensuring proper flushing and consistent water flow. A damaged or leaking toilet hose can result in water waste, higher utility bills, and potential water damage to your bathroom. Furthermore, a malfunctioning hose can disrupt the toilet’s operation, leading to inconvenience and additional repair costs.
By keeping your toilet hose in good condition and replacing it when necessary, you can prevent these issues and maintain a clean, efficient, and hassle-free bathroom environment.
Tools and Materials Needed
Before starting the process of replacing your toilet hose, gather the following tools and materials to ensure a smooth and efficient replacement:
- Adjustable Wrench – For loosening and tightening the connections on the toilet hose.
- Replacement Toilet Hose – Make sure to choose a hose that is compatible with your toilet model.
- Towel or Bucket – To catch any water that may spill during the process.
- Plumber’s Tape – Optional but useful for ensuring a secure and leak-free connection.
- Gloves – To keep your hands clean and protected while working.
Having these tools and materials readily available will make the replacement process quicker and more manageable.
10 Methods How to Replace Toilet Hose
1. Identify the Need for Replacement
Before replacing the toilet hose, confirm that a replacement is necessary. Common signs include visible leaks, cracks, rust, or corrosion on the hose or its fittings. If you notice water pooling near the toilet base or a drop in water pressure, it’s time to inspect the hose. Ensuring the need for replacement prevents unnecessary work and helps you address the actual problem.
2. Gather the Required Tools and Materials
Having the right tools and materials on hand makes the replacement process smoother. You’ll need an adjustable wrench or pliers, a bucket to catch water, and a new toilet hose of the correct length and fitting type. Ensure the replacement hose is compatible with your toilet model. This preparation saves time and avoids interruptions during the task.
3. Turn Off the Water Supply
Always shut off the water supply before beginning the replacement. Locate the shutoff valve, typically found on the wall behind the toilet, and turn it clockwise until it stops. If the valve is stuck or difficult to turn, use pliers to assist. Turning off the water prevents accidental flooding and keeps the area dry during the process.
4. Drain Residual Water from the Hose
After shutting off the water supply, flush the toilet to drain most of the water from the tank. Place a bucket or towel under the hose connection to catch any remaining water. Loosening the hose slightly at both ends allows residual water to escape without making a mess. Draining the hose minimizes cleanup efforts and makes the task more manageable.
5. Loosen the Hose Connections
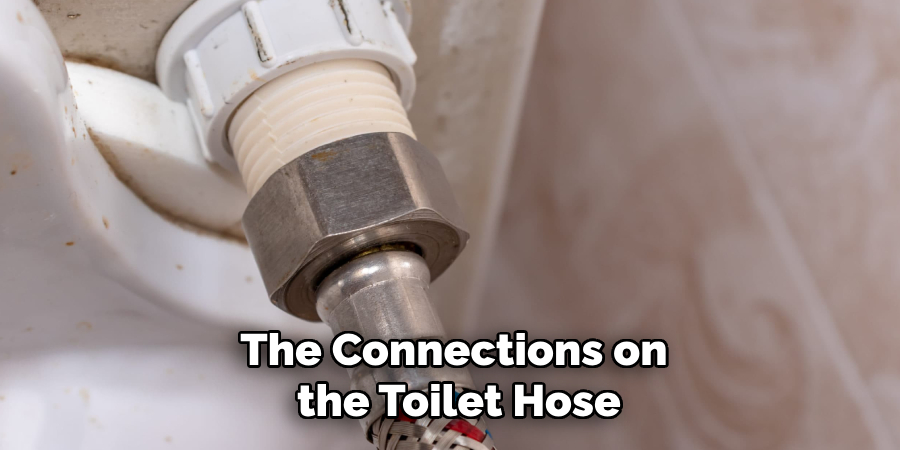
Using an adjustable wrench or pliers, carefully loosen the nuts connecting the hose to the shutoff valve and the toilet tank. Turn the nuts counterclockwise to unscrew them. Take care not to apply excessive force, which could damage the fittings or threads. Once loosened, remove the old hose completely and inspect the connections for debris or corrosion.
6. Clean the Connection Points
Before attaching the new hose, clean the threads on both the shutoff valve and the toilet tank inlet. Use a cloth or brush to remove any dirt, debris, or rust. A clean connection ensures a proper seal and reduces the risk of leaks. If the threads are heavily corroded, consider replacing the fittings to maintain a secure connection.
7. Measure and Select the Correct Hose
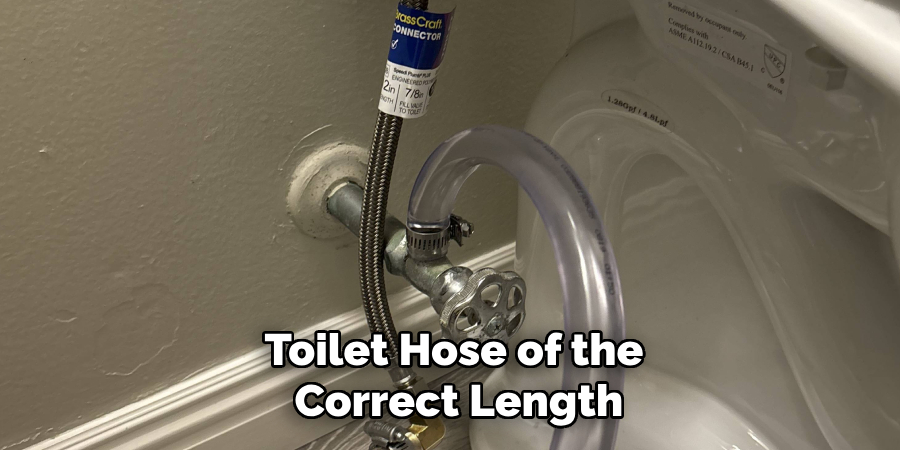
Choosing the right hose length is critical for a secure and functional installation. Measure the distance between the shutoff valve and the toilet tank inlet to determine the appropriate hose length. Ensure the hose has the correct fittings—either compression or threaded—matching your existing setup. Selecting the right size and type prevents compatibility issues and ensures a snug fit.
8. Install the New Hose
Attach one end of the new hose to the shutoff valve, tightening the nut by hand until it’s snug. Repeat this process for the connection to the toilet tank inlet. Once both ends are hand-tightened, use the wrench to give an additional quarter-turn to secure the connections. Avoid over-tightening, as this could damage the fittings or strip the threads.
9. Test the New Hose for Leaks
Turn the water supply back on slowly, allowing water to fill the toilet tank. Check both ends of the hose for leaks by running your fingers around the connections or using a dry tissue. If you detect moisture, tighten the connections slightly until the leaks stop. Testing for leaks ensures the installation is secure and prevents future water damage.
10. Perform Routine Maintenance
To prolong the lifespan of your new toilet hose, perform regular inspections for wear and tear. Look for signs of rust, corrosion, or cracks, and address any issues promptly. Cleaning the connections periodically helps maintain a tight seal and prevents debris buildup. Proper maintenance ensures the hose remains functional and reduces the need for frequent replacements.
Maintenance and Upkeep
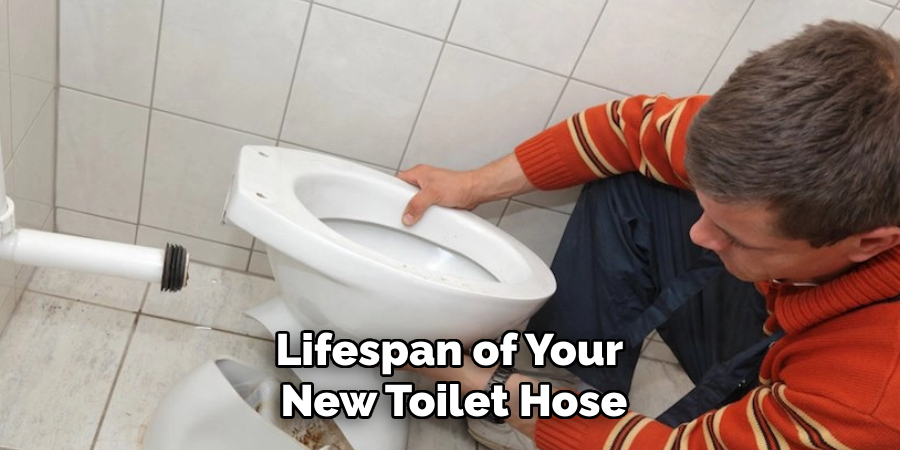
Proper maintenance and upkeep of your toilet hose can significantly extend its lifespan and ensure reliable performance. Regularly inspect the hose and its connections for any signs of wear, such as cracks, rust, or corrosion. Catching these issues early can prevent leaks and costly water damage. Clean the connection points periodically to remove dirt, debris, or mineral buildup that might affect the seal’s integrity. Additionally, check for any changes in water pressure, as this can be an indicator of internal hose damage.
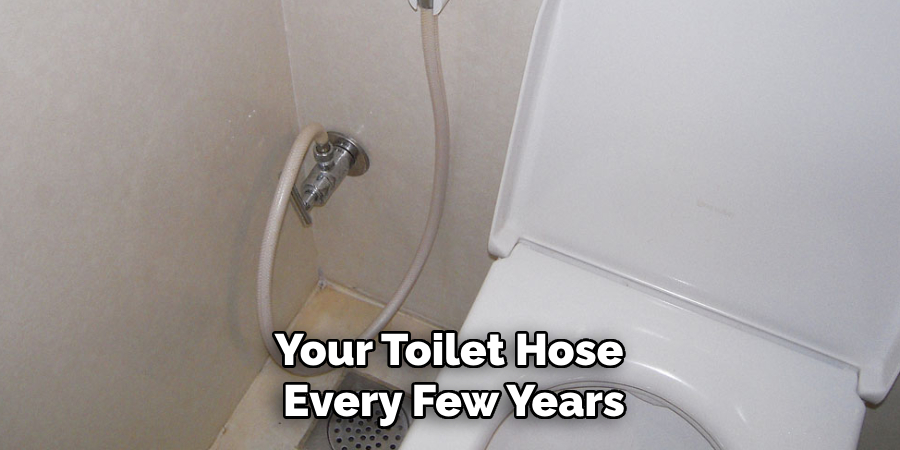
It’s also a good habit to replace your toilet hose every few years, even if no visible damage is present, as materials can degrade over time. If you live in an area with hard water, consider installing a water softener or using hoses designed to resist mineral buildup. By scheduling regular inspections and addressing issues promptly, you can maintain a functional and leak-free toilet hose, contributing to a hassle-free bathroom environment.
Troubleshooting Common Issues
Even with proper installation and maintenance, issues with toilet hoses can occasionally arise. Here are some common problems and their solutions:
1. Leaking Connections
If water leakage is observed at the hose connections, ensure the nuts are tightened securely, but without over-tightening which can damage the threads. Check that the washers are in place and in good condition. Replacing worn or improperly seated washers can often resolve the issue.
2. Reduced Water Pressure
Low water pressure might be due to mineral buildup inside the hose. Disconnect the hose and inspect it for blockages. Flushing the hose with a mixture of water and vinegar can help dissolve mineral deposits. If the problem persists, consider replacing the hose.
3. Hose Kinking or Twisting
A kinked or twisted hose can restrict water flow and cause stress on the connections. To resolve this, confirm that the hose is the correct length and has enough slack to avoid sharp bends. If the hose is too rigid or prone to kinking, replacing it with a more flexible model may help.
4. Persistent Drips After Installation
If water continues to drip after replacing the hose, inspect the connection points for debris or damage. Clean the threads on both the shutoff valve and the inlet and ensure a proper fit. Damaged threads may require replacement of the fittings themselves.
5. Rust or Corrosion on Hose Fittings
Rust or corrosion can weaken the fittings and lead to leaks. If you notice these signs, replace rusted components promptly. Using stainless steel or corrosion-resistant hoses can help prevent this issue in the future.
6. Hose Detachment
If the hose detaches during normal use, it could indicate improperly tightened connections or mismatched fittings. Double-check that the hose is compatible with your toilet model and that the connections are secure. Upgrading to a more durable or reinforced hose may provide added stability.
By addressing these common issues promptly, you can prevent further complications and ensure your toilet functions efficiently over the long term.
Conclusion
Replacing a toilet hose is a simple yet important task to maintain your plumbing system’s efficiency. By following these ten methods, you can complete the replacement with confidence and ensure a leak-free connection. Now that you know how to replace toilet hose. While it does take a few steps each time, hopefully now you understand the process and why it’s worth taking the extra step to make sure your floor is properly cared for. So don’t wait any longer, take action today!
You Can Also Check This out to Replace Drain Pipe Under Bathtub

