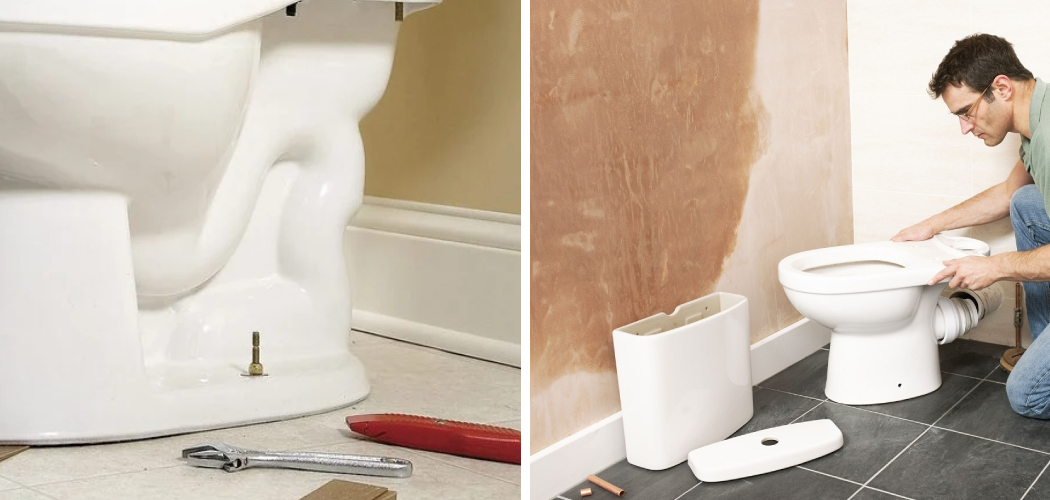
Repositioning a toilet may seem daunting, but it’s quite simple with the right tools and knowledge. Whether you’re looking to change its location within the bathroom or move it to another room altogether, this guide will walk you through the steps of how to reposition a toilet.
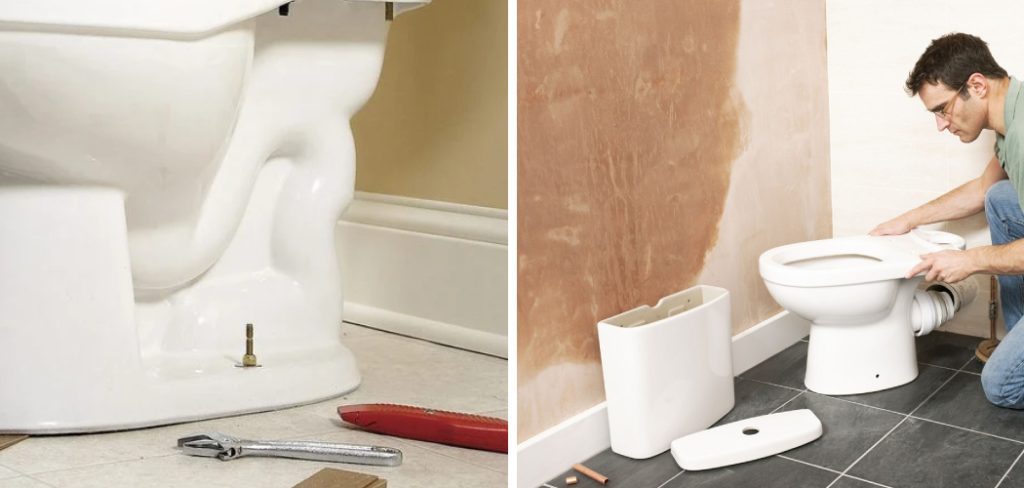
Before we begin, it’s important to note that this is not a project for the faint of heart. It requires some physical strength, basic plumbing skills, and patience. Hiring a professional plumber is always recommended if you need clarification on any step in the process. However, if you’re up for the challenge, let’s get started!
Understanding Repositioning a Toilet
Before you begin the repositioning process, it’s important to understand why you may need to do it in the first place. There are a few common reasons for wanting to move a toilet, such as:
- Renovation or Remodeling – If you’re redesigning your bathroom layout, repositioning the toilet may be necessary to create more space or improve its overall functionality.
- Water Damage—If your toilet has experienced water damage, you may need to move it to a new location to avoid further issues.
- Plumbing Upgrades – If you’re upgrading your plumbing system, repositioning the toilet may be necessary to accommodate the changes.
Tools and Materials You Will Need to Reposition a Toilet
- Adjustable wrench or pipe wrench
- Screwdriver
- Plunger
- Bucket
- Putty knife
- Old towels or rags
- New wax ring and bolts for the toilet base
- Caulk gun and caulk
- Toilet sealant tape (optional)
Step-by-step Guidelines on How to Reposition a Toilet
Step 1: Shut off Water Supply and Drain the Toilet
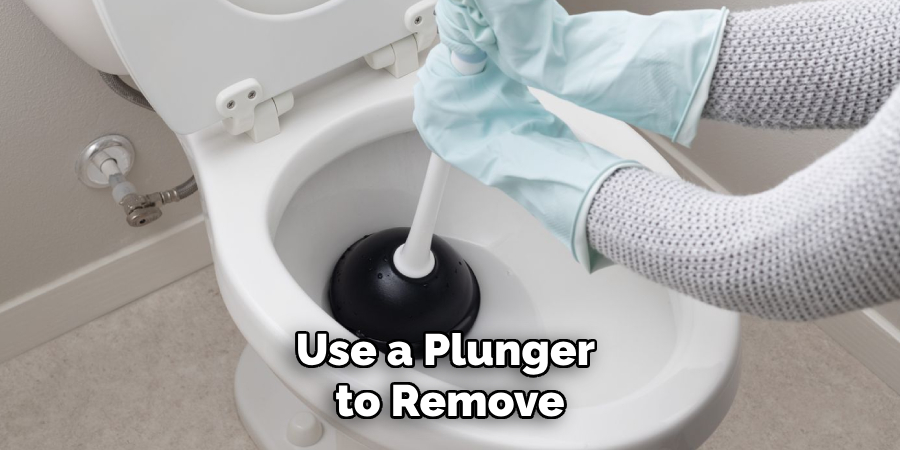
The first step to repositioning a toilet is to shut off the water supply. You can do this by turning off the valve located behind or near the toilet. Once the water supply is turned off, flush the toilet to drain out any remaining water. This will make it easier to move and work with. If there is still water in the bowl, use a plunger to remove it.
Step 2: Remove the Toilet from its Current Position
Use a plunger to remove any remaining water in the toilet bowl. Then, use an adjustable wrench or pipe wrench to loosen the nuts that hold the toilet in place. Once they are loosened, carefully lift the toilet off its base and set it aside on old towels or rags. While moving the toilet, be careful not to damage the floor or surrounding area.
Step 3: Prepare the New Location for the Toilet
If you’re moving the toilet to a new location within the same bathroom, skip this step. But if you’re moving it to another room, you’ll need to prepare the new location first. This involves measuring and marking where the toilet will sit and ensuring the plumbing system is ready to connect. Preparing the new location beforehand will make it easier to install the toilet later on.
Step 4: Install New Wax Ring and Bolts
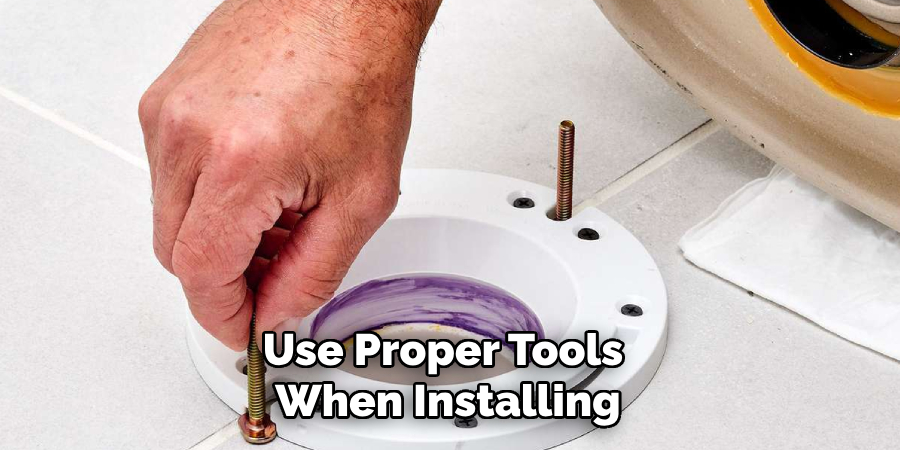
Remove the old wax ring from the toilet’s base and replace it with a new one. Insert the bolts into the flange on the floor, ensuring that they are evenly spaced apart. For convenience, the wax ring and bolts can also be purchased together as a kit. Make sure that the bolts are secure and do not move around. This will ensure that the toilet sits properly on top of the flange.
Step 5: Reinstall the Toilet
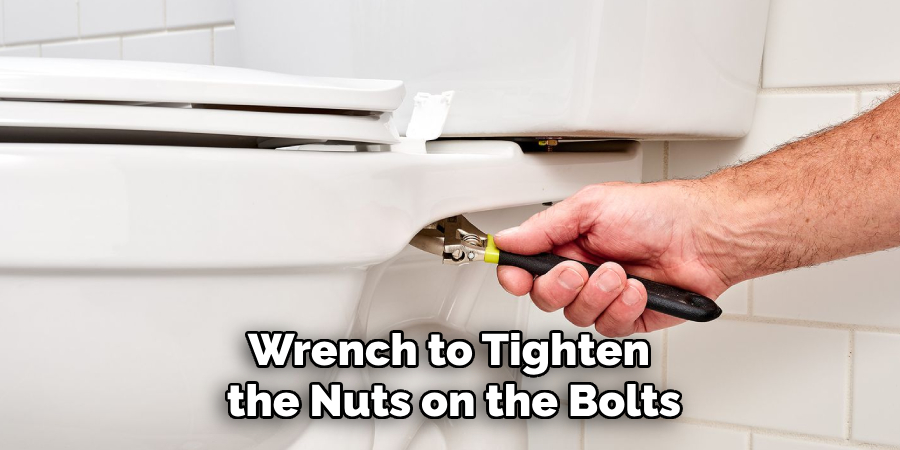
Carefully place the toilet back onto its base and align it with the bolts on the floor. Gently press down to allow the wax ring to seal between the toilet and the flange. Once in place, use a screwdriver or wrench to tighten the nuts on the bolts. Be careful not to overtighten as this can crack the toilet. Make sure the toilet is level and does not rock back and forth.
Step 6: Seal and Caulk
Once the toilet is securely in place, use a caulk gun to apply a thin bead of caulk around its base. This will help secure it in place and prevent any water from seeping underneath. If desired, you can also use toilet sealant tape around the base for added protection against leaks. Smooth out the caulk with a putty knife or your finger for a clean finish.
Step 7: Turn on the Water Supply and Test
Before using the newly repositioned toilet, turn on the water supply and let it fill up. Check for any leaks or issues before using it. If everything looks good, congratulations! You have successfully repositioned a toilet. Make sure to clean up any tools or materials used and dispose of them properly.
Following these step-by-step guidelines, you can easily reposition a toilet on your own. However, if you encounter any challenges or are unsure about any step in the process, it’s best to seek professional help. With proper care and maintenance, your newly positioned toilet will serve its purpose for years to come! Happy plumbing!
Additional Tips and Tricks to Reposition a Toilet
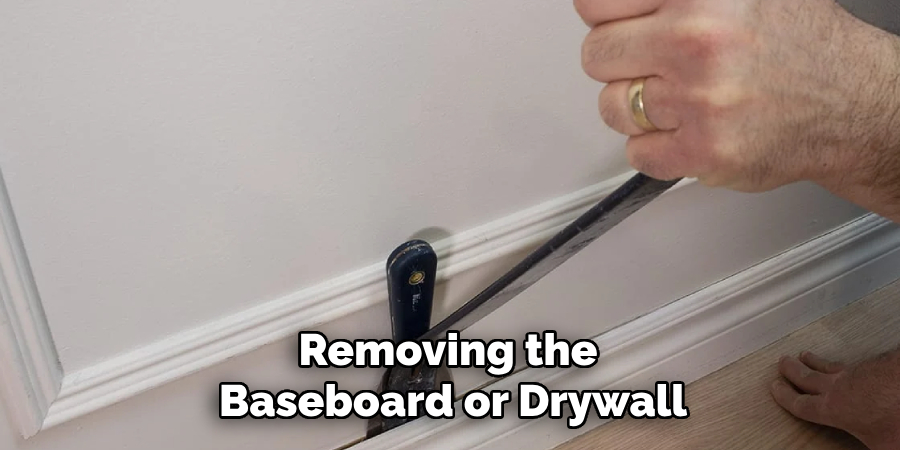
- If the toilet is too close to a wall, you can use a hacksaw or reciprocating saw to cut off the baseboard or drywall behind it. This will allow for more space between the toilet and the wall.
- If the toilet is still too close to the wall, even after removing the baseboard or drywall, you can purchase a thin profile toilet that has a smaller base. This can provide an extra inch or two of space between the toilet and the wall.
- For toilets that are too far from the wall, you can use shims to fill in the gap between the toilet and the floor. Be sure to use plastic shims to prevent any mold or mildew buildup.
- Uneven toilets can also be corrected using shims. Place the shims under the low side of the toilet until they become level with the other side.
- If you’re repositioning a toilet on a tile floor, use caulk to seal any gaps between the base of the toilet and the tiles for a more secure and water-resistant installation.
- When attaching the toilet bolts, apply pressure while tightening the nuts with a screwdriver. This will prevent the bolts from spinning and ensure a secure fit.
- Always double-check the level of the toilet before completing the installation. Even small discrepancies can cause leaks or damage over time.
- If you have trouble finding the correct position for your toilet, try using paper templates to map out where it should go. This can save time and prevent mistakes during the installation process.
- If you need more confidence in your plumbing skills, hiring a professional to reposition your toilet is always best. They have the necessary tools and expertise to ensure a safe and proper installation.
- Regularly inspect and maintain your newly repositioned toilet to catch any potential issues early on. This includes checking for leaks, loose bolts, and any signs of wear and tear.
- Remember to turn off the water supply before repositioning or working on your toilet. This will prevent any accidents or damage to the plumbing system.
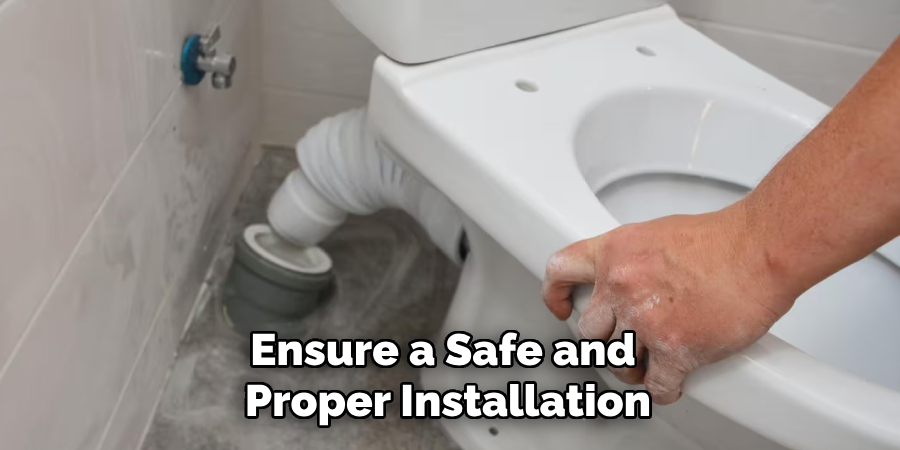
Following these tips and tricks can help make repositioning a toilet easier and more successful. Always take caution when working with plumbing fixtures. With proper preparation and attention to detail, you can have a perfectly positioned toilet in no time. Happy DIY-ing!
Things You Should Consider to Reposition a Toilet
- The plumbing is the first thing to consider when repositioning a toilet. It is important to ensure that the new toilet location has proper access to the existing plumbing system. This may require rearranging or extending pipes, which can be a complex and time-consuming task. It is best to consult with a professional plumber before attempting to relocate a toilet.
- Another factor to consider is the flooring. The toilet must be installed on a flat and level surface to ensure proper function and stability. If the new location has a different type of flooring than the previous one, adjustments may need to be made to accommodate this.
- It is also essential to consider the space available for the toilet in its new location. The area should have enough room for comfortable use and easy cleaning. The toilet should also be a safe distance from other fixtures, such as the sink or bathtub.
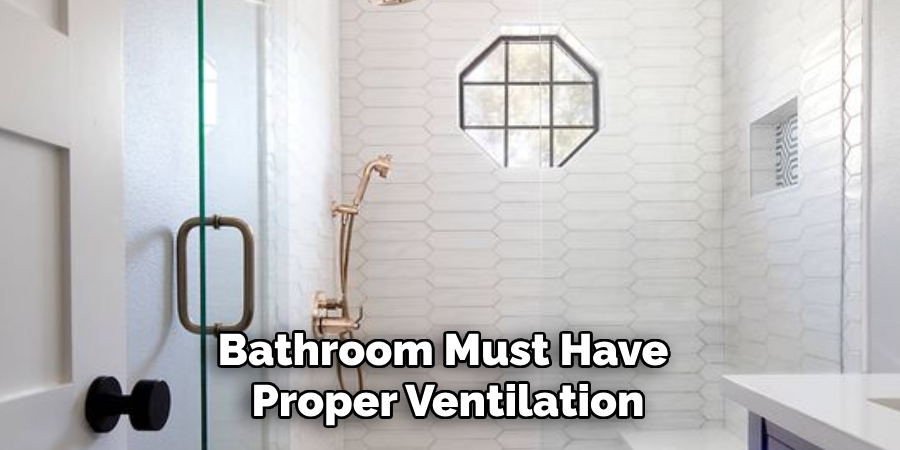
- Ventilation is another important factor to consider when repositioning a toilet. The bathroom must have proper ventilation to prevent mold growth and unpleasant odors. If the new location lacks good ventilation, installing a fan or making other modifications may be necessary.
- The aesthetics of the bathroom should also be considered when moving a toilet. It is important to choose a location that complements the overall design and layout of the room. This may involve rearranging other fixtures or considering complementary colors and styles.
- Moving a toilet can also impact its flushing power. A stronger flush may be required to prevent clogs if the new location is further away from the main drain. This can be achieved by installing a pressure-assisted or gravity-fed toilet.
- Accessibility is another crucial factor to consider when repositioning a toilet. The new location should be easily accessible for people of all ages and abilities. This may involve installing grab bars or considering the height of the toilet for individuals with mobility limitations.
- In some cases, repositioning a toilet may require obtaining permits and following building codes. Before making any changes to your home’s plumbing system, it is important to research and comply with any regulations in your area.
- Lastly, budget should also be taken into consideration when moving a toilet. Depending on the complexity of the project, costs can vary significantly. It is important to determine a budget beforehand and consult with professionals to get accurate cost estimates.
Following these considerations can ensure a successful and hassle-free toilet repositioning project. It is always recommended to consult professionals for guidance and assistance to avoid potential problems or setbacks. With careful planning and proper execution, you can achieve the desired results and improve the function and appearance of your bathroom.
Precautions Need to Be Followed for Repositioning Toilet
- First and foremost, turn off the water supply before attempting to reposition a toilet. This is an essential precaution to prevent water damage or potential accidents.
- Use caution when handling the toilet. Lifting and carrying it properly is important, as toilets can be heavy and awkwardly shaped. Improper handling could result in injury or damage to the toilet.
- Wear protective gear such as gloves and safety glasses when repositioning a toilet. This will protect your hands and eyes from any potential hazards, such as sharp edges or chemicals used in the installation process.
- Always use proper tools when installing or moving a toilet. Using the wrong tools could result in damage to the toilet or surrounding areas. A wrench, pliers, and a level are recommended for repositioning.
- Make sure the area where the toilet will be positioned is clean and free of debris or obstructions. This will ensure a stable and secure installation and prevent any potential movement or rocking of the toilet.
- Carefully read and follow the manufacturer’s instructions. Each toilet may have different installation requirements, so it is important to refer to the manual for proper guidance.
- Have another person lift and position the toilet. This will make the process easier and safer, as toilets can be heavy and difficult to maneuver alone.
- Double-check all connections and fittings before turning the water supply back on. This will ensure that there are no leaks or issues with the installation, preventing any potential damage or accidents.
- After repositioning the toilet, clean and disinfect the area thoroughly. This will help prevent the spread of germs and maintain proper hygiene in your bathroom.
Following these precautions will help ensure a smooth and safe repositioning of your toilet. Remember to always prioritize safety and follow proper instructions for the best results. Additionally, it is important to regularly check the positioning of your toilet and address any issues or concerns as soon as possible to prevent further damage or accidents. By taking proper precautions and being diligent in maintenance, you can ensure a long-lasting and functional toilet in your bathroom. So, it is always better to be safe than sorry when it comes to repositioning a toilet. Happy plumbing!
Frequently Asked Questions
How Do I Know if My Toilet Needs Repositioning?
There are a few signs that your toilet may need repositioning. The most obvious is if the toilet feels wobbly or unstable when sitting on it. You may also notice that the toilet needs to be flush against the wall or if there are gaps between the base of the toilet and the floor.
Can I Reposition a Toilet Myself, or Do I Need to Hire a Professional?
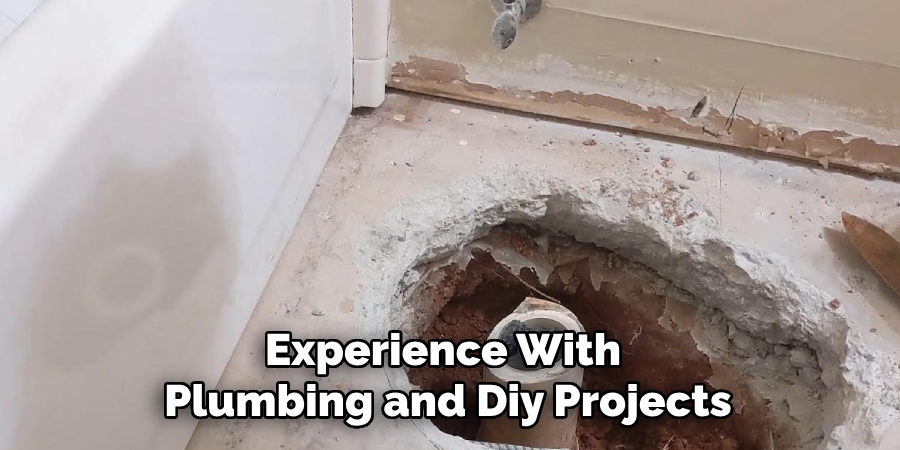
It is possible to reposition a toilet yourself, but it can be a complicated and time-consuming process. If you have experience with plumbing and DIY projects, you may feel comfortable doing it yourself. However, if you are unsure or have never done it before, it is best to hire a professional plumber to ensure the job is done correctly and safely.
How Long Does it Take to Reposition a Toilet?
The time it takes to reposition a toilet can vary depending on your experience and the condition of your bathroom. On average, it can take anywhere from 1-3 hours. It may take longer if you encounter any difficulties or complications during the process.
Should I Reposition a Toilet Myself or Hire a Professional?
The decision to reposition a toilet yourself or hire a professional ultimately depends on your level of experience and comfort with DIY projects. If you are not confident in your abilities, hiring a professional plumber with the necessary skills and equipment to properly reposition the toilet is best. Hiring a professional can save you time and potential headaches in the long run.
Is Repositioning a Toilet Expensive?
The cost of repositioning a toilet will vary depending on factors like the condition of your bathroom and whether or not you hire a professional. If you choose to do it yourself, it may only cost you the price of any necessary tools and materials. However, hiring a professional can cost anywhere from $100-$500 depending on the complexity of the job.
Conclusion
Now you know how to reposition a toilet and when it may be necessary to do so. Whether you decide to tackle the project yourself or hire a professional, make sure to carefully follow all safety precautions and take your time to ensure the job is done correctly.
If you have any doubts or concerns, it’s always best to consult with a professional plumber for guidance. And remember, proper toilet positioning ensures stability, promotes efficient flushing and prevents potential plumbing issues in the future. So don’t hesitate to reposition your toilet if needed for a better bathroom experience. Happy repositioning!

