Understanding how to reseal bathroom shower areas is crucial to maintaining a clean and functional bathroom. Over time, the sealant around your shower can deteriorate, leading to cracks, discoloration, or even missing sections. This compromises the appearance of your bathroom and increases the risk of water damage and mold growth. Water can seep through these imperfections, causing structural damage and fostering an environment for mold and mildew, which can pose health risks.
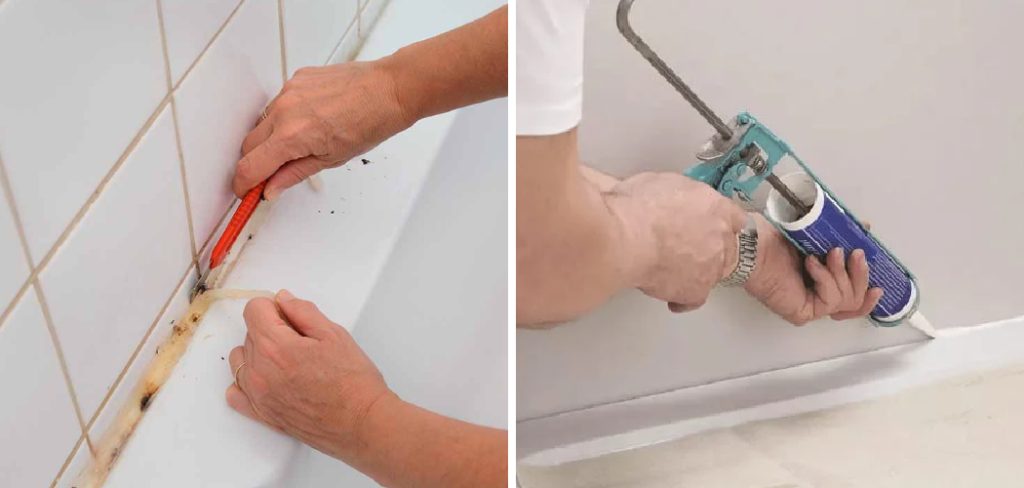
Keeping your shower properly sealed prevents these issues and ensures a watertight barrier. The resealing process involves removing the old sealant, thoroughly cleaning the area, and applying a new silicone caulk to form a robust, protective seal. By following this guide on how to reseal bathroom shower areas, you can preserve your bathroom’s integrity and aesthetics.
Preparing for the Resealing Process
Gathering Necessary Tools and Materials
Before you begin the process of resealing your bathroom shower, it is essential to gather all the necessary tools and materials. This ensures you have everything on hand and can complete the task efficiently. The tools you will need include a utility knife for cutting away the old caulk, a caulking gun for applying the new silicone caulk, painter’s tape to create clean lines and protect surrounding areas, cleaning supplies to prepare the surfaces, and a scraper for removing any remnants of old sealant.
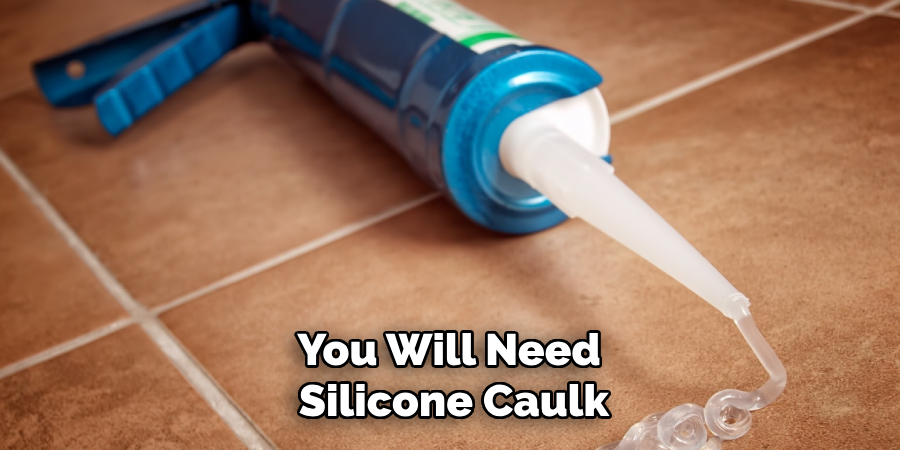
In terms of materials, you will need silicone caulk, which is ideal for bathroom environments due to its water-resistant properties. Choose a mold-resistant option to ward off future mold and mildew growth. Additionally, have some rubbing alcohol on hand to thoroughly clean the surfaces after removing the old caulk, as this helps the new caulk adhere better. Lastly, a sponge will be useful for wiping the cleaned areas and ensuring they are dry before application.
Ensuring Safety and Ventilation
Safety and proper ventilation are paramount when resealing your bathroom shower. Working in a well-ventilated area is crucial because the fumes from silicone caulk and rubbing alcohol can be potent and potentially harmful if inhaled over prolonged periods. To ensure good airflow, open windows and doors and use a fan to circulate fresh air throughout the bathroom.
Furthermore, protect yourself by wearing gloves and a mask. Gloves will protect your skin from potential irritants in the chemical substances you use. In contrast, a mask, particularly one rated for chemical fumes, will help you avoid inhaling any harmful vapors. Taking these precautions enhances your safety and contributes to a more comfortable and efficient working environment. You can carry out the resealing process by prioritizing ventilation and using protective gear without compromising your health.
How to Reseal Bathroom Shower: Removing Old Sealant
Cutting and Scraping the Old Sealant
The first step in removing old sealant is to use a utility knife to carefully cut away the existing caulk. Begin by angling the utility knife at a 45-degree angle and slicing along the top and bottom edges of the old sealant. This helps to break the seal and makes it easier to remove large sections of caulk. Be cautious not to cut too deeply, as this could damage the surface of the tiles.
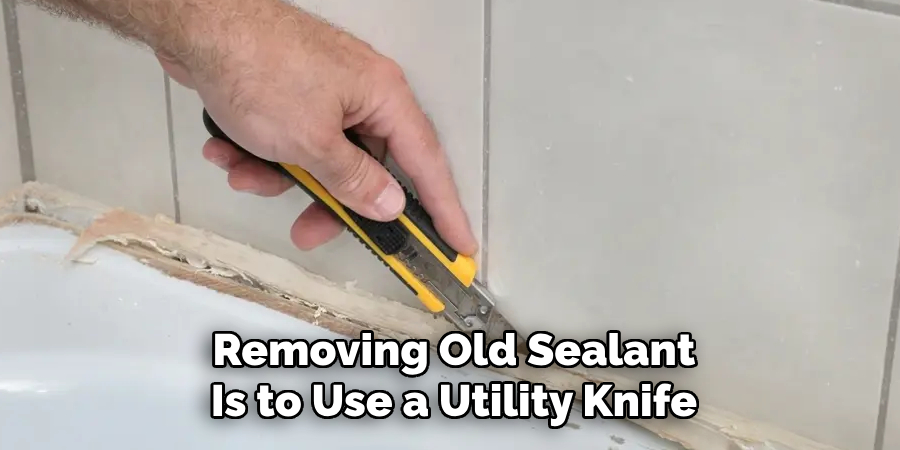
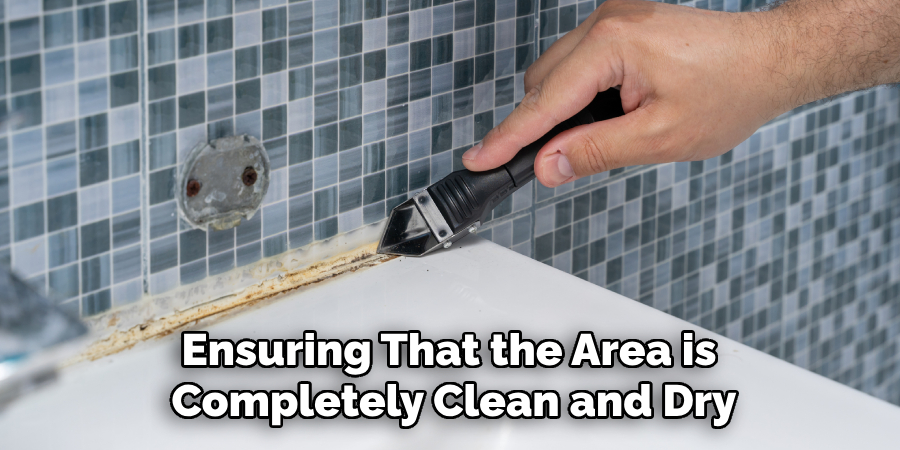
Once you have sliced through the old caulk, use a scraper to remove any remaining pieces. Hold the scraper at a shallow angle to the tiles and gently work it under the sealant, lifting and peeling it away. The goal is to remove all remnants of the old sealant without scratching or damaging the tiles. If some stubborn areas remain, use the utility knife to cut and scrape away any lingering material until the surface is clean.
Cleaning the Area
After removing the old sealant, the next crucial step is to clean the area thoroughly using rubbing alcohol. Dampen a clean cloth or sponge with rubbing alcohol and wipe down the entire surface where the old sealant was applied. This will help to remove any leftover residue and ensure that the area is free from contaminants that could interfere with the adhesion of the new caulk.
It is particularly important to eliminate mold, mildew, and soap scum during this cleaning process. Mold and mildew can compromise the effectiveness of the new sealant and may continue to grow beneath it if not properly removed. Soap scum can also prevent the new caulk from adhering correctly to the surface, leading to premature failure. By ensuring that the area is completely clean and dry, you create an optimal surface for the new sealant to bond, resulting in a durable and watertight finish.
How to Reseal Bathroom Shower: Applying New Sealant
Choosing the Right Sealant
When choosing the right sealant for your bathroom shower, you generally have two main options: silicone caulk and acrylic caulk. Silicone caulk is often considered the best choice for bathroom applications due to its superior water-resistant properties and flexibility. Unlike acrylic caulk, which can shrink and crack over time, silicone caulk remains flexible and maintains a strong bond. Furthermore, opting for a mold-resistant silicone caulk will provide additional protection against mold and mildew, making it an excellent choice for a bathroom’s moist environment.
Preparing the Area
Before applying the new sealant, it’s essential to prepare the area meticulously to ensure a long-lasting bond. Use painter’s tape to create clean lines along the seams and joints where you’ll apply the caulk. The tape helps to protect the surrounding areas and ensures that the silicone will adhere only to the intended surfaces, providing a neat and professional finish.
Next, you must ensure that the area is completely dry before application. Any lingering moisture can prevent the new caulk from bonding correctly, leading to a weak seal that may fail prematurely. Use a hairdryer or allow the area to air dry, paying close attention to corners and crevices that tend to retain moisture. Taking the time to thoroughly dry the area will result in a more effective and durable seal.
Applying the Sealant
Once the area is prepared, it’s time to apply the new sealant. Start by loading the silicone caulk into a caulking gun. Cut the caulk tube’s nozzle at a 45-degree angle to allow for a clean and controlled application. The cut size should match the width of the seam or joint you’re sealing.
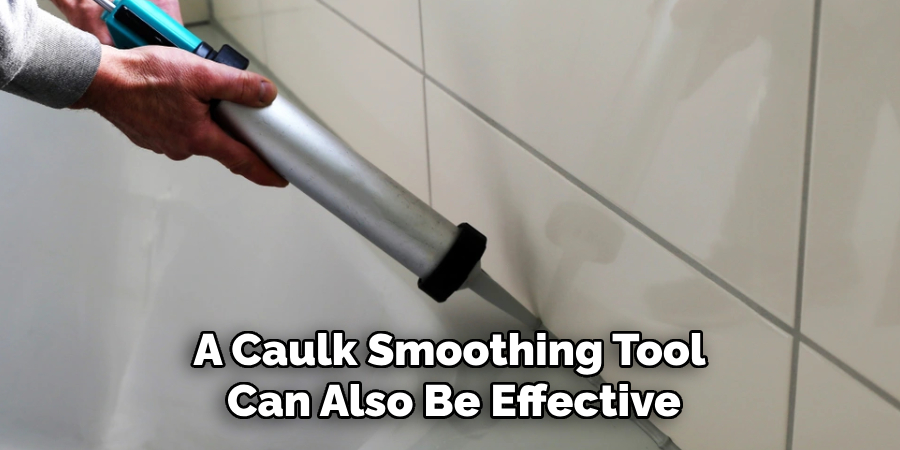
Apply the caulk by holding the gun at a consistent angle and moving it steadily along the seam. Apply a smooth, even bead of caulk, filling the entire joint without leaving any gaps. Consistency is key to ensuring a watertight seal, so take your time to avoid any irregularities.
After applying the bead, you must smooth it out to ensure a professional finish. For this purpose, you can use a wet finger or a caulk smoothing tool. If using your finger, dampen it with water and gently run it along the bead, pressing lightly to smooth out any bumps and ensure the caulk adheres well to the surface. A caulk smoothing tool can also be effective, providing a more uniform finish with less mess. By taking these steps carefully, you’ll achieve a flawless, durable seal that protects your bathroom from water damage.
Allowing the Sealant to Cure
Curing Time
Allowing the sealant to cure properly ensures a durable and watertight bond. Proper curing time enhances the seal’s strength and longevity, making it more resistant to everyday wear and tear. Most silicone caulks require a curing time between 24 to 48 hours, although this can vary depending on the specific product and environmental conditions. It’s essential to follow the manufacturer’s recommendations for the best results. During this period, avoid disturbing the caulk, which could compromise its ability to form a strong and lasting seal.
Maintaining a Dry Environment
To maximize the effectiveness of the curing process, it’s vital to keep the shower area completely dry. Avoid using the shower, and take steps to protect the freshly applied sealant from water exposure. Consider placing a temporary barrier, such as a plastic sheet or tarp, over the area to shield it from accidental splashes. Additionally, ensure that the bathroom remains well-ventilated to facilitate the evaporation of any residual moisture. Maintaining a dry environment helps the sealant cure properly, resulting in a robust and long-lasting barrier against water damage.
Inspecting and Finishing Touches
Checking the Seal
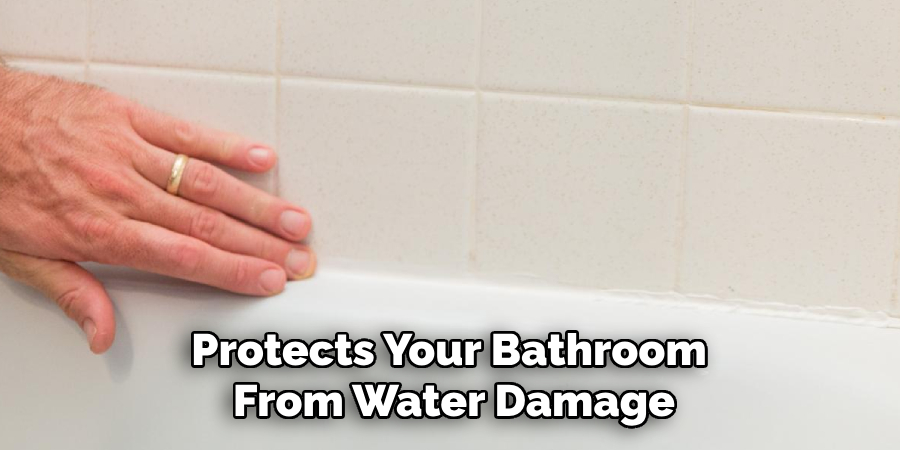
Once the sealant has had sufficient time to cure, it is essential to inspect it for any gaps, bubbles, or imperfections. Carefully examine the entire sealed area to ensure there are no spaces where water could potentially seep through. If any issues are identified, they should be addressed promptly to maintain the integrity of the waterproof seal. You can apply a small amount of additional caulk and smooth it out with a caulk smoothing tool or a wet finger for minor gaps or bubbles. Ensuring a flawless seal at this stage will help prevent future water damage and extend the life of your caulking.
Removing Painter’s Tape and Cleaning Up
After verifying that the seal is flawless, the next step is to carefully remove the painter’s tape. Pull the tape away from the surface at a 45-degree angle to avoid disturbing the newly applied caulk. This should leave you with clean, straight edges along the seams and joints. Any excess caulk can be cleaned up using a damp cloth or sponge before it fully cures, ensuring a neat and professional-looking finish. Taking these final steps not only enhances the appearance of the caulking job but also contributes to its overall durability and effectiveness in keeping your bathroom watertight.
Conclusion
Successfully resealing a bathroom shower involves several meticulous steps to ensure a durable and watertight bond. First, selecting the right sealant is crucial, with mold-resistant silicone caulk being the best option due to its flexibility and water-resistant properties. Proper area preparation, including painter’s tape and ensuring that the surfaces are completely dry, sets the foundation for a strong seal. The application process requires a steady hand to lay an even bead of caulk and then smooth it out for a professional finish.
Allowing sufficient curing time is essential, enabling the sealant to bond effectively and ensuring maximum durability. Regular inspection and prompt correction of any imperfections help maintain the integrity of the seal. By diligently following these steps, you can master how to reseal bathroom shower areas effectively, providing long-lasting protection against water damage and maintaining a pristine, watertight finish.