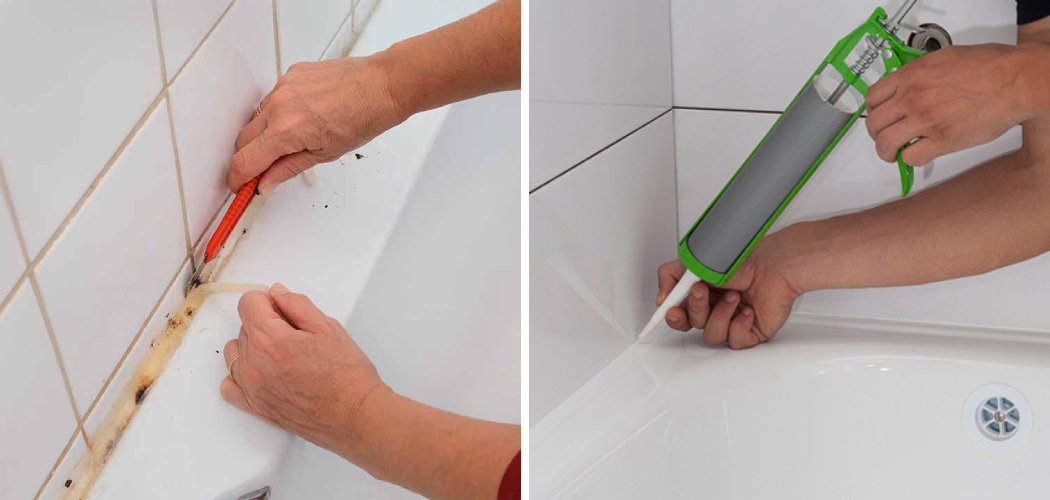
Are you tired of seeing your bathtub with all the sealant around its edges? Have you postponed resealing it due to lack of time or a busy schedule? If yes, then this article is for you. In this guide, we will discuss how to reseal bathtub.
Resealing your bathtub is a straightforward and cost-effective way to refresh your bathroom and prevent potential water damage. Over time, the sealant around your bathtub can become worn, cracked, or moldy, compromising its ability to keep water from seeping into walls and under flooring.
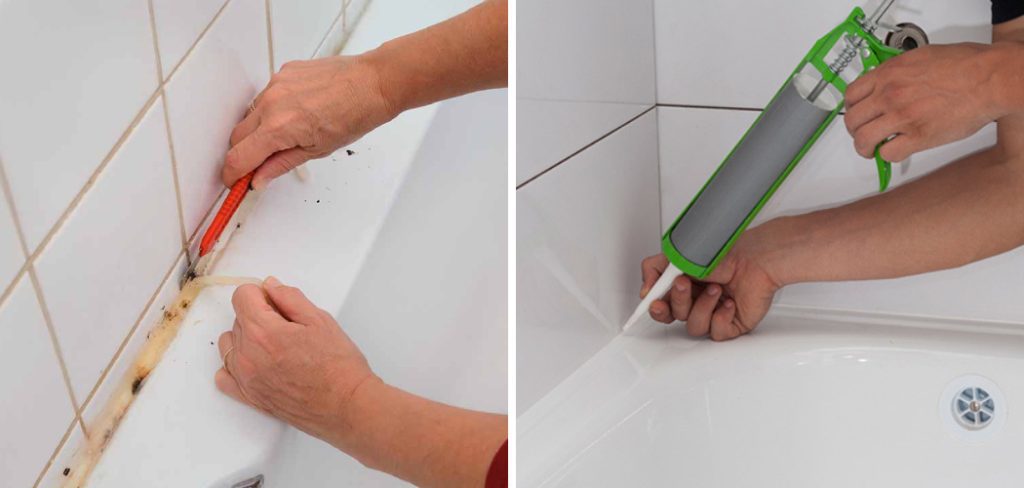
This guide will walk you through the steps needed to remove old sealant and apply new caulk, ensuring a watertight seal that protects your home and improves the overall appearance of your bathtub. Whether you’re a seasoned DIY enthusiast or new to home improvement projects, these instructions are designed to help you achieve professional results with minimal effort.
What Will You Need?
- Scraper or putty knife
- Razor blade or utility knife
- Caulk gun and caulk (silicone-based is recommended for bathtub resealing)
- Rubbing alcohol or a mild cleaner
- Clean cloth or paper towels
- Masking tape
Once you have gathered all the necessary tools and materials, it’s time to start.
10 Easy Steps on How to Reseal Bathtub
Step 1: Prepare the Bathtub Area
The first step in resealing your bathtub is to clean and prepare the area. This will ensure that the new sealant adheres appropriately and lasts longer. Start by removing any leftover sealant around the edges of your bathtub using a scraper or putty knife. Next, use a razor blade or utility knife to scrape off any stubborn residue carefully.
Once all old sealant has been removed, thoroughly clean the surface with rubbing alcohol or a mild cleaner. Wipe the area dry with a clean cloth or paper towel.
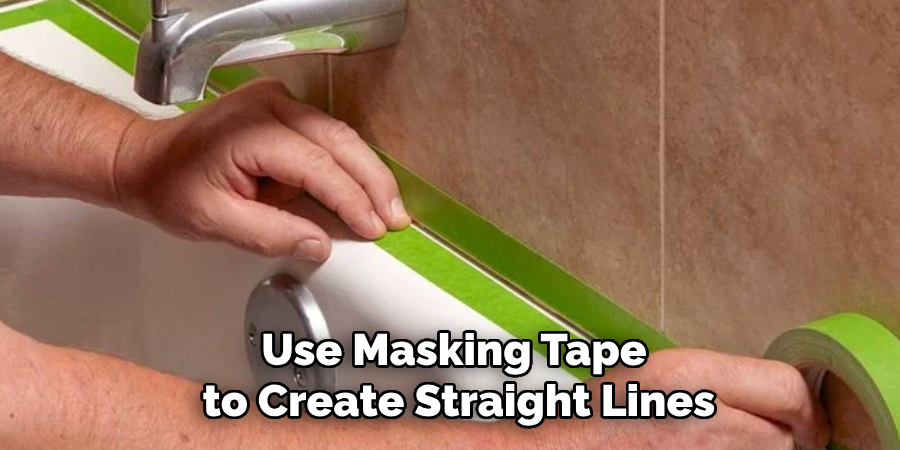
Step 2: Tape Off the Edges
To achieve a neat and straight seal, it’s important to tape off the edges around your bathtub. Use masking tape to create straight lines along both sides of where you will apply caulk. This will also help avoid any accidental messes while caulking.
Step 3: Cut the Caulk Tube Tip
Using a utility knife or a razor blade, carefully cut the caulk tube tip at a 45-degree angle. Make sure the size of the opening matches the width of the gap you’re sealing. Cutting at an angle helps in controlling the flow of the caulk and ensures a smooth and even application. It’s also beneficial to poke a hole in the inner seal of the caulk tube using a long nail or a similar object. This step is crucial to allow the caulk to dispense correctly from the tube. Once the tube is prepared, place it into the caulk gun, and you will be ready to proceed to the application phase.
Step 4: Apply the New Caulk
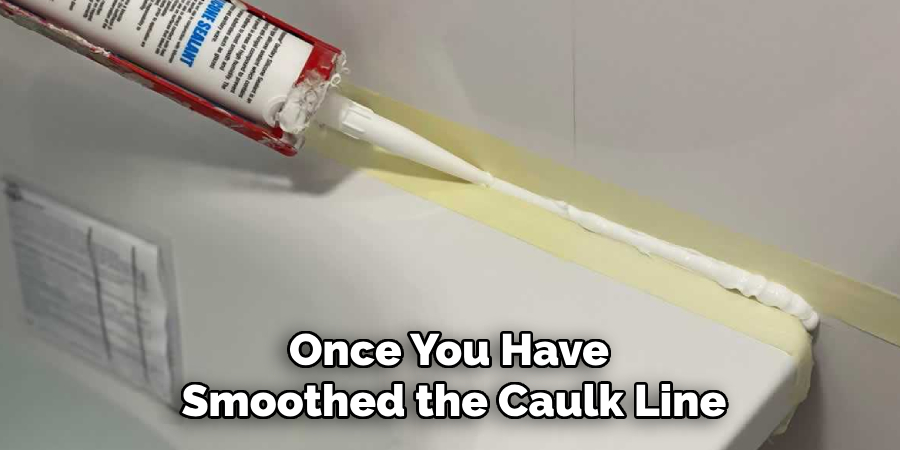
Slowly and steadily, squeeze the trigger of the caulk gun to apply a continuous bead of caulk along the seam where the bathtub meets the wall. Move the caulk gun in a smooth, steady motion to ensure an even line. It’s important to maintain consistent pressure to prevent gaps or excess buildup of caulk.
Step 5: Smooth the Caulk Line
After applying the caulk, you will need to smooth it out before it starts to dry. Wet your finger or use a caulking tool to run along the bead of caulk, pressing it into the joint and creating a smooth finish. This helps to fill in any gaps and ensures a solid seal.
Step 6: Remove the Tape
Once you have smoothed the caulk line, removing the masking tape before the caulk begins to set is crucial. Removing the tape while the caulk is still wet will ensure that you achieve clean, sharp lines without tearing or pulling the caulk. Carefully peel away the tape at a 45-degree angle, pulling it back on itself to avoid disturbing the fresh caulk. This will give your sealant edge a professional finish and prevent uneven or jagged lines.
Step 7: Allow the Caulk to Cure
After removing the tape, giving the caulk adequate time to cure is essential. Check the instructions on the caulk tube for the recommended curing time, which typically ranges from 24 to 48 hours. During this period, avoid using the bathtub to ensure the sealant sets appropriately and forms a watertight barrier. Proper curing is essential to the longevity of the seal and will help prevent any future water damage.
Step 8: Inspect the Seal
Once the caulk has fully cured, take the time to inspect your work carefully. Look for any gaps, bubbles, or areas where the caulk may not have adhered properly. If you find any imperfections, you can touch up these areas with a small amount of additional caulk. Smooth out any touch-up spots immediately to blend seamlessly with the already-cured caulk.
Step 9: Clean Up
After you are satisfied with the seal, clean up any remaining materials and tools. Dispose of used tape, cloths, and empty caulk tubes. If excess caulk is on your tools or surfaces, clean it off using appropriate cleaners as recommended by the caulk manufacturer. Ensuring your workspace is clean will leave your bathroom neat and allow future projects to begin without hassle.
Step 10: Maintain Your New Seal
Regular maintenance is key to keeping your newly sealed bathtub in pristine condition. Periodically inspect the caulk for signs of wear or damage, such as cracks or mold growth. Clean the area regularly to prevent soap scum and mildew from building up. If you notice any issues, address them promptly to keep your bathroom looking fresh and avoid more extensive repairs.
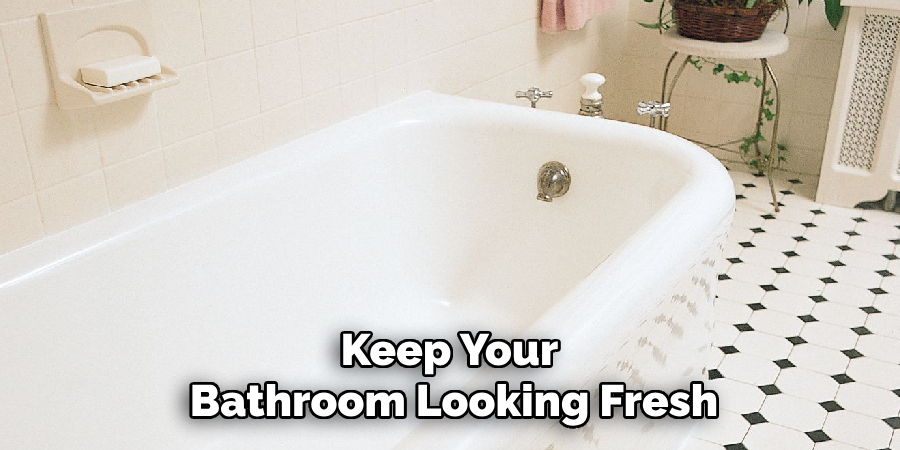
By following these steps, you can ensure that your bathtub is visually appealing and effectively protected against water damage. Returning your bathtub properly will extend its life and provide peace of mind, knowing that your home is safeguarded against potential leaks and mold.
5 Additional Tips and Tricks
- Clean Thoroughly: Before applying new sealant, ensure the area is meticulously cleaned. Remove old caulk, mold, and any soap scum using a specialized cleaner. This prevents any contaminants from weakening the new seal.
- Use Painter’s Tape: Line the edges of the space to be caulked with painter’s tape. This helps create straight, professional-looking lines and keeps excess caulk off clean surfaces.
- Apply Caulk Smoothly: When applying the caulk, use a steady, even pressure on the caulking gun. For a smooth finish, use a caulk finishing tool or a wet finger to gently press the caulk into place, ensuring it fills all gaps uniformly.
- Allow Proper Curing Time: Give the new sealant ample time to cure. Follow the manufacturer’s instructions on drying times, typically 24-48 hours, to ensure a watertight seal that will last for years.
- Check for Leaks: After the sealant has fully cured, run water over the sealed area to check for leaks. If you notice any missed leaks or gaps, simply apply another layer of caulk and repeat the curing process.
With these additional tips and tricks, you can achieve a professional-looking and long-lasting seal for your bathroom or kitchen.
5 Things You Should Avoid
- Skipping the Cleaning Step: Skipping the thorough cleaning of the area before applying new sealant can result in poor adhesion and shorten the sealant’s lifespan. Ensure all traces of old caulk, mold, and mildew are removed for the best results.
- Using the Wrong Type of Caulk: It’s crucial to use a caulk specifically designed for bathrooms. Silicone-based caulks are recommended due to their water resistance and durability. Avoid using general-purpose or acrylic caulks, which may not hold up well in wet conditions.
- Ignoring Manufacturer’s Instructions: Each caulk product has specific application and curing instructions. Disregarding these directions can lead to improper curing, compromising the seal’s effectiveness and longevity.
- Applying Too Much or Too Little Caulk: Using the right caulk is essential. Too much caulk can lead to a messy application and difficulty in achieving a smooth finish, while too little caulk may not adequately fill gaps, leading to potential leaks.
- Rushing the Curing Process: Adequate curing time is crucial for a durable seal. Avoid using the bathtub before the caulk has fully cured, as this can disrupt the seal and cause gaps, leading to water damage over time. Always adhere to the recommended curing times provided by the manufacturer.
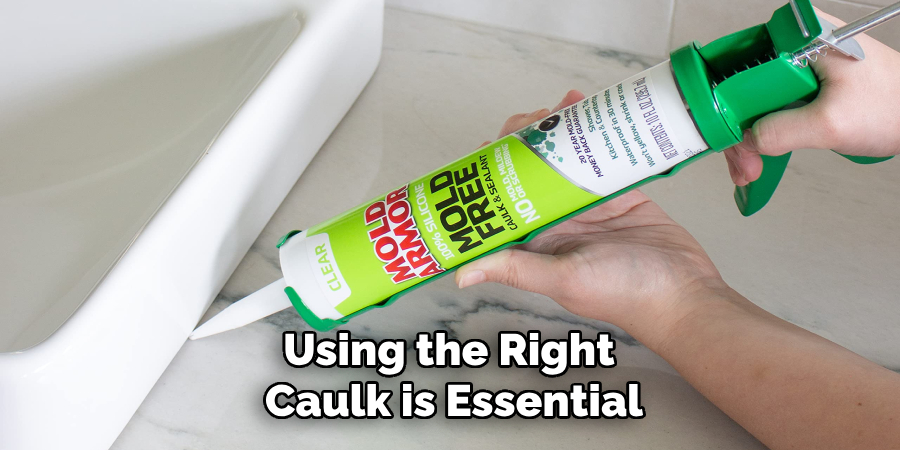
By avoiding these common mistakes, you can ensure a well-sealed and long-lasting finish for your bathtub.
Conclusion
How to reseal bathtub is a straightforward yet critical task that can significantly extend the life of your bathroom fixtures and prevent costly water damage.
By following the outlined steps meticulously, from cleaning the area thoroughly to applying the right type of caulk and allowing proper curing time, you can achieve a professional-grade seal even as a DIY enthusiast. Remember that preparation is key; taking steps or rushing the process can lead to effective sealing and further maintenance.
With careful attention to detail and adherence to best practices, your resealed bathtub will be both aesthetically pleasing and highly functional, ensuring a watertight seal that withstands the test of time.

