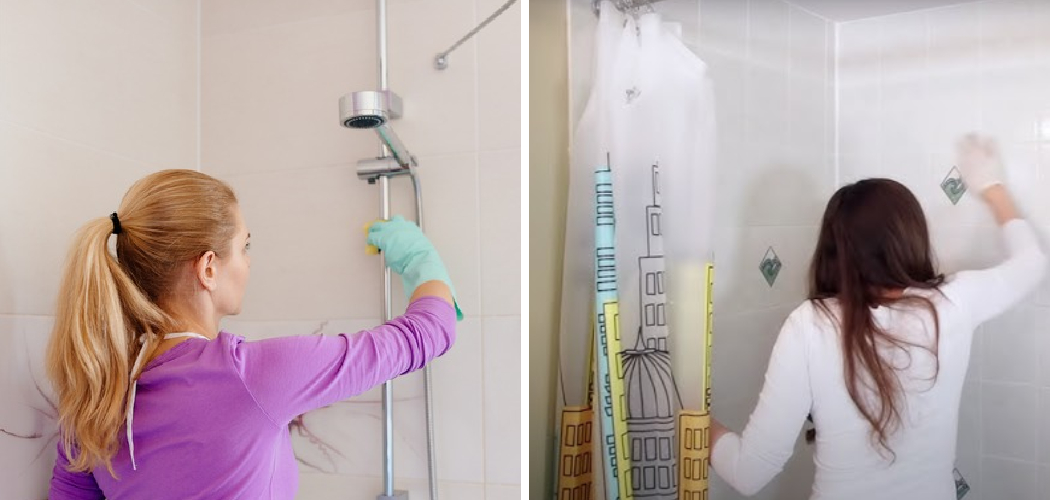
Are you tired of using a sprayer to rinse down your shower walls after cleaning? Perhaps you don’t have a sprayer attachment for your showerhead, or maybe it’s broken. Whatever the reason may be, there are still ways to effectively rinse your shower walls without a sprayer.
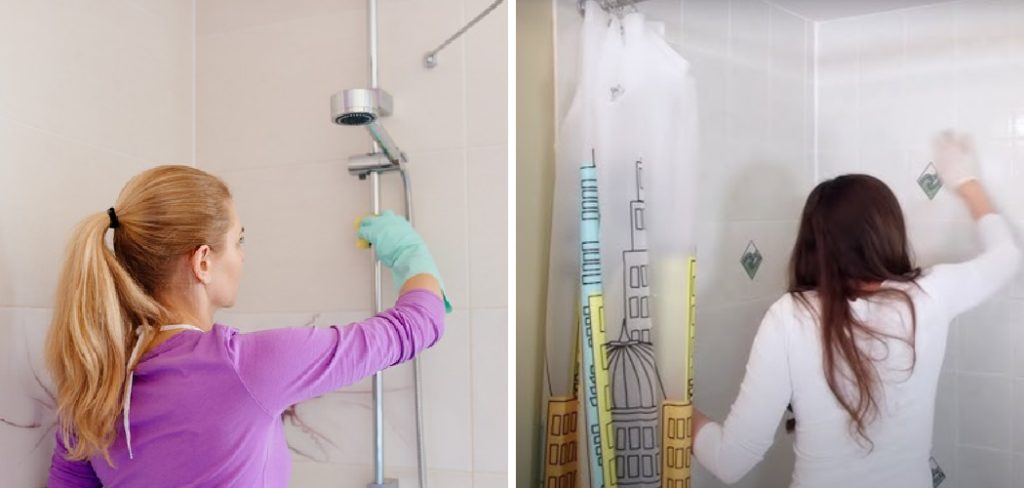
How to rinse shower walls without a sprayer is essential for maintaining a hygienic and inviting bathroom environment. While many people use a sprayer to rinse and clean their shower walls efficiently, not everyone has this tool readily available. Fortunately, several effective methods exist to rinse shower walls without a sprayer.
Using common household items and a bit of elbow grease, you can easily achieve sparkling, spotless walls. This guide will take you through a range of techniques to help you maintain the cleanliness of your shower without the need for specialized equipment.
What Are the Benefits of Rinsing Shower Walls?
Before we dive into the methods, let’s first discuss why regularly rinsing shower walls is important. Apart from keeping your bathroom looking and smelling fresh, there are several benefits to rinsing shower walls regularly.
- Prevents Mineral Buildup: If you live in an area with hard water, mineral buildup can quickly accumulate on your shower walls. This can leave unsightly stains and make cleaning them more difficult in the future. Rinsing your shower walls after each use helps prevent this buildup from occurring.
- Reduces Mold and Mildew Growth: By rinsing away any soap residue or standing water, you are preventing a moist environment that is ideal for mold and mildew growth. Regular rinsing can also help remove any existing mold or mildew before it becomes a bigger issue.
- Maintains Hygiene: Let’s face it, the shower is where we go to get clean. But if you’re not rinsing your shower walls regularly, you may unknowingly leave behind bacteria and germs. Rinsing helps ensure that your shower walls are free from any lingering dirt, grime, and bacteria.
- Extends the Life of Your Shower: Regularly rinsing your shower walls can also help extend the life of your shower. By preventing mineral buildup and mold growth, you are reducing the risk of damage to your shower walls and fixtures.
Now that we understand the importance of rinsing shower walls let’s explore some effective methods to do so without a sprayer.
What Will You Need?
Before we discuss the various methods for rinsing shower walls without a sprayer, let’s quickly review the essential items you’ll need.
- A bucket or large plastic container
- A sponge or soft cloth
- White vinegar or a mild cleaning solution of your choice
- Water
- Clean towels or a squeegee
Once you have these items on hand, you can start rinsing your shower walls without a sprayer.
10 Easy Steps on How to Rinse Shower Walls Without a Sprayer
Step 1: Fill the Bucket with Water
Start by filling your bucket or large plastic container with warm water. Warm water is more effective at dissolving soap scum and grime compared to cold water. Be cautious not to overfill the bucket to prevent spills and make it easier to handle.
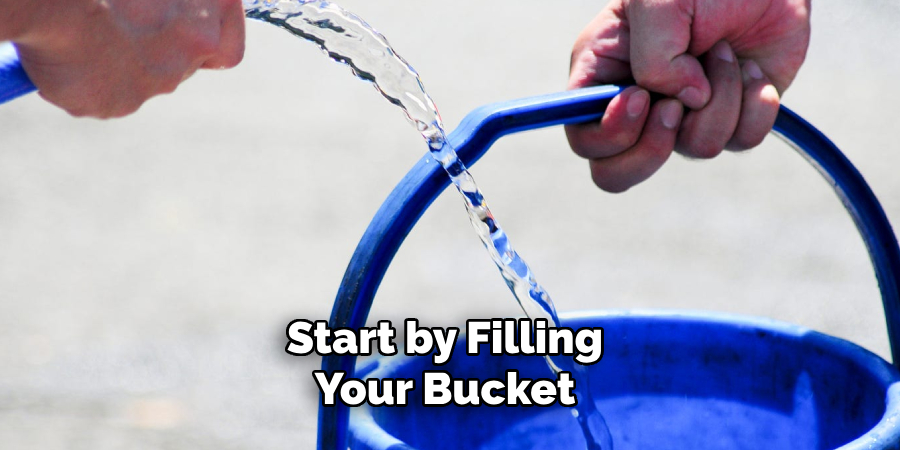
This warm water will be the primary source for rinsing down your shower walls, providing a gentle yet thorough cleanse. With your bucket filled, you are now ready to move on to the next step in the process.
Step 2: Dip the Sponge or Cloth into the Water
Submerge your sponge or soft cloth in warm water, ensuring it is thoroughly saturated. This will allow the sponge or cloth to carry enough water to effectively rinse the surfaces.
If needed, you can wring out the sponge lightly to avoid excessive dripping, which could make the job messier than necessary. Keep the sponge or cloth damp but not soaking wet for optimal control and ease during the rinsing process.
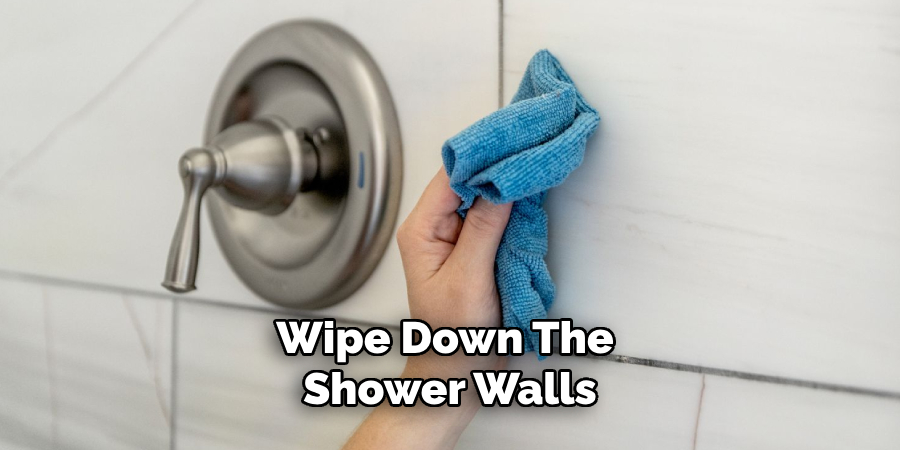
Step 3: Wipe Down the Shower Walls
Starting from the top of the shower walls and working your way down, use the saturated sponge or cloth to wipe away any soap scum, dirt, and cleaning solution residue.
The warm water will help to break down and dissolve these substances, making them easier to remove. Make sure to cover all areas, including corners and hard-to-reach spots. For larger showers, you may need to dip the sponge or cloth into the water a few times for maximum effectiveness.
Step 4: Rinse the Sponge or Cloth Frequently
As you wipe down the shower walls, it’s essential to rinse the sponge or cloth frequently to ensure you are not just spreading the dirt and grime around. To do this, dip the sponge or cloth back into the bucket of water and give it a good squeeze to release any trapped residue.
This step ensures that you continuously use clean water for rinsing, leading to a more thorough cleaning process. If the water in the bucket becomes too dirty, consider refilling it with fresh, warm water to maintain its effectiveness. Regularly rinsing and refreshing your sponge or cloth will make a significant difference in achieving spotless shower walls.
Step 5: Use a Cleaning Solution for Stubborn Spots
For areas with stubborn soap scum or grime that remain after using warm water alone, apply a small amount of white vinegar or your chosen mild cleaning solution to the sponge or cloth. Gently scrub the affected spots with the dampened sponge or cloth, focusing on areas with visible buildup.
The acidic nature of vinegar helps to break down tough residues, making them easier to remove. Once you’ve treated these stubborn spots, rinse the sponge or cloth thoroughly and proceed to wipe the area with clean water to remove any remaining cleaning solution.
Step 6: Dry the Walls with a Towel or Squeegee
After thoroughly rinsing the shower walls, it’s important to dry them to prevent water spots and streaks. Use a clean towel or a squeegee to remove excess water from the walls. Start from the top and work your way down, ensuring you cover all areas.
If using a towel, pat the walls gently to absorb the water. If using a squeegee, drag it down the walls in smooth, even strokes, wiping off the blade after each pass. This step helps achieve a polished, streak-free finish and keeps your shower pristine.
Step 7: Inspect for Missed Spots
Once you’ve finished drying the walls, take a moment to inspect the entire shower area for any spots that may have been missed during the wiping and rinsing process.
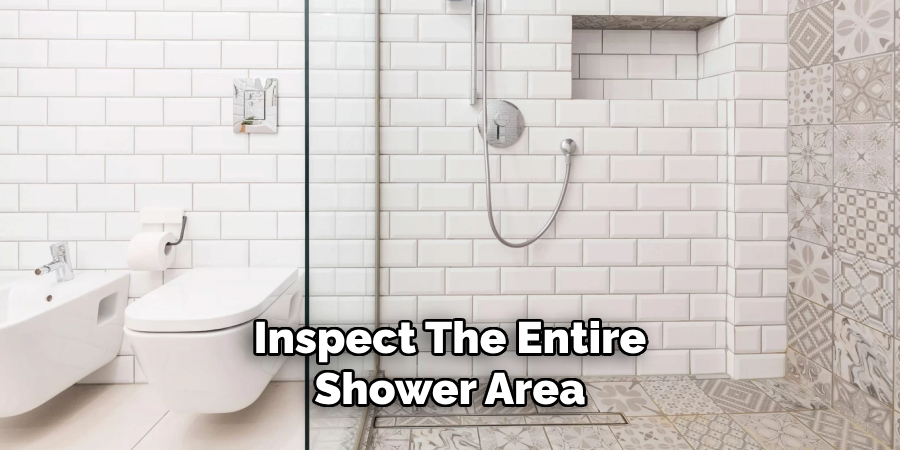
Look closely at the corners, edges, and any other hard-to-reach spots that might still have some residue. If you find any areas that need further attention, use your damp sponge or cloth with a bit of cleaning solution once more to tackle these spots.
Afterward, rinse the area with clean water and dry it again with your towel or squeegee. This thorough inspection ensures that your shower walls are completely clean and free from any grime or leftover cleaning solution.
Step 8: Clean the Fixtures and Handles
In addition to the shower walls, cleaning the fixtures and handles is essential to ensure your entire shower area is spotless. Dip your sponge or cloth back into the warm water or cleaning solution, and gently scrub the fixtures, such as the shower head, faucet, and handles. These areas often collect soap scum and grime, so pay special attention to any crevices or grooves where residues might accumulate.
After scrubbing, rinse the fixtures with clean water and use a towel to dry them, leaving a shiny, polished finish. Not only does this step enhance the overall cleanliness of your shower, but it also helps maintain the longevity and functionality of your shower fixtures.
Step 9: Clean the Shower Floor
Don’t forget to pay attention to the shower floor, which can accumulate soap scum and grime, just like the walls and fixtures. First, use your warm water to rinse down the floor, loosening up any dirt and gunk. Next, apply a mild cleaning solution or a bit of white vinegar directly to the floor or onto your sponge or cloth.
Scrub the floor thoroughly, focusing on areas where dirt tends to gather, such as the corners and around the drain. If you encounter stubborn spots, give those areas a bit more elbow grease with your sponge or cloth. Once the floor is clean, rinse it well with warm water to ensure no cleaning residue remains. Finally, use a clean towel to dry the floor, preventing water spots and leaving a pristine finish.
Step 10: Clean the Shower Door or Curtain
Cleaning the door for showers with glass doors is essential to maintain a clear, streak-free appearance. Begin by rinsing the door with warm water to remove any loose dirt and soap scum.
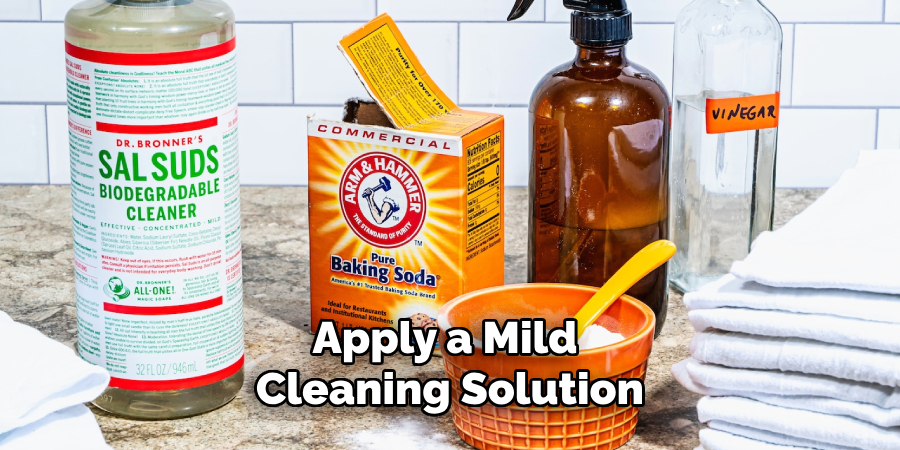
Apply a mild cleaning solution or a mixture of white vinegar and water to the glass surface. Use a clean, damp sponge or cloth to gently scrub the door, focusing on any areas with visible buildup. For any stubborn spots, you may need to apply a bit more cleaning solution and scrub with a bit more pressure.
Once the door is clean, rinse it thoroughly with clean water and dry it using a squeegee or a lint-free towel to prevent water spots and streaks.
By following these steps, you can easily and effectively clean your shower walls, fixtures, floor, and door or curtain.
5 Additional Tips and Tricks
Tip 1: Use a Bucket with a Spout: A bucket with a spout can be incredibly handy when rinsing shower walls without a sprayer. Fill the bucket with clean, warm water and use the spout to direct the water flow to the areas you need to rinse. This method effectively controls the water stream and helps reach higher spots without much effort.
Tip 2: Utilize a Watering Can: A watering can, commonly used for plants, can be repurposed for rinsing shower walls. Choose one with a long spout to help direct the water exactly where needed. The small holes in the spout’s nozzle also allow for a more even and gentle water distribution, which can help in thoroughly rinsing away any soap or cleaning solution residue.
Tip 3: Employ a Refillable Spray Bottle: While not a traditional sprayer, a refillable spray bottle can mimic some of the functionality of a shower sprayer. Fill a large spray bottle with warm water and use it to spray down the walls. This method is particularly useful for spot-rinsing or targeting specific areas that require more attention.
Tip 4: Use a Large Sponge or Microfiber Cloth: Soak a large sponge or microfiber cloth in clean, warm water, then methodically wipe down the walls. Re-dip the sponge or cloth frequently to ensure you use clean water. This method allows you to rinse and wipe simultaneously, effectively removing any remaining residues.
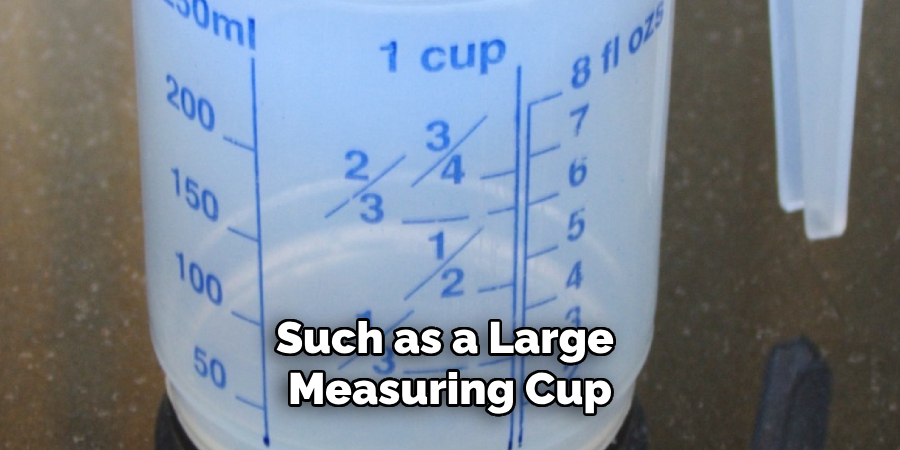
Tip 5: Pour Water Using a Plastic Cup: A plastic cup, such as a large measuring cup or an old take-out container, can be used to pour water over the shower walls. Simply fill the cup with warm water and pour it directly onto the areas you need to rinse. This method can be surprisingly efficient and allows for better control over the amount of water being used.
Applying these tips and tricks can make the shower cleaning process even more manageable and enjoyable.
5 Things You Should Avoid
- Avoid Using Abrasive Cleaning Tools: While using a scrub brush or scouring pad to remove stubborn grime may be tempting, these abrasive tools can scratch and damage your shower walls. Instead, use gentler cleaning tools like sponges or microfiber cloths to protect the surfaces.
- Avoid Excessive Force: Applying too much pressure while scrubbing can damage the shower walls and fatigue your arms and back. Use steady, gentle motions to clean effectively without straining yourself or harming the surfaces.
- Avoid Using Too Much Cleaning Solution: Overusing cleaning solutions can leave unwanted residue on the walls, making it harder to rinse off without a sprayer. Start with a small amount of solution and add more if necessary to avoid a soapy buildup.
- Avoid Ignoring Corners and Edges: These areas are often the hardest to reach but are prone to accumulating dirt and soap scum. Make sure to give extra attention to corners and edges during both the cleaning and rinsing processes to achieve a thorough clean.
- Avoid Letting Water Sit for Too Long: After rinsing, any remaining water can lead to water spots or encourage mold growth if left to sit. Always dry the walls thoroughly with a squeegee or a clean towel to prevent water from pooling and to leave a spotless finish.
By avoiding these common pitfalls, you can ensure a more effective and efficient shower cleaning process without the need for a sprayer.
What is a Natural Shower Cleaner?
A natural shower cleaner is a cleaning solution made from natural, non-toxic ingredients that are safe for use in the shower.
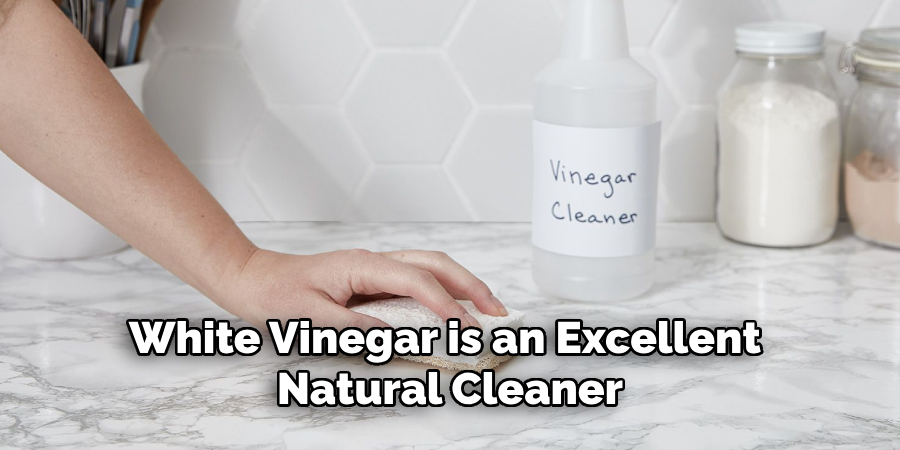
- Vinegar: White vinegar is an excellent natural cleaner due to its acidic properties, making it effective in dissolving soap scum and hard water buildup. It also has antibacterial properties that can help kill germs.
- Baking Soda: Baking soda is a mild abrasive that effectively scrubs away dirt and grime on shower walls without damaging the surfaces. It also has deodorizing properties, making it useful for eliminating unpleasant odors in the shower.
- Lemon Juice: Lemon juice contains citric acid, which can help break down mineral deposits and soap scum. It also has a fresh scent that can leave your shower smelling clean and refreshed.
- Castile Soap: Made from natural ingredients such as vegetable oils, castile soap is a gentle yet effective cleaner that can be used for various household cleaning tasks, including shower walls. It comes in liquid form and has a mild scent.
- Essential Oils: Essential oils add a pleasant aroma to your natural shower cleaner and have antibacterial properties that can help disinfect surfaces. Some popular options for shower cleaning include tea tree oil, eucalyptus oil, and lavender oil.
Using a natural shower cleaner can provide an eco-friendly and safer alternative to harsh chemical cleaners. Plus, it can save you money in the long run as these ingredients are often more affordable than store-bought cleaners.
Is There a Way to Clean a Shower Without Scrubbing?
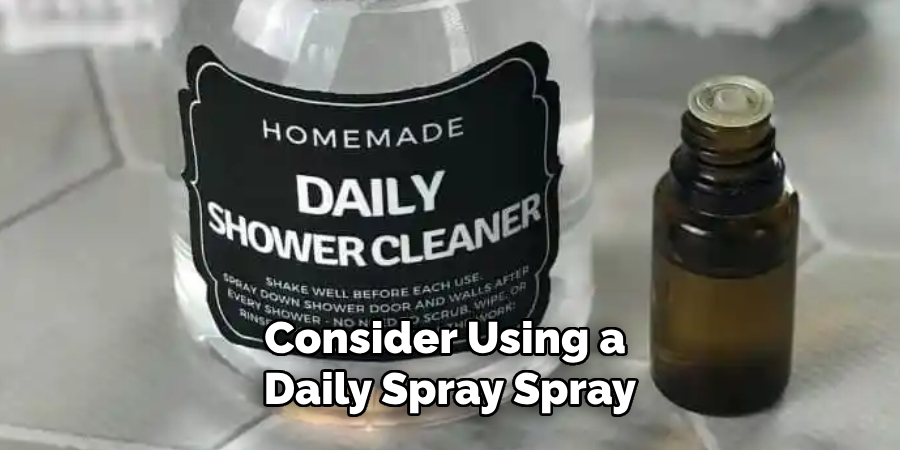
Consider using a daily spray spray if you want an even easier way to clean your shower without scrubbing. These sprays are designed to be used after every shower and can help prevent the buildup of soap scum and grime, making it easier to do a deep clean less frequently.
Alternatively, you can also try applying a paste of baking soda and water to the shower walls, leaving it on for 15 minutes, then rinsing it off. The baking soda is a gentle abrasive and can help loosen and remove buildup without much scrubbing.
In addition, regularly wiping down your shower walls with a clean towel after each use can also help prevent the accumulation of grime and make deep cleaning less daunting.
With these methods, you can keep your shower clean and sparkling without much scrubbing effort. So, don’t let the lack of a sprayer stop you from maintaining a beautiful, hygienic shower!
Overall, there are various ways to effectively clean a shower without using a sprayer. By following these tips and tricks, you can avoid common mistakes.
Conclusion
In conclusion, how to rinse shower walls without a sprayer is not only possible but can also be done efficiently and effectively.
By following our tips and tricks, avoiding common mistakes, and using natural ingredients, you can keep your shower clean and free of harmful chemicals. Remember to regularly wipe down your shower walls and use a daily spray for easier maintenance. These methods allow you to enjoy a clean and refreshing shower without needing a sprayer.
So, go ahead and give these tips a try and see the difference for yourself! Remember, cleaning doesn’t have to be a chore – it can be an enjoyable and rewarding task with the right techniques and products. Happy cleaning!

