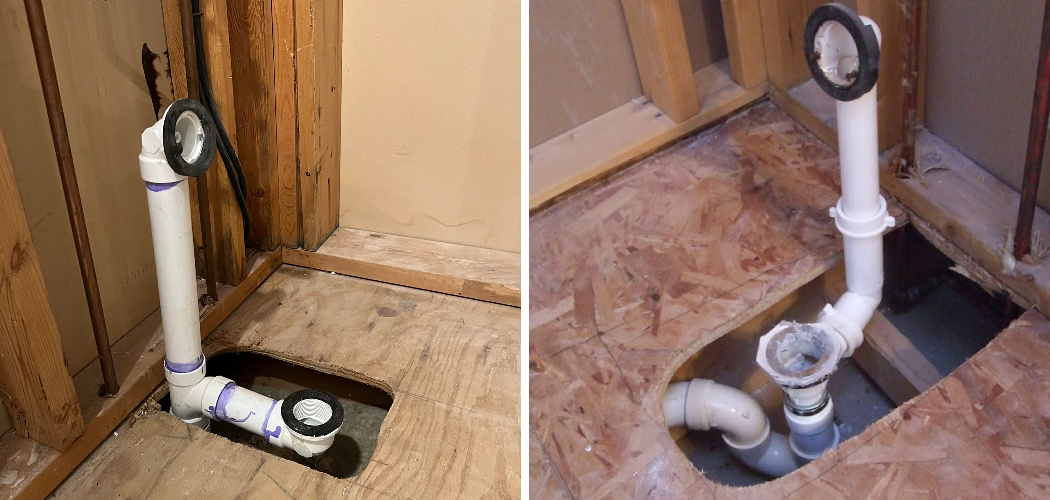
Sealing a bathtub drain is an essential maintenance task that can prevent leaks and water damage over time. Whether you’re installing a new bathtub or refurbishing an existing one, ensuring the drain is properly sealed will keep your bathroom in top condition. This guide provides clear, step-by-step instructions for sealing your bathtub drain efficiently using accessible tools and materials.
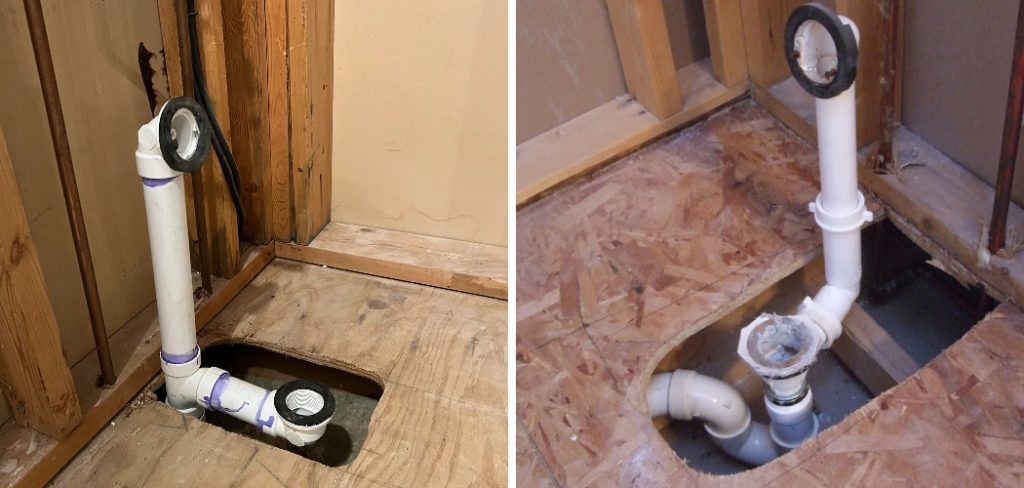
By following these steps on how to seal a bathtub drain, you can secure a watertight seal, prolong the life of your bathtub, and avoid costly repairs. Whether you’re a seasoned DIY enthusiast or a beginner, sealing your bathtub drain is a manageable project that can enhance your home maintenance skills.
Why Seal a Bathtub Drain?
A bathtub drain serves as a crucial component in keeping water contained within the tub. When not sealed correctly, it can allow water to leak out and cause damage to your bathroom floor or the ceiling below. Additionally, an unsealed drain may also let unpleasant odors from sewage or stagnant water permeate into your home. Sealing your bathtub drain is an essential step in maintaining the overall hygiene of your bathroom and preventing potential health hazards.
It’s worth noting that a bathtub drain can deteriorate over time, leading to cracks or gaps in the seal. Consequently, water may seep into these openings and cause mold growth or structural damage. Regularly inspecting and sealing your bathtub drain can help avoid such issues and keep your bathroom clean and safe.
Tools and Materials You Will Need
Before embarking on sealing your bathtub drain, you must have the following tools and materials at hand:
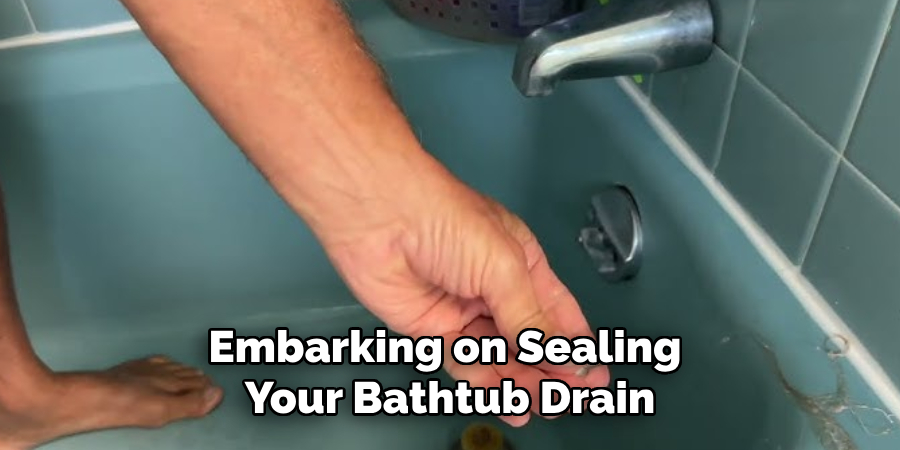
Plumber’s Putty:
Plumber’s putty is a sealant commonly used for plumbing projects, including sealing bathtub drains. It provides a watertight seal and can be easily molded to fit different shapes.
Adjustable Wrench:
You’ll need an adjustable wrench to loosen and tighten the drain body during the sealing process.
Screwdriver:
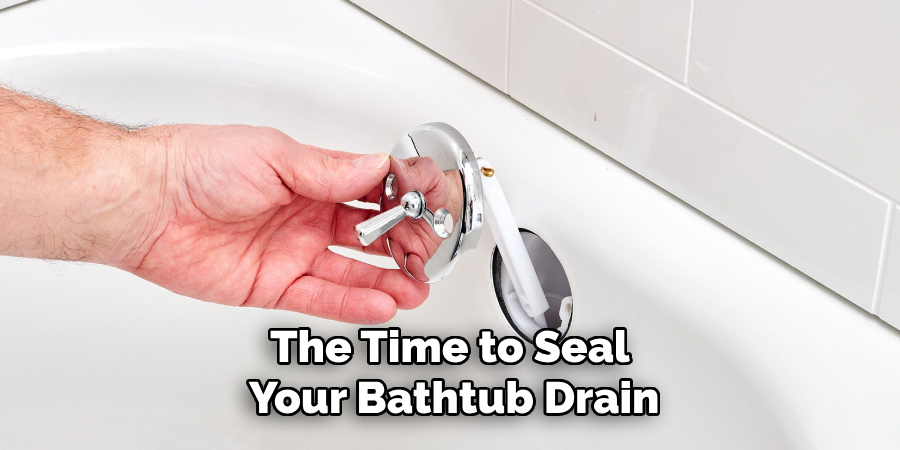
A screwdriver will come in handy if your bathtub has a trip lever or pop-up drain mechanism that needs to be removed before sealing the drain.
Silicone Caulk:
Silicone caulk is another popular sealant option for bathtub drains. It’s durable, waterproof, and flexible, making it suitable for use in high-moisture environments like bathrooms.
Putty Knife:
You’ll need a putty knife to apply and remove excess plumber’s putty or caulk during the sealing process.
Clean Cloth:
A clean cloth will help you wipe away any excess putty or caulk and ensure a clean finish.
8 Step-by-step Guides on How to Seal a Bathtub Drain
Step 1: Prepare the Drain Area
Before starting the sealing process, it’s crucial to prepare the bathtub drain area thoroughly. Begin by removing any existing hardware such as a trip lever or pop-up drain mechanism, using a screwdriver. Once the hardware is removed, clean the drain area meticulously. Use a clean cloth to wipe away any dirt, grime, or old sealant residues.
This step ensures that the new sealant can adhere properly to the surfaces, resulting in a more effective seal. Make sure the area is completely dry before proceeding to the next step, as moisture can hinder the sealing process. Taking the time to prepare the drain area effectively will set the foundation for a successful seal.
Step 2: Roll Out the Plumber’s Putty
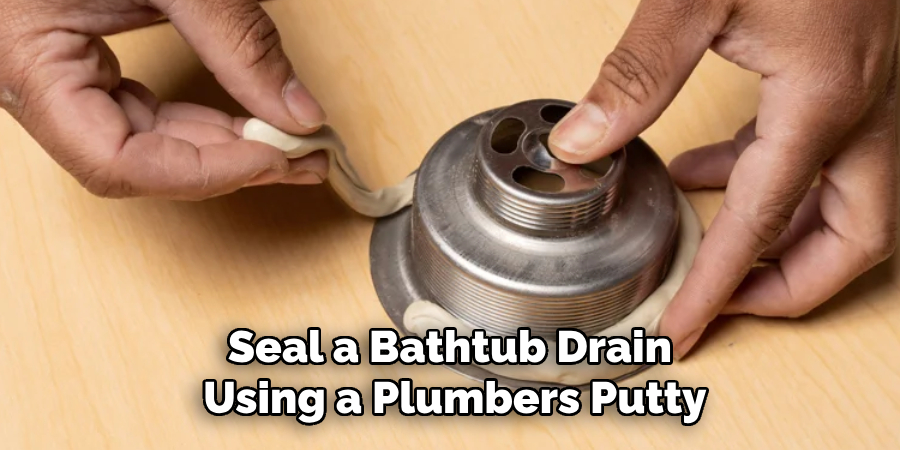
With the drain area prepared and dry, it’s time to prepare the plumber’s putty for use. Begin by taking a small amount of plumber’s putty from its container—enough to form a continuous rope that can encircle the drain flange. Roll the putty between your palms to form a long, thin rope about the thickness of a pencil. This rolling process ensures that the putty is pliable and ready to create a secure seal.
Once the putty rope is shaped, wrap it around the underside of the drain flange. The putty will serve as a malleable gasket, adhering to the drain and sealing the junction between the drain body and the bathtub to prevent any future leaks. Ensure that the putty is evenly distributed and pressed firmly against the flange as you position it in the prepared drain area.
Step 3: Install the Drain Body
After placing the putty around the drain flange, it’s time to install the drain body. Gently push the drain body into place on top of the putty and tighten it clockwise using an adjustable wrench. Once tight enough, wipe away any excess putty that may have squeezed out from underneath. Keep tightening until there is no more movement and you’re sure that the seal is secure and watertight.
It’s worth noting that some drain bodies may have a rubber gasket instead of a plumber’s putty. In this case, place the gasket in position before installing the drain body and tighten it as described above.
Step 4: Check for Any Gaps
Once the drain body is installed and tightened, carefully inspect the area around the drain flange for any gaps or areas where the putty or gasket might not be sealed perfectly. It’s crucial to ensure that the seal is continuous and there are no openings that could allow water to seep through. If you identify any gaps, apply additional plumber’s putty where needed, pressing it firmly into the space to fill it completely. For drains using a rubber gasket, double-check that the gasket is correctly aligned and there are no deformations.
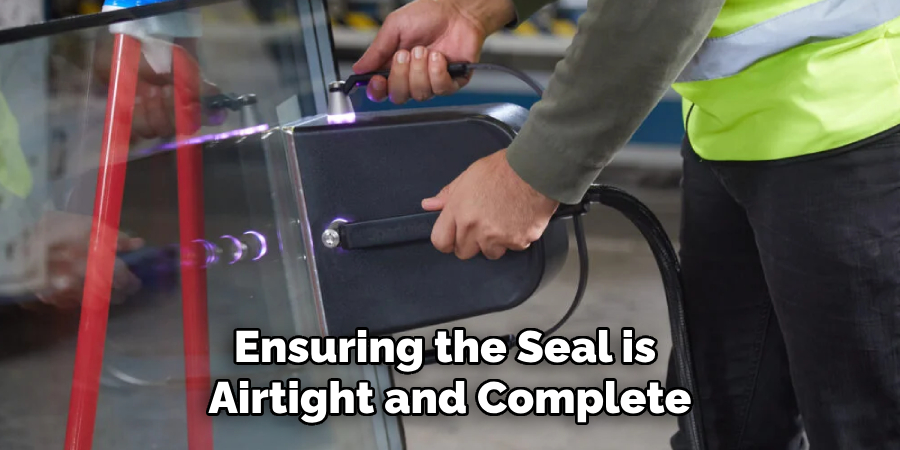
After ensuring the seal is airtight and complete, clean away any further excess putty or caulk with a clean cloth for a neat finish. This meticulous examination helps confirm that the drain is protected against leaks, safeguarding your bathroom from potential water damage.
Step 5: Let the Putty Set
After completing the sealing process, allow the plumber’s putty to set for at least an hour before using your bathtub. This duration gives the putty enough time to bond and create a strong, durable seal. It’s best to avoid using the tub during this time as any movements may disrupt or damage the newly formed seal. Check the manufacturer’s instructions on the specific putty used for recommended setting times.
You may also want to check the seal periodically, just in case there are any remaining gaps or if the putty has squeezed out too much. If necessary, add more putty and tighten the drain body accordingly until you’re satisfied with the result.
Step 6: Remove Excess Putty
After allowing enough time for the plumber’s putty to set, use a putty knife or your fingers to remove any excess putty that may have squeezed out from underneath during installation. This step ensures a clean finish and prevents any putty residue from clogging your drain in the future.
But be careful not to disrupt the seal while removing excess putty. Gently scrape away any excess, making sure to leave the proper amount of putty in place for a secure seal.
Step 7: Alternatively, Use Silicone Caulk
While plumber’s putty is the traditional and most commonly used sealant for bathtub drains, silicone caulk can also be used as an alternative. This type of caulking is more flexible and durable than putty, making it ideal for high-moisture environments like bathrooms.
The process of sealing with silicone caulk is similar to using plumber’s putty, except that you’ll need to cut off the tip of the caulk tube and apply it in a continuous bead around the underside of the drain flange.
Step 8: Reinstall the Hardware and Test the Seal
Once you’re satisfied with the seal, reinstall any hardware previously removed, such as a trip lever or pop-up drain mechanism. Then, fill your bathtub with a few inches of water and let it sit for a few minutes. If there are no signs of leaking around the drain area, then congratulations! You’ve successfully sealed your bathtub drain. Now, you can enjoy your bath without worrying about potential leaks or water damage.
It’s essential to regularly check and maintain the seal on your bathtub drain to ensure its effectiveness over time. Keep an eye out for any gaps or signs of wear and tear, and reseal as needed to prevent any potential issues. Sealing your bathtub drain may seem like a simple task, but it plays a critical role in keeping your bathroom functional and free from water damage. So remember to take the time to seal your bathtub drain properly for peace of mind and protection against leaks. Happy sealing!
Frequently Asked Questions
Q: How Long Does It Take for the Plumber’s Putty to Set?
A: The recommended setting time for a plumber’s putty is at least one hour. However, it’s best to refer to the specific manufacturer’s instructions for the putty used as setting times may vary.
Q: Can I Use Caulk Instead of Plumber’s Putty?
A: Yes, silicone caulk can be used as an alternative to a plumber’s putty for sealing bathtub drains. It is more flexible and durable in high-moisture environments like bathrooms.
Q: How Often Should I Check and Maintain the Seal on My Bathtub Drain?
A: It’s recommended to regularly check the seal on your bathtub drain every few months or whenever you notice any potential issues such as gaps or wear and tear. Reseal as needed to ensure the effectiveness of the seal over time. Overall, it’s best to keep an eye on your bathtub drain and perform regular maintenance to avoid any potential leaks or water damage.
Q: Can I Use Plumber’s Putty for Other Plumbing Applications?
A: Yes, a plumber’s putty can be used for other plumbing applications such as sealing sink drains and installing toilets. Just make sure to read the manufacturer’s instructions and use them as directed for each specific application.
With these steps on how to seal a bathtub drain using a plumber’s putty, you can confidently tackle this task and ensure your bathroom remains leak-free. Remember to take your time and follow the instructions carefully for a successful seal that will last for years to come.
Conclusion
Sealing your bathtub drain is a straightforward yet essential task that helps prevent leaks and water damage in your bathroom. By following the steps outlined in this guide on how to seal a bathtub drain, you can ensure a secure and long-lasting seal, whether using plumber’s putty or silicone caulk. It is important to regularly inspect and maintain the seal to address any potential issues before they escalate.
With a proper sealing process and diligent maintenance, you can enjoy a functional and leak-free bathroom. Taking the time to seal your bathtub drain not only provides peace of mind but also protects your home from costly water damage repairs, making it a worthwhile endeavor for any homeowner.

