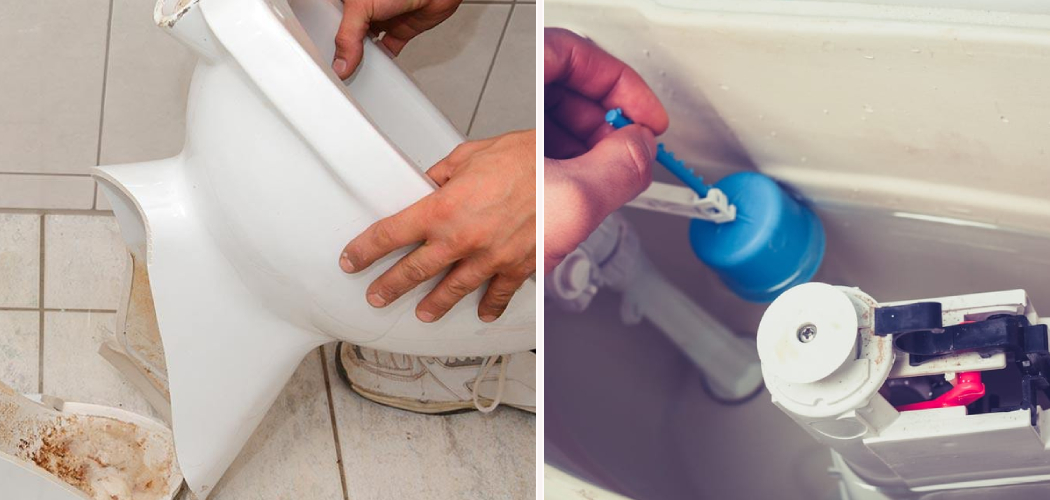
Is there a mysterious pool of water around your toilet bowl? You’re probably dealing with a cracked or broken toilet tank, and that’s not something you should ignore. Not only does it mean you can’t use the toilet properly, but it also means that wastewater could be leaking into other parts of your home and damaging areas like subflooring and walls.
This is why it’s so important to know how to fix a cracked toilet tank – luckily, it’s actually quite simple! In this article, we’ll discuss everything you need to know about how to seal a cracked toilet tank and fix your commode for good.
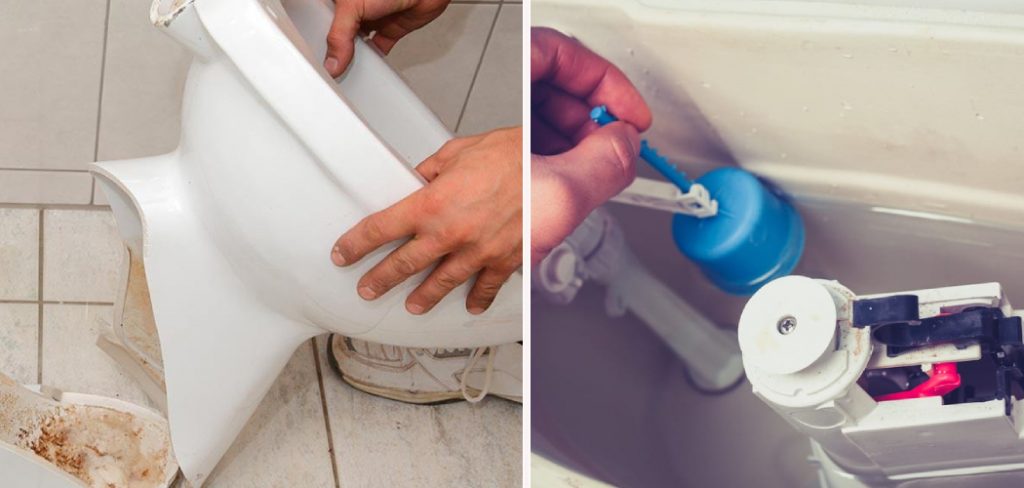
What Can I Use to Seal My Toilet Tank?
When it comes to sealing a cracked toilet tank, you have several options. Many hardware stores sell epoxy or acrylic sealants designed specifically for use on toilets and other bathroom fixtures.
These products are easy to apply and provide an effective, long-lasting seal. In some cases, refrigerant caulk can also be used to seal a cracked toilet tank. This type of caulk is available in tubes and should be applied with a caulking gun.
If the crack is large or severe enough, you may need to replace the entire toilet tank instead of sealing it up. A new, factory-made tank will provide a much more reliable solution than trying to patch up an old one with sealants or adhesives.
When replacing the tank, make sure to pick a model that fits your existing toilet bowl and is compatible with local plumbing codes.
No matter what sealing solution you choose, it’s important to take the proper safety precautions. Be sure to wear gloves, eye protection, and proper ventilation while applying sealant or caulk. If you’re working in an area with poor air circulation, consider using a dust mask or respirator for added protection.
Afterward, be sure to dispose of any leftover materials in accordance with local regulations. By following these simple steps, you can ensure that your cracked toilet tank is sealed up safely and effectively.
7 Methods How to Seal a Cracked Toilet Tank
1. Use a Toilet Tank Repair Kit
One of the easiest ways to seal a cracked toilet tank is to use a repair kit. These kits come with everything you need to make a quick and easy repair, and they are relatively inexpensive. Simply follow the instructions included with the kit to seal the crack. If you need help, many kits come with an instructional video.
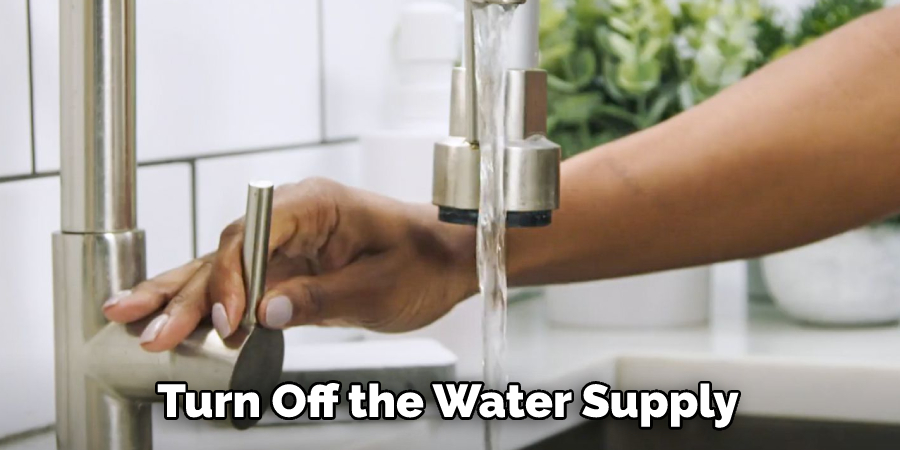
To use the kit, first, make sure to turn off the water supply and flush the toilet. Then carefully remove the tank lid and prepare the surface of the crack with the included abrasive pad. Clean away any dirt or debris that may be present. Next, apply the epoxy putty sealant to the crack, pressing firmly to make sure it seals.
2. Use Epoxy Putty
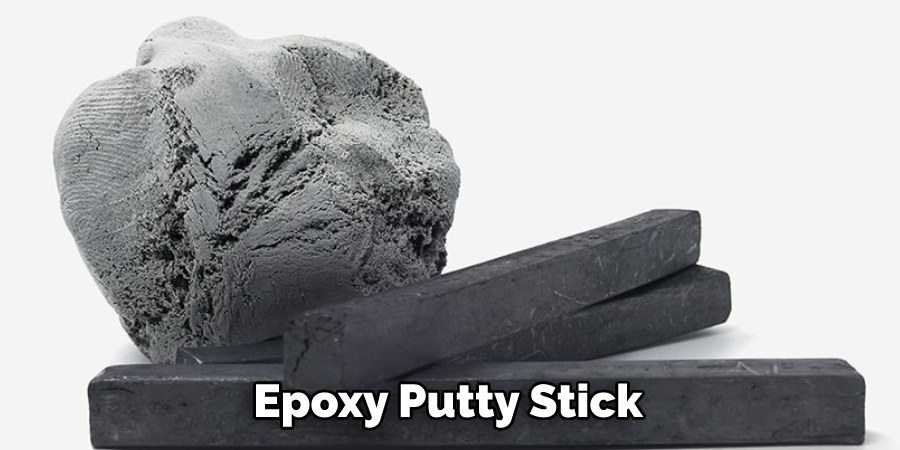
Another quick and easy way to seal a cracked toilet tank is to use epoxy putty. This putty can be found at most hardware stores, and it is very easy to use. Simply apply the putty to the crack, allow it to dry, and then sand it down until it is flush with the surface of the tank.
This will create a waterproof seal that should last for quite some time. However, it is important to note that this method may not be suitable for large or deep cracks. In these cases, you may need to use a more permanent solution.
3. Use Plumber’s Putty
If you cannot find epoxy putty, a plumber’s putty can also be used to seal a cracked toilet tank. Plumber’s putty is soft, sticky, and easy to shape. First, make sure the area around the crack is clean and dry.
Then, knead a lump of plumber’s putty in your hands until it forms a ball before flattening it into a disc that will cover the entire cracked surface. Place this disc directly over the crack and press it down to adhere it to the surface. Smooth out the edges of the putty with a wet finger until it flushes with the toilet tank.
Allow for at least 24 hours for the material to dry completely before using your repaired toilet tank. It is important to note that plumbers’ putty should not be used near water sources such as sinks, showers, and tubs due to its reactivity with water. It is meant for temporary repairs only and should be removed after use.
4. Use Silicone Caulk
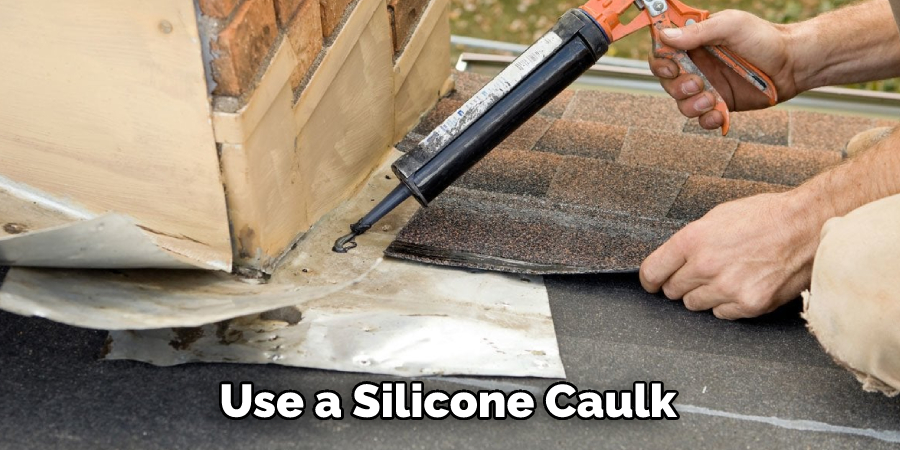
Silicone caulk can also be used to seal a cracked toilet tank. This type of sealer is waterproof, durable, and easy to apply. Start by cleaning the tank with rubbing alcohol and a paper towel. Then, apply silicone caulk along the crack in a thin line.
Allow the caulk to dry completely before using the toilet again. To get the best seal, use a high-quality silicone caulk specifically designed for plumbing applications. This will ensure that your toilet tank is sealed properly and won’t leak again.
5. Use Fiberglass Reinforced Tape
Fiberglass-reinforced tape can be used for larger cracks in toilet tanks. Cut the fiberglass tape to the same length as the crack or slightly longer. Remove any excess water from the tank and dry off with a towel. Apply an adhesive-backed sealant to one side of the fiberglass tape and press it against the cracked area.
Place weights on top of the tape to ensure that it is completely sealed. Allow the adhesive to dry for 24 hours before using the toilet again. After the adhesive has dried, you can use a silicone caulk to further seal and protect the crack. However, this step is optional as fiberglass tape is quite durable on its own.
6. Use Weld-On 1601 PVC Adhesive
Weld-On 1601 PVC adhesive is another option for sealing larger cracks in toilet tanks. This adhesive creates a strong bond that will prevent leaks. Before you start, remember to wear gloves and follow the directions on the package.
Start by cleaning off any dirt or debris from the crack with a wet rag and sandpaper. Once the area is clean, apply a thick bead of Weld-On 1601 PVC adhesive to one side of the crack. Press together both sides until they bond, and let it cure overnight. After the adhesive has cured, flush the toilet to check for any leaks. If there are no leaks, your toilet tank should be sealed and ready to use!
7 .Use J-B Weld WaterWeld Epoxy Putty Stick
J-B Weld WaterWeld Epoxy Putty Stick can be used for both small and large cracks in toilet tanks. It is a hand-mixable and fast-setting epoxy putty material that can be used to fill cracks, rebuild tanks, and even create emergency repairs.
To use, knead the stick into one uniform color, then press it firmly into the crack until its level with the surface of the tank. Give it time to cure for about an hour, and the repair should be complete. Make sure to read the manufacturer’s instructions before use.
This epoxy putty stick is a good option for larger cracks as it can add more structural support to the toilet tank compared to other crack repair methods. Its waterproof formula also helps make sure that no water seeps out of the tank.
Sealing a cracked toilet tank doesn’t have to be a difficult task. With the right materials and tools, you can repair your toilet quickly and effectively. No matter which solution you choose, make sure to take proper safety precautions and dispose of any leftover materials in accordance with local regulations. By following these simple steps, you can ensure that your cracked toilet tank is sealed up safely and effectively.
Things to Consider When Ssealing a Cracked Toilet Tank
1. First, determine the source of the crack and if it is likely to worsen over time. Consider whether it has been caused by a hard object impacting the tank, corrosion from hard water deposits or a manufacturing defect.
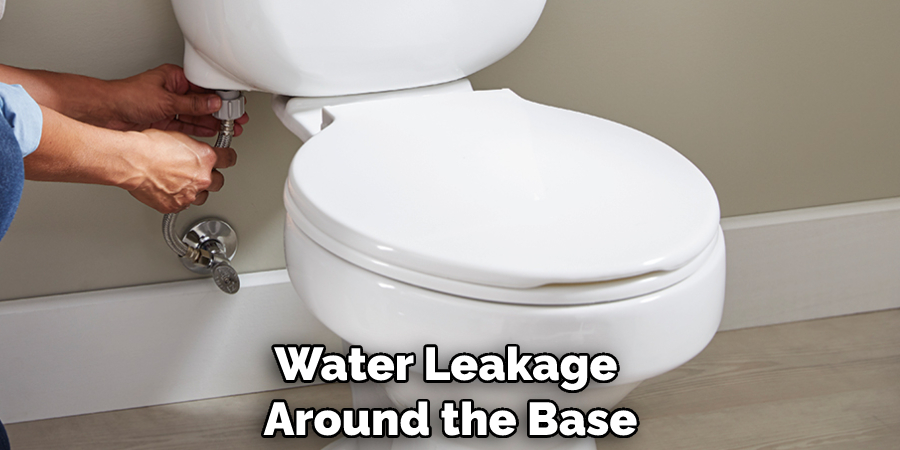
2. Check for water leakage around the base of the toilet and examine any other visible signs of damage before attempting to seal the crack.
3. The type of material used in sealing the crack is important. For example, a silicone sealant is not suitable for a plastic tank, and neither are epoxy fillers.
4. To ensure a strong seal, the surface needs to be clean and dry so that the adhesive used sticks properly. This means wiping away any excess water or dirt on the cracked area before starting work.
Conclusion
By following these steps, you should now be better prepared to know how to seal a cracked toilet tank. It’s always important to remember that not all cracks can be sealed with epoxy, so if the crack appears to be serious, or if the area around it has fractures or breaks off altogether, it may be best to replace your entire toilet tank. In addition, often times the only way to fix a major water loss in a toilet tank is by replacing the tank lid or sealing the interior lining of the tank.

