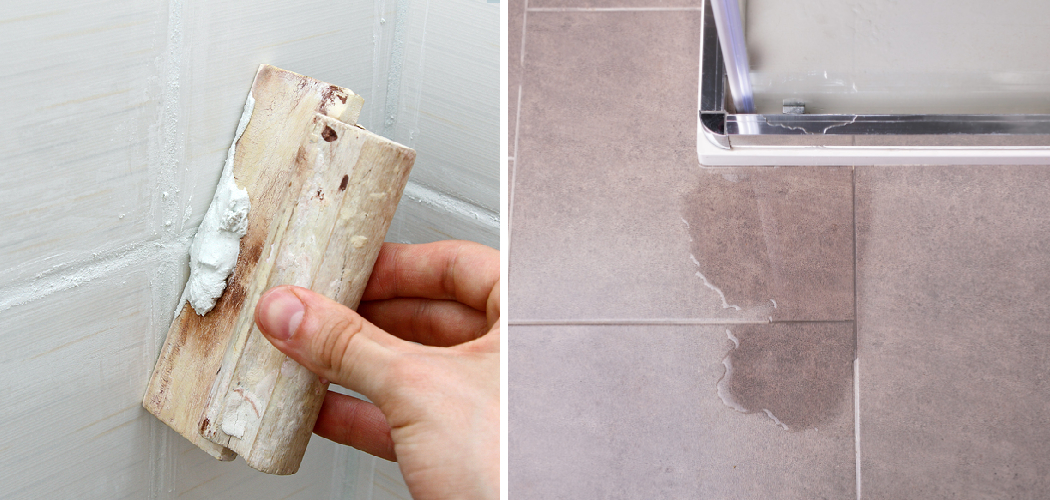
Are you noticing water seeping through the cracks of your tiled shower floor? If so, it’s time to learn how to seal a leaking tile shower floor! Not only is this an important skill every homeowner should have, but also one that will help protect against water damage and save money in the long run.
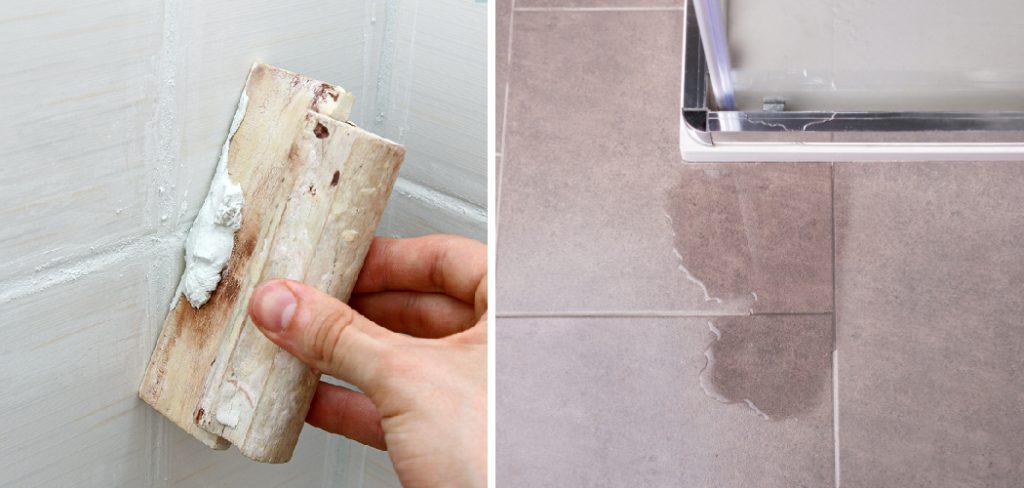
In this blog post, we’ll look at exactly why sealing a tiled shower floor is beneficial and provide some easy-to-follow step-by-step instructions on getting the job done. So if you’re worried about more than just mildew developing due to prolonged dampness or want to give your bathroom renovation project a professional finish – read on for all the details!
What Are the Causes of Leaking Tile Shower Floor?
1. Improper Installation
The most common cause of a leaking tile shower floor is improper installation. This can include having not enough or incorrect grout, not using the right waterproofing materials, and not sealing the joints properly. It will also occur if the tile has not been laid down correctly and there are gaps between tiles.
2. Cracks and Breaks in the Tiles or Grout
Over time, cracks and breaks can occur in the tiles or grout leading to water seeping through and causing a leak. This is usually caused by age, wear, and tear, or movement in the structure of the building. Sometimes , the grout may even be missing from between tiles.
3. Poor Waterproofing
Another cause of a leaking tile shower floor is poor waterproofing. Without adequate protection, water can seep through tiles and grout joints and cause damage to your walls and floors. This is why it’s important to
4. Poorly Built Shower Floor
If the shower floor was poor quality when it was first built, this can also cause leaking over time. Waterproof membranes, a sloped floor, and adequate drainage are all important when constructing a shower. Lacking any one of these can cause water problems later on.
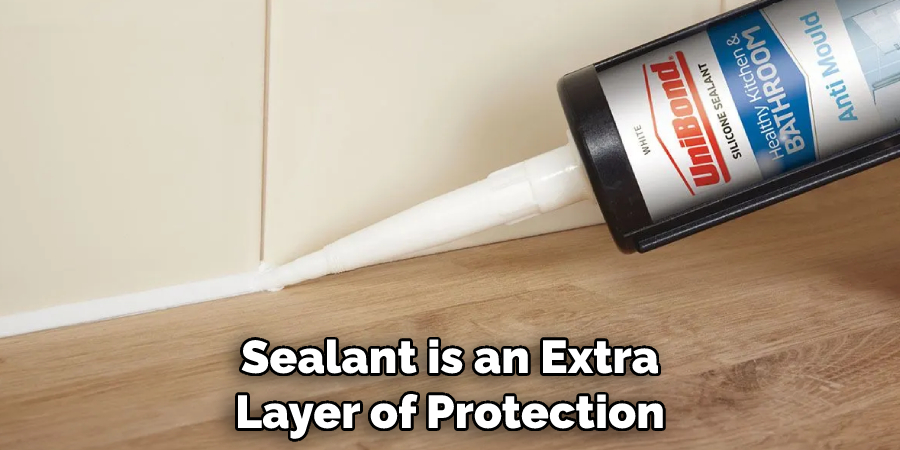
5. Damaged or Missing Sealant
The sealant is an extra layer of protection against water leakage and any damage to this can result in a leaking tile shower floor. This could be caused by incorrect installation or materials, as well as general wear and tear over time.
6. Damaged Drain
Finally, if the drain becomes damaged or clogged due to hair buildup or foreign objects, this can cause water to seep through the tile and grout. In order to prevent this, it’s important to regularly check and clean your drains.
By understanding the causes of a leaking tile shower floor, now you can take steps on how to seal a leaking tile shower floor and prevent further damage. Also you will get some best methods later to fix a leaked tile shower floor.
Materials You Need to Repair Your Leaky Tile Shower Floor
If you’ve noticed a leak in your tile shower floor, you need to take action. To seal the leak and prevent further water damage, there are some essential materials that you will need based upon your choosing methods:
- Caulk – This is used to create a waterproof seal around the edges of the tile and along grout lines. Choose a caulk specifically formulated for use in showers.
- Grout – New, non-porous grout must be used to refill and repair damaged areas. Make sure you choose the right type of grout that is compatible with your tile surface.
- A Sealant – After applying new grout, you may need to apply a sealant or sealer to make sure the grout is waterproof.
- A Trowel – This type of tool helps spread out and level the materials as they are applied, creating a sealed surface.
- Grout Removal Tools – These can include sharp tools such as chisels and scrapers for removing old grout.
- Sponge – A damp sponge is necessary to clean up any excess caulk or grout before it dries. It’s also important that you remove all traces of soap residue before applying the sealant.
- Bucket – You will need a bucket to mix and hold the grout.
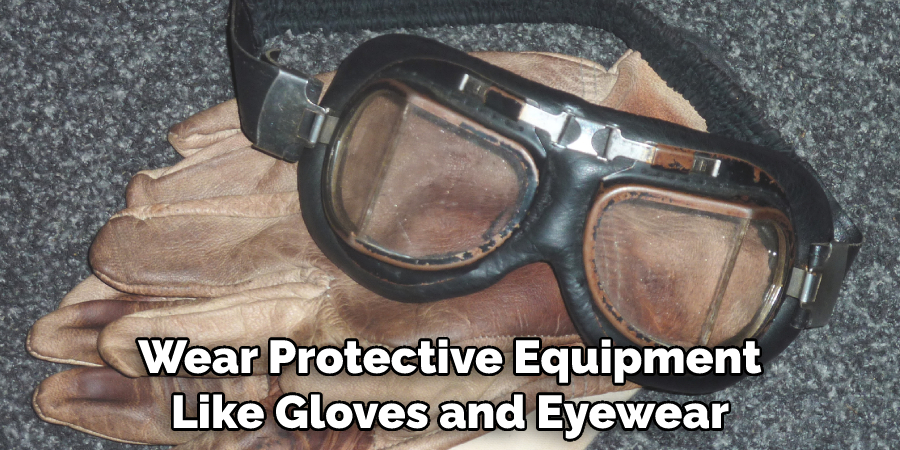
- Protective Gear – When dealing with caulk and other repair materials, it’s important to wear protective equipment like gloves and eyewear.
10 Best Methods: How to Seal a Leaking Tile Shower Floor
1. Removing Tiles
Removing all the tiles from the floor and checking for any visible damage. If you find any, replace it before continuing. When you ’re done, apply a waterproofing membrane over the entire shower floor before replacing the tiles. If the tile shower floor is already tiled, you’ll need to remove them first in order to apply a waterproofing membrane.
2. Cleaning and Re-Grouting
Clean all the grout from between the tiles with a grout cleaner and use an old toothbrush to make sure you get it all out. Once that is complete, add new grout to the joints. When you are done, apply a sealer over the grout lines to further protect them from water damage. This will help keep moisture from seeping through the gaps.
3. Applying Silicone Caulk
Applying silicone caulk around the edges of your tile shower can help seal it and prevent future water damage. Make sure any old caulking has been removed before applying the new sealant. Your caulk should also be water-resistant for maximum effectiveness.
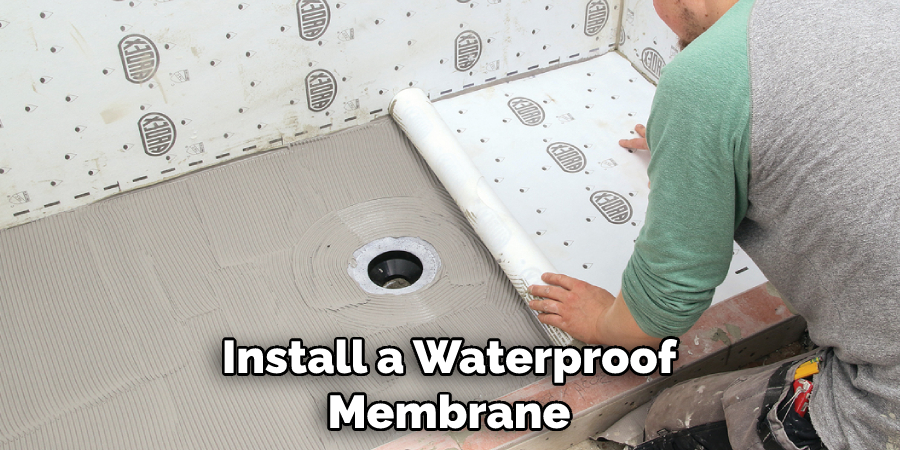
4. Capping Waterproof Membrane
If you have a leaking tile shower, you can install a waterproof membrane to prevent water from entering through the joints of your tiles. A good way to do this is by capping it with an epoxy-based sealer before replacing your tiles. Make sure the sealer is completely dry before applying your tiles.
5. Sealing Grout Lines
If you have a leaking tile shower, sealing the grout lines is an important step that should not be overlooked. Use a waterproof sealer on the grout between each tile to prevent moisture from seeping through. This will help keep your shower floor watertight for years to come.
6. Sealing the Shower Pan
If your shower pan is leaking, you can seal it with an epoxy-based sealer or a polyurethane-based sealing compound. Make sure to follow instructions for how long to wait for the sealant to dry before proceeding with tiling. When you are done, make sure to apply a waterproof sealant on the surface of your shower pan for added protection.
7. Installing a Waterproof Liner
Installing a waterproof liner over the entire tile shower floor can help protect it from water damage. You’ll want to make sure you get a quality, durable liner that will last for years and won’t need to be replaced any time soon. Apply the liner directly to the substrate and make sure it is properly sealed around edges, joints, and corners.
8. Using a Mortar Bed
Applying a mortar bed over your tile shower floor can help provide additional protection against water damage. Start by applying a thin layer of mortar over the entire shower floor and then use a trowel to spread it evenly. When you’re done, apply a waterproof sealant over the mortar bed for extra protection.
9. Applying a Waterproof Coating
If you want an extra layer of protection against water damage, applying a waterproof coating can help. Make sure that the waterproof coating you choose is specifically designed for use on tile shower floors. Apply the coating in thin layers, allowing each layer to dry before applying another one. Once all layers are applied, seal it with a water-resistant sealant.
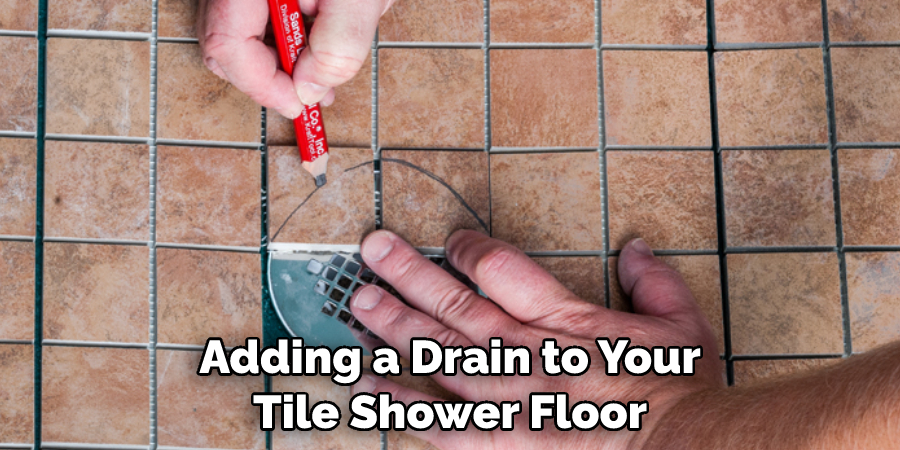
10. Adding a Drain
Adding a drain to your tile shower floor is an important step, as it will help ensure that water is able to flow away from the tiled area. Make sure to install a quality, durable drain and connect it properly with the plumbing system. Once you’re done, apply a waterproof sealant around the edges of the drain for extra protection.
Following these steps can help ensure that your tile shower floor is properly sealed and protected from water damage. You’ll be able to enjoy the beauty of your tiled area without having to worry about leaks or water damage. With a few simple steps, you can make sure your tile shower remains in great condition for years to come.
Final Verdict
Sealing a leaking tile shower floor is an important home maintenance task, as it can help prevent big problems like water damage from occurring. Furthermore, leaky showers can have a higher risk of mold development due to the humid environment. And although the task may seem intimidating at first, with the right tools and guidance, it’s actually quite simple to do. With just a few steps you’ll be able to easily re-seal your shower and quickly make it more durable and better prepared to withstand moisture.
So if you’re looking for an easy way to spruce up your bathroom and prevent future water damage, sealing your shower tile is the perfect place to start. Please note that this content should not be used verbatim, but rather as a reference guide for how to seal a leaking tile shower floor. Professional advice from a licensed contractor is recommended before starting any home improvement project.

