When it comes to installing laminate flooring in a bathroom, one of the most critical aspects to consider is how to effectively seal the edges. Bathrooms are areas prone to moisture, which can lead to swelling and damage if laminate edges are left unprotected. In this guide, we will explore the best practices for sealing laminate flooring edges, ensuring durability and longevity.
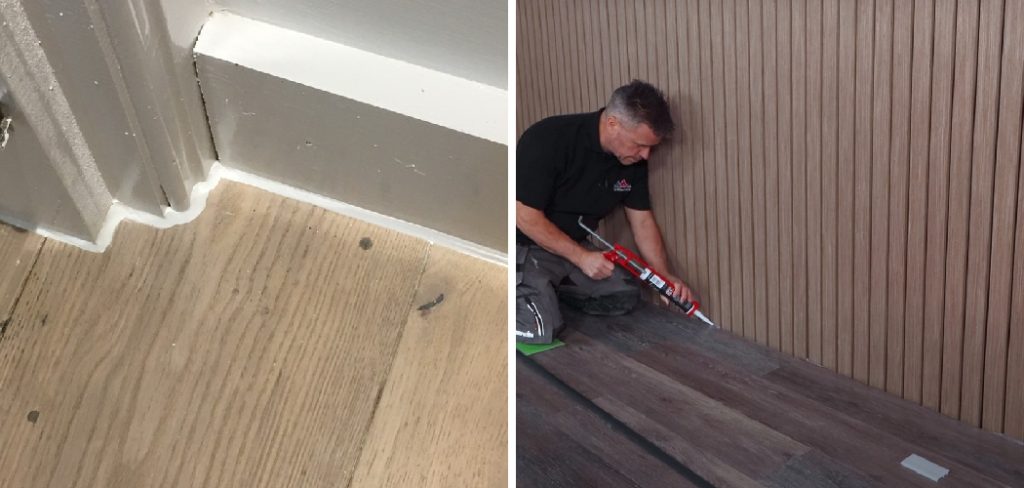
By following these steps on How to seal laminate flooring edges in bathroom, you can maintain the appearance and functionality of your laminate flooring, even in the humid environment of a bathroom.
Why Seal Laminate Flooring Edges in a Bathroom?
Sealing the edges of laminate flooring in a bathroom is essential for several reasons. Firstly, bathrooms are naturally high-moisture environments, which can cause unsealed edges to absorb water, leading to swelling and warping of the laminate. This not only compromises the flooring’s aesthetic appeal but can also lead to costly repairs or replacements.
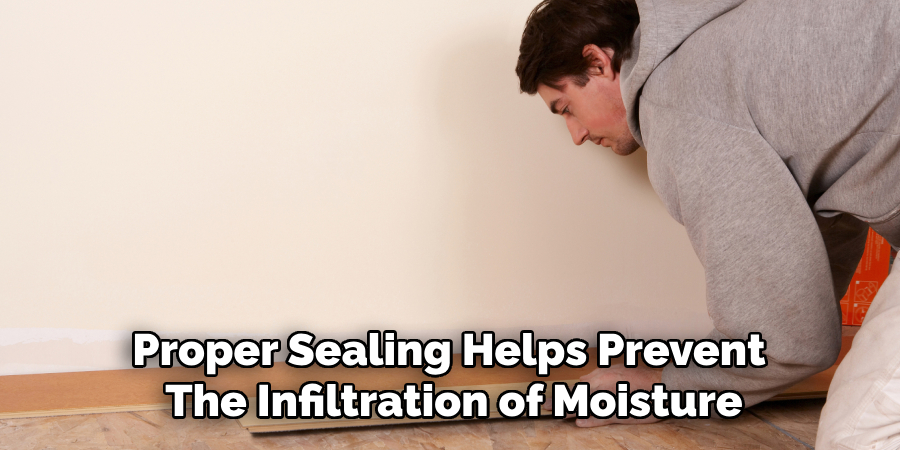
Secondly, proper sealing helps prevent the infiltration of moisture, thereby reducing the risk of mold and mildew buildup, which can pose health risks. Lastly, sealing the edges contributes to the overall durability of the flooring, ensuring that it withstands the daily wear and tear characteristic of bathroom usage. By taking the time to seal laminate flooring edges, you enhance the resilience and longevity of your flooring investment.
Necessary Materials
To effectively seal laminate flooring edges in a bathroom, you will need the following materials:
Silicone Caulking or Adhesive:
Silicone caulk or adhesive is a water-resistant sealant that is ideal for use in moist areas such as bathrooms. It forms a strong bond, ensuring the edges are adequately protected from moisture.
Caulking Gun:
A caulking gun helps dispense an even and controlled amount of caulk, making it easier to apply along the edges of the laminate flooring.
Masking Tape:
Masking tape helps create clean lines while sealing the edges. It also prevents excess caulk from spreading onto other surfaces.
Damp Cloth:
Keep a damp cloth on hand to wipe away any excess caulk before it dries. This will help achieve a neater finish.
8 Steps on How to Seal Laminate Flooring Edges in Bathroom
Step 1: Clean the Area
Before beginning the sealing process, it’s crucial to thoroughly clean the area surrounding the laminate flooring edges. Start by removing any debris, dust, or dirt, as these can interfere with the adhesion of the sealant. Use a vacuum or a broom to sweep up loose particles, followed by wiping the edges with a damp cloth to eliminate any grime or moisture.
Ensure the area is completely dry before proceeding, as any residual moisture can compromise the effectiveness of the silicone caulking or adhesive. A clean, dry surface will provide a better seal and enhance the overall durability of your flooring.
Step 2: Prepare the Caulking Gun
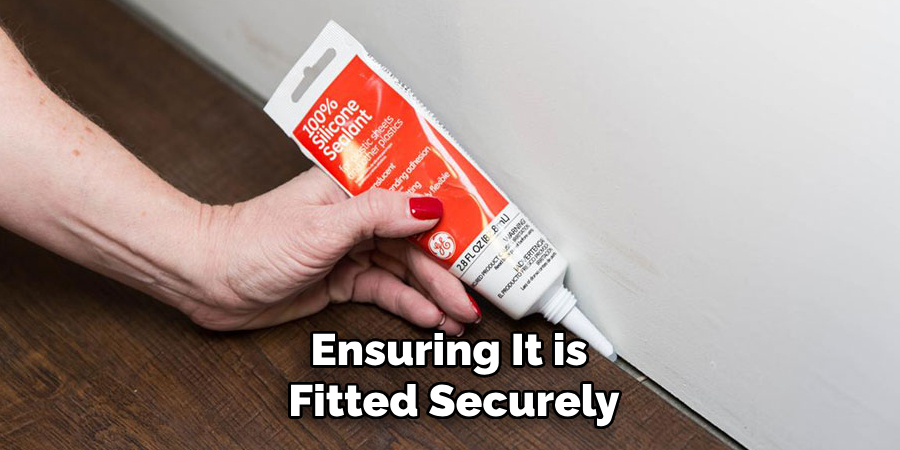
If using a caulking gun, prepare it by cutting off the tip of the silicone caulk tube at a 45-degree angle. This will allow for a more precise and controlled application of the sealant. Insert the tube into the caulking gun, ensuring it is fitted securely.
You can also use a caulk gun for the adhesive by following the manufacturer’s instructions on how to load and use it.
Step 3: Apply Masking Tape
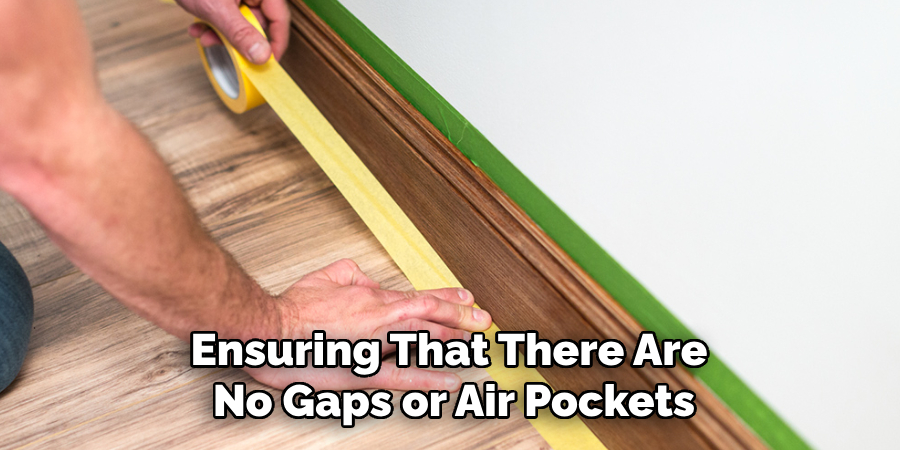
Before applying the silicone caulk or adhesive, it’s important to position masking tape along the edges of the laminate flooring. Place the tape about 1/8 inch away from the edge to create a clean line for your sealant application. This will help prevent any caulk from smearing onto the flooring or surrounding surfaces, ensuring that you achieve a neat finish.
Press the tape down firmly to secure it in place, making sure there are no gaps where the moisture could potentially seep through. Once the tape is in position, you’ll be ready to apply the caulking, creating a professional-looking seal around your laminate flooring edges.
Step 4: Apply the Silicone Caulk or Adhesive
With the caulking gun loaded and ready, it’s time to apply the silicone caulk or adhesive along the edges of your laminate flooring. Begin by dispensing a small bead of caulk onto one end of an edge, slowly moving along its length as you squeeze the trigger. Aim for a consistent line of sealant that is evenly distributed.
Be sure to work in small sections at a time, keeping steady pressure on the trigger while maintaining a constant speed. If using adhesive, refer to your manufacturer’s instructions for application specifics.
Step 5: Smooth Out the Sealant
Once you have applied the sealant, use your finger or a caulking tool to smooth it out along the taped edge. This helps create a uniform and neat seal while also ensuring that there are no gaps or air pockets.
It’s important to remove any excess caulk as you go, wiping it away with a damp cloth before it dries.
Step 6: Remove the Masking Tape
After smoothing out the sealant, carefully peel off the masking tape while the caulk is still wet. This will help achieve clean lines and prevent any smudging of the caulk onto other surfaces.
If some caulk accidentally gets onto the flooring, wipe it away immediately with a damp cloth.
Step 7: Let it Dry
Allow the caulk or adhesive to dry completely, following the manufacturer’s instructions for specific drying times. Keep the area well-ventilated and avoid walking on the sealed edges until they are fully cured.
It’s important to note that the drying time may vary depending on the humidity levels in your bathroom.
Step 8: Maintain Regular Cleaning and Maintenance
Properly sealing laminate flooring edges in a bathroom is not a one-time fix. It’s important to regularly clean and maintain the sealant by wiping down the edges with a damp cloth or mild cleaning solution. This will help prevent any buildup of grime or mold, ensuring that your flooring remains in top condition for years to come.
Following these steps on How to seal laminate flooring edges in bathroom will help you effectively seal the edges of your laminate flooring in a bathroom, protecting it from moisture and contributing to its overall durability. Remember to always take necessary precautions when working with caulk or adhesive, such as wearing protective gloves and ensuring proper ventilation.
Additional Tips
Choose the Right Sealant:
When selecting silicone caulk or adhesive, opt for products specifically formulated for high-moisture areas. Look for mold- and mildew-resistant options to protect your flooring further.
Work in a Well-Ventilated Area:
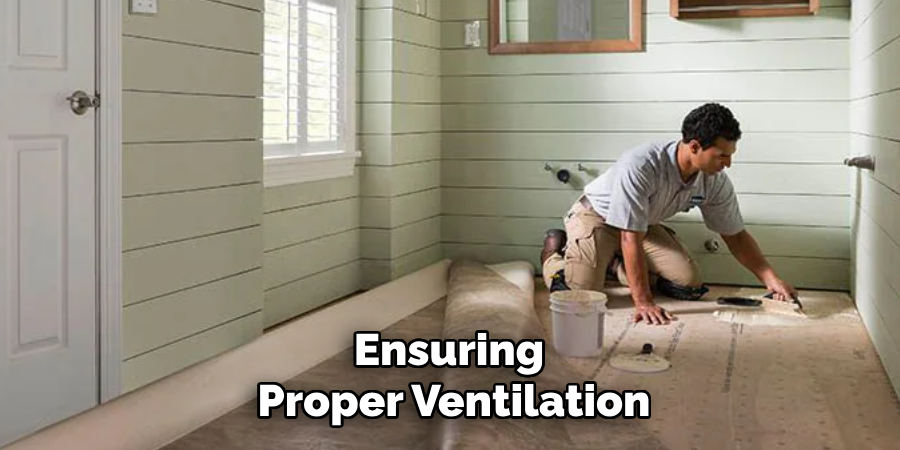
Ensure proper airflow while applying the caulk or adhesive to minimize inhalation exposure to fumes. Open windows or use fans to enhance ventilation.
Test Application:
If you’re unsure about your sealant application technique, practice on a scrap piece of laminate or another surface before sealing the actual edges. This will help you build confidence and achieve cleaner results.
Be Patient:
Rushing through the application process can lead to mistakes. Take your time to ensure each step is completed properly, resulting in a durable and aesthetically pleasing seal.
Regular Inspections:
Periodically check the sealed edges for any signs of wear or damage. Early detection of issues can help prevent moisture infiltration and extend the lifespan of your flooring.
Consider Seasonal Maintenance:
Changes in humidity can affect sealant performance. Regularly inspect and maintain the sealant, particularly during seasonal transitions when humidity levels fluctuate.
Frequently Asked Questions
Q: Can I Use Silicone Caulk or Adhesive on All Types of Laminate Flooring?
A: It is recommended to check with your flooring manufacturer for specific guidelines, as some laminate flooring may be incompatible with certain types of sealants.
Q: How Long Does It Take for the Sealant to Fully Dry?
A: Drying times can vary depending on the humidity levels and type of sealant used. Refer to the manufacturer’s instructions for specific drying times.
Q: Can I Use a Different Type of Tape Instead of Masking Tape?
A: Masking tape is recommended as it is easy to remove without leaving residue or damaging surfaces. However, if necessary, you can use painter’s tape or another low-adhesive tape instead.
Q: Do I Need to Reapply the Sealant if It Gets Damaged or Wears Off?
A: Yes, it is important to regularly inspect and maintain the sealant to ensure its effectiveness. If it becomes damaged or wears off, reapply a new layer to protect your flooring from moisture.
Conclusion
In conclusion, sealing the edges of laminate flooring in a bathroom is a vital step in safeguarding your investment from moisture damage and prolonging its lifespan. By following the outlined steps on How to seal laminate flooring edges in bathroom—cleaning the area, preparing your materials, and applying the sealant carefully—you can create a strong and effective barrier against water infiltration.
Regular maintenance and cleaning are essential to ensure the seal remains intact and functional. By dedicating a little time to this task, you not only enhance the beauty of your space but also ensure the durability and longevity of your laminate flooring, keeping it looking its best for years to come.