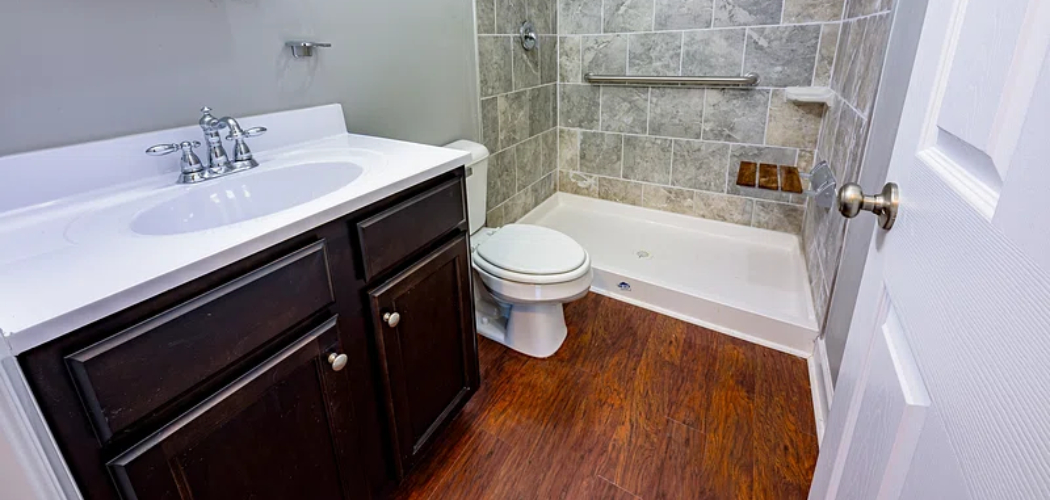
Having hardwood floors in your bathroom can elevate the aesthetic of the entire room, but it’s important to make sure they are sealed properly. If not, wood floors can become warped and damaged due to the humidity from showers and baths.
Taking a few simple steps to properly seal wood floors in bathrooms is easier than you may think—and will help keep them looking beautiful for years to come. In this blog post we’ll walk you through exactly how to seal wood floors in bathroom with ease!
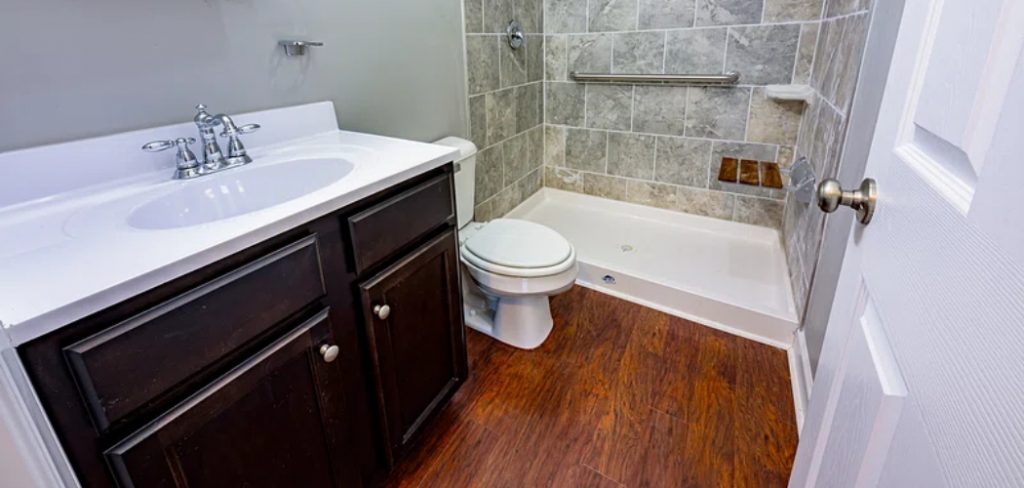
If you’re looking into renovating your bathroom, one of the most important aspects is making sure that any wood floors are effectively sealed. Not only does this help to protect them from water and humidity, but it also gives them a longer lifespan and adds value to your home.
Sealing yours may seem like an intimidating task at first but with the right information and preparation, it’s surprisingly easy!
In this blog post, we’ll discuss how to properly seal wooden floors in bathrooms so that you can ensure top-level protection for your investment. Read on to learn more about what materials you will need and the step-by-step instructions for sealing wood floors in bathrooms.
Why May You Want to Seal Wood Floors in Bathroom?
1. To Protect Your Floors
Sealing your wood floors in the bathroom can help protect them from water damage, mold, mildew, and other environmental factors that could cause them to weaken over time. Also, sealing wood floors will help keep them looking great for years to come.
2. To Easily Clean Your Floors
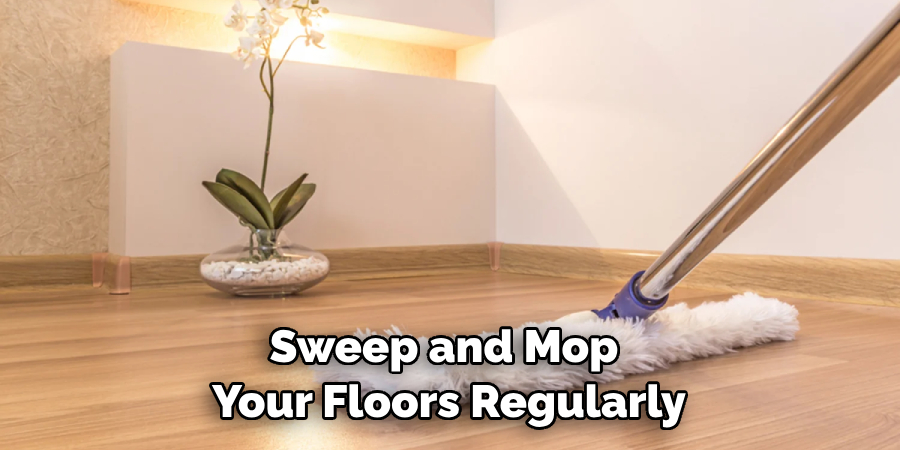
Wood floors in the bathroom can be difficult to clean and are especially prone to dirt and grime buildup. Sealing them helps make it easier to clean; simply sweep and mop your floors regularly with a mild cleaning solution.
3. To Enhance the Look of Your Floors
Sealing wood floors in the bathroom will help enhance their natural beauty by giving them a glossy finish. This is especially important if you’ve invested in high-quality hardwood floors because it will really make them stand out.
4. To Increase the Longevity of Your Floors
Wood floors can be expensive, so sealing them properly will help ensure that they last longer. Sealing wood floors in the bathroom will help protect them from any potential damage and keep them looking great for years to come.
Overall, sealing wood floors in the bathroom is a great way to protect your investment and keep your floors looking beautiful. With these benefits in mind, let’s take a look at sealing your wood floors in the bathroom properly.
How to Seal Wood Floors in Bathroom in 6 Easy Steps
Step 1: Preparation
The first step is to make sure that your floor is clean and free of dirt, dust, and any foreign objects. Cleaning your floor should be done with a damp mop or cloth and an appropriate cleaning solution; avoid harsh chemicals. Once the floor is clean, allow it to dry completely before proceeding.
Step 2: Sanding
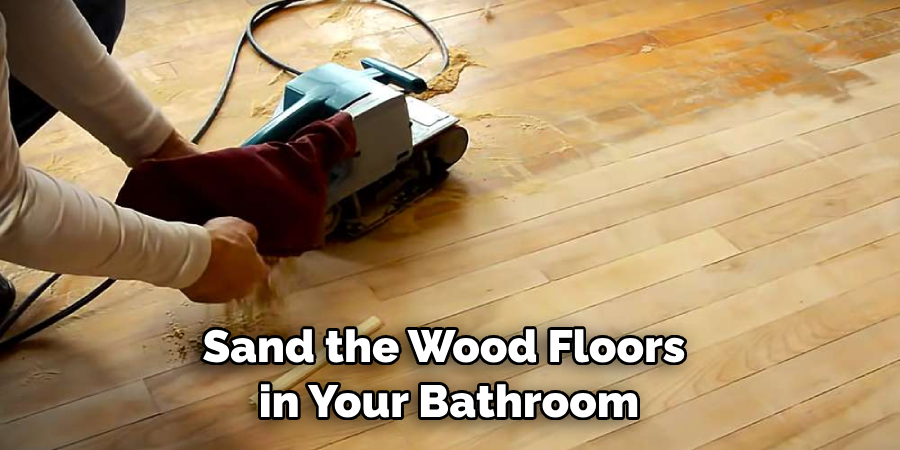
The second step is to sand the wood floors in your bathroom with fine-grit sandpaper or an orbital sander. This will create a smooth surface that will make sealing easier and help the sealant adhere better and last longer. Make sure to avoid sanding any painted areas or finishes as this can cause further damage.
Step 3: Vacuuming and Wiping
Once the sanding is complete, use a vacuum cleaner to remove any dust particles that have been created from the sanding. After vacuuming, wipe the floor with a cloth dampened in mineral spirits to remove any remaining dust. Allow the area to dry before continuing.
Step 4: Sealing
The fourth step is to apply the sealant of your choice; there are a variety of products available for sealing wood floors in bathrooms. When applying the sealant, make sure to use an even coat, and avoid using too much as this can lead to bubbling or peeling once it has dried. Make sure that the sealant is applied in an overlapping pattern for better coverage.
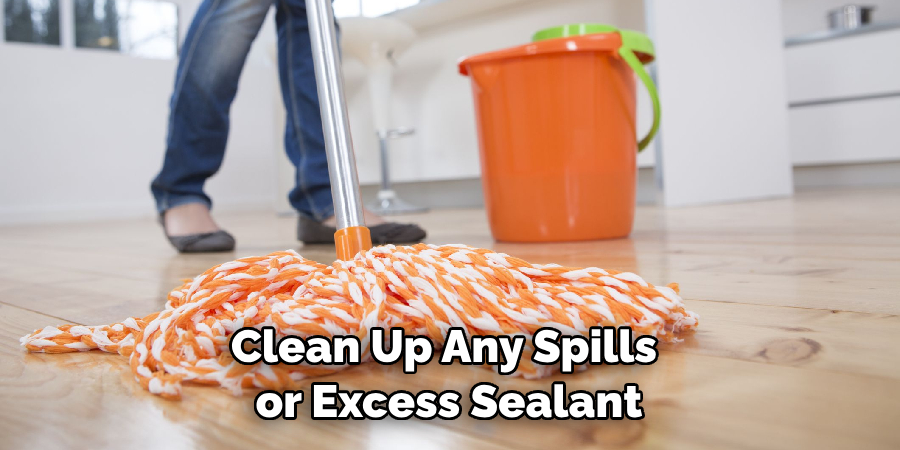
Step 5: Clean Up
Once you have finished applying the sealant, use a cloth dampened with mineral spirits to clean up any spills or excess sealant. Allow the sealant to dry completely before proceeding.
Step 6: Finishing Touches
The last step is to add finishing touches such as a wax or polyurethane topcoat. These products provide extra protection against water damage and wear and tear, while also giving the floor a beautiful finished look. Make sure to follow the product instructions carefully for best results.
With these six easy steps, you can successfully seal wood floors in your bathroom. It is important to remember to use the proper tools, products, and techniques to ensure the best results. Taking the time to properly prepare and seal your wood floors will help make them last longer and look better. Good luck!
Some Extra Tips to Seal Wood Floors in Bathroom
1. Do Not Over-Seal
When sealing your wood floors in the bathroom, it is important to not over-seal them. Too much sealant can trap moisture and lead to discoloration or warping of your wood flooring. Also, be sure to use a sealant meant specifically for wood flooring in bathrooms and follow all of the instructions on the packaging.
2. Choose High-Quality Sealants
When selecting a sealant or finish for your wood floors in the bathroom, always look for one that is high-quality and designed to withstand moisture. Look for products that are water-resistant, mold-resistant, and will provide long-lasting protection against moisture and humidity.
3. Sand Down the Floors Before Sealing
Before applying your sealant or finish to your wood floors in the bathroom, be sure to sand them down first. This will help open up the grain of the wood so that the sealant can penetrate more deeply and provide even better protection. Also, it will create a smooth, even surface that will make the finished product look better.
4. Regular Maintenance
In order to keep your wood floors in the bathroom looking their best and well-protected, be sure to do regular maintenance such as sweeping or vacuuming any dust or debris from the flooring material, and cleaning them regularly with a mild soap and water solution.
Additionally, if you notice any signs of warping or discoloration, apply a sealant as soon as possible to prevent further damage.
By following these tips for sealing wood floors in the bathroom, you can ensure that your flooring remains beautiful and well-protected against moisture and humidity for many years to come. Enjoy the beauty of hardwood flooring in your bathroom and keep it looking great with regular maintenance.
Frequently Asked Questions
What Precautions Do I Need to Take When Sealing a Wood Floor in the Bathroom?
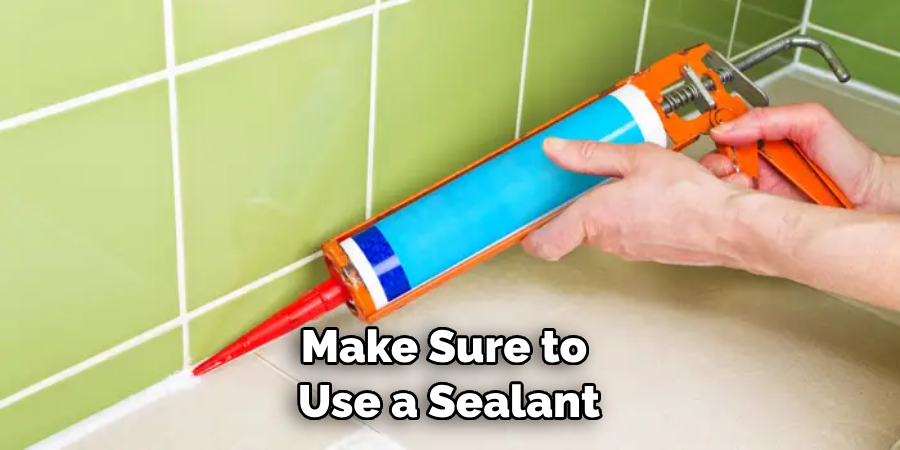
There are several precautions that must be taken when sealing a wood floor in the bathroom. First, make sure the floor is completely dry before applying any sealant. Otherwise, the sealant may not adhere properly and will not protect your floor from moisture damage.
Additionally, avoid exposing your wood floor to chemicals such as ammonia or bleach, which can damage the sealant. Lastly, make sure to use a sealant that is specifically designed for bathrooms and follow the manufacturer’s instructions carefully when applying it.
What Are the Benefits of Sealing a Wood Floor in the Bathroom?
Sealing your wood floor in the bathroom can provide several benefits. First, the sealant will protect your floor from moisture damage caused by spills and condensation.
Additionally, it can provide a layer of protection against dirt and other debris that may affect the wood’s finish or cause scratches. Lastly, sealing your wood floor can help to preserve its natural beauty for years to come.
What Are Some Tips for Sealing a Wood Floor in the Bathroom?
When sealing a wood floor in the bathroom, make sure to use a sealant that is specifically designed for bathrooms. It’s also important to prepare the area prior to applying the sealant by cleaning and sanding the floor.
Additionally, be sure to follow the manufacturer’s instructions carefully when applying it. Finally, be sure to let the sealant dry completely before walking on it.
Are There Any Drawbacks to Sealing a Wood Floor in the Bathroom?
The only potential drawback of sealing a wood floor in the bathroom is that if not done properly, it can trap moisture underneath the sealant and cause damage to your floor. To avoid this, make sure that you use a sealant that is specifically designed for bathrooms and follow the manufacturer’s instructions carefully when applying it.
Additionally, make sure to check your floor regularly for signs of moisture damage.
Conclusion
Sealing wood floors in a bathroom is no easy task, but it can be done. With the right knowledge and materials, sealing your wood floors to protect them from moisture damage can be accomplished with ease.
Remember to use a water-resistant sealant and to take preventive maintenance steps such as using mats and avoiding excessive amounts of water on the floor can help make sure that your wood floor lasts as long as possible.
Ultimately, sealing your wood floor is essential for keeping it safe from potential damages caused by water or humidity. And with the knowledge gained in this blog post about how to seal wood floors in bathroom, you should now feel confident in taking the steps necessary to properly seal your wood flooring. Thanks for reading!

