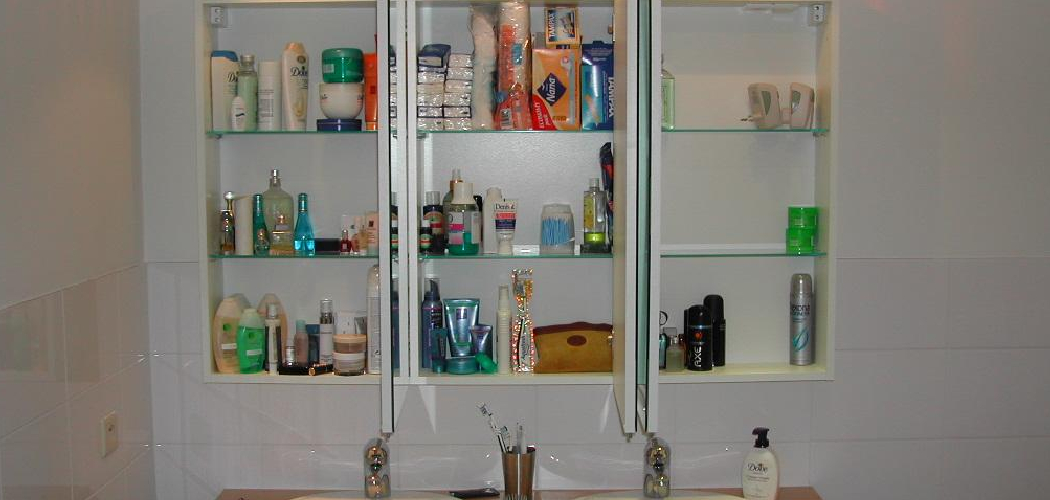
Installing a glass shelf in the bathroom is a stylish and practical way to maximize storage while maintaining a sleek aesthetic. However, ensuring that the shelf is securely mounted is critically important to prevent accidents and protect both the shelf and your belongings.
Whether you’re working with drywall, tile, or other surfaces, a proper installation process not only guarantees safety but also enhances the durability and appearance of the shelf. This guide on How to secure a glass shelf in the bathroom will walk you through the essential steps to securely mount a glass shelf in your bathroom.
Why is It Important to Secure a Glass Shelf in the Bathroom?
A glass shelf can add a touch of elegance to your bathroom, but if not installed correctly, it can also be a potential safety hazard. Glass shelves are prone to breaking if not mounted securely, which not only poses a risk to you and your family but also leads to expensive repairs or replacements.
Furthermore, an unsecured glass shelf can also damage your walls or tiles, leaving unsightly cracks or holes that require additional repair work. By taking the necessary steps to properly secure your glass shelf, you can avoid these potential problems and enjoy your bathroom space with peace of mind.
Tools You Will Need
Before starting the installation process, gather all the necessary tools and materials to ensure a smooth and efficient process. Here are some essential tools you will need to secure a glass shelf in the bathroom:
Drill:
A power drill with a masonry bit is required if you are installing the shelf on tiles or concrete walls. For drywall, a regular drill will suffice.
Wall Anchors:
Wall anchors provide added support and stability, especially when mounting on drywall. Choose an appropriate size for your wall material and the weight of your shelf.
Screws:
Make sure to use screws that are compatible with your chosen wall anchor and can safely bear the weight of your shelf.
Level:
A level will help ensure that your shelf is mounted straight and even.
Pencil:
Used for marking drill points and ensuring accuracy in installation.
8 Step-by-step Guidelines on How to Secure a Glass Shelf in the Bathroom
Step 1: Measure and Mark the Wall
Begin by determining the desired location of your glass shelf. Use a tape measure to measure the height and position where you want to install the shelf, ensuring it is both practical and aesthetically pleasing. Once you’ve decided on the placement, use a level to ensure the shelf will be straight and aligned properly.
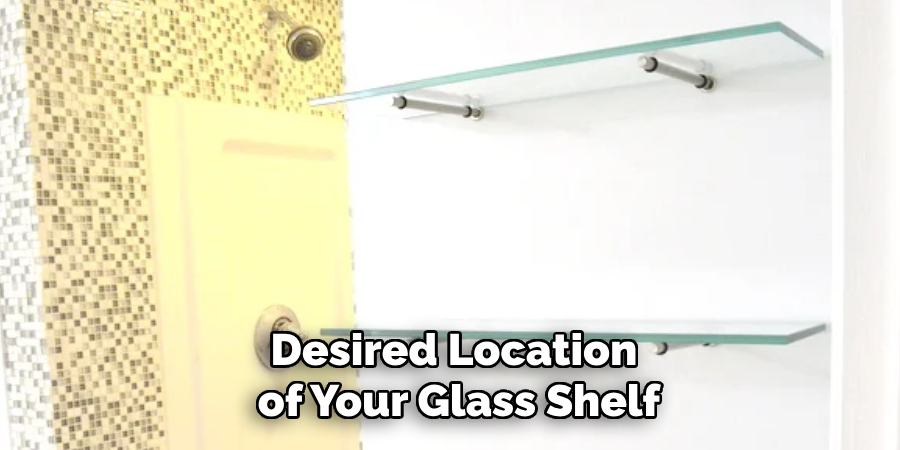
Mark the drill points on the wall with a pencil; these marks should correspond to the brackets or mounting hardware provided on your shelf. Double-check the alignment before proceeding to the next step.
Step 2: Pre-drill Holes
Using the appropriate drill, pre-drill holes in the marked spots on your wall. If you are mounting on drywall, start with a small hole to avoid damaging the wall. For tiles or concrete walls, use a masonry bit for more efficient drilling.
It is recommended that holes be drilled slightly smaller than the chosen wall anchors to ensure a snug fit. The depth of the holes should also be slightly shorter than the length of the wall anchor.
Step 3: Insert Wall Anchors
Once the holes are pre-drilled, carefully insert the wall anchors into the holes. Gently tap them into place using a rubber mallet or a hammer, ensuring that they sit flush with the wall. Wall anchors are crucial for providing additional support, especially if the shelf will be holding heavy items.
Make sure to choose wall anchors that are appropriate for the type of wall material you are working with, as this will ensure a secure and sturdy installation. Double-check that all anchors are properly seated before moving on to the next step.
Step 4: Attach Brackets or Mounting Hardware
Attach the brackets or mounting hardware to the wall by placing them over the anchors. Make sure they are aligned with the pre-drilled holes and securely attached.
For added stability, you can use a level to double-check that the brackets are straight before proceeding.
Step 5: Add Caulk (Optional)
If you want to ensure an extra layer of stability and protection, you can apply a small bead of silicone caulk around the edges of the wall anchors or onto the back of the brackets before attaching the glass shelf. This step is especially useful in bathrooms, where moisture and humidity are common, as it helps create a watertight seal and prevents any potential shifting over time.
Allow the caulk to dry completely according to the manufacturer’s instructions before proceeding to install the shelf. While this step is optional, it provides additional security and can extend the longevity of your installation.
Step 6: Secure the Glass Shelf
Carefully place the glass shelf onto the brackets or mounting hardware, ensuring that it is level and evenly distributed. If your shelf comes with screws or clips to secure it in place, use them as directed by the manufacturer.
For added safety, make sure to use tempered glass shelves. These are designed to break into small, dull pieces instead of large, sharp shards if they accidentally fall or break.
Step 7: Finish Up
Once the shelf is securely mounted, double-check that it is straight and even. Use a damp cloth to clean up any excess caulk around the edges.
Allow ample time for everything to dry and set before placing any items on the shelf. This is especially important if you have used caulk, as it needs time to be fully crowned before bearing weight.
Step 8: Enjoy Your Secure Glass Shelf
Congratulations! You have successfully mounted your glass shelf in the bathroom. Now, you can enjoy its added functionality and aesthetic appeal without any worries. Make sure to regularly clean and maintain your glass shelf to keep it looking new and secure for years to come.
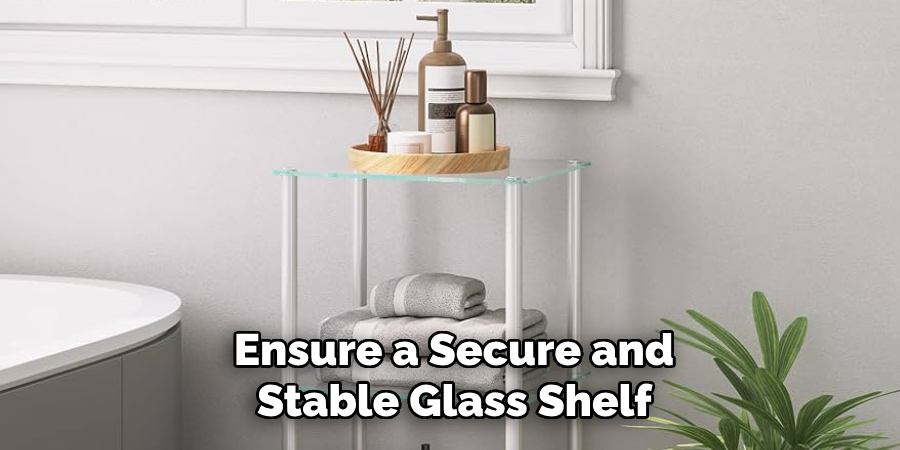
Following these simple steps on How to secure a glass shelf in the bathroom will ensure a secure and stable glass shelf in your bathroom that can withstand daily use and add value to your space. Remember to always prioritize safety and caution when working with tools, and seek professional help if needed. With this guide, you can confidently secure any glass shelf in your bathroom and elevate its design and functionality. Happy installing!
Frequently Asked Questions
Q: Can I Install a Glass Shelf on My Own?
A: Yes, as long as you have the necessary tools and follow the installation guidelines carefully. However, if you are uncomfortable with DIY projects or unsure of your skills, it is recommended to seek professional help. It is better to ensure a safe and proper installation than risking damage or injury.
Q: Do I Have to Use Wall Anchors When Installing a Glass Shelf?
A: While it is not always necessary, wall anchors provide added support and stability, especially when mounting on drywall. It is recommended to use them for heavier shelves or in areas with high moisture levels, such as bathrooms. Always follow the manufacturer’s instructions and choose appropriate wall anchors for your chosen wall material.
Q: Is Silicone Caulk Necessary for Installing a Glass Shelf?
A: No, it is not necessary but highly recommended for added stability and protection. Especially in bathrooms where moisture and humidity are common, caulk helps create a watertight seal and prevents any potential shifting over time. However, if you prefer not to use caulk, make sure to regularly check and tighten the screws or clips of your glass shelf. Remember to always prioritize safety and caution when working with tools,
and seek professional help if needed. With this guide, you can confidently secure any glass shelf in your bathroom and elevate its design and functionality.
Q: Can I Use Regular Glass for My Bathroom Shelf?
A: No, it is not recommended to use regular glass for bathroom shelves. Regular glass is not as strong and can break more easily, posing a safety hazard. It is best to use tempered glass, which is designed to break into small, dull pieces instead of large, sharp shards. This type of glass provides added safety and durability for your bathroom shelf.
Conclusion
Properly securing a glass shelf in the bathroom not only enhances its appearance but also ensures safety for you and your family. By following these simple guidelines on How to secure a glass shelf in the bathroom and using the right tools and materials, you can easily install a beautiful and functional glass shelf that will last for years to come. Don’t be afraid to seek professional help if needed, and always prioritize safety during the installation process.
With a well-secured glass shelf in your bathroom, you can elevate the overall look of your space and make it more organized and efficient. So, go ahead and confidently install that glass shelf – you’ve got this!

