Securing a shower head flange is a crucial step in ensuring the overall stability and functionality of your shower.

The flange not only adds an aesthetic finish to the showerhead setup but also helps keep the installation secure and free from leaks. Whether you’re installing a new shower head or replacing an old one, knowing how to properly secure the flange can prevent potential water damage and ensure a seamless look.
This guide on how to secure shower head flange will walk you through the necessary tools, materials, and steps required to achieve a watertight and secure shower head flange installation.
What is a Shower Head Flange?
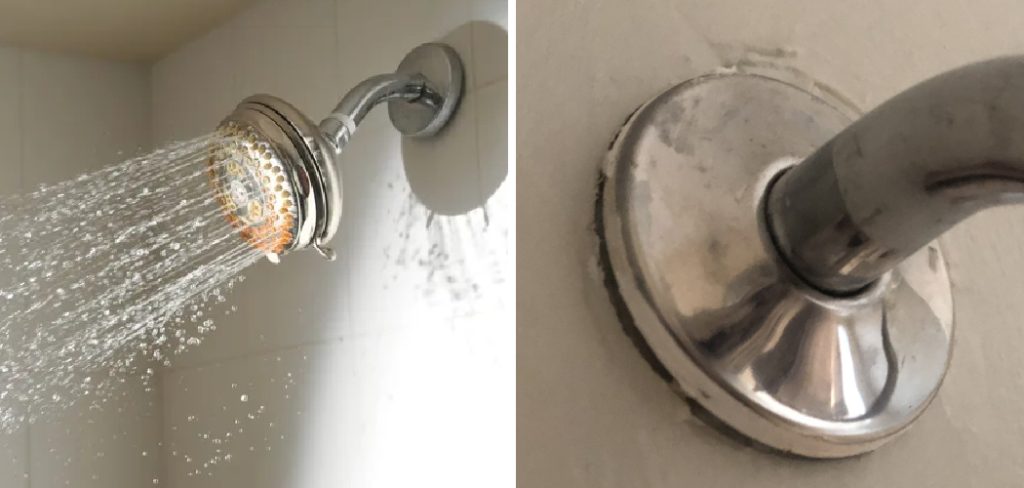
A shower head flange is the decorative cover or collar that sits between the shower arm and the wall. It provides a smooth transition from the plumbing pipe to the showerhead, effectively hiding any unsightly connections or gaps. Most shower head flanges are made of metal, plastic, or a combination of both and come in various shapes, sizes, and finishes to match your bathroom decor.
It’s important to note that some shower heads do not require a flange, as they have built-in covers or are designed to fit directly onto the shower arm. However, if your shower head has a separate flange piece, it’s crucial to install and secure it properly for a fully functional and leak-free setup.
Tools and Materials Required
Before you begin the process of securing your shower head flange, make sure you have the following tools and materials on hand:
Adjustable Wrench:
This tool will come in handy for tightening or loosening any fittings during the installation process.
Plumber’s Tape:
Also known as Teflon tape, this thin white tape helps create a watertight seal between the shower arm and flange.
Silicone Sealant:
A waterproof sealant is necessary to prevent water from leaking behind the flange and causing damage to your walls.
Screwdriver:
You may need a screwdriver if your shower head flange requires screws for installation.
7 Easy Step-by-step Guidelines on How to Secure Shower Head Flange
Step 1: Prepare the Shower Arm
Begin by ensuring the shower arm is clean and free from any old plumber’s tape or residue. To do this, gently remove the shower head or any existing attachments from the shower arm. Use a clean cloth or rag to wipe down the threads and surface of the shower arm thoroughly. This will help ensure a proper seal when you apply the plumber’s tape and attach the flange.

If there is any stubborn residue or debris, you may use a gentle soap solution to clean it off, followed by drying the area completely. Having a clean and dry shower arm is crucial to achieving a watertight and secure installation.
Step 2: Wrap the Threads with Plumber’s Tape
Now that the shower arm is clean and dry take your plumber’s tape and wrap it around the threads. Start at the base of the threads and wrap the tape in a clockwise direction. It’s essential to wrap the tape in the same direction that you will be screwing on the flange to ensure it doesn’t unravel during installation.
Apply 2-3 layers of tape, making sure each layer overlaps slightly to create a tight, secure seal. The plumber’s tape will help prevent water leaks by filling in any tiny gaps between the threads when the flange is attached. It also makes it easier to unscrew the flange in the future if you ever need to replace or adjust the shower head.
Step 3: Attach the Flange
With the plumber’s tape in place, you can now attach the shower head flange to the shower arm. Start by gently screwing on the flange by hand until it is snug against the plumber’s tape. Then, using an adjustable wrench, tighten it a quarter turn to ensure a secure fit. Be careful not to over-tighten as this could damage the threads or cause leaks.
If your flange has screws for attachment, use a screwdriver to secure them in place. Make sure the flange is level and aligned correctly before tightening the screws.
Step 4: Apply Silicone Sealant
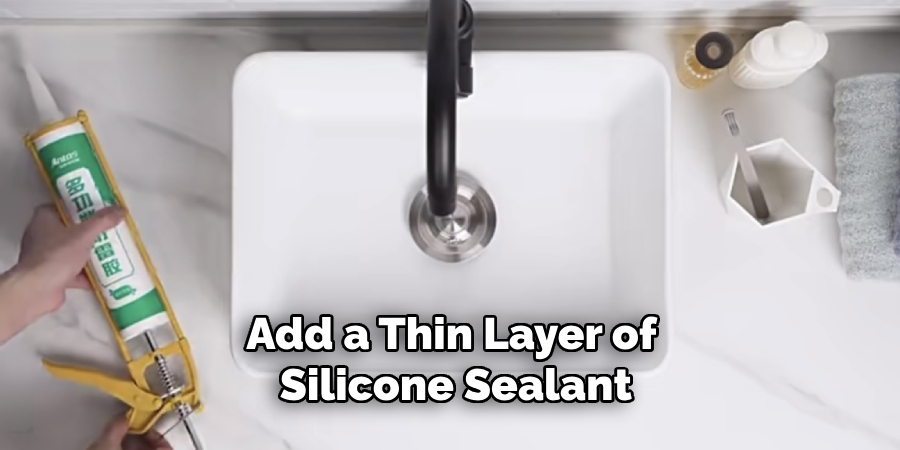
To further prevent water from seeping behind the flange, add a thin layer of silicone sealant around the base of the flange where it meets the wall. This will create a waterproof barrier and help keep your walls dry and free from damage. Use a smooth finger or tool to spread the sealant evenly around the edges of the flange.

It’s important to choose a silicone sealant that is specifically designed for use in bathrooms and is waterproof. Allow the sealant to dry completely before moving on to the next step.
Step 5: Reattach Shower Head (if necessary)
If you had removed your shower head in step 1, now is the time to reattach it. Follow the manufacturer’s instructions for proper installation, making sure to also add plumber’s tape and silicone sealant if required.
You may also choose to add plumber’s tape and silicone sealant to the shower head connection for added security and prevention of leaks.
Step 6: Test for Leaks
Now that your shower head flange is securely installed turn on the water and check for any signs of leaks. If you notice any water dripping from behind the flange or around the connections, tighten them further or add more plumber’s tape and sealant as needed.
But if everything looks dry and secure, congratulations! You have successfully secured your shower head flange.
Step 7: Enjoy Your New Shower Head!
With your shower head flange now properly installed and sealed, you can enjoy a leak-free and stylish shower experience. Remember to check for any signs of leaks or loose fittings every few months to ensure your installation remains secure.
You can also use this same process to remove and replace your shower head flange if needed in the future. By following these simple guidelines on how to secure shower head flange, you can easily secure your shower head flange and maintain a functional and attractive bathroom setup. So, don’t hesitate to take on this DIY project for an easy home improvement solution. Happy showering!
How Much Does it Cost to Install a Shower Head Flange?
The cost of installing a shower head flange can vary depending on the materials you use and if you choose to hire a professional plumber. Generally, the cost of tools and materials required for DIY installation can range from $10-$50.

If you decide to hire a plumber, the cost could be anywhere from $100-$300, depending on their hourly rate and any additional expenses such as travel or special equipment. However, with proper research and following these step-by-step guidelines, installing your shower head flange yourself can save you some money while still achieving professional results. Plus, you’ll have the added satisfaction of completing a DIY project.
Frequently Asked Questions
Q: What Do I Do if My Shower Head Flange is Too Loose or Won’t Stay in Place?
A: If your shower head flange is not staying securely in place, you may need to add an extra layer of plumber’s tape or tighten the fittings further. You can also try using a rubber washer between the shower arm and flange for a tighter seal.
Q: Can I Use Any Type of Sealant for My Shower Head Flange?
A: No, it’s important to use a waterproof silicone sealant specifically designed for use in bathrooms. Other types of sealants may not be as effective or could cause damage to your shower head and fittings.
Q: Should I Use Plumber’s Tape on Both Sides of the Flange?
A: Yes, it’s recommended to apply the plumber’s tape on both sides of the flange where it connects with the shower arm and shower head. This will provide double protection against leaks and make it easier to remove the flange in the future.
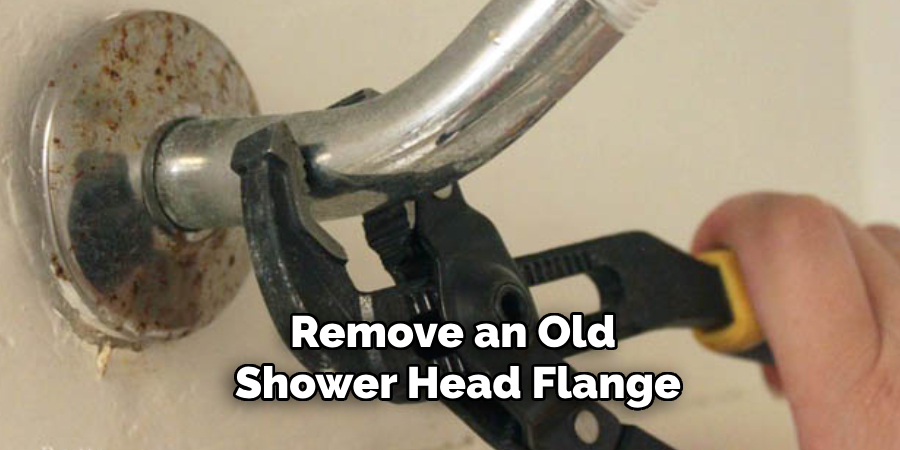
Q: How Do I Remove an Old Shower Head Flange?
A: If you need to remove an old shower head flange, start by gently unscrewing it from the shower arm. If there is any plumber’s tape or sealant, carefully scrape it off with a razor blade or flat tool.

Then, clean and dry the area before installing your new flange, following these guidelines. Remember, always use caution when working with tools and plumbing fixtures. If you are unsure about any step in this process, consult a professional for assistance. Better safe than sorry! Now, go enjoy your new and secure shower head flange. Happy DIY-ing!
Conclusion
Securing your shower head flange may seem like a minor task, but it makes a significant difference in maintaining a leak-free and aesthetically pleasing bathroom.
By following the detailed steps outlined in this guide on how to secure shower head flange, you can ensure a successful installation that prevents water damage and enhances the overall functionality of your shower.
Remember to periodically check your shower arm and flange connections for any signs of wear or leaks to prolong the life of your fittings. Taking these simple preventive measures will help you enjoy a reliable and stylish shower experience for years to come. Happy showering!