Do you have a wobbly, uneven toilet that rocks when you sit on it? The good news is that it’s an easy fix.

If you’ve noticed that your toilet is wobbly or rocking, it’s time to shim it. Shimming a toilet is a relatively easy do-it-yourself project that anyone with basic DIY skills can accomplish in an hour or less. Not only will shimming help make your bathroom more comfortable and functional – not to mention free of messes resulting from misaligned toilets! – but it’s also the first step towards ensuring a proper seal on the wax ring, preventing water leaks underneath the fixture.
In this blog post, we’ll provide step-by-step instructions for how to shim toilet so you can get back to business as usual. Keep reading for all the information you need!
What are the Causes of a Wobbly Toilet?
Before we jump into the how-to, let’s discuss why toilets can become wobbly in the first place. An uneven floor is the most common cause of a wobbly toilet, which can create a rocking effect when someone sits on the fixture.
Other causes include loose bolts, a broken wax ring seal, or inadequate support from the floor flange due to inadequate installation or damage from movement over time. In some cases, it may also be necessary to replace the mounting screws if they are worn down or corroded.
What Will You Need?
Now that you know what’s causing your wobbly toilet, it’s time to start the project. The good news is that shimming a toilet requires minimal materials and tools – so it won’t take long to make your bathroom safe and comfortable again. Here’s what you’ll need:
- Toilet shims
- Screwdriver
- Pliers (optional)
Once you have all the materials, it’s time to start shimming!
10 Easy Steps on How to Shim Toilet
Follow these steps for how to shim the toilet and make your bathroom more comfortable:
Step 1. Turn Off the Water Supply Valve:
Before beginning any DIY project involving a toilet, turning off the water supply valve is important. This will ensure that no water escapes while working on the fixture. As a safety precaution, it’s also a good idea to flush the toilet and allow any remaining water to drain before getting started.

Step 2. Remove the Toilet:
Flush the toilet to empty out all of the water, then use a screwdriver or pliers (or both) to loosen and remove the bolts from beneath the tank. Carefully lift and set aside your toilet to access the flange underneath. Remember to place a towel or protective material underneath, as this will help protect the floor from any water.
Step 3. Place Shims Around Flange:
Take your shims and place them around the flange’s entire circumference, ensuring they are evenly distributed. This will create more stability for your toilet by filling in any gaps between the flange and the floor. As you place the shims, make sure that they are flush against the floor and not sticking out.
Step 4. Push Shims Down:
Once all of your shims are in place, use a flathead screwdriver or similar tool to push them down until they are snug against the base of the toilet. This will ensure that they don’t move around when you put your fixture back in place. Try to make sure that the shims are even so that your toilet sits level.
Step 5. Line Up Toilet with Shims:
Carefully lower your toilet onto its shims so that it is lined up correctly with the flange underneath. Make sure that a shim supports all four corners of the base before moving on to step 6. Remember to be gentle so that you don’t accidentally damage the shims or the flange.
Step 6. Reattach Bolts:
Replace any bolts or screws removed in Step 2 and tighten them as much as possible. This will help hold the toilet firmly in place and prevent it from rocking when someone sits on it. You can also add a few drops of waterproof sealant to the bolts before tightening them.
Step 7. Check for Stability:
Once the bolts are back in place, check to make sure that your toilet is still stable and not wobbly before moving on to the next steps. If you’re still experiencing any difficulty with stability, add additional shims or replace old ones with thicker, sturdier versions. Keep checking and adjusting until the toilet is completely stable.

Step 8. Replace Wax Ring Seal:
Remove the old wax ring seal from around the base of your toilet, then replace it with a new one before proceeding to step 9. If you hear any gurgling or notice an increase in water flow, this indicates that the seal isn’t properly sealed and should be replaced. Another option is to use a wax-less seal, which may provide an even better seal.
Step 9. Replace Toilet Tank:
Carefully place the tank back on top of the toilet bowl and reattach any bolts or screws loosened in step 2. Make sure to tighten them as much as possible for a secure fit. Check for any leaks or signs of water damage around the base before moving on to the next step.
Step 10. Turn On Water Supply Valve:
Finally, turn on the water supply valve and check for leaks around the base of your toilet before wiping it down with a soft cloth and replacing all components that were removed during this process. Remember to give the toilet a few flushes afterward to make sure everything is in working order. Always maintain a watchful eye for any potential issues, such as water leakage or wobbly toilets.
And there you have it – you have successfully shimmed your toilet! With minimal materials and effort, you can create a safe, comfortable bathroom without calling in an expert plumber.
5 Additional Tips and Tricks
1. Make sure the toilet is level. Before you begin shimming, ensure the toilet is placed correctly on an even surface and not tilted or crooked. If it is, adjust the floor beneath the toilet to level it out before you begin shimming.
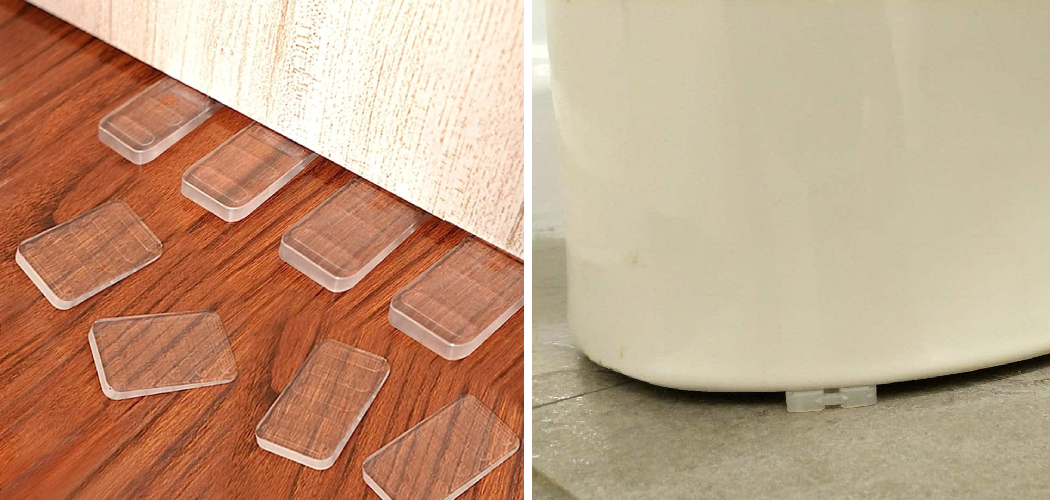
2. Use thin, plastic shims for best results. Plastic shims are easier to work with and can be molded and shaped more easily than other materials. They also provide a better seal that will prevent water from leaking out of the base of your toilet.
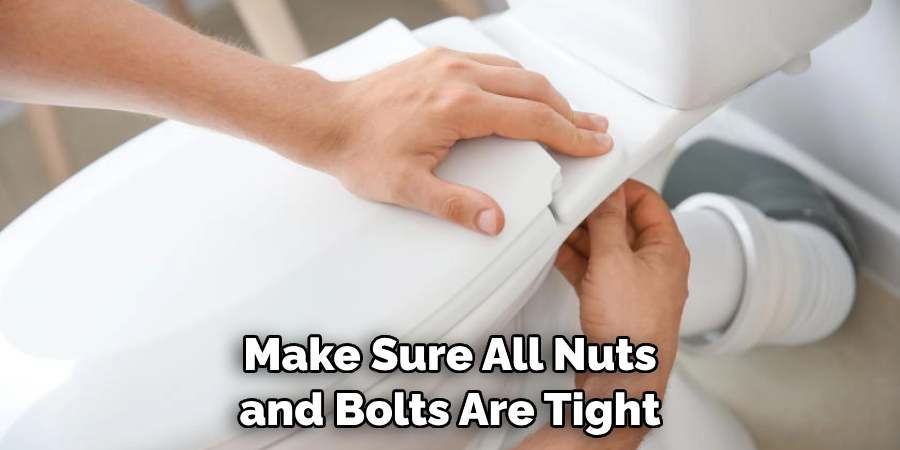
3. Make sure all nuts and bolts are tight and secure before you start shimming. If these components are not properly secured, they may loosen over time which could cause further instability in your toilet’s structure.

4. Shim around the entire perimeter of the toilet base to ensure an even surface between the bowl and flooring material. This will create a strong and secure seal that prevents water from leaking out.
5. Don’t over shim the toilet base! Too much shimming could cause your toilet to become unstable, so make sure you use just enough to level it without overdoing it. Once everything is evened out, you can tighten the bolts on your toilet to keep everything in place.
With these tips, you’ll be able to shim your toilet in no time successfully!
5 Things You Should Avoid
1. Don’t use metal shims. Metal shims can rust over time, which could cause water stains on your floor and weaken the seal between the bowl and the floor.
2. Avoid leaving gaps between the toilet bowl and shim material. If these are not filled in properly, it could lead to water leakage or an uneven surface that’s difficult to clean.
3. Use only a few layers of shimming material. This could make your toilet structurally unstable and may put unnecessary strain on its components over time.
4. Don’t overtighten the nuts and bolts when securing them to the base of your toilet after you’ve finished shimming; this could damage the porcelain or other materials within your toilet.
5. Avoid using other materials, such as wood or cardboard, to shim your toilet; these are unsuitable materials and could lead to water or structural damage in the long run. Make sure you always use plastic shims for the best results.

Shimming a toilet is relatively simple, but you must take the necessary precautions to ensure that it is done properly so your toilet remains secure and level over time. Keep these tips in mind, and you’ll have a perfectly level toilet every time!
Conclusion
To sum it all up, shimming a toilet is essential to ensure it’s safely secured to the floor. While there can be complexities to this task when dealing with many different types of floors and foundations, paying special attention to the type of shim you are using and the design of your toilet before starting can help ensure you have a successful outcome.
It might take a bit more effort on your part, but doing it right will give you peace of mind knowing that your toilet won’t suddenly become unhinged anytime soon!
The article on how to shim toilet has helped you understand what is involved and provided you with the skills to get the job done right!
After all, shimming is just one piece in making sure you maintain a safe home for your family – so don’t be afraid to take the time to get it done right. Good luck with your project.

