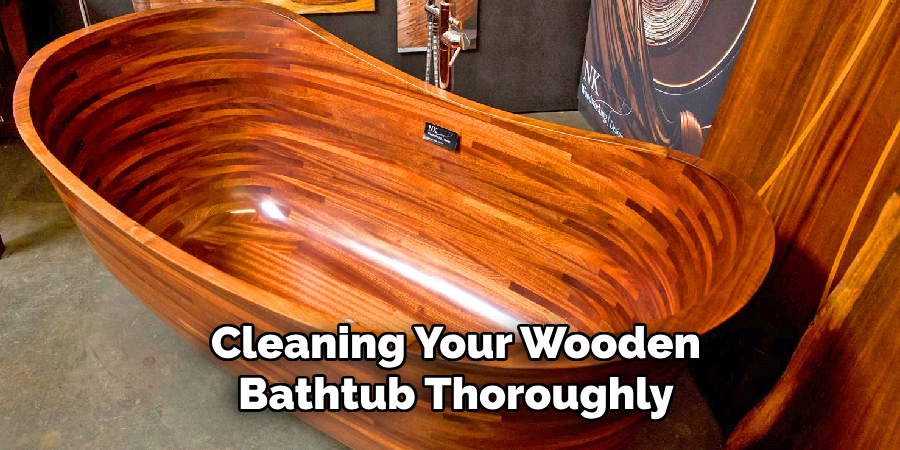
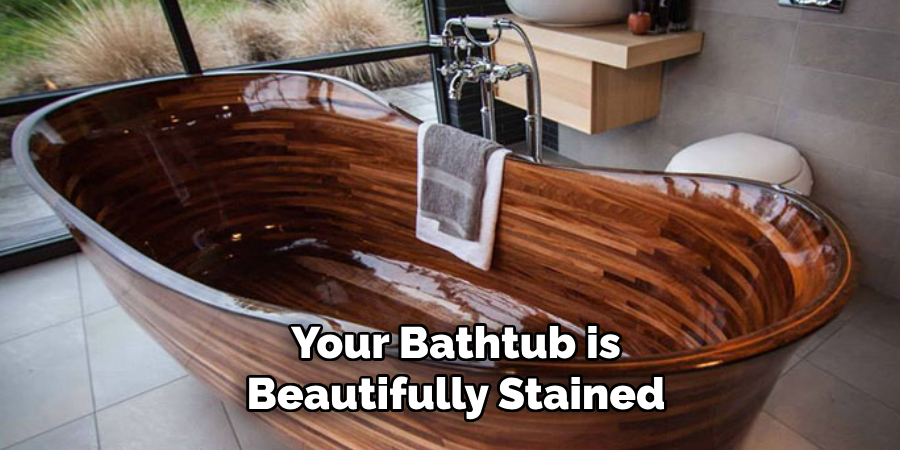
Do you dream of a luxurious wooden bathtub in your home? Adding natural elements, such as wood, can promote relaxation and an ambiance of luxury. To get the maximum benefit from a wooden bathtub, it must be adequately sealed and stained.

Wooden bathtubs are typically made from teak, cedar, or mahogany. These woods have natural oils that make them durable and water-resistant. However, without proper sealing and staining, these tubs can become damaged by prolonged exposure to water.
Staining is often seen as an intimidating task for many DIYers; however, with some preparation, tips, and tricks up your sleeve — like those we’ll share with you in this post – the process doesn’t have to feel overwhelming or daunting. It’s entirely possible to undertake to stain a wooden bathtub yourself – so if you’re ready to take on the challenge, learn more about how to stain a wooden bathtub correctly below!
What Will You Need?
To effectively stain your wooden bathtub, you will need the following items:
- Wood Stain: Choose a stain that is specifically designed for bathtubs or bathrooms with high humidity levels. The color of the stain is entirely up to your preference.
- Sandpaper (80- and 220-grit): You need to prepare the tub surface by sanding it down. Start with the 80-grit paper for initial sanding and then use the 220-grit for a smooth finish.
- Tack Cloth: To clean up any residual sawdust after sanding.
- High-quality Brushes: For applying the stain evenly across the bathtub surface.
- Wood Sealer: To seal the tub after staining it. The sealer protects the wood from moisture and prolongs the life of the stain.
- Soft Rags or Cloths: These will be used to remove excess stains.
- Rubber Gloves and Safety Goggles: It’s always important to protect yourself when working with staining products.
Prepare your workspace by laying down drop cloths or old newspapers to protect the floor from any accidental spills.
8 Easy Steps on How to Stain a Wooden Bathtub
Step 1. Clean the Bathtub:
Start by cleaning your wooden bathtub thoroughly. Remove any soap scum, dirt, or residue. You can use a mild detergent or a specialized wood cleaner. Allow the tub to dry completely after cleaning. This step ensures that the stain adheres properly and evenly to the surface of the bathtub.

Step 2. Sand the Bathtub:
Now, it’s time to prepare the surface of your wooden bathtub for staining. Start by sanding the entire surface of the bathtub using 80-grit sandpaper. This rougher sandpaper will remove any existing finish or rough patches from the bathtub’s surface.
Then, switch to the 220-grit sandpaper to smooth and prepare the wood for staining. Make sure to sand in the direction of the wood grain to avoid scratches. Be thorough and patient in this step, as the quality of your sanding job directly impacts the final result of your staining.
Step 3. Clean Up the Dust:
After sanding, it’s essential to clean up the sawdust. Use a vacuum cleaner to remove the majority of the dust. Then, wipe down the entire tub using a tack cloth. The tack cloth is designed to pick up and hold dust, ensuring a clean, dust-free surface.
This step is crucial as any residual sawdust can mix with the stain, affecting its smooth application and final appearance. After meticulously removing all the dust, let the bathtub settle before moving on to the next step.
Step 4. Apply the Stain:
Now comes the exciting part – applying the stain. Don your gloves and goggles, stir your can of stain well, and then apply the stain to the wooden bathtub using a high-quality brush. Brush the stain on toward the grain, not against it.
Start from one end and work your way to the other, trying to maintain a wet edge to avoid overlap marks. Once the entire tub is covered, let the stain soak in for about 5-15 minutes, depending on the color intensity you desire – the longer the stain sits, the deeper the color.
Step 5. Wipe Off Excess Stain:
After the stain has soaked in, use a clean, soft rag to wipe off all excess stain. Again, you should wipe in the direction of the grain. This step is crucial as it removes any excess stain, which, if left, could become sticky and cause the finish to be blotchy.

After wiping, let the bathtub dry completely. This could take a few hours, but it’s best to leave it overnight. If the color isn’t as dark as you would like, you can repeat steps 4 and 5 to apply another coat.
Step 6. Apply Wood Sealer:
Once the stain is fully dry and you’re satisfied with the color, it’s time to seal the wood. Start by stirring the can of wood sealer well, but be careful not to create bubbles as they can affect the final finish. Using a new high-quality brush, apply the sealer in the direction of the grain, ensuring you cover the entire surface of the bathtub.
The sealer protects the wood from moisture, helping to extend the life of your bathtub and maintain the beauty of the stain. Allow the first coat of sealer to dry – this may take a few hours. Once dry, lightly sand the entire surface with 220-grit sandpaper, then wipe away the residue with a tack cloth.
Apply a second coat of sealer, let it dry, and then sand and wipe again. For best results, apply three coats of sealer in this manner. When you’ve applied the final coat, let the bathtub dry for at least 24 hours before using it. This ensures the sealer has time to cure fully, protecting your wooden bathtub for years.
Step 7. Final Inspection and Clean-up:
After the final coat of sealer has fully cured, inspect your work. Ensure that the sealer is evenly applied without drips or patches. If you spot anything, lightly sand the area and reapply the sealer. Once you’re satisfied with your newly stained wooden bathtub, it’s time to clean up.

Dispose of any used rags or brushes responsibly, and remember to store any leftover materials in a cool, dry place, away from children and pets. Congratulations, you have successfully stained your wooden bathtub! Now, you can enjoy your bathtub’s enhanced beauty and extended lifespan, knowing that it was a job well done.
Step 8. Maintenance and Care:
Maintaining your newly stained wooden bathtub is essential for preserving its beauty and durability. Regular cleaning with mild, non-abrasive cleaners is key. Avoid using harsh chemicals as they can damage the stain and sealer.
Always ensure that the tub is dried thoroughly after use to prevent water absorption, which can lead to wood swelling or warping. Reapply a coat of sealer annually or as needed to maintain the protective layer. With proper care and attention, your stained wooden bathtub will retain its appeal and function for many years to come.
By following these 10 easy steps, you can successfully stain your wooden bathtub and add a beautiful touch to your bathroom.
5 Things You Should Avoid
- Neglecting Surface Preparation: One of the biggest mistakes is skipping the preparation of the wooden surface. Always sand the bathtub thoroughly before applying the stain, and make sure it’s clean and dry to ensure an even application and absorption of the stain.
- Using Low-Quality Tools: Quality matters. Using low-quality brushes can lead to uneven stain application and visible brush strokes. Invest in high-quality brushes for a smoother, more professional-looking finish.
- Not Allowing Enough Drying Time: Rushing the drying process can lead to a sticky stain and an uneven finish. Always wait for the stain and sealer to dry completely before moving on to the next step.
- Ignoring Safety Precautions: Never underestimate the importance of safety. Always wear protective gear and work in a well-ventilated area. Remember, the fumes from stains and sealers can be harmful if inhaled.
- Poor Maintenance: Once your bathtub is beautifully stained, it’s essential to care for it properly. Avoid using harsh cleaning products that can damage the finish. Instead, use mild cleaners and soft cloths to keep your stained wooden bathtub looking its best.

By avoiding these mistakes, you can ensure a successful and long-lasting stain on your wooden bathtub.
Conclusion
Staining can be a fun and rewarding experience. With the right tools, protective gear, maintenance steps, and technique, achieving your desired bathroom look is now within reach. As with any project, please consult an experienced professional with questions or concerns. Following the tips outlined in this post, you will soon have a beautiful wooden bathtub that you can enjoy for years to come!
Hopefully, the article on how to stain a wooden bathtub has provided you with valuable information and practical steps to achieve your desired outcome. Always take your time, be patient, and enjoy the process.
Thanks for reading our guide to staining a wooden bathtub! If you’re ever in doubt about what to do, remember that it never hurts to ask an expert. Good luck with your next project!

