Regarding bathroom vanities, the most important factor in choosing one is its appearance. A stained and finished vanity can add character to a space that would otherwise look too plain. It also protects against moisture and other elements, ensuring your vanity lasts for years.

Staining a bathroom vanity is an excellent way to add a personal touch to your home. This type of project can be accomplished with minimal tools, and the results can be awe-inspiring.
The greatest advantage of staining a vanity is that it gives you complete control over the color and finish of your piece, enabling you to create something that perfectly complements the rest of your decor. In this blog post, You will learn how to stain bathroom vanity.
Step-by-Step Processes for How to Stain Bathroom Vanity
Step 1: Inspect Your Vanity
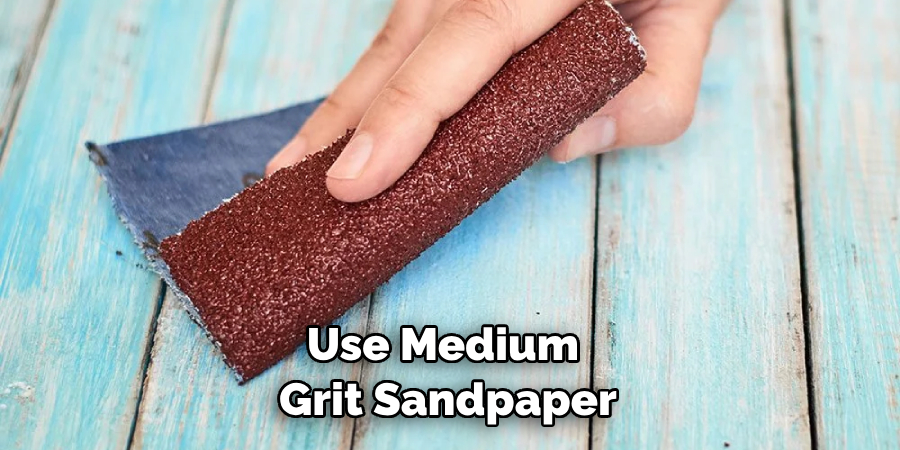
Before starting the staining process, ensure your vanity is in good condition. Check for cracks, warping, and other signs of age or damage. Repair any issues before you start staining. Use medium-grit sandpaper to sand the vanity.
This will help prepare the surface for staining and ensure it absorbs the stain evenly. Remember to wipe away any sawdust before moving on to the next step.
Step 2: Apply Stain
Once you have prepped the vanity, it’s time to apply the stain. Make sure to use a brush or rag when applying the stain so that it is properly absorbed into the surface of the wood. Work in small sections using a brush and wipe away any excess with a clean cloth.
Once you have applied the stain, use a clean cloth to remove excess. This will ensure that the final finish is even and smooth.
Step 3: Allow the Stain to Dry Completely
Allow the stain to dry completely before continuing. Depending on the type of wood and humidity levels in your home, this may take anywhere from 24 to 48 hours. Once the stain has dried completely, it’s time to apply a clear finish.
This will help seal the stain and protect against water and wear and tear. A polyurethane or varnish is typically recommended.
Step 4: Allow the Clear Finish to Dry Completely
Like the stain, you should allow the clear finish to dry completely before continuing. This may take anywhere from 24 to 48 hours, depending on the conditions in your home.
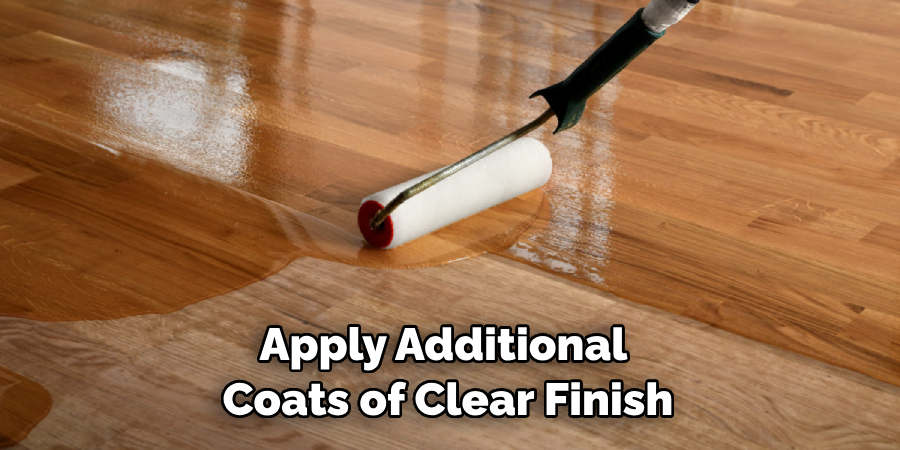
After the first clear finish coat has dried, lightly sand the vanity with a fine-grit sandpaper. This will help create an even surface for any additional coats of clear finish.
Step 5: Apply Additional Coats of Clear Finish
Once you have finished sanding, you can apply additional coats of clear finish until you are satisfied with the results. Allow each coat to dry completely before applying the next.
Once you’ve finished staining and finishing your vanity, take a step back and admire your work. You now have a beautiful bathroom vanity that will last for years.
Precautions for How to Stain Bathroom Vanity
- Wear protective gear such as gloves, goggles, and a respirator while staining the vanity to protect yourself from harmful fumes or splintering wood pieces.
- Ensure your workspace is well-ventilated by opening windows and doors to avoid inhaling dangerous particles released during staining.
- Cover your floors with drop cloths or newspapers that can absorb excess liquids and splinters.
- Before staining, ensure the vanity is clean and debris-free by cleaning it with a dust cloth and wiping away any grease deposits.
- To prevent accidental staining, use painters or masking tape to seal off areas such as walls, flooring, and nearby furniture.
- To avoid uneven stains, use a brush to apply the stain and move in one direction for even coverage.
- Finally, allow sufficient drying time before applying sealant or varnish over the stained vanity surface.

These simple precautions will ensure your staining project is completed without mishaps.
Are There Any Special Instructions for Applying the Stain?
Yes. Applying stain to your bathroom vanity requires special attention and care. Before beginning, wear protective gloves and a respirator or other face mask when applying the stain.
When working with wood staining products, it is important to work in a well-ventilated area as some of these products may contain strong fumes that can be harmful if inhaled.
Before applying the stain, always thoroughly clean and sand the surface of your bathroom vanity. This will help ensure that the stain is evenly applied. If you use multiple stains for a multi-colored finish, apply each color separately and allow enough time for each coat to dry before applying the next one.
It is also important to remember to apply the stain in the direction of the grain. Once you have finished staining your bathroom vanity, give it ample time to dry before applying a topcoat. A sealer or polyurethane finish is recommended to protect your stain’s appearance and allow it to last longer.
How Long Will It Take for the Stain to Dry Completely?
Staining your bathroom vanity can be a rewarding project when done properly. However, the time it takes to dry completely varies depending on the type of stain and sealer you have used. If you use an oil-based stain and polyurethane sealer, expect to wait about 24 hours for it to dry.
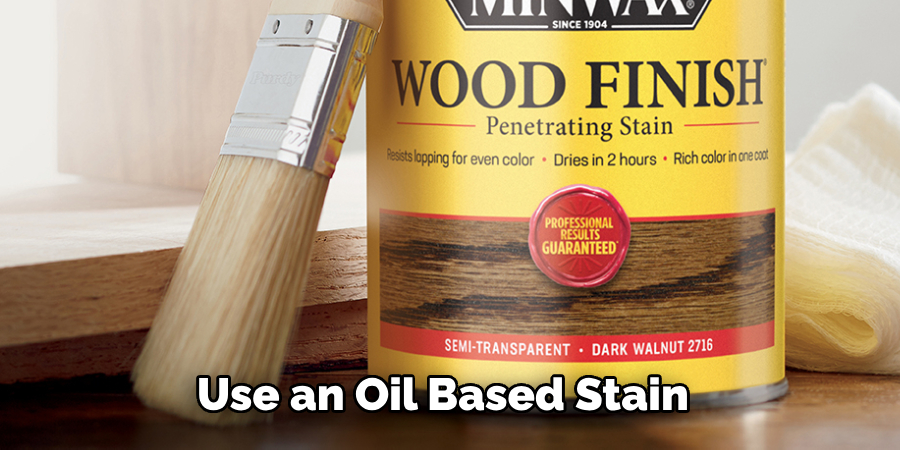
Water-based stains tend to dry faster than oil-based stains, generally taking about 4-6 hours to dry. It’s important to check the label of your stain and sealer for specific drying time instructions, as it can vary depending on the product you use. Once the stain has dried completely, apply a few coats of wax or furniture polish for extra protection.
Is There Any Special Cleaning or Maintenance Required After Staining the Vanity?
After staining the bathroom vanity, some special cleaning and maintenance steps need to be taken. These steps will help ensure that the stain job looks good for years. First, clean off any dust or residue from the vanity’s surface before applying a sealant or polyurethane finish. This will give your vanity a better, more even finish.
Next, apply a sealant or polyurethane to the surface of the stained bathroom vanity. This will help protect it from wear and tear over time. Make sure to follow the manufacturer’s instructions for application and drying times.
Finally, after the sealant or polyurethane is completely dry, wipe down the surface with a damp cloth to remove any residue. This will help keep your bathroom vanity looking clean and polished for years.
Are There Any Special Techniques for Creating a More Professional-looking Finish on Your Bathroom Vanity?
Yes, there are a few techniques that you can use to give your bathroom vanity a more professional-looking finish once it has been stained. First, you should sand the entire surface of the vanity with fine-grit sandpaper to smooth out any roughness and create a perfectly even surface.
After the entire vanity is sanded, take extra time to smooth out any areas with a heavy grain or where the stain may have pooled.
Once the sanding is complete, apply a coat of sealer before staining. This will help protect the wood and provide extra protection against water damage. When applying the sealer, follow the manufacturer’s directions for best results.
Once the sealer has dried, you can begin staining the vanity. When staining your bathroom vanity, using long, even strokes across the entire wood surface is important. Make sure to wipe away any excess stain with a clean cloth and allow each coat of stain to dry before applying another.
What Maintenance is Required to Keep Your Stained Bathroom Vanity Looking Its Best for Years to Come?
Staining your bathroom vanity can add a unique and stylish touch to your home, but it is important to take good care of the wood if you want it to stay in top condition for years.
Regular maintenance and cleaning are essential to keep your stained bathroom vanity looking its best. Start by dusting the surface of the wood regularly with a soft cloth. This will help remove dirt and dust particles that can damage the finish over time. Use a vacuum cleaner with a brush attachment to clean up any hard-to-reach areas.
Once you’ve removed all of the dirt and debris, use a wood cleaner or mineral oil to wipe down the vanity surface and keep it looking fresh. Avoid using harsh detergents or abrasive cleaners when cleaning stained wood, as these can strip away the beautiful finish.
If you plan to use your vanity regularly, apply a sealant or protective wax every six months. This will keep moisture out and help preserve the color of your stain for many years.
Conclusion
In conclusion, staining a bathroom vanity is a relatively easy project to make your bathroom look stylish and updated. You must take many steps to ensure the best results, such as sanding, applying primer and paint, and then adding a stain or sealant.
Follow all instructions carefully and use the right materials for your project to create a beautiful, long-lasting finish. Reading this post has helped you learn how to stain bathroom vanity. Make sure the safety precautions are carried out in the order listed.

