A leaky bathroom sink can be a nuisance, causing water wastage and potential damage to your home. Fortunately, fixing it is often simpler than you might think. Whether it’s a dripping faucet or a persistent puddle under the sink, addressing the issue promptly can save you both time and money. In this guide, we’ll explore various methods to stop a bathroom sink from leaking.
From identifying the source of the leak to executing the necessary repairs, we’ll walk you through the step by step process of how to stop a bathroom sink from leaking. You’ll learn about common causes of leaks, such as worn-out washers or loose connections, and discover practical solutions to tackle them effectively.
With a few basic tools and a little know-how, you can regain control over your bathroom plumbing and enjoy a leak-free sink once again. So, let’s roll up our sleeves and get started on resolving that pesky leak for good.
Importance of Addressing Bathroom Sink Leaks Promptly
Ignoring a leaky bathroom sink can lead to a myriad of problems that extend far beyond the inconvenience of a constant dripping sound. Firstly, even a small leak can result in significant water wastage over time, contributing to higher utility bills and unnecessary strain on water resources. Secondly, the continual presence of water can cause damage to bathroom fixtures, cabinets, and flooring.
Moist environments also encourage the growth of mold and mildew, which pose health risks and can be difficult and expensive to eradicate. Additionally, water leaking into substructures can weaken the integrity of your home, leading to costly repairs. Addressing bathroom sink leaks promptly not only prevents these issues but also prolongs the life of your sink and plumbing system, ensuring they function efficiently for years to come.
Common Causes of Bathroom Sink Leaks
Bathroom sink leaks can originate from several sources, each requiring a unique approach for resolution. Understanding these common causes is the first step in troubleshooting and fixing the leak effectively.
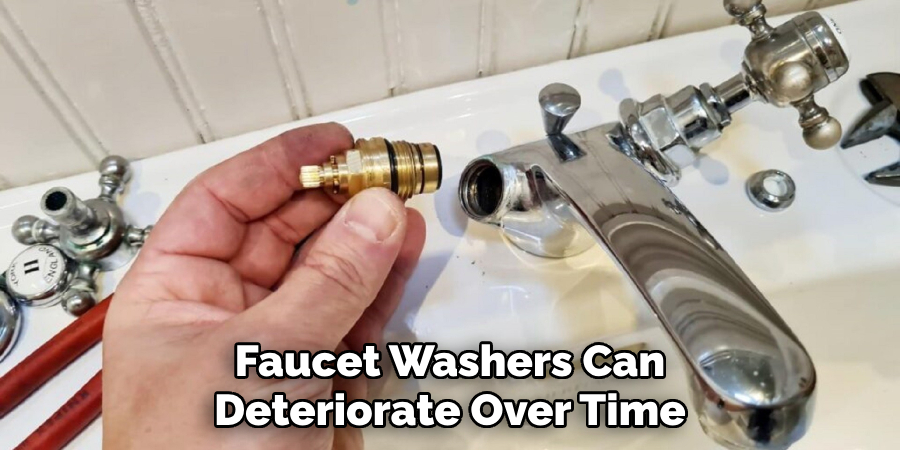
- Worn-Out Washers: Faucet washers can deteriorate over time due to constant pressure and friction. This is one of the most common culprits behind drip leaks from the faucet.
- Loose or Damaged O-Rings: The O-ring, a small disc attached to the stem screw that holds your faucet handle in place, can become loose or wear out, leading to leaks around the handle.
- Corroded Valve Seat: The valve seat, which connects the faucet and the spout in the compression mechanism, can corrode, causing leaks around the spout area.
- Improper Sink Installation or Sealing: If the sink or the drain wasn’t installed correctly, or if the sealing has started to degrade, water may leak from the basin or at the point where the sink meets the countertop.
- P-Trap Issues: The P-trap, the U-shaped pipe under the sink, can become loose, deteriorated, or clogged, leading to leaks beneath the sink.
- Supply Line Wear: The lines that supply water to the faucet can become worn or loose, leading to leaks under the sink that might not be immediately noticeable but can cause significant damage over time.
Identifying the specific source of a leak can sometimes be challenging, but with a systematic approach, it is certainly manageable. In the following sections, we will explore how to diagnose and fix each of these common issues.
Identifying the Source of the Leak
Before you can effectively address a leak in your bathroom sink, you first need to pinpoint where the leak is coming from. Accurate identification of the source is crucial for applying the correct fix. Here are steps to help you determine the leak’s origin:
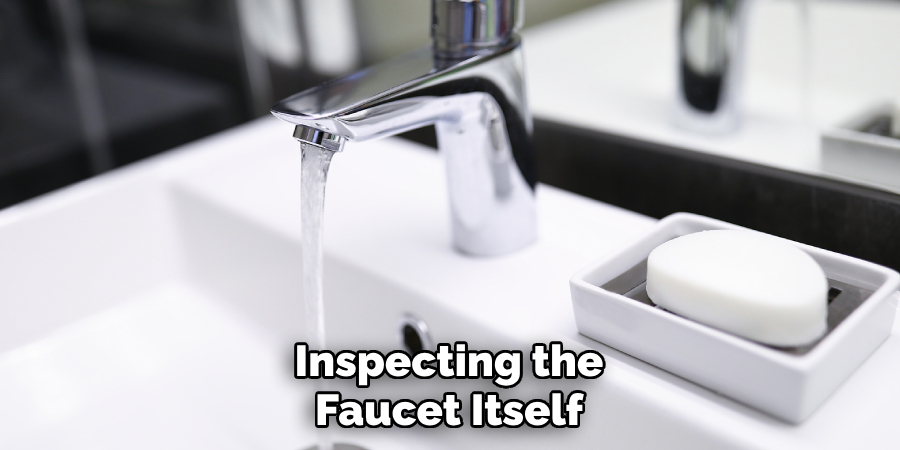
- Check the Faucet: Begin by inspecting the faucet itself. Turn on the water and observe where the leak appears. If you notice drips directly from the faucet when it’s turned off, the issue could be within the faucet mechanism, such as worn-out washers or a corroded valve seat.
- Inspect Around the Base and Handle: If the area around the base of the faucet or the handles is wet, this might indicate a problem with the O-rings or the seal around these components.
- Evaluate the Sink Basin and Countertop Sealing: Check the perimeter where the sink meets the countertop. Water pooling in this area can often be traced back to failed sealant or improper installation.
- Examine the P-Trap and Supply Lines: Look under the sink to assess the P-trap and water supply lines. Water or dampness in this area could point to leaks in these components. To confirm, place a bucket underneath and observe any drips.
- Dry Tests: After a preliminary visual inspection, dry the area thoroughly with a towel or cloth. Then, place a piece of dry paper towel under the suspect areas and check frequently for signs of water. This method can help isolate slow, hard-to-see leaks.
By methodically examining each potential source of the leak, you can narrow down the exact cause and proceed with the appropriate repairs. Taking your time during this step is vital to ensure you address all possible issues, saving both time and resources in the long run.
Inspecting the Faucet and Handles for Drips
To effectively inspect the faucet and handles for drips, it’s essential to perform a thorough check while the faucet is turned off and on. Here is a step-by-step approach to accurately assess and pinpoint leaks originating from these areas:
- Visual Inspection: With the faucet turned off, closely observe the faucet and handle areas. Look for any moisture or water droplets that could indicate a slow leak. Pay special attention to the area around the base of the faucet as well as the handles.
- Turn on the Water: Slowly turn on the faucet and watch the flow of the water. Check for leaks that may only be visible when the faucet is in use. Observe both the water stream and the areas around the faucet handles.
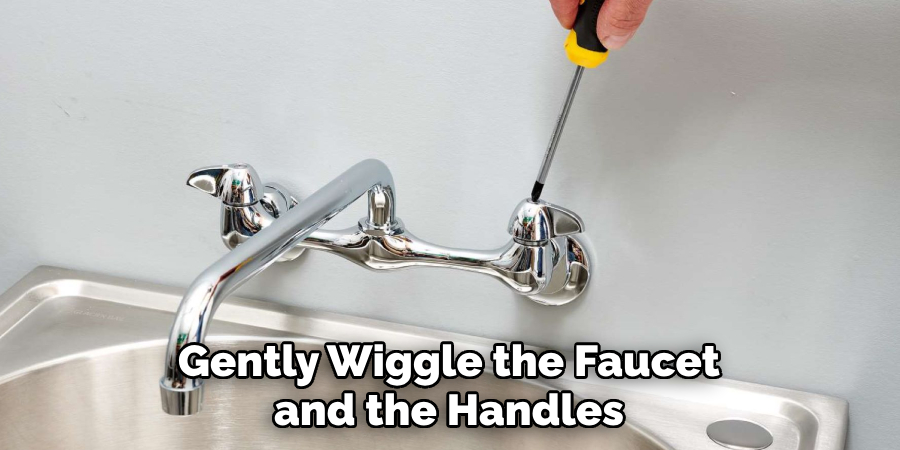
- Check for Loose Components: Gently wiggle the faucet and the handles to see if there is any movement. Loose components can sometimes cause or contribute to leaks and may be relatively simple to tighten and fix.
- Wipe and Dry Test: After inspecting with water running, turn off the faucet and dry all areas with a towel. Take a dry paper towel or cloth and wrap it around the base of the faucet and handles. Leave it for some time and then check for any signs of moisture. This can help confirm if there is a slow leak present.
- Inspect for Wear and Tear: Examine the faucet and handles for any visible signs of wear, corrosion, or damage. Cracks, worn material, or rust can be indicators that part of the faucet assembly needs replacement.
Addressing leaks at the faucet and handles promptly can prevent further damage and water waste. In cases where the issue is not readily apparent or simple to fix, it may be necessary to disassemble the faucet to inspect the internal components, such as washers, O-rings, and valve seats, for signs of wear or damage.
Checking the Drain Assembly for Leaks
Leakage in the drain assembly can be a common but overlooked source of water loss in bathroom sinks. Identifying leaks in this area requires a focused approach to ensure the integrity of the entire sink setup. Follow these steps to check the drain assembly effectively:
- Visual Inspection: Initially, conduct a thorough visual inspection of the drain assembly. Look for any signs of moisture, corrosion, or water stains on the drain pipes and around the drain where it meets the basin. Corrosion and moisture indicate a potential leak.
- Fill the Sink: Block the sink’s drain with a stopper and fill the basin with water. Add a few drops of food coloring to the water to make the leak easier to spot.
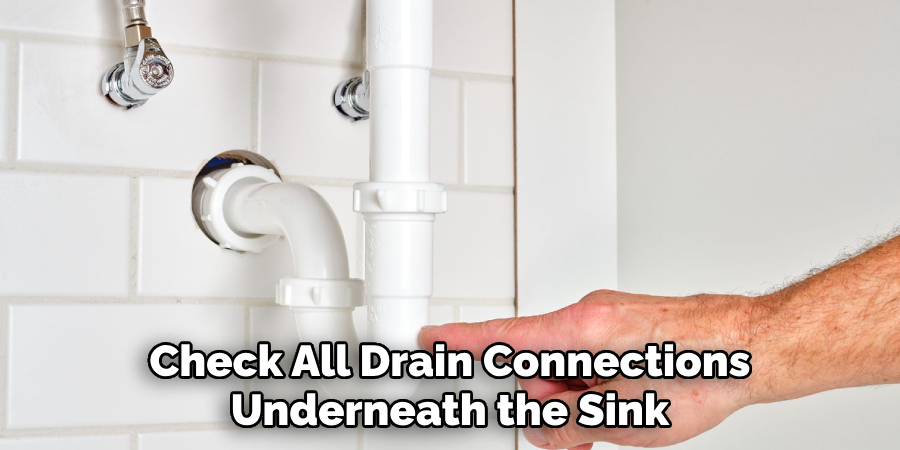
- Examine the Drain Connections: After filling the sink, check all drain connections underneath the sink while the water is still standing in the basin. This includes the connection points at the sink basin, the P-trap, and where the drain pipe enters the wall or floor.
- Check for Leaks: Remove the stopper and watch the drain assembly as the water rushes out. Pay close attention to the joints and the seals for any water escaping. This is where adding food coloring helps as it can make leaks more visible.
- Dry Test: After performing the water test, dry all areas with a towel. Place a dry piece of paper towel or a cloth underneath the drain assembly and leave it there for an hour or so. Check it later for any signs of wetness, which will help in identifying slow leaks that might not be obvious.
- Tighten Loose Fittings: If any leaks are found, attempt to tighten any loose connections with a wrench. Be careful not to overtighten, as this could damage the fittings or the pipes.
- Sealant Check: Examine the sealant around the flange in the sink basin and at any other connection points. If the sealant appears to be deteriorating or if there are visible gaps, it may need to be reapplied or replaced.
Taking the time to check the drain assembly thoroughly can prevent larger issues down the line. Leaks in this area can cause damage to cabinetry, floors, and even the structural elements of your home if left unaddressed. If the leak persists after tightening the connections and replacing sealants, it may be necessary to replace parts of the drain assembly or consult with a professional plumber for further assistance.
Examining the Supply Lines and Connections
Ensuring the integrity of the supply lines and their connections is crucial in preventing leaks that can lead to significant water damage. The supply lines carry water from your home’s main plumbing system to the sink, and any failure here can result in a constant flow of water. Here is a systematic approach to examine these critical components:
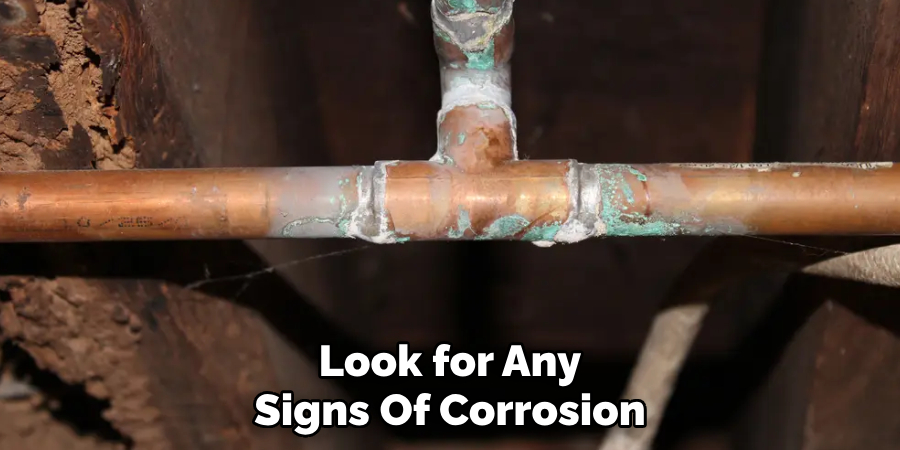
- Visual Inspection: Begin with a visual inspection of the supply lines. Look for any signs of corrosion, wear, or damage on the lines themselves and where they connect to the sink and the wall valves. Stainless steel braided lines are less likely to deteriorate than plastic or rubber ones, but they should still be checked regularly.
- Check for Wetness: Feel along the supply lines and the connections for any wetness, which could indicate a slow leak. Pay special attention to the areas near the valve connections, as these are common points for leaks to develop.
- Test Valve Operation: Gently turn the shut-off valves to ensure they operate smoothly. If a valve is stuck or very hard to turn, it may need to be replaced. Do not force a stuck valve, as this could cause it to break and result in a major leak.
- Tighten Connections: If you notice any slight drips or wetness at the connections, use an adjustable wrench to gently tighten the connections. Be cautious not to over-tighten, as this could strip the threads or damage the supply line.
- Replace Worn Lines: If any supply lines show signs of significant wear or damage, consider replacing them. It’s generally recommended to replace supply lines every 5 to 8 years as a preventative measure, even if there are no visible signs of wear.
- Check for Kinks: Ensure that the supply lines are not kinked or sharply bent, as this can restrict water flow and potentially lead to cracks or breaks in the line over time.
- Leak Detection Dye: For a more thorough inspection, consider using a leak detection dye or tablet in the water supply. A visible dye can help identify small leaks that might not be immediately apparent.
10 Methods How to Stop a Bathroom Sink from Leaking
1. Identify the Source of the Leak:
Before you can effectively fix the leak, you need to identify its source. Check the faucet, drain pipe, and any connections under the sink to determine where the water is coming from. Sometimes leaks can be deceptive, so take your time to thoroughly inspect the area.
2. Tighten Loose Connections:
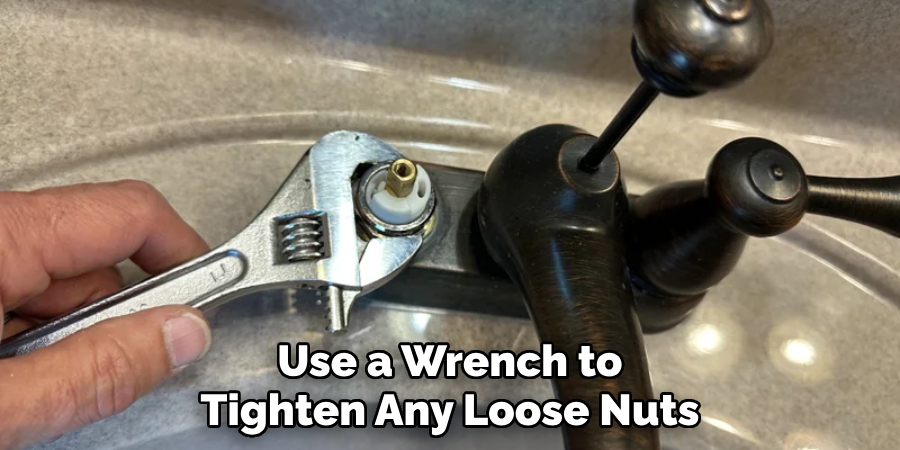
Loose connections are a common cause of leaks under the sink. Use a wrench to tighten any loose nuts or bolts connecting the faucet to the sink or the drain pipe to the wall. Be careful not to overtighten, as this could cause damage.
3. Replace Worn-Out Washers:
If the leak is coming from the faucet, it’s possible that the washers inside the faucet assembly have worn out over time. Disassemble the faucet and inspect the washers for signs of wear or damage. Replace them with new ones if necessary.
4. Apply Thread Seal Tape:
Thread seal tape, also known as plumber’s tape, can be applied to the threads of pipe connections to create a watertight seal. If you notice any threads that appear worn or damaged, apply a few wraps of thread seal tape before reconnecting the pipes.
5. Use Pipe Joint Compound:
Pipe joint compound, also known as pipe dope, can be applied to the threads of pipe connections to improve their sealing ability. If you have metal pipes under your sink, applying pipe joint compound to the threads before reconnecting them can help prevent leaks.
6. Replace Faulty Components:
In some cases, the leak may be caused by a faulty component such as a cracked pipe or a damaged faucet. If you’ve inspected the sink thoroughly and can’t identify the source of the leak, consider replacing the faucet or any other suspect components.
7. Install a New Drain Stopper:
If the leak is occurring around the drain area, it’s possible that the drain stopper is not sealing properly. Remove the old drain stopper and inspect it for any signs of damage or wear. If necessary, replace it with a new one to create a tight seal.
8. Check the Sink Flange:
The sink flange is the piece of metal or plastic that sits between the sink and the drain pipe. Over time, the seal around the sink flange can deteriorate, causing leaks to occur. Inspect the seal and replace it if necessary to prevent further leaks.
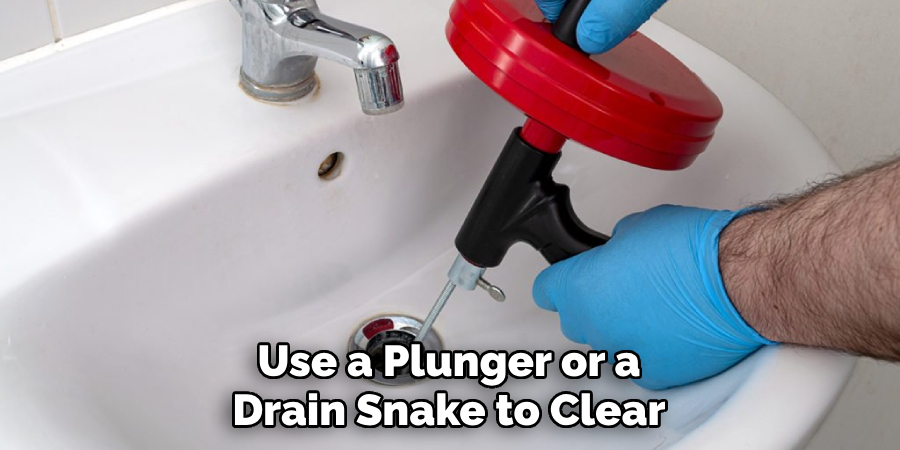
9. Clear Clogs and Debris:
Sometimes leaks can be caused by clogs or debris blocking the flow of water through the drain pipe. Use a plunger or a drain snake to clear any obstructions from the drain and restore proper water flow.
10. Seek Professional Help:
If you’ve tried all of the above methods and the leak persists, it may be time to call in a professional plumber. A plumber will have the expertise and specialized tools necessary to identify and fix the source of the leak effectively.
Conclusion
In conclusion, addressing a leaking bathroom sink is crucial not only for preserving the integrity of your plumbing system but also for preventing potential water damage and costly repairs. By identifying the source of the leak and employing the appropriate DIY solutions, such as tightening loose components or replacing worn-out gaskets, you can often stop the leak efficiently.
For persistent leaks, advanced techniques like repairing damaged pipes or resealing the sink may be necessary. Additionally, adopting preventative measures such as regular maintenance and installing water-saving fixtures can help mitigate the risk of future leaks. Thanks for reading, and we hope this has given you some inspiration on how to stop a bathroom sink from leaking!

