A running Korky toilet is a common issue that can lead to unnecessary water waste and increased utility bills if not addressed promptly. Recognizing the importance of fixing this problem supports environmental conservation and helps maintain a more affordable water expense. This guide is designed to provide readers with a step-by-step approach on how to stop a Korky toilet from running, empowering them to troubleshoot and resolve the issue effectively.
Korky is a trusted name in the industry, renowned for its reliable toilet repair products, particularly fill valves and flappers. Many of the solutions detailed in this guide are straightforward and can be accomplished with basic tools found in most homes. Following the instructions provided, homeowners can efficiently resolve common issues and ensure their toilets function properly, contributing to a more sustainable and cost-effective household.
Understanding How a Korky Toilet Works
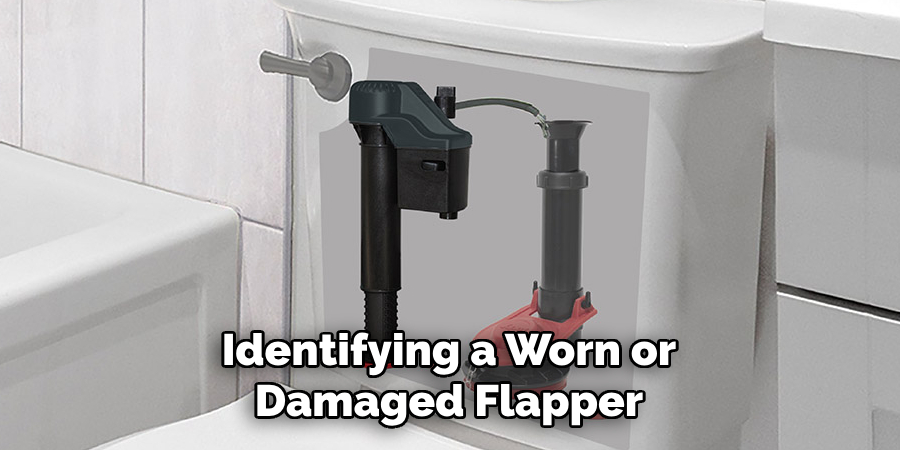
A Korky toilet consists of several key components that work together to ensure proper function. The fill valve controls the water flow into the tank, refilling it after each flush. The flapper is a rubber seal that lifts to allow water to flow from the tank into the bowl during flushing. The flush valve serves as the outlet for the tank’s water, while the overflow tube prevents water from overflowing by redirecting excess water back into the tank.
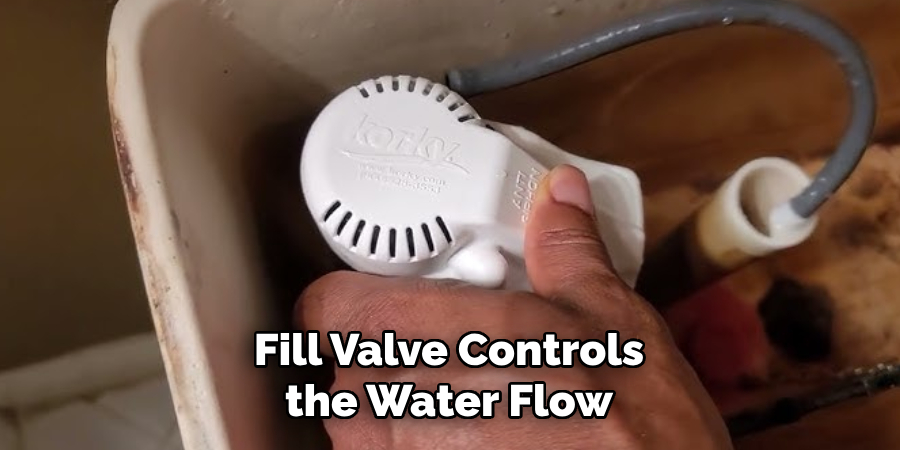
When a toilet runs continuously, it is often due to one of these components malfunctioning. A malfunctioning fill valve can cause water to flow incessantly into the tank, while a leaky flapper may result in water seeping into the bowl, keeping the toilet running. Additionally, improper water levels within the tank, whether too high or too low, can contribute to this issue, leading to unnecessary water wastage. Understanding these components is crucial for effective troubleshooting.
How to Stop a Korky Toilet from Running: Checking and Adjusting the Water Level
Inspecting the Water Level
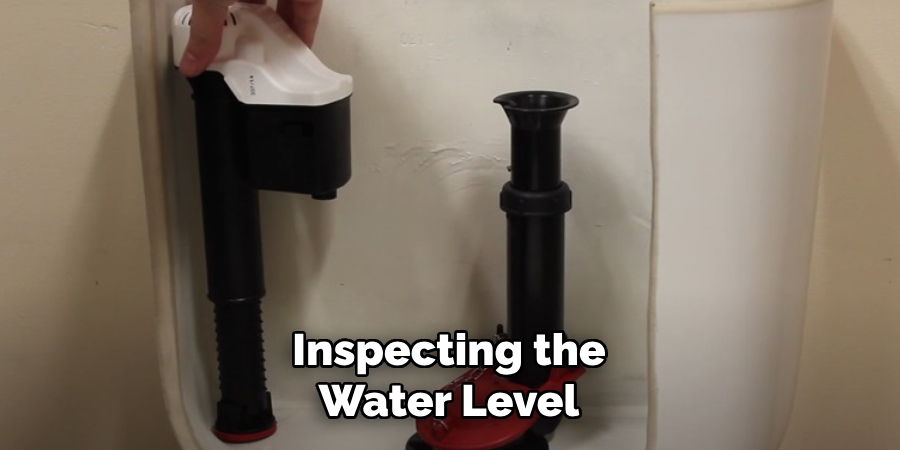
To ensure your Korky toilet functions properly, it’s essential to check the water level inside the tank. Begin by removing the tank lid and observing the water within. The water level should ideally be about 1 inch below the top of the overflow tube. If it’s higher, water may continuously flow into the overflow tube, causing the toilet to run.
To adjust the water level, locate the fill valve and identify the adjustment mechanism—this could be a float arm or a float ball. If the water level is too high, gently bend the float arm downward or adjust the float if it’s the ball type, ensuring it can sink lower in the tank. Conversely, if the water level is too low, the toilet may not flush effectively; in this case, raise the float arm or adjust the float upwards accordingly.
Adjusting the Fill Valve
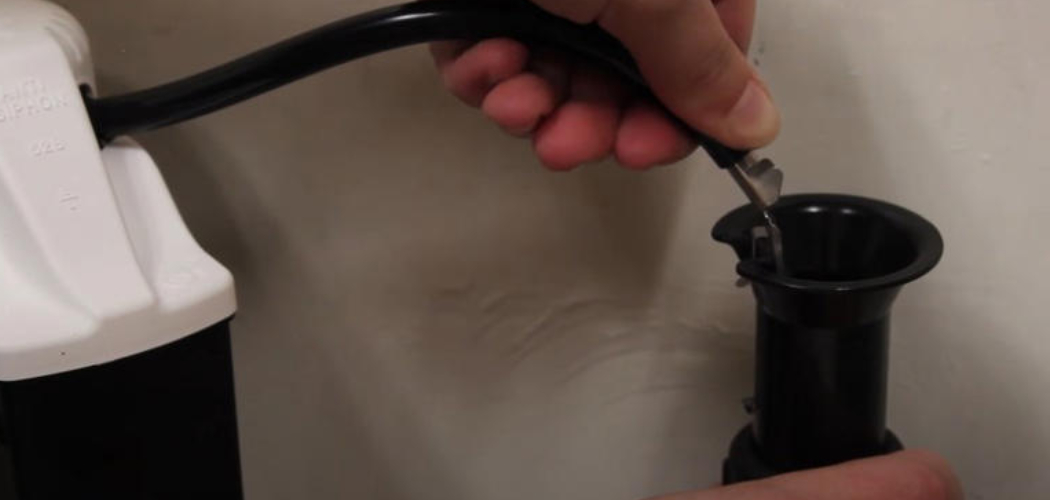
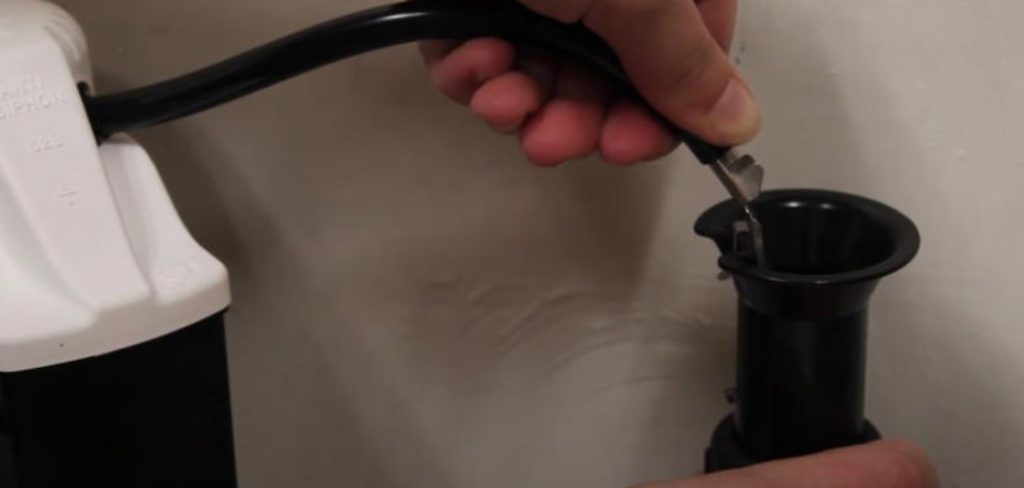
The Korky fill valve plays a crucial role in controlling the water level in your toilet tank. Adjusting it appropriately can resolve running issues related to water levels. Locate the adjustment screw or lever on the top of the fill valve; this is typically found at the back of the tank. To raise the water level, turn the adjustment screw counterclockwise or raise the adjustment clip, if applicable.
Conversely, to lower the water level, turn the screw clockwise or lower the adjustment clip. After adjusting, turn the water supply back on and allow the tank to refill. Test the toilet by flushing it and observing the refill process to ensure the water level now aligns correctly—about 1 inch below the overflow tube. Always remember that proper fill valve adjustment is essential to prevent future running issues in your toilet.
Inspecting and Replacing the Flapper
Identifying a Worn or Damaged Flapper
A worn or damaged flapper is a common culprit for a toilet that runs continuously. The flapper, a seal that controls water flow from the tank to the bowl, can deteriorate over time due to mineral buildup, chlorine exposure, or simple wear and tear. Signs of a failing flapper include warping, cracking, or an improper seal, all of which prevent it from closing completely after a flush.
To inspect the flapper, begin by checking for visible cracks or warping. Next, observe if the flapper is sitting correctly on the flush valve – it should rest flat against the valve seat when closed. Notice that water continues to flow into the bowl after flushing, or you can hear continuous running water. It may be time to replace the flapper to restore proper function and prevent water wastage.
Removing the Old Flapper
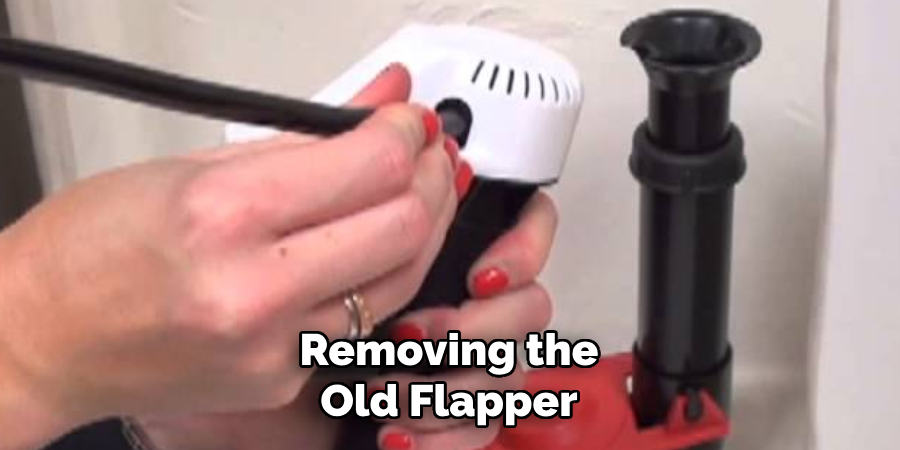
Before you begin replacing the flapper, it’s essential to turn off the water supply to your toilet. Locate the shut-off valve behind the toilet and turn it clockwise to stop the water flow. Next, drain the tank by flushing the toilet and holding the handle down until all the water empties. Once the tank is empty, you can proceed to remove the old flapper.
Disconnect the chain from the flush handle lever; you may need to unhook it or disconnect it from the hook on the flapper itself. With the chain removed, detach the flapper from the flush valve by pulling it off its mounting pegs or clips. Don’t break any surrounding components as you remove them to avoid additional repairs later.
Installing a New Korky Flapper
When selecting a new Korky flapper, ensure it is compatible with your toilet model. Most Korky flappers have a universal fit design, making installation easy. To install the new flapper, align it with the flush valve, ensuring it sits correctly over the valve seat. Firmly press it down into place until it clicks or feels securely attached. Next, connect the chain from the flapper to the flush handle lever.
Adjust the chain length by ensuring enough slack for the flapper to lift fully during a flush but not so much that it tangles or prevents a tight seal. A good rule of thumb is to allow about a half-inch of slack in the chain. Once everything is securely in place, turn the water supply back on, allow the tank to refill, and test the toilet to ensure it flushes properly and does not run continuously.
Checking and Adjusting the Fill Valve
Inspecting the Fill Valve for Issues
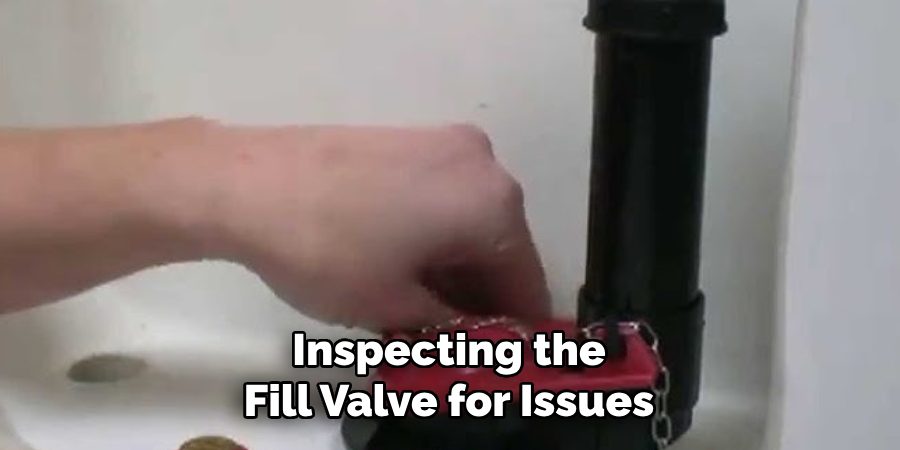
Inspecting the fill valve is crucial for maintaining your Korky toilet’s functionality. Start by removing the tank lid to access the fill valve. Look for any visible signs of damage, such as cracks or leaks. Next, check for clogs or debris that may obstruct water flow. To do this, turn off the water supply and disconnect the water line from the fill valve.
Once detached, shine a flashlight into the valve to see if any debris is present. Additionally, listen for unusual sounds, like hissing, which may indicate that the valve is malfunctioning. If the valve continues to allow water to flow even after the tank is full, it may be defective, necessitating a replacement.
Replacing the Fill Valve if Necessary
If inspection reveals that the fill valve is faulty, follow these steps to replace it. Begin by turning off the water supply to the toilet at the shut-off valve. Next, flush the toilet to empty the tank, holding the lever down to remove excess water. Disconnect the water line from the old fill valve, typically secured with a nut, and remove the valve by loosening and lifting it out.
Install the new Korky fill valve by inserting it into the same mounting hole and securing it with the locknut. Attach the water supply line to the new fill valve securely. After installation, adjust the fill valve to achieve the correct water level, ideally about 1 inch below the overflow tube. To do this, modify the height of the float or turn the adjustment screw as needed. Once adjusted, turn the water supply back on and allow the tank to refill, checking for proper operation.
Inspecting the Flush Valve and Overflow Tube
Checking the Flush Valve for Leaks
Checking the flush valve for leaks is essential to ensure your toilet operates effectively. A leaking flush valve can often be identified by water trickling into the toilet bowl, even when not used. To inspect it, look for any signs of water escaping around the seal where the flush valve connects to the tank. If you notice persistent leaks or dampness around this area, it may indicate damage that requires repair or replacement.
Ensuring the Overflow Tube is Correctly Positioned
The overflow tube is critical in maintaining proper water levels within the toilet tank. It is designed to prevent overflow by redirecting excess water back to the bowl. To check its position, ensure that the top of the overflow tube is at least 1 inch below the tank’s water level. If the tube is too low, it may allow excess water to flow into the bowl, leading to unnecessary running and water waste. Adjust the fill valve accordingly to maintain this correct positioning.
Testing the Repair
Turning the Water Back On
Once all repairs have been completed, it’s time to turn the water supply back on. Locate the shut-off valve behind the toilet and turn it counterclockwise to restore the flow of water. Allow the tank to refill completely, and carefully check for any leaks around the connections you’ve worked on. Ensuring that the toilet stops running after the tank reaches its full capacity is crucial, indicating that the flapper and fill valve are functioning correctly.
Flushing the Toilet
After refilling the tank, perform a test flush to verify that all repairs were successful. Press the flush handle and observe the tank as it empties, noting how it fills back up. Listen for any unusual sounds that may suggest the toilet is still running, such as hissing or repeated water flow. If the water stops after the tank is full and no leaks are present, your repair has been completed.
Conclusion
In summary, addressing a running Korky toilet involves several key steps: first, adjust the water level in the tank to the appropriate height; next, replace the flapper if it’s worn out; and finally, inspect the fill valve for potential issues. By following these processes, you can effectively solve the problem of your toilet continuously running. Remember to take your time with each step to ensure all components function correctly.
If you encounter any difficulties or are uncertain about the repairs, don’t hesitate to seek professional help. With the right tools and a bit of patience, you’ll learn how to stop a Korky toilet from running, saving water and preventing future issues in your bathroom. Your diligence will lead to a well-functioning toilet that serves you reliably.

