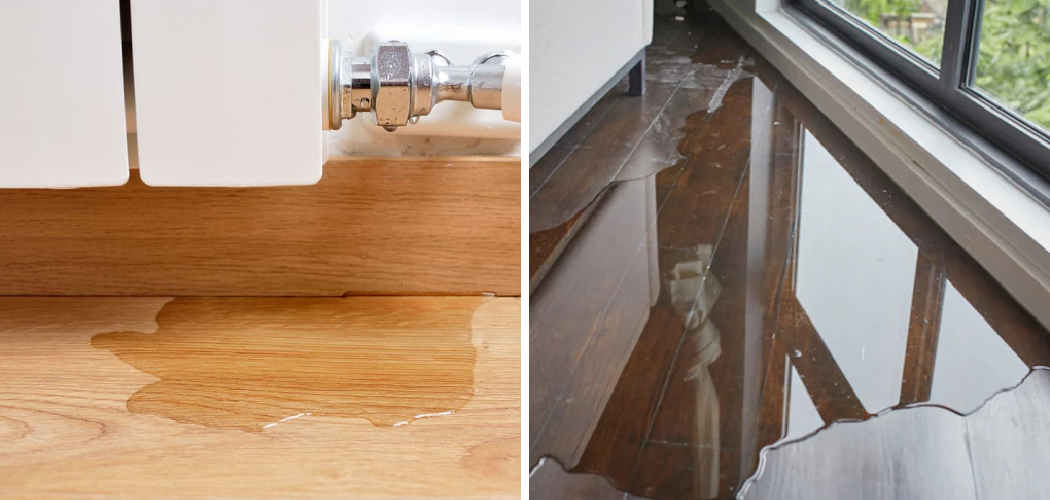
Bathroom floor leaks can be a frustrating and potentially damaging problem for homeowners. These leaks can be caused by a variety of factors, such as damaged or deteriorating grout, cracked tiles, or faulty plumbing fixtures.
In addition to causing water damage to your flooring and subflooring, bathroom floor leaks can also lead to mold and mildew growth, which can be hazardous to your health. Fortunately, stopping a bathroom floor leak is a relatively straightforward process that can be done with the right tools and materials.
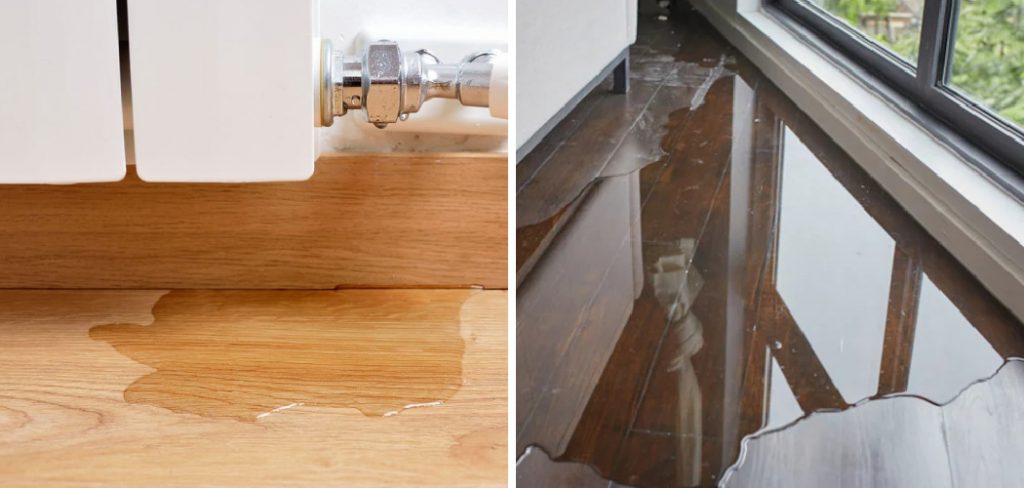
In this article, we will provide you with a step-by-step guide on how to stop bathroom floor leaking, including tips on how to identify the source of the leak and how to repair the damaged area. Whether you’re a DIY enthusiast or a homeowner looking to save money on repairs, this guide will help you stop your bathroom floor from leaking and prevent further damage to your home.
What Causes Bathroom Floor to Leak?
Bathroom floor leaks can often be caused by a multitude of issues, including cracks in the tiles or grout, damaged pipes, poor sealing around plumbing fixtures, water pressure problems, and more. Generally speaking, bathroom floor leaks are most common when there is excessive moisture in the area due to wet towels, bathmats, and other materials being left on the floor.
It’s important to keep an eye out for any signs that could indicate you have a leaking bathroom floor. Common signs include water spots or stains on walls or ceilings below bathrooms; musty odors from mold buildup; peeling paint or wallpaper; sagging floors; and frequent dripping noises coming from beneath the floor.
If you notice any of these signs, it’s important to take action as soon as possible. If your bathroom floor is leaking, the best course of action will depend on the cause of the issue. If there are cracks in the tiles or grout, they may need to be repaired or replaced.
If there is damage to pipes, a plumber will need to be consulted and a professional repair conducted. Poor sealing around plumbing fixtures can often be easily fixed with some silicone caulk.
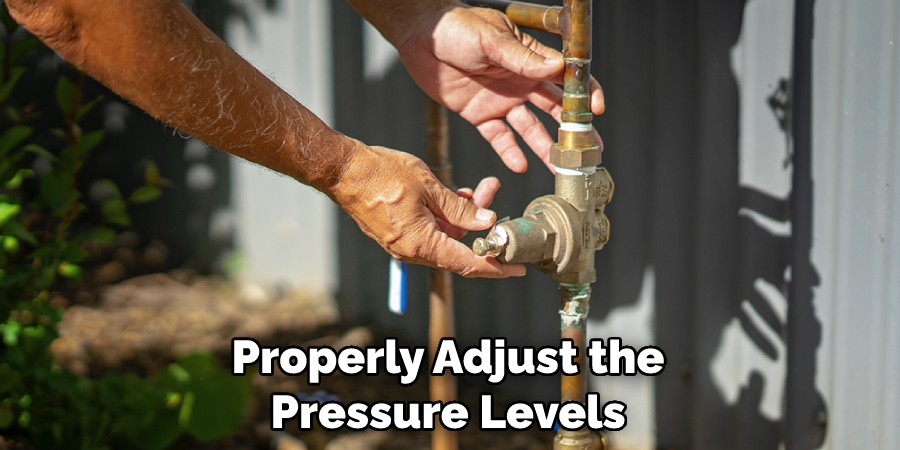
For water pressure problems, you may need to call in a specialist who can properly adjust the pressure levels. Finally, excessive moisture buildup should be addressed by regularly wiping down floors and drying wet towels and bathmats outside of the bathroom area.
10 Methods How to Stop Bathroom Floor Leaking
1. Identify the Source of the Leak
The first step in stopping a bathroom floor leak is to identify the source of the problem. This can be done by inspecting the area around the leak for any visible damage or signs of moisture. Common sources of bathroom floor leaks include cracked tiles, damaged grout, or a faulty wax seal around the toilet.
Once you have identified the source of the leak, you can take the necessary steps to repair the damaged area. If the source of the leak is not readily apparent, you may need to remove portions of the flooring in order to gain access to the area behind it.
2. Fix the Damaged Grout
If the leak is caused by damaged grout, you can repair the area by removing the damaged grout and replacing it with new grout. This can be done by using a grout removal tool to scrape out the old grout, and then applying new grout to the area using a grout float. Once the new grout has been applied, use a damp sponge to remove any excess grout from the tiles.
Finally, allow the grout to dry and cure before using the area. This should help prevent future water leakage from the bathroom floor. If the grout is too far gone to repair, you may need to remove and replace it with new grout. It’s important to follow the manufacturer’s instructions to ensure that the grout is applied correctly and will last.
3. Replace Cracked Tiles
If the leak is caused by cracked tiles, you will need to replace the damaged tiles. This can be done by removing the grout around the damaged tile, and then gently prying the tile up using a chisel or putty knife. Once the tile has been removed, clean the area and apply new adhesive to the back of the replacement tile.
Carefully place the replacement tile in the empty space, and then use a tile spacer to ensure that it is properly aligned with the surrounding tiles. Finally, apply new grout to the area and clean any excess grout from the tiles. Once the grout has dried, your bathroom floor should be watertight once again.
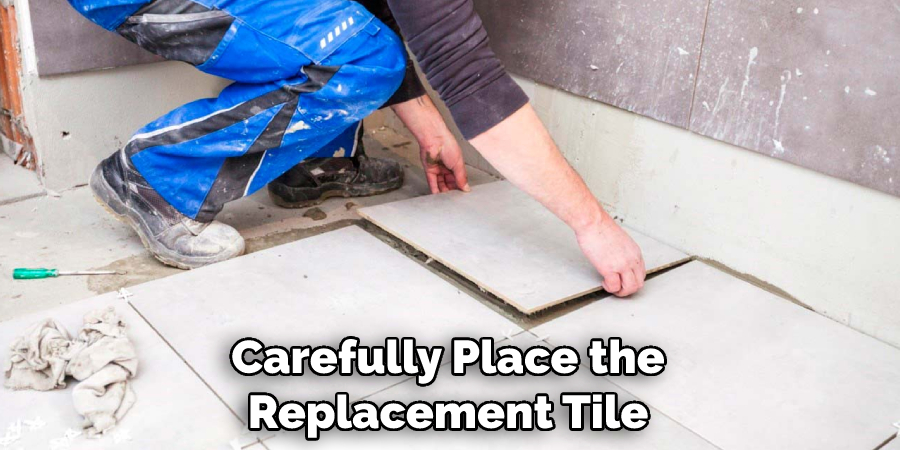
When replacing damaged tiles, make sure to use the same material and color of tile as the original. This will help ensure a seamless look for your bathroom floor.
4. Repair the Wax Seal around the Toilet
If the leak is coming from the base of the toilet, it may be caused by a faulty wax seal. To repair this problem, turn off the water supply to the toilet and disconnect the water line. Next, remove the toilet by loosening the bolts that secure it to the floor.
Once the toilet has been removed, clean the area around the flange and replace the wax seal. Finally, reattach the toilet and turn the water supply back on. Some homeowners may prefer to hire a professional for this task as it can be difficult to properly install the wax seal.
5. Check the Shower Pan
If your bathroom has a shower, the leak may be coming from the shower pan. To check this, remove the drain cover and inspect the area around the drain for any signs of damage or corrosion. If you find any damage, you may need to replace the entire shower pan.
To do this, you will need to remove the entire shower enclosure, which can be time-consuming and labor-intensive. If you’re not comfortable doing this yourself, consider hiring a professional plumber to complete the job. Once the shower pan is replaced, make sure there is a waterproof membrane beneath it to prevent future leaks.
6. Inspect the Plumbing Fixtures
If the leak is caused by a faulty plumbing fixture, such as a faucet or showerhead, you will need to inspect the fixture for any signs of damage or wear. If you find any damage, you may need to replace the fixture. Sometimes, simply tightening the screw connections or replacing old washers can help to fix a leaking fixture.
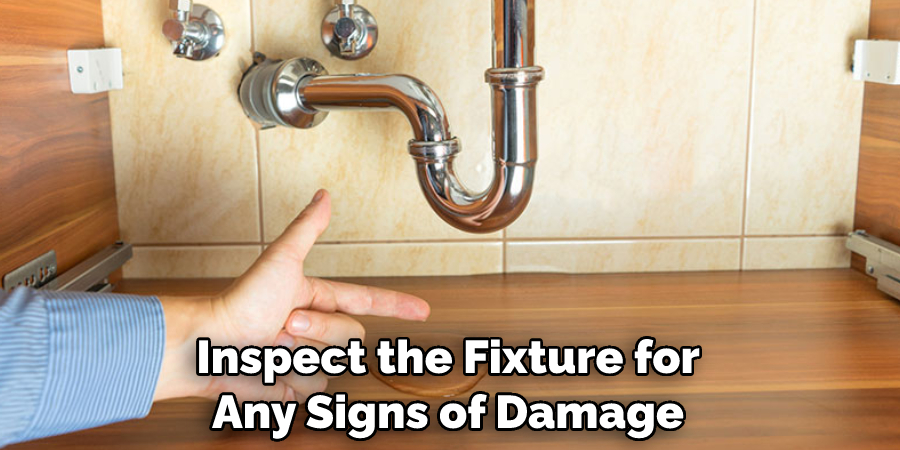
You may need to enlist the help of a plumber for more complex problems. If the leak is caused by a cracked or damaged pipe, you will need to replace the entire pipe. In this case, a plumber can help you identify the cause of the leak and replace the pipe accordingly.
7. Check the Subflooring
If the bathroom floor leak has caused damage to the subflooring, you will need to replace the damaged area. This can be done by removing the damaged subflooring and replacing it with new subflooring. You will then need to reinstall the floor covering over the new subfloor.
This can be a tricky process and may require professional help if you are not comfortable doing it yourself. After the new subfloor has been installed and the floor covering is reinstalled, you can check for any signs of water leaks.
8. Install a Waterproofing Membrane
If you want to prevent future bathroom floor leaks, you can install a waterproofing membrane under your flooring. This can be done by applying a liquid membrane to the subflooring or by using a sheet membrane that is installed over the subflooring.
9. Use Caulk around the Edges of the Bathroom
To prevent water from seeping under the bathroom floor, use caulk around the edges of the bathroom. This will help to create a watertight seal between the floor and the walls. Start by removing any existing caulk with a razor blade, and make sure to get into the nooks and crannies. Then apply a new bead of caulk, taking care to follow all the instructions on the caulk packaging.
10. Hire a Professional
If you are not comfortable or confident in your ability to fix the bathroom floor leak, it is best to hire a professional. A professional plumber or contractor can help to identify the source of the leak and take the necessary steps to repair the problem.

They may also be able to recommend additional measures to prevent future leaks, such as installing a waterproofing membrane or replacing the bathroom flooring altogether.
Conclusion
Fixing a leaking bathroom floor is an easy task with the right know-how, and now you can confidently say that you have it–you know what to do to keep your bathroom dry. From outlining the steps that need to be taken to buy the proper tools and materials required, this short guide has given you invaluable insight into preventing leaks in the future, so you can rest assured that your floors will remain seepage-free.
Equip yourself with all the necessary materials before taking on any project of this sort and enjoy the peace of mind knowing your floors are waterproofed. Don’t wait one more day, take charge and start fixing bathroom floor leaks today!

