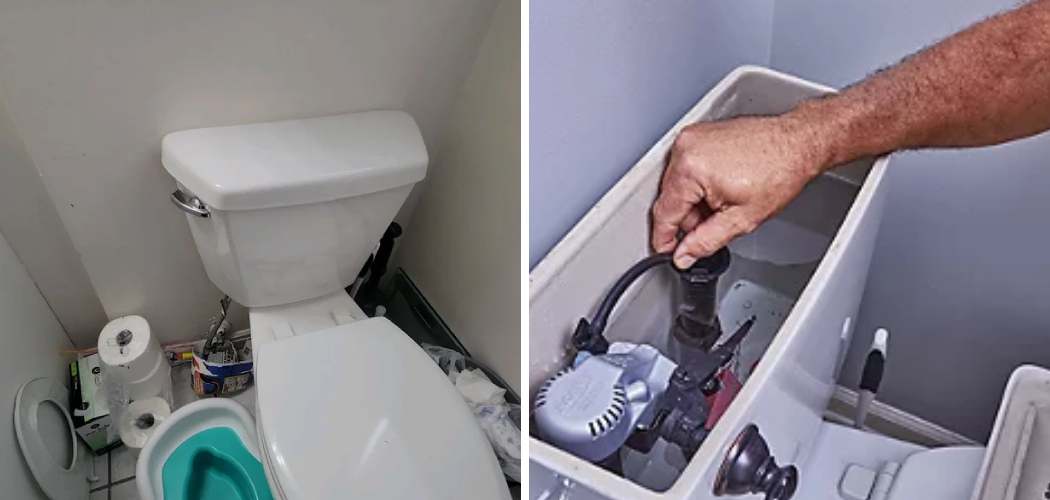
Noisy pipes during a toilet flush can be a frustrating experience for homeowners, often manifesting as banging, rattling, or vibrating sounds. These disturbances disrupt the peace of your home and may indicate underlying plumbing issues that could escalate into more significant problems, such as leaks or structural damage if left unaddressed. It’s essential to understand the common types of noise generated during flushing and why they are problematic.
In this article, we will explore the various causes of noisy pipes and provide practical solutions on how to stop noisy pipes when flushing toilet. By tackling these plumbing concerns early, you can ensure a quieter and more efficient bathroom experience, thereby preserving the integrity of your plumbing system.
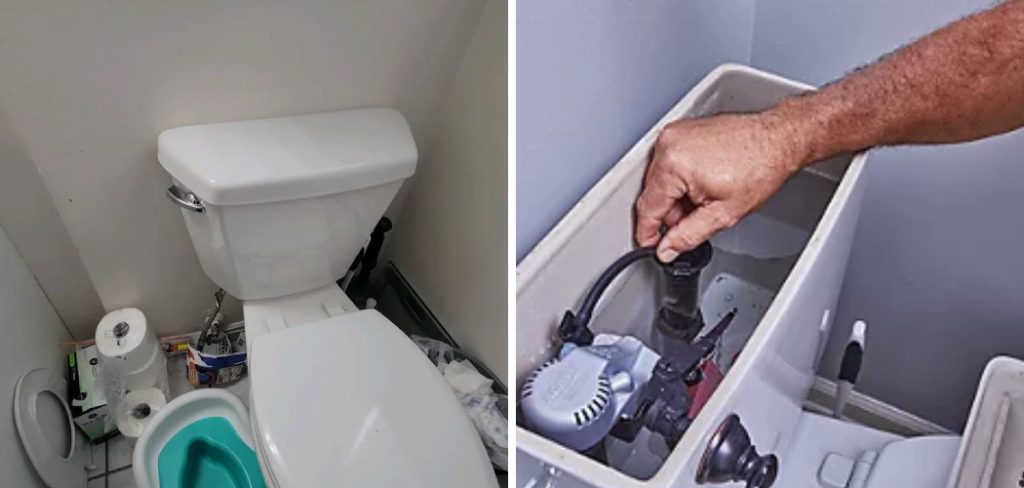
Common Causes of Noisy Pipes
Water Hammer
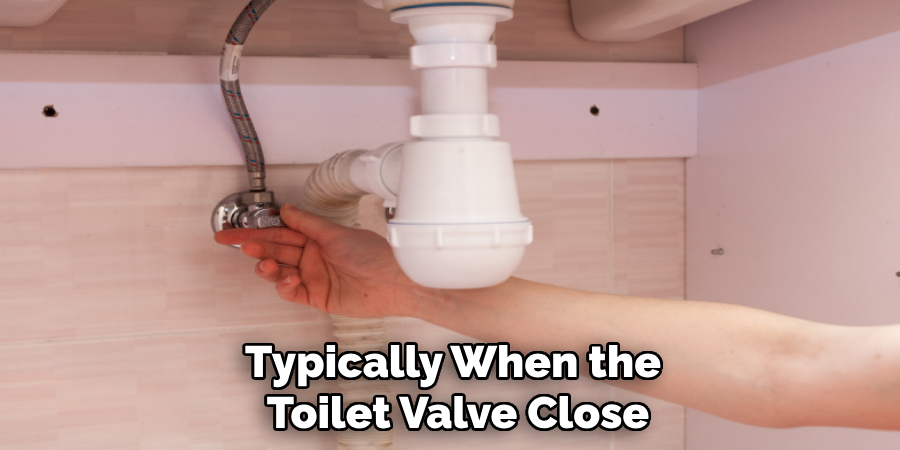
A water hammer is characterized by a loud banging noise that occurs when there is a sudden stop in the water flow, typically when the toilet valve closes. This abrupt halt creates a pressure surge reverberating through the plumbing system, leading to the striking sound many homeowners experience. High water pressure is a common exacerbating factor; when the pressure is too great, it can intensify the force of the water flow, making the water hammer more pronounced.
Additionally, loose pipes can further contribute to the issue, as they may not be secured tightly to walls or joists, allowing them to move with the pressure changes, thus amplifying the noise.
Loose Pipes
Unsecured or loosely attached pipes can lead to significant noise issues within a home’s plumbing system. When water flows through these pipes, they may rattle or vibrate due to insufficient support. This movement creates annoying sounds and can lead to wear and tear over time. Aging pipe brackets can lose their ability to secure the pipes effectively, resulting in increased movement and noise during normal water flow. Regularly checking and maintaining these brackets’ integrity is imperative to prevent further complications.
Fill Valve Issues
A malfunctioning or worn-out fill valve in the toilet tank can generate irritating vibrating sounds during or after flushing. These sounds are often mistaken for pipe issues but originate from the tank mechanism. If the fill valve is not operating correctly, it may fail to regulate water flow smoothly, leading to vibrations that travel throughout the plumbing system. Replacing or repairing a faulty fill valve can help diminish these disruptive noises and enhance overall toilet performance.
Tools and Materials Needed
Basic Tools
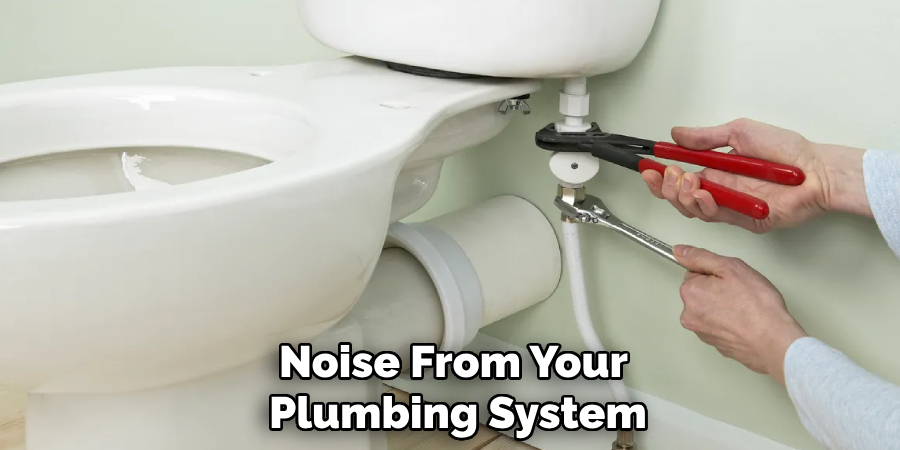
To address noisy pipes, you’ll need a few common tools handy. A wrench and pliers are essential for loosening and tightening fittings, while a screwdriver assists in securing brackets or cover plates. Additionally, pipe clamps may be necessary to secure loose pipes and reduce vibration noise.
Materials
Depending on the specific plumbing issue, you may require various materials. Pipe insulation can help dampen sound and reduce vibrations, while water hammer arresters are useful for tackling water hammer problems. If fill valve issues are present, having a replacement fill valve on hand will be important to ensure a quiet toilet operation.
How to Stop Noisy Pipes when Flushing Toilet: Step-by-Step Solutions
Step 1: Install a Water Hammer Arrester
Identify the Problem: To diagnose the water hammer, pay close attention to when the noise occurs—typically a loud banging sound after flushing when the toilet valve closes. A minor vibration often accompanies this noise felt through the pipes. If you hear this after a flush, it’s likely a sign of a water hammer situation.
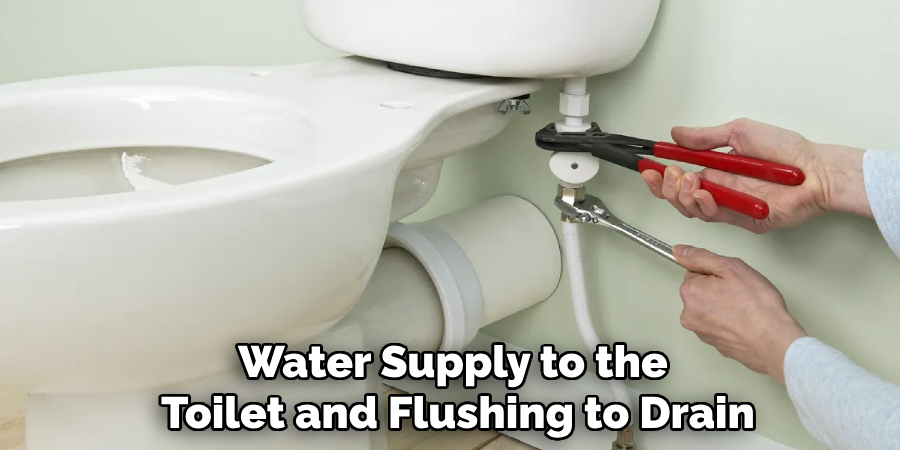
Install the Arrester: Begin by turning off the water supply to avoid any unwanted leaks while you work. Next, select an appropriate location for the water hammer arrester, ideally near the toilet or wherever the noise is most pronounced. Using a wrench, secure the arrester to the pipe. Ensure it is firmly attached to absorb the pressure surge effectively. Once the device is installed, turn the water supply back on and test the toilet to see if the hammering sound persists. If installed correctly, you should notice a significant reduction in the noise.
Step 2: Secure Loose Pipes
Locate the Loose Pipes: To find loose pipes, listen for the rattling or vibrating noise during water flow. Follow the sound by tracing the pipes along walls or floors to the noise source. Common areas to inspect include basement ceilings, attics, or behind walls where plumbing may not be properly anchored.
Add Pipe Brackets or Clamps: Once you’ve identified the loose pipes, secure them with additional pipe brackets or clamps. If the existing brackets are loose or damaged, tighten them with a screwdriver. For enhanced stability, consider adding extra clamps along the length of the pipe. Secure the pipes tightly to the walls using straps or hangers, which will prevent them from moving due to pressure changes and ultimately reduce the noise during operation.
Step 3: Replace the Fill Valve
Identify a Faulty Fill Valve: To determine if the fill valve is faulty, check for signs of noise originating from the toilet tank during the refill process after a flush. Listen for unusual vibrations or continuous running sounds that should not occur when the tank is filling. If you observe these symptoms, it is likely time for a replacement.
Replace the Valve: Start by turning off the water supply to the toilet and flushing to drain the tank. Disconnect the water line from the old fill valve at the bottom of the tank using a wrench. Remove the old fill valve by unscrewing it from the tank. Install the new fill valve by following the manufacturer’s instructions, ensuring all connections are secure. Finally, turn the water supply back on, allowing the tank to fill, and check for any leaks or excessive noise. A new fill valve will help restore quiet operation to your toilet.
Preventive Measures for Future Noise Reduction
Check Water Pressure Regularly
Maintaining optimal water pressure in your home is crucial for preventing noise-related plumbing issues. It’s advisable to check your water pressure regularly using a pressure gauge, which can be easily attached to an outdoor faucet. A healthy water pressure should range between 40 to 60 psi. If you find that your water pressure exceeds this range, you can adjust it by using a pressure regulator.
To do this, locate the regulator, typically found near where the main water line enters your home, and turn the adjustment screw clockwise to decrease the pressure or counterclockwise to increase it.
Install Pipe Insulation
Adding pipe insulation is an effective way to reduce vibrations and noise from your plumbing system. Insulation not only helps to muffle sounds but also protects pipes from extreme temperature changes. Use foam or rubber insulation materials, as they are readily available and provide excellent sound-dampening qualities. To install, measure the length of the pipes you wish to insulate and cut the insulation to size.
Slit the insulation along its length and wrap it around the pipe, securing it with tape or cable ties to ensure it stays in place, particularly in areas where pipes are exposed or run through walls.
Routine Maintenance
Scheduling routine plumbing system inspections can help identify issues before they escalate into significant problems. Check for loose pipes, worn-out valves, or any signs of wear that could contribute to noise. Replacing aging components, such as fill valves, pipe brackets, or washers, is essential. Proactively maintaining your plumbing system can ensure a quieter home and prevent disruptive noises from developing over time.
Regular checks and timely replacements will contribute significantly to the longevity and efficiency of your plumbing and reduce unnecessary disturbances.
When to Call a Professional Plumber
Persistent Noise
If the noise persists after trying the suggested solutions, it may indicate a more complex issue within your plumbing system that requires professional attention. Ignoring ongoing disturbances can lead to more serious problems, which can compromise the efficiency and longevity of your plumbing.
Pipe Replacement or Relocation
In some cases, noisy pipes may need to be relocated or replaced entirely. Such tasks involve careful assessment and planning to avoid causing further damage. A professional plumber has the expertise to determine the best course of action and execute the necessary changes safely and effectively.
Complex Plumbing Systems
Homes with complex or older plumbing systems might need a thorough inspection by a plumber to identify the underlying causes of noisy pipes. An experienced professional can evaluate the entire system, ensuring that all potential issues are addressed to restore your home’s tranquility.
Conclusion
In summary, addressing noisy pipes involves several key steps, including installing water hammer arresters, securing loose pipes, and replacing faulty fill valves. These measures are crucial in reducing disruptive sounds caused by plumbing. Preventive strategies such as regularly checking water pressure and adding pipe insulation can minimize noise issues. Routine maintenance is essential to catch any potential problems early, helping to ensure lasting peace and functionality in your plumbing system.
For anyone wondering how to stop noisy pipes when flushing toilet, taking prompt action is vital. Don’t let noise disrupt your comfort at home—implement these solutions today and enjoy a quieter, more efficient plumbing system. By prioritizing these steps and maintaining diligence, you’ll enhance your living space’s overall comfort and functionality.

