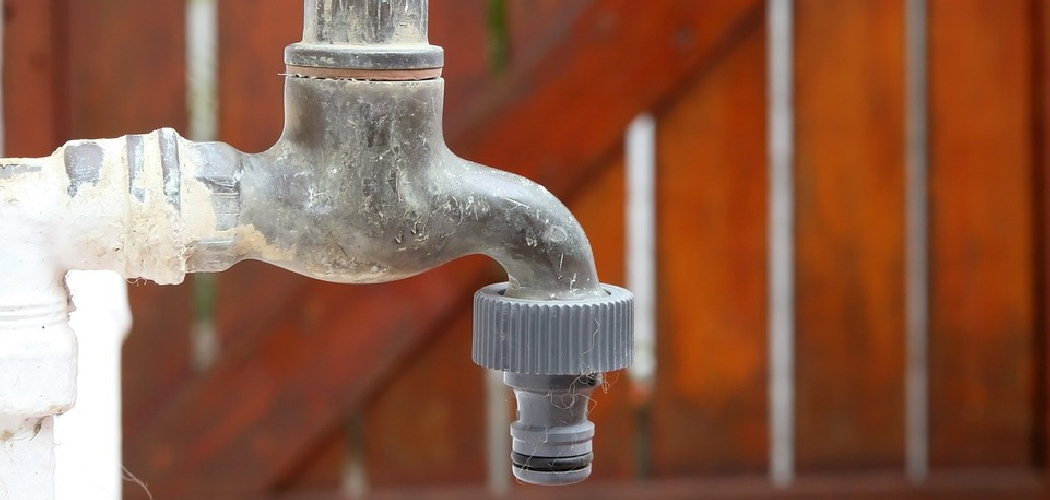
Are you tired of hearing that annoying dripping sound coming from your tap? Not only is it a nuisance, but it can also waste significant water and potentially increase your utility bills.
Leaving a tap running can waste significant water, leading to higher utility bills and unnecessary strain on water resources. Whether it’s due to a leak, a faulty mechanism, or simply forgetting to turn it off, addressing running water from a tap is essential for conserving water and maintaining a sustainable environment.
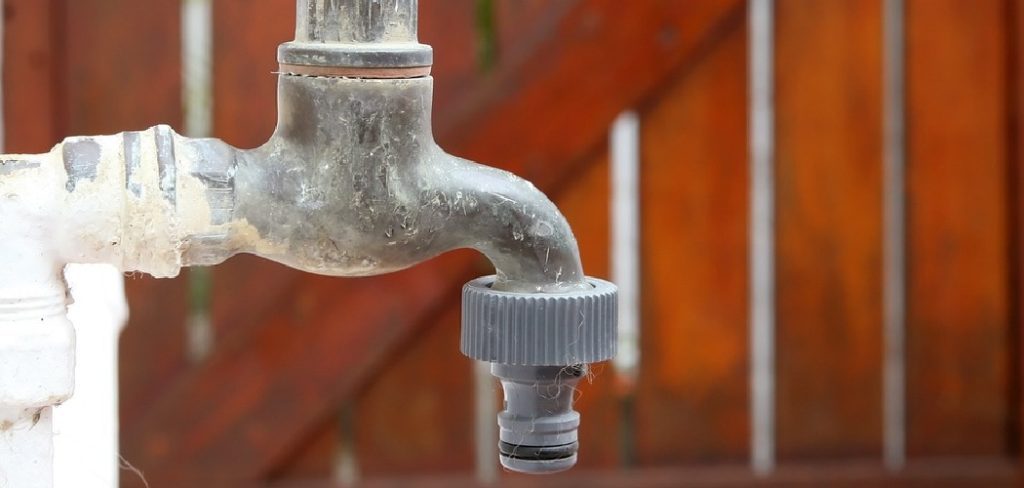
This guide on how to stop running water from tap will provide practical steps to identify the cause and fix the issue effectively, helping you save water while ensuring your fixtures function optimally. Let’s get started!
What Are the Causes of Running Water from Taps?
Several factors can contribute to running water from taps. Here are some common reasons:
- Leaky Faucet: A dripping faucet is the most common cause of running water from a tap. This happens when the seal inside the faucet becomes worn or damaged, allowing water to flow continuously.
- Faulty Mechanism: The internal mechanism of the tap may have become loose or broken, causing it to run and waste water constantly.
- Improperly Closed Tap: Sometimes, we forget to turn off a tap completely, leaving it slightly open and resulting in a continuous water flow.
- Water Pressure Issues: If your home’s water pressure is too high, it can cause a tap to run even when it’s fully closed. This is because the excess pressure puts strain on the internal mechanism, causing water to escape.
- Leaky Pipes: A leaking pipe connected to the tap can also cause it to run continuously. Even a small leak can waste a significant amount of water if left unattended.
- Corroded Parts: Over time, the internal parts of a tap can become corroded due to mineral buildup in the water. This can affect its functionality and lead to constant running.
These are just some of the common causes of a tap running continuously. Addressing these issues as soon as they arise is important to prevent water wastage and potentially costly repairs.
What Will You Need?
To fix a constantly running tap, you will need the following tools:
- Adjustable wrench
- Screwdriver (flathead or Phillips)
- Replacement parts (such as washers or O-rings)
- White vinegar
If you are unsure of what replacement parts to use, it is best to take the old ones with you when purchasing new ones.
8 Easy Steps on How to Stop Running Water From Tap
Step 1. Turn Off the Water Supply
First and foremost, you must ensure the tap’s water supply is completely turned off. Locate the shut-off valve beneath the sink or wherever your plumbing connections are. Turn the valve clockwise until it completely stops, cutting off the water flow to the affected tap. If your home does not have individual shut-off valves, you may need to turn off the main water supply for the house.
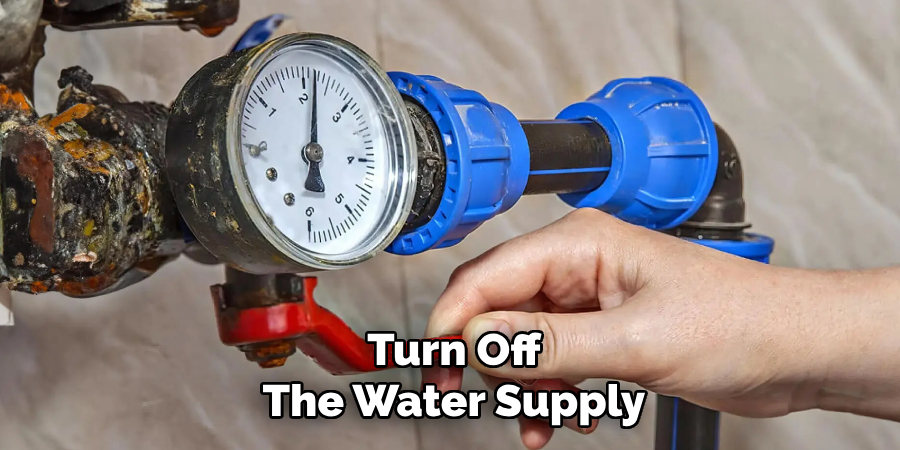
This step is critical to prevent water from spilling uncontrollably when dismantling the tap. Double-check that the water flow has stopped by turning on the tap; no water should come out. This will provide a dry and safe work environment as you proceed with the repair.
Step 2: Remove the Tap Handle
Using a screwdriver, carefully unscrew the tap handle to expose the valve mechanism underneath. Depending on the design of your tap, you may need to first remove a decorative cap that covers the screw. Gently pry off the cap with a flathead screwdriver if needed, taking care not to scratch the surface. Once the handle is removed, set it aside in a safe place along with the screws to ensure you can easily reassemble the tap later. This will allow you to access the inner components for further inspection and repair.
Step 3: Inspect and Remove the Valve Cartridge
You will now see the valve cartridge or mechanism with the tap handle removed. Carefully inspect it for any signs of wear, corrosion, or damage, as this is often the source of leaks or performance issues. To remove the cartridge, use an adjustable wrench or a spanner to unscrew it counterclockwise. Be sure to apply steady, even pressure to avoid damaging the surrounding fixtures. Once removed, set the cartridge aside and check for blockages or debris obstructing water flow. If necessary, replace the cartridge with a new one that matches your tap’s specifications.
Step 4: Reassemble the Tap
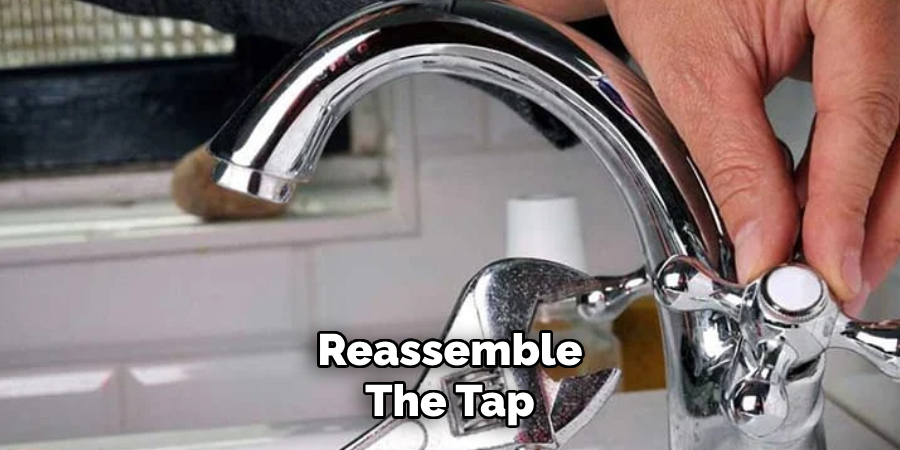
After inspecting or replacing the cartridge, carefully reinsert it into its housing. Align the cartridge properly to ensure a secure fit, and use the wrench or spanner to tighten it clockwise. Avoid overtightening, as this could damage the fittings or the cartridge itself. Once secured, reattach any retaining clips or fasteners that were removed earlier.
Step 5: Test the Tap
Before fully reassembling the tap, it’s essential to test it to ensure no leaks or issues with water flow. Turn on the water supply and slowly turn the tap handle to see if there are any leaks or abnormalities in the water flow. If everything looks and sounds normal, you can proceed to reattach any remaining parts and secure them in place.
Step 6: Clean Up and Maintenance
Once the tap functions correctly and all parts have been securely reassembled, it’s time to clean up the workspace and perform routine maintenance. Start by disposing of any old or defective components, such as washers or seals, in a responsible manner. Wipe down the tap and the surrounding area with a clean cloth to remove any water spots, dust, or debris that may have accumulated during the repair.
Consider a few preventative maintenance tips to keep your tap in good condition moving forward. Regularly check for signs of wear, such as dripping or stiffness in the handle, and address any issues promptly to prevent further damage.
Periodically clean the aerator to remove any mineral buildup that could affect water flow. If your household has hard water, you may also want to invest in a water softener or use a descaling solution occasionally to prevent long-term accumulation of limescale.
Step 7: Check for Wear and Tear
One of the easiest ways to keep your tap in good condition is to check for signs of wear and tear regularly. This includes looking out for dripping or stiffness in the handle, which could indicate a need for replacement parts or repairs. Addressing these issues promptly can prevent further damage and save you from dealing with more significant problems later on.
Step 8: Clean Your Aerator
The aerator is a small attachment located at the tip of your tap, designed to mix air with water to create a smooth and consistent flow. Over time, mineral deposits, debris, and limescale can clog the aerator, reducing water pressure and affecting the efficiency of your tap. To clean your aerator, start by unscrewing it carefully—use pliers or a soft cloth to avoid damaging the surface.
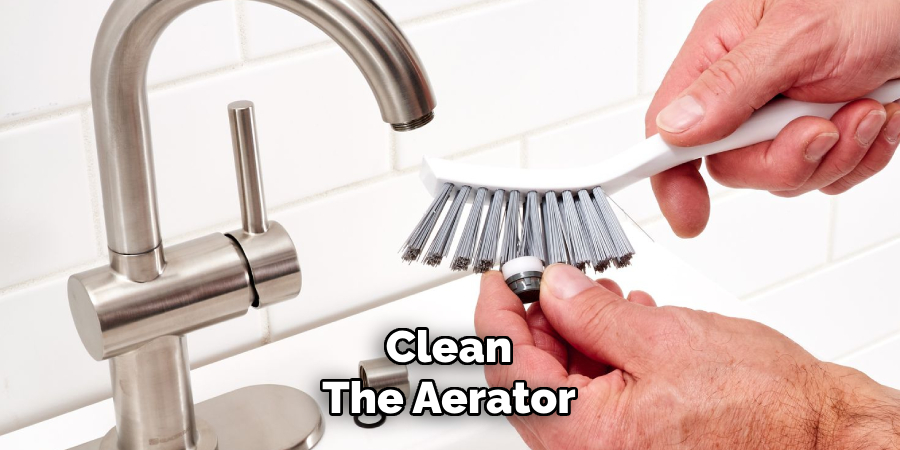
Once removed, rinse the aerator under running water to dislodge any loose debris. For more stubborn buildup, soak the aerator components in vinegar and water for about 30 minutes, then gently scrub them using an old toothbrush. Rinse thoroughly before reassembling and reattaching the aerator to your tap. Regularly cleaning your aerator can significantly improve water flow and help maintain the tap’s performance over time.
By following these simple steps, you can ensure that your kitchen and bathroom taps remain clean and functional for years to come.
5 Things You Should Avoid
- Using Excessive Force: Avoid aggressively tightening the tap handle to stop water flow. This can damage the internal components, such as the washer or valve, leading to further leaks and costly repairs.
- Ignoring Minor Drips: Overlooking a small drip can result in significant water wastage over time and may indicate a deeper issue that needs immediate attention.
- Applying Temporary Fixes Only: Relying on quick fixes like tape or sealants as long-term solutions can cause more harm than good. Proper repairs or replacements are crucial for a lasting solution.
- Skipping Professional Help When Needed: If you’re unsure how to fix the issue, avoid attempting repairs that could worsen the problem. Contact a professional plumber to ensure the repair is done correctly.
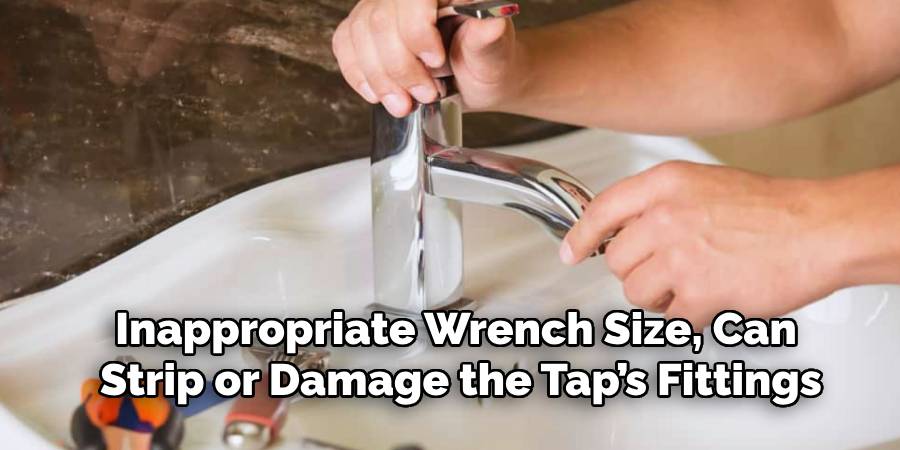
- Using the Wrong Tools: Incorrect tools, such as an inappropriate wrench size, can strip or damage the tap’s fittings. Always use the right tools or consult a professional to avoid further complications.
By avoiding these common mistakes, you can save time, money, and potential damage to your plumbing system.
Conclusion
How to stop running water from tap requires a combination of proper tools, timely action, and a methodical approach.
Begin by identifying the root cause of the issue, whether it’s a worn-out washer, damaged valve, or sediment build-up. Always turn off the water supply before making any repairs to prevent further water wastage and potential flooding. Utilize the appropriate tools and follow manufacturer guidelines or trusted instructions to repair accurately. If you’re unsure or the problem persists, consulting a qualified plumber is the safest option to ensure a lasting solution.
By taking these steps, you can resolve the issue effectively and prevent future water wastage.

