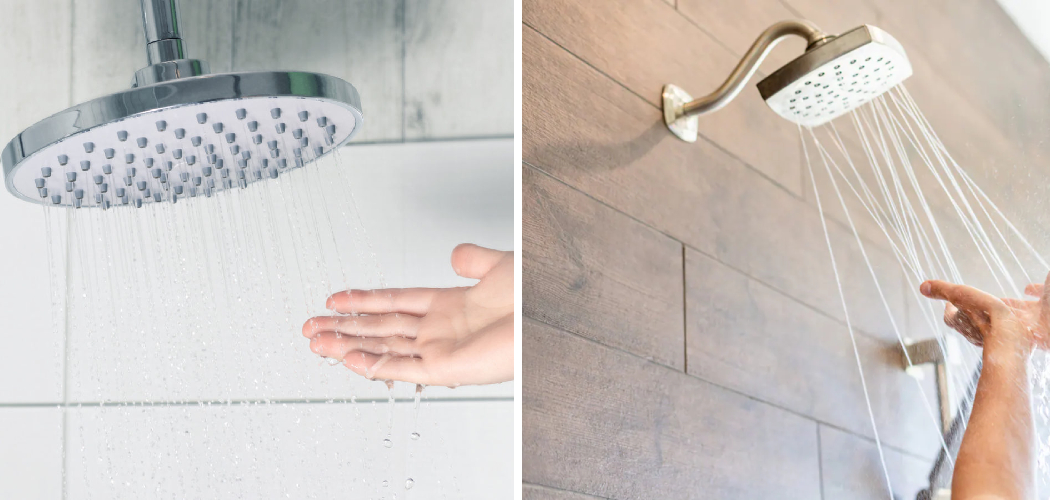
Are you tired of hearing your shower squeal whenever you turn it on? A squealing shower is not only annoying, but it can also be a sign of a bigger problem.
A squealing shower can transform a relaxing experience into a nerve-wracking ordeal, disrupting the peaceful sanctuary of your bathroom.
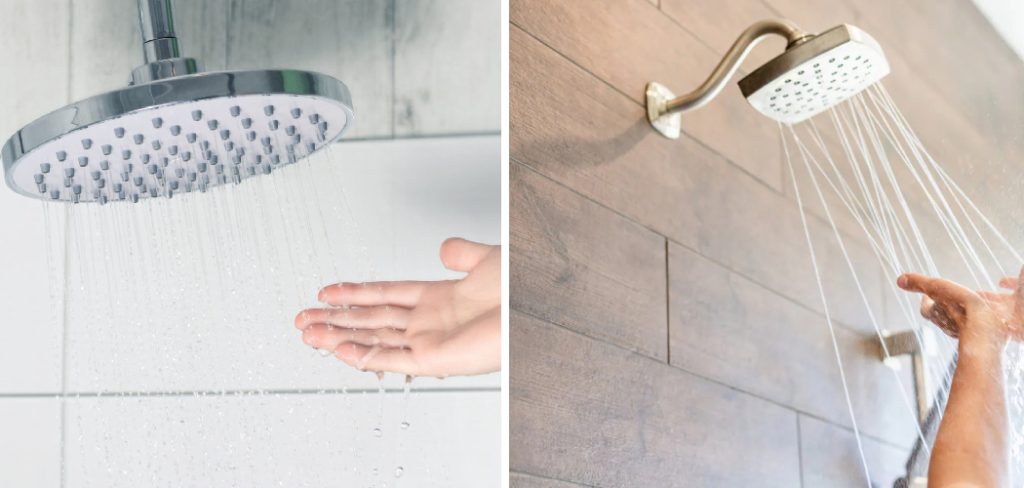
This high-pitched sound often signals an underlying issue within the plumbing system, ranging from simple fixes to more complex repairs. Whether a build-up in the pipes causes it, a problem with the shower valve, or water pressure irregularities, understanding the root cause is key to restoring tranquility.
In this guide on how to stop shower from squealing, we’ll take you through a step-by-step process to diagnose and solve the squealing noise, ensuring your showers remain a source of calm and comfort.
Why do Showers Squeal?
Before we delve into the solutions, it’s important to understand why showers squeal in the first place. The most common causes of a squealing shower include:
- High Water Pressure: When the water pressure is too high, it can cause vibrations in the pipes and create a high-pitched noise.
- Clogged Pipes: Mineral deposits or debris buildup in pipes can restrict water flow, forming air bubbles and resulting in a squealing sound.
- Faulty Shower Valve: The shower valve controls the water flow and temperature. If it’s damaged or worn out, it can cause irregular water flow and create a noise.
- Loose Parts: Over time, the shower handle or other components can become loose, causing vibrations and resulting in a squealing sound.
These are just some of the common reasons why your shower may be squealing.
What Will You Need?
Before attempting to fix the issue, gather the necessary tools and materials:
- Adjustable Wrench: This tool will come in handy for tightening loose components.
- Screwdriver: Depending on the shower valve type, you may need a screwdriver to access it.
- White Vinegar: If clogged pipes are the culprit, white vinegar can help dissolve any mineral deposits.
- Wire Brush: Use this to remove any debris from the showerhead.
- Plumber’s Tape: This is essential for creating a tight seal when reassembling parts.
- Replacement Parts: If your shower valve or any other component is damaged beyond repair, you may need to purchase new ones.
Now that you have all the necessary tools and materials let’s start fixing the issue!
8 Easy Steps on How to Stop Shower From Squealing:
Step 1: Check the Water Pressure
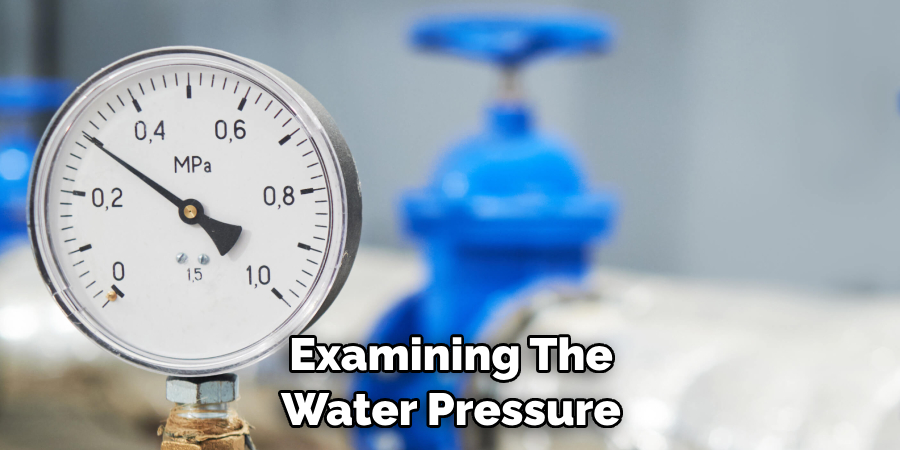
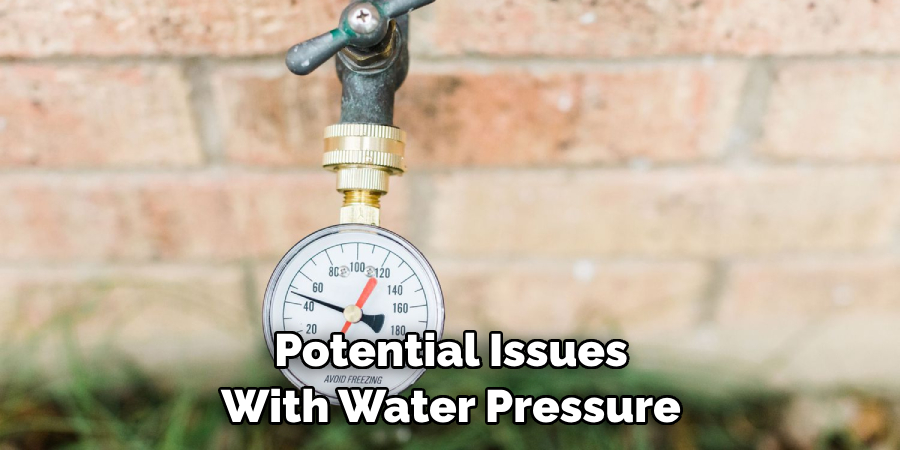
The first thing you should do is check the water pressure in your shower. You can do this by turning on the shower and using a pressure gauge or simply by listening for any irregularities in the sound of the water flow. If the pressure is too high, it’s best to call a plumber to install a pressure-reducing valve.
Step 2: Inspect the Shower Valve
After examining the water pressure, the next step is to look closer at the shower valve. This valve plays a crucial role in controlling the flow and temperature of the water, and any issues here can lead to squealing noises. To inspect the shower valve, you’ll need to:
- Turn Off the Water Supply: to prevent any accidents.
- Remove the Shower Handle: by using a screwdriver. This will expose the valve.
- Check for Any Visible Damage: Look for signs of wear, corrosion, or any damage on the valve itself.
- Clean the Valve: Sometimes, mineral build-up on the valve can affect its function. Use white vinegar or a commercial cleaner to remove any deposits.
- Tighten Any Loose Parts: With your adjustable wrench, make sure all the components of the valve are tight and secure.
If, upon inspection, the valve appears to be severely damaged or beyond repair, it may be time to replace it. This can be complex and requires professional assistance if you’re uncomfortable with plumbing tasks.
Step 3: Clear the Clogged Pipes
If the water pressure is normal and the shower valve shows no signs of damage or wear, the next potential culprit could be clogged pipes. Over time, pipes can accumulate mineral deposits, especially in areas with hard water. This can restrict water flow and lead to squealing noises. Here’s how you can attempt to clear them:
- Prepare a Vinegar Solution: Mix equal parts of white vinegar and water. This solution is effective in dissolving mineral build-up.
- Disconnect the Showerhead: Use your adjustable wrench to carefully unscrew and remove the showerhead.
- Clean the Showerhead: Submerge the showerhead in the vinegar solution for several hours. If the build-up is severe, it may need to soak overnight.
- Use a Wire Brush: Remove any remaining deposits after soaking.
- Flush the Pipes: Before reattaching the showerhead, turn on the shower to flush out the pipes for several minutes. This will help remove any loose debris or deposits.
- Reattach the Showerhead: Once you’ve cleaned and flushed the pipes, wrap the plumber’s tape around the threads to ensure a secure fit, and screw the showerhead back into place. Turn on the water to check if the squealing has stopped.
Clearing your pipes not only addresses the immediate issue of squealing but can also improve water flow and extend the lifespan of your plumbing system.
Step 4: Secure Loose Parts
After addressing potential issues with water pressure, the shower valve, and clogged pipes, it’s important to check for and secure any loose parts within your shower system. Over time, components such as the showerhead, hose, or water supply connections can become loose, causing vibrations that may lead to a squealing sound when water is running. Here’s how to tighten these components:
- Inspect All Connections: Carefully examine the showerhead, hose, and where the shower connects to the water supply. Look for any signs of movement or looseness.
- Tighten Connections: Use your adjustable wrench to gently tighten any loose connections. Be cautious not to overtighten, as this could damage the threads or fittings.
- Check the Shower Handle: A loose shower handle can sometimes contribute to the problem. Use a screwdriver to tighten any screws securing the handle in place.
- Test the Shower: Once all connections have been checked and tightened, turn on the shower to see if the squealing noise has been resolved.
This step is crucial in ensuring all parts of your shower are securely fastened, preventing any movement that could cause or contribute to the squealing sound.
Step 5: Replace Damaged Washers and O-rings
Washers and O-rings are small components that play a significant role in ensuring the tight seal of plumbing fixtures, preventing leaks that can lead to air entrainment and the resulting squealing noise. Over time, these parts can deteriorate or become damaged, contributing to the issue. To replace them, follow these steps:
- Locate the Washers and O-rings: These are usually found within the shower valve assembly or at the showerhead’s and hose’s connection points.
- Turn Off the Water Supply: Always turn off the water supply before starting any repairs to prevent water spillage.
- Disassemble the Affected Parts: Carefully remove the components housing the washers and O-rings. You may need a screwdriver or wrench for this task.
- Remove and Replace the Damaged Parts: Take out the old washers and O-rings, take them to a hardware store to find exact replacements, and then fit the new ones into place.
- Reassemble and Test: components, turn back on the water supply, and test the shower. If damaged washers or O-rings were the cause, this should resolve the squealing.
Replacing these components is straightforward and can significantly improve the performance of your shower, ensuring a smoother, more silent water flow.
Step 6: Seek Professional Help
If you’ve followed steps 1 through 5 and the squealing noise persists, it may be time to seek professional help. Plumbing issues can be complex, and sometimes, the problem lies deeper within your home’s plumbing system than the external fixtures and components you can access. A professional plumber can:
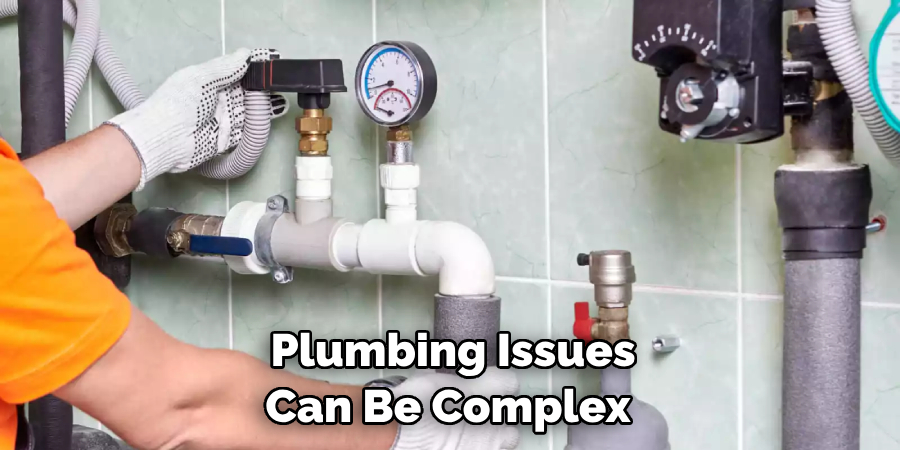
- Diagnose the Problem Accurately: They can identify issues that aren’t immediately apparent to the average homeowner with specialized tools and expertise.
- Provide a Comprehensive Solution: Whether it’s a problem with the internal pipes, an issue with the main water line, or something else entirely, a professional can address the root cause.
- Offer Preventative Advice: They can also give you tips on maintenance and preventative measures to avoid future issues.
Hiring a professional plumber ensures that your plumbing system is in good hands and can save you time, money, and frustration in the long run.
Step 7: Regular Maintenance and Inspection
To prevent future squealing noises and other plumbing problems, it’s essential to establish a routine of regular maintenance and inspection of your shower and plumbing system. Dedicate time every few months to:
- Inspect for Leaks or Drips: Check around your showerhead, valve, and any connection points for signs of leaks or drips.
- Clean Mineral Deposits: Use the vinegar solution method from Step 3 to regularly clean your showerhead and prevent mineral deposits from building up.
- Check the Functionality of Washers and O-rings:Even if there are no immediate issues, inspect these components periodically for wear and tear.
- Listen for Unusual Noises: Pay attention to any new or unusual sounds when the shower is running, as these can be early indicators of potential problems.
By implementing regular maintenance and inspection routines, you can extend the lifespan of your plumbing fixtures, ensure consistent water pressure and flow, and enjoy a squeal-free shower experience.
Step 8. Enjoy Your Squeal-Free Shower!
By following these steps, you should now have resolved both the immediate issue of squealing and any underlying problems with your shower. Remember to regularly maintain and inspect your shower to prevent future issues, and don’t hesitate to seek professional help if needed. With all that taken care of, you can now turn on the water and enjoy a peaceful, squeal-free shower experience.
Now that you have successfully resolved the issue and completed all necessary maintenance tasks, it’s time to relax and enjoy your squeal-free shower.
5 Additional Tips and Tricks
- Keep Your Shower Clean and Free From Debris: One of the main reasons why a shower can start to squeal is due to build-up of debris, such as hair and soap scum. It is important to regularly clean your shower and remove any potential blockages in the drain or showerhead.
- Replace Worn Out Parts: If your shower is still squealing after cleaning, it may be time to replace some parts. Over time, parts such as washers or gaskets can become worn out and cause the shower to make noise. By regularly checking and replacing these small components, you can prevent your shower from squealing in the first place.
- Use Lubrication on Moving Parts: If you have a shower with sliding doors or other moving parts, it is important to lubricate them regularly. This will help reduce friction and prevent the squealing noise. Be sure to use a silicone-based lubricant that is safe for use in the bathroom.
- Use a Water Pressure Regulator: High water pressure can also cause shower squealing. By installing a water pressure regulator, you can control the flow of water and prevent it from being too forceful. This will not only help reduce noise but also increase the lifespan of your shower fixtures.
- Add Insulation to Pipes: If your shower is located in an exterior wall, the pipes may be exposed to colder temperatures. This can cause them to expand and contract, leading to squealing noises. To prevent this, you can add insulation around the pipes to regulate the temperature and reduce noise.
With these additional tips and tricks, you can keep your shower running smoothly and quietly.
5 Things You Should Avoid
- Ignoring Regular Maintenance: Neglecting the overall maintenance of your shower can lead to bigger issues down the line. Failing to regularly check and clean your showerhead, pipes, and other components can worsen the squealing problem.
- Using Harsh Chemicals: While using powerful chemical cleaners to clear blockages or clean parts might be tempting, these substances can cause more damage. Harsh chemicals can corrode your plumbing and exacerbate any issues with your shower.
- Over-tightening Components: When replacing or adjusting parts of your shower, it’s important not to over-tighten them. Doing so can damage the components and lead to leaks or further noise issues.
- Ignoring Water Pressure Problems: High water pressure might cause the squealing and damage your shower system over time. Avoid dismissing water pressure issues, and consider installing a water pressure regulator if necessary.
- Diy on Complex Issues: While many squealing problems can be solved with simple fixes, some issues may be more complex and require professional attention. Avoid attempting major DIY repairs if you’re not confident in your skills, as this could lead to further damage and more costly repairs.
By avoiding these common mistakes, you can prevent further issues with your shower and keep it running smoothly for years to come.
What are the Harmful Effects of Shower Squealing?
While a squealing shower may seem like a minor annoyance, it can have some harmful effects if left unresolved. Here are a few potential consequences of ignoring or neglecting a squealing shower:
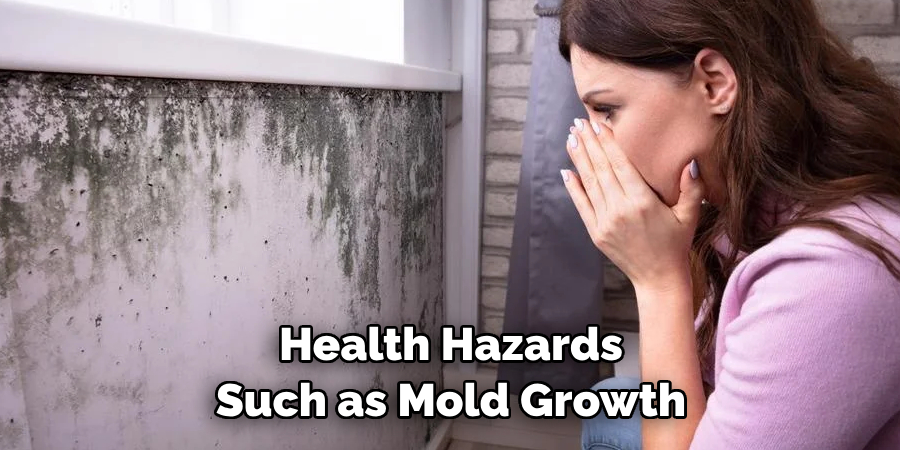
- Water Damage: If the cause of the squealing is due to a leak, this can lead to water damage in your bathroom and even your home. This can result in costly repairs and potential health hazards such as mold growth.
- Wasted Water: A squealing shower may also indicate excessive water usage, leading to higher water bills. Addressing the issue can save you money on monthly expenses and conserve water.
- Reduced Shower Performance: The squealing noise can also indicate underlying issues with your shower system, affecting its performance. This may result in weaker water pressure or inconsistent temperature control.
Addressing the squealing early on can prevent these harmful effects and maintain a fully functioning and efficient shower.
Why Does My Water Make a Whistling Sound?
If your shower is making a whistling sound rather than a squealing one, this could indicate a different issue. A whistling sound can occur when there is restricted water flow, such as from a partially closed valve or clogged aerator. Insufficient water pressure or issues with the plumbing system may also cause it.
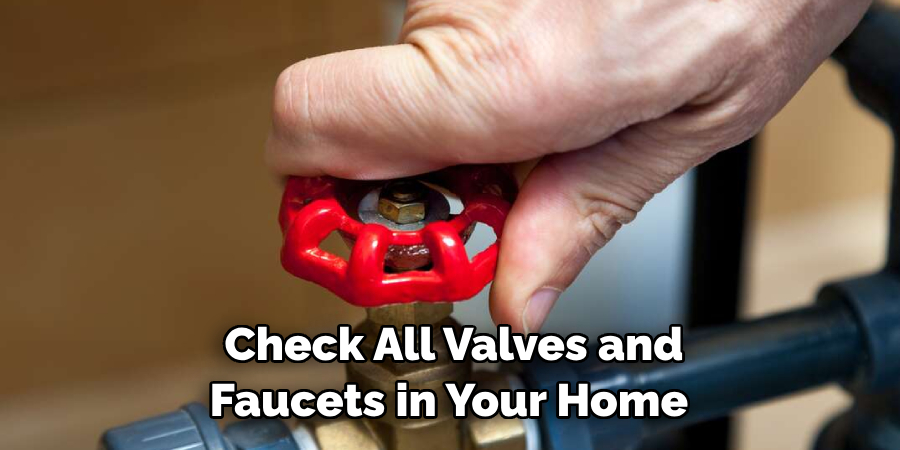
To troubleshoot the problem, check all valves and faucets in your home to ensure they are fully open. If the whistling persists, call a professional plumber to inspect and address any underlying issues with the plumbing system.
Overall, regular maintenance and prompt troubleshooting can prevent shower squealing and other issues from disrupting your daily routine.
Conclusion
In conclusion, how to stop shower from squealing involves a combination of regular maintenance, timely replacements, and strategic modifications.
By keeping your shower clean, replacing worn-out parts, lubricating moving parts, regulating water pressure, and insulating exposed pipes, you can significantly reduce or eliminate squealing noise.
Additionally, being mindful of what to avoid, such as neglecting regular maintenance, using harsh chemicals, over-tightening components, ignoring water pressure issues, and tackling complex repairs without professional help, can prevent further problems.
Remember, addressing squealing noises in your shower enhances your daily showering experience, prevents potential water damage, and conserves water. Following these guidelines ensures your shower operates smoothly and quietly, making your bathroom a more relaxing space.

