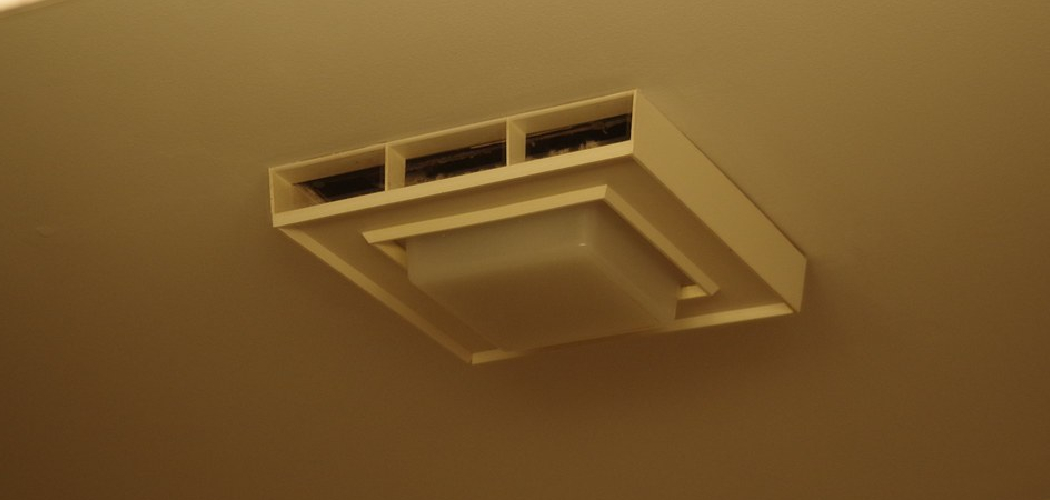
Are you tired of unpleasant smells wafting through your bathroom vents? Smells from the bathroom can be embarrassing, especially when guests are over.
Unpleasant odors wafting through bathroom vents can be a frustrating and persistent in many homes. These smells often arise due to blockages, inadequate ventilation, or the movement of air carrying odors from other spaces. Fortunately, there are practical steps you can take to address this problem and maintain a fresh, clean-smelling bathroom. By understanding the root causes of these odors and implementing some practical solutions, you can ensure that your bathroom remains a comfortable and welcoming space for everyone.
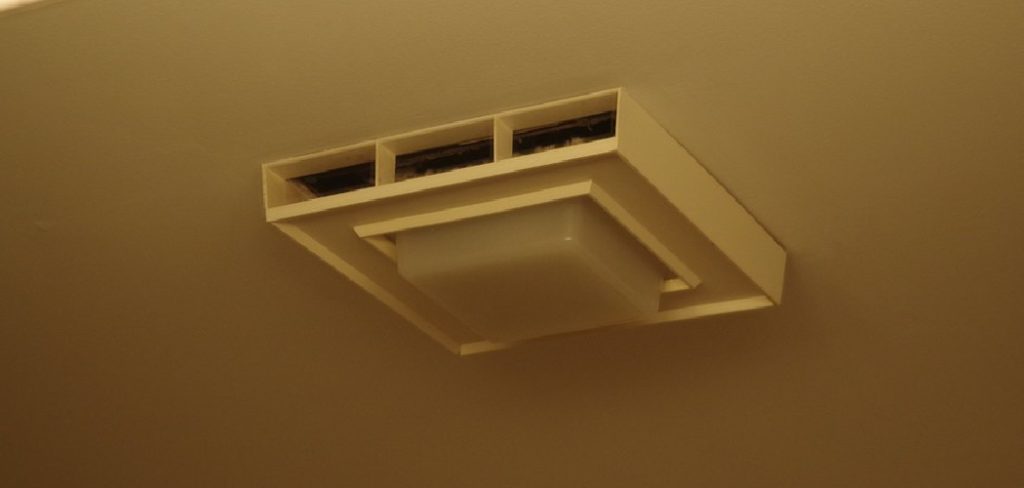
In this guide on how to stop smells from coming through bathroom vents, we will discuss common causes of bathroom odors and provide tips for preventing them.
What Are the Causes of Bathroom Odors?
Several factors can contribute to unpleasant odors in your bathroom. These include:
- Poor Ventilation: Without proper ventilation, the moisture from showers and baths can linger in the air and lead to a musty smell.
- Mold and Mildew Growth: Moisture buildup is a breeding ground for mold and mildew, which can produce a strong, unpleasant odor.
- Clogged Drains: Accumulated hair, soap scum, and other debris can block drainage pipes and cause foul smells to rise up through the vents.
- Old or Dirty Toilet: Over time, toilets can become stained and accumulate germs that create an offensive odor.
What Will You Need?
When it comes to getting rid of bathroom odors, there are a few essential items you should have on hand:
- Cleaning Supplies: This includes all-purpose cleaner, disinfectant spray, and baking soda.
- Rubber Gloves: Protect your hands from harsh chemicals and bacteria by wearing rubber gloves while cleaning.
- Toilet Brush: Use this to scrub the inside of the toilet bowl and remove any stains or buildup.
- Plunger: A plunger can help unclog stubborn drains and eliminate any lingering odors.
- Air Freshener: While not necessary for eliminating odors, air fresheners can help mask any remaining smells in the bathroom.
Once you have gathered all of your supplies, it’s time to start cleaning.
8 Easy Steps on How to Stop Smells From Coming Through Bathroom Vents
Step 1: Identify the Source of the Odor
The first step in resolving bathroom vent odors is identifying their origin. Take a moment to inspect the vent area thoroughly. Sometimes, the smell can come from mold or mildew buildup inside the vent ducts due to excess moisture. Alternatively, the issue could be caused by trapped debris, dust, or even small animals that may have entered the ventilation system.
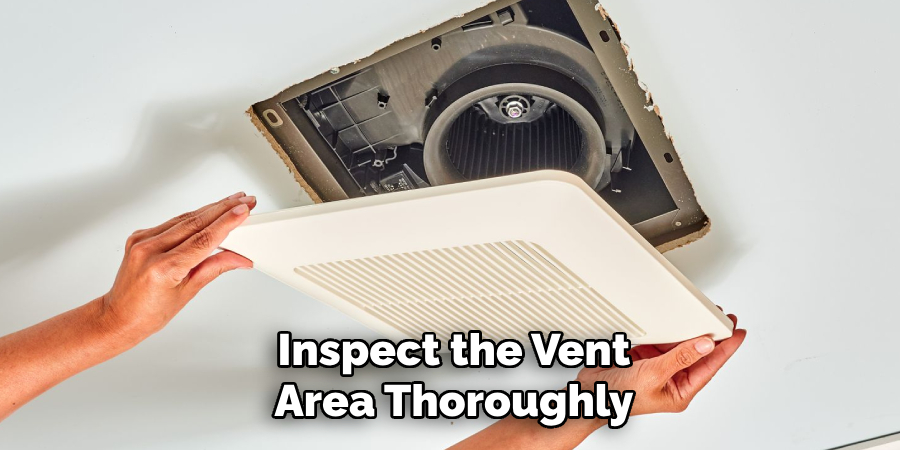
Pay attention to whether the odor is more pungent near the vent or if it seems to spread throughout the bathroom. This will help narrow down the potential cause. Use a flashlight to scrutinize the vent cover and, if possible, peek into the ductwork for any visible signs of contamination or damage. Once you’ve identified the source, you can move forward with targeted cleaning or repairs to eliminate the smell effectively.
Step 2: Clean the Vent and Ductwork
Start by turning off the power to the vent to ensure safety while working. Remove the vent cover carefully and wash it with warm, soapy water to eliminate dirt or grime. Use a vacuum cleaner with a hose attachment to reach inside the ductwork and remove dust, debris, or any other contaminants.
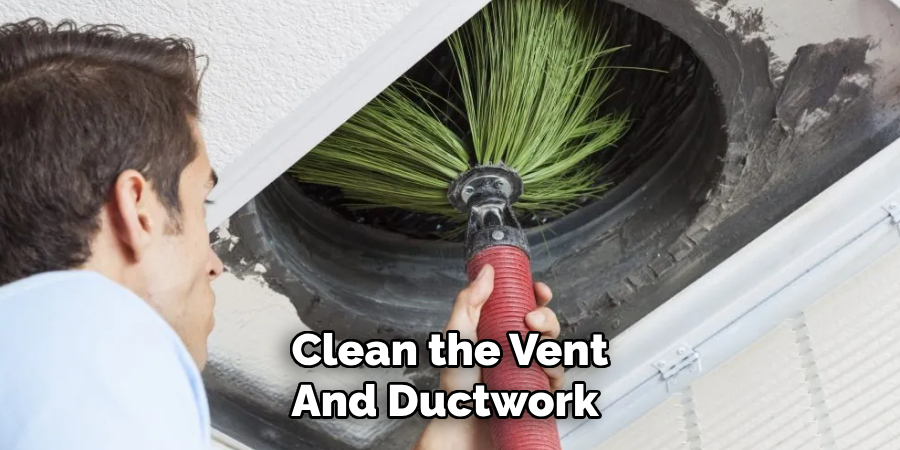
If there is visible mold or mildew, clean the area using water, white vinegar, or a specialized cleaner designed for mold removal. After thoroughly cleaning the ductwork and vent cover, ensure everything is dehydrated before reassembly. This step helps to eliminate odors at their source and prevents future buildup.
Step 3: Changing Air Filters Regularly:
One of the most effective ways to maintain clean air quality in your home is by changing air filters regularly. Air filters are designed to trap dust, pollen, pet dander, and other airborne particles, preventing them from circulating throughout your home. Over time, these filters can become clogged and lose their effectiveness, leading to restricted airflow and reduced efficiency of your HVAC system.
It is recommended to check your air filters at least once a month and replace them every 1-3 months, depending on your household environment. Homes with pets, smokers, or residents with allergies may need more frequent filter changes due to higher contaminants. When selecting a replacement filter, consider the Minimum Efficiency Reporting Value (MERV) rating, which indicates how effectively the filter captures particles of various sizes. A higher MERV rating can trap smaller particles but may also restrict airflow if incompatible with your HVAC system. Regularly changing your air filters ensures better air circulation, enhances system efficiency, and improves overall indoor air quality for a healthier living space.
Step 4: Choosing the Right Replacement Filter
When it comes to choosing a replacement filter for your HVAC system, there are a few important factors to consider. The type of filter you select can significantly impact the efficiency and effectiveness of your air filtration system.
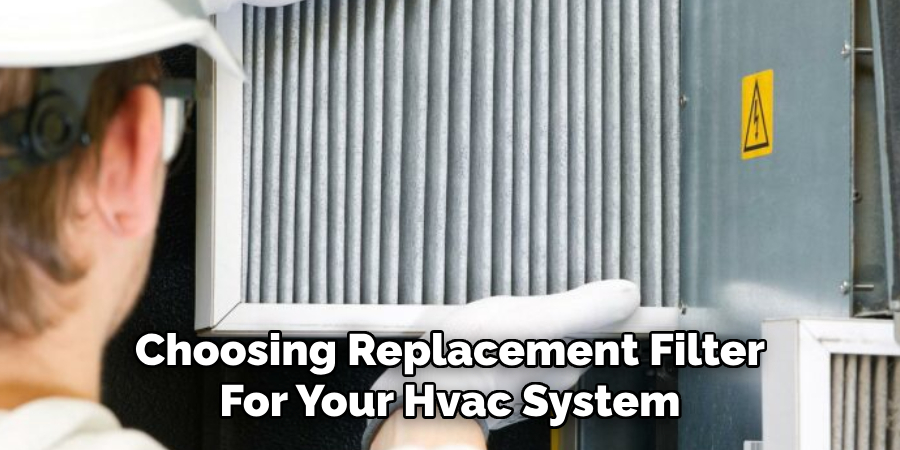
The MERV (Minimum Efficiency Reporting Value) rating is a key factor to consider. This rating indicates how well the filter can capture particles of different sizes. A higher MERV rating means that the filter can capture smaller particles, which may benefit those with allergies or respiratory issues. However, it’s important to note that a high MERV rating can also restrict airflow and potentially strain your HVAC system if not compatible.
Step 5: Check for and Remove Any Obstructions in the Vents
Ensuring that your vents are free from any obstructions is critical for properly functioning your HVAC system. Obstructions such as furniture, rugs, curtains, or other household items can block airflow, reducing the system’s efficiency and making it harder to maintain a consistent temperature throughout your home. Additionally, blockages can cause uneven heating or cooling and might force your HVAC system to work harder, leading to increased energy bills and potential wear and tear on the components. Regularly inspecting and clearing the area around your vents, as well as vacuuming out any dust or debris inside, can help maintain optimal airflow and extend the lifespan of your system.
Step 6: Use a Programmable Thermostat
A programmable thermostat is one of the most convenient and cost-effective ways to maintain consistent temperatures in your home. This type of thermostat allows you to set different temperature settings for various times throughout the day, automatically adjusting the temperature when you are away from home or asleep. By programming your thermostat to lower or raise the temperature during these times, you can save on energy costs without sacrificing comfort.
In addition, newer models of programmable thermostats have features that can track your energy usage and provide suggestions on how to optimize your HVAC system’s efficiency further. Some even allow remote access through smartphone apps, so you can control your system from anywhere.
Step 7: Consider Upgrading to a High-Efficiency System
Upgrading to a high-efficiency HVAC system can significantly improve your home’s energy performance and reduce utility costs. These systems are designed to use less energy while delivering the same or better performance than older, less efficient models. Look for systems with ENERGY STAR certification, as they meet stringent efficiency standards set by the Environmental Protection Agency. Additionally, high-efficiency systems often have advanced features such as variable-speed motors, which adjust airflow to provide consistent temperatures and lower energy consumption. Although the initial investment may be higher, the long-term savings on energy bills and reduced environmental impact make it a worthwhile consideration. Many high-efficiency models also offer enhanced durability and quieter operation, further adding to their appeal.
Step 8: Keep an Extra Eye on Energy Usage
Monitoring your energy usage closely ensures that your heating and cooling systems operate efficiently. Start by checking your monthly energy bills for unusual spikes, as these could indicate issues such as air leaks, clogged filters, or inefficient equipment performance. Smart thermostats and energy monitoring devices can provide real-time insights into how and when energy is consumed, allowing you to make informed adjustments.
Regular maintenance, such as cleaning ducts and replacing filters, is crucial in optimizing energy usage. Additionally, sealing windows, doors, and other potential air leak points can significantly reduce wasted energy, further enhancing the efficiency of your system. Keeping track of these factors reduces your overall utility costs and contributes to a more sustainable and eco-friendly home.
By following these energy-saving practices, you can save money, reduce your carbon footprint, and contribute towards a greener future for our planet.
Conclusion
To effectively stop smells from entering bathroom vents, it is essential to ensure proper maintenance and cleaning of the vent systems.
Regularly inspect and clean the vent ducts to remove any blockages or buildup that might contribute to odors lingering or spreading. Installing a high-quality vent cover or filter can also help trap unwanted particles and prevent smells from entering your bathroom. Additionally, check for any cracks or gaps in the vent seals and repair them promptly to avoid air leaks. Proper ventilation through exhaust fans or windows can further improve air circulation in the bathroom, reducing the chances of odors accumulating.
By taking these steps on how to stop smells from coming through bathroom vents, you can maintain a fresher and more comfortable bathroom environment.

