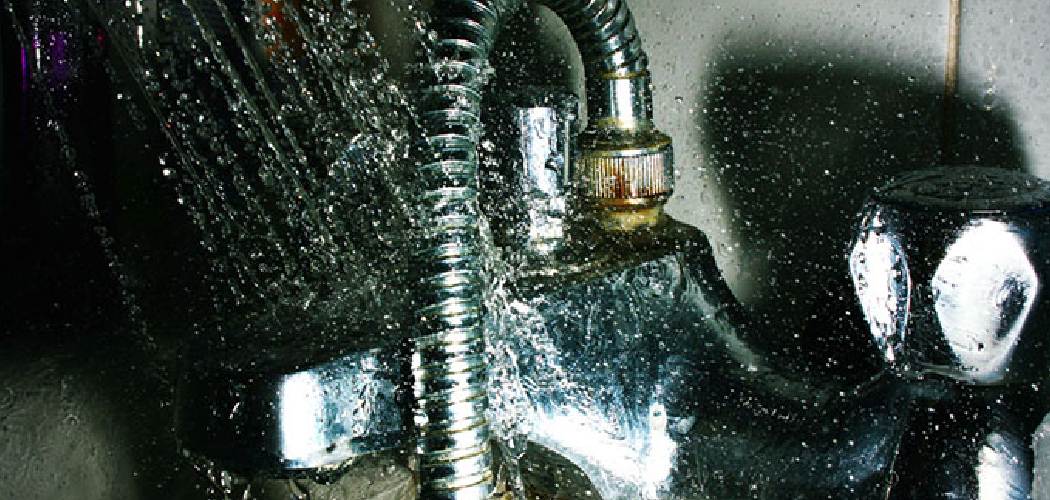
Are you tired of those annoying water stains on your chrome taps? Do you want to keep your chrome taps looking shiny and new?
Water stains on chrome taps can be a common and frustrating problem, often caused by mineral deposits from hard water. Over time, these marks can leave taps looking dull and tarnished, detracting from the overall appearance of your bathroom or kitchen. Fortunately, with the right techniques and routine maintenance, it is easy to eliminate water stains and keep your chrome fixtures gleaming like new.
This guide on how to stop water marks on chrome taps will walk you through practical methods and simple tips to prevent and remove water stains, ensuring your taps stay sparkling and pristine. Let’s dive in!
What Are the Causes of Water Marks on Chrome Taps?
Several factors can contribute to water stains on chrome taps, including:
- Hard Water: If you live in an area with hard water, it means the water contains high levels of minerals such as calcium and magnesium. When this water comes into contact with chrome surfaces, it can leave behind white marks called limescale.
- Soap Residue: Soap scum is a common culprit for leaving streaks and spots on chrome fixtures. This is because soap often contains ingredients like talc and calcium carbonate, which can create a film on tap surfaces.
- Detergents and Cleaners: Some cleaning products contain harsh chemicals that can damage the protective layer of your chrome fixtures, leaving them vulnerable to water spots and tarnishing.
These are just a few common causes of water spots and tarnishing on chrome fixtures. However, you can take some simple steps to prevent these issues and keep your fixtures looking shiny and new for longer.
What Will You Need?
To clean and maintain your chrome fixtures, you will need the following items:
- Microfiber cloth or soft sponge
- White vinegar or lemon juice
- Baking soda
- Mild dish soap
- Water
- Toothbrush (optional, for hard-to-reach areas)
Once you have gathered these items, you can start cleaning and maintaining your chrome fixtures.
8 Easy Steps on How to Stop Water Marks on Chrome Taps
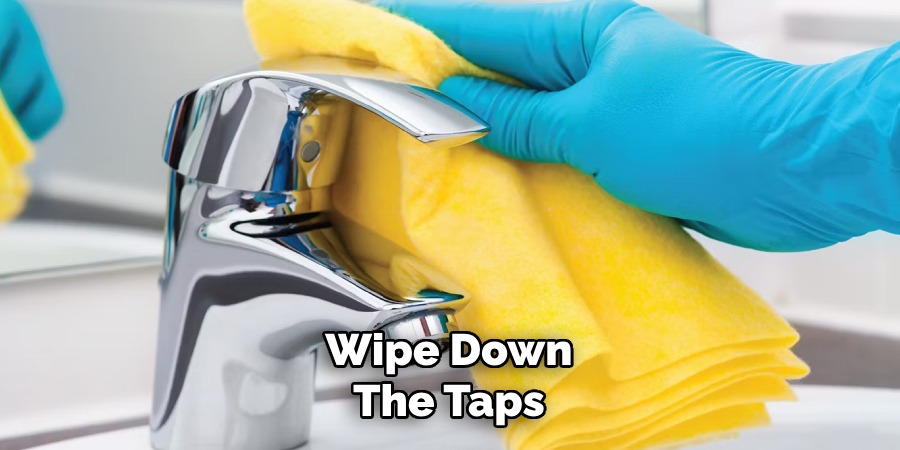
Step 1: Wipe Down the Taps
Begin by using a microfiber cloth or a soft sponge to wipe down the chrome taps. This step helps remove any loose dirt, dust, or surface grime that may have accumulated. Be sure to use gentle strokes to avoid scratching the chrome surface. If the area is particularly dusty or dirty, dampen the cloth slightly with water to make the process more effective. Wiping the taps before applying any cleaning solution ensures a smoother and more thorough cleaning process in the subsequent steps.
Step 2: Apply a Cleaning Solution
Once the surface dirt has been removed, select a non-abrasive cleaning solution designed explicitly for chrome. Apply a small amount of the solution to a clean microfiber cloth or sponge. Gently rub the solution onto the taps, covering all areas, including hard-to-reach corners or grooves. Avoid harsh chemicals or abrasive powders, as these can damage the chrome finish. Focus on stubborn spots or stains, ensuring they are fully treated before moving to the next step.
Step 3: Rinse and Dry
Once the taps have been thoroughly cleaned with the non-abrasive cleaning solution, it’s crucial to rinse them properly to remove any residual cleaner and prevent streaks or stains. Use warm water to rinse the taps, ensuring all traces of the cleaning solution are washed away. You can use a clean sponge or a soft cloth soaked in water to help rinse off any remaining product, especially in grooves or intricate areas.
After rinsing, use a dry, lint-free microfiber cloth to completely dry the taps. Drying is essential to prevent water spots and maintain the chrome’s shine. Pay extra attention to edges or corners where water tends to pool.
If necessary, buff the surface gently with the cloth in circular motions to enhance the polished look. Taking the time to rinse and dry thoroughly ensures the taps retain their sleek, sparkling appearance without any dull residues or watermarks.
Step 4: Polish (Optional)
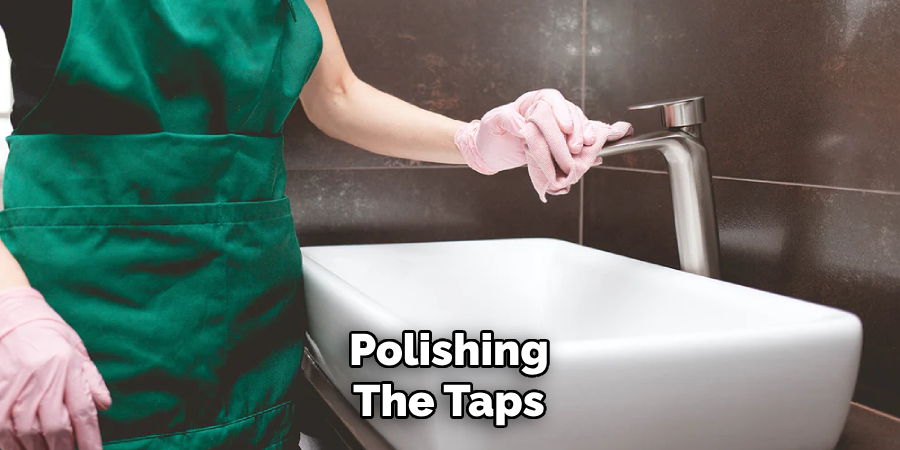
Polishing the taps is an optional step but can elevate their appearance to a professional, showroom-like sheen. To polish, select a high-quality chrome polish or metal cleaner specifically designed for the surface. Apply a small amount of the product onto a soft, clean cloth or sponge, and gently work it onto the taps using circular motions.
Pay attention to the intricate details, such as curves or hinges, ensuring every part is polished evenly. After applying the polish, use another dry microfiber cloth to buff the surface until it gleams. This step enhances the aesthetic appeal and provides an additional layer of protection against tarnish or water spots, keeping your taps flawless for longer.
If you prefer a more natural alternative, a mixture of vinegar and water or baking soda paste can also provide a mild polishing effect while being eco-friendly. Always read product instructions and test in an inconspicuous area first to avoid damage.
Step 5: Ensure Proper Maintenance
Proper maintenance is essential to keep your taps in top condition for as long as possible. Regularly cleaning and polishing them will maintain their shine and prevent mineral buildup and corrosion. Additionally, it’s essential to check for any leaks or signs of wear and tear that may require immediate attention.
To avoid any damage, follow the manufacturer’s instructions on how often to clean and what products are safe to use on your specific type of tap. Using harsh chemicals or abrasive materials can cause irreparable damage to the finish.
Step 6: Keep the Sink Area Organized and Clean
A clean and organized sink area looks aesthetically pleasing and makes it easier to maintain. Make sure to wipe down the sink basin, faucet, and surrounding surfaces with a mild cleaner and dry them off for a streak-free shine.
In addition, keep clutter to a minimum by storing items such as dish soap, sponges, and scrubbers in an easily accessible container or caddy. This will make your sink area look neater and prevent any potential damage from these items being left out on the countertop.
Step 7: Address Any Plumbing Issues Immediately
Plumbing issues, no matter how minor they may seem, should be addressed as soon as they are noticed to prevent them from escalating into costly repairs. For example, a dripping faucet or a slow-draining sink could indicate underlying problems such as worn-out washers, clogged pipes, or even potential leaks in your plumbing system.
Ignoring these signs could lead to water waste, higher utility bills, or water damage over time. To avoid such complications, regularly inspect your sink and its components for any signs of wear or damage.
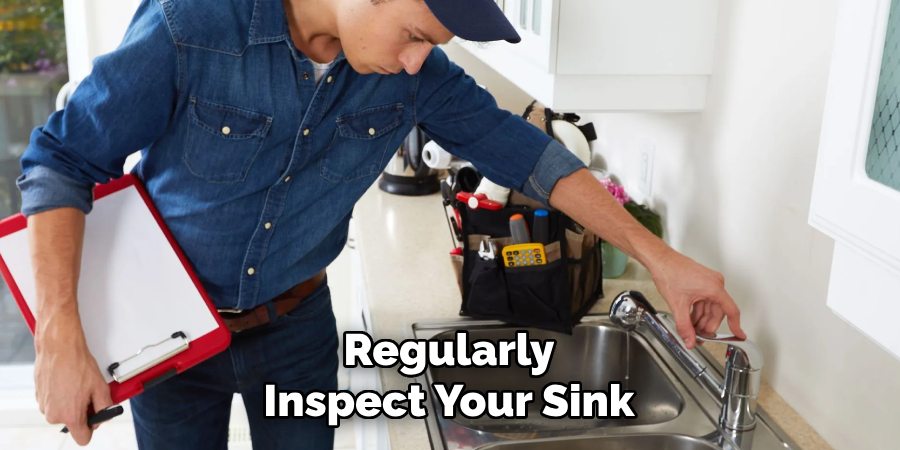
If you encounter any issues you cannot fix, it is best to consult a professional plumber promptly. Staying proactive about maintenance will help ensure your sink remains fully functional and reliable.
Step 8: Put on a Pair of Rubber Gloves
One important step in sink maintenance is to put on a pair of rubber gloves before starting any cleaning or repairs. This will protect your hands from any harsh chemicals or bacteria that may be present in the sink. It also prevents you from getting cuts or injuries from sharp edges or tools while working. Make sure to use thick and durable gloves for maximum protection.
By following these simple steps, you can easily maintain the cleanliness and functionality of your sink for years to come.
5 Things You Should Avoid
1. Using Abrasive Cleaners
Avoid using abrasive powders or scrubbing pads on chrome taps, as these can scratch the surface and dull the shiny finish. Opt for mild soap and soft cloths to preserve the tap’s smooth appearance.
2. Leaving Water Spots to Dry
Don’t allow water spots to dry naturally on chrome taps. The minerals in water can form stubborn marks over time. Instead, always wipe down the taps with a dry microfiber cloth after use.
3. Ignoring Regular Maintenance
Skipping regular cleaning can lead to a buildup of limescale and water stains. Make it a habit to clean your taps weekly with gentle, non-corrosive cleaners to prevent this.
4. Applying Harsh Chemicals
Refrain from using strong acidic or alkaline cleaners on chrome taps, as they can cause damage to the chrome plating. Stick to eco-friendly or chrome-specific cleaning products.
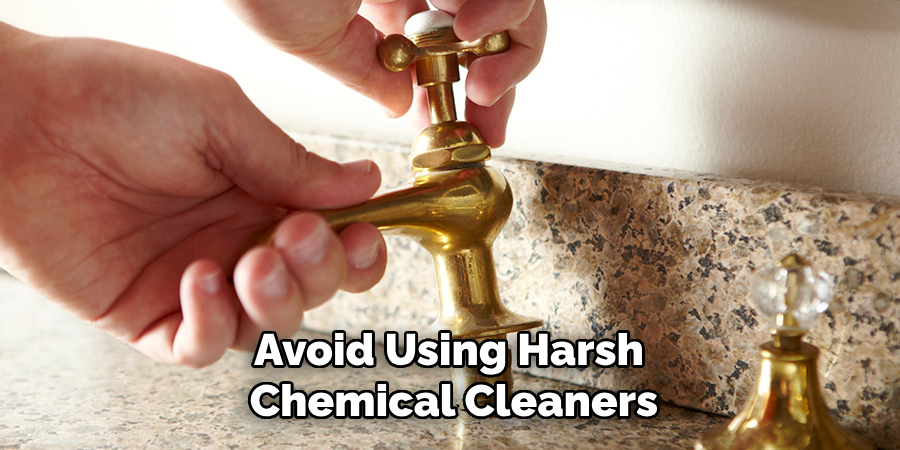
5. Using Excessive Force
Avoid twisting or pulling on taps with excessive force when cleaning or adjusting. This can loosen the fittings and damage the finish, increasing the chances of water stains forming. Always clean with gentle and controlled movements.
By avoiding these common mistakes, you can ensure that your chrome taps remain pristine and last for years.
Conclusion
You can effectively prevent water stains on your chrome taps by following proper care techniques.
Regular cleaning with suitable products, drying the taps after use, and avoiding harsh practices will preserve their shine and durability. Ensuring attentive maintenance enhances the aesthetic appeal of your fixtures and extends their lifespan, making them a lasting feature in your home.
Hopefully, the article on how to stop water marks on chrome taps has provided you with valuable insights and guidance on maintaining your chrome taps. Enjoy sparkling clean and shiny fixtures for years to come!

