Replacing a bathroom light fixture can be a straightforward and rewarding home improvement project, allowing you to update the look of your space or improve lighting conditions. Whether you’re looking to enhance your bathroom’s design or enhance simply brighten up the room, taking down the existing fixture is the first step. This guide will walk you through how to take down bathroom light fixture, ensuring a smooth transition to your new setup.
Remember to prioritize safety and turn off the power to the room before beginning any electrical work.
Importance of Proper Lighting in Bathrooms
Proper lighting in bathrooms is crucial for both functionality and aesthetics. Bathrooms are spaces where we perform daily grooming tasks such as shaving, applying makeup, or styling hair, which require precise lighting to ensure accuracy and prevent mishaps. Adequate illumination helps in identifying the right complexion and prevents uneven makeup application. Additionally, well-lit bathrooms can significantly enhance the ambiance, turning a mundane space into a relaxing retreat.
Incorporating different lighting layers, such as ambient, task, and accent lighting, can create depth and dimension, while also providing energy efficiency and improving safety by minimizing risks like slips and falls. Ultimately, the right lighting can transform a bathroom into a space that combines practicality with a soothing atmosphere.
Types of Bathroom Light Fixtures
When choosing the right light fixture for your bathroom, it’s important to consider the various options available, each offering its own unique benefits. Vanity lights are among the most popular choices, typically mounted above or beside the mirror, providing excellent task lighting for grooming activities. Recessed lighting, often installed in the ceiling, provides a sleek, uncluttered look while offering ample ambient lighting.
Wall sconces are versatile options that can be placed strategically to add both task and ambient lighting, enhancing the overall design of the room. For those looking to make a bold statement, chandeliers or pendant lights can add a touch of elegance and sophistication to larger bathrooms. Selecting the right combination of fixtures can greatly influence both the functionality and style of your bathroom, creating a well-balanced and inviting atmosphere.
Safety Precautions Before Starting
Before embarking on the task of taking down your bathroom light fixture, it’s essential to prioritize safety to prevent accidents or injuries. Begin by turning off the power to the bathroom at the main circuit breaker to ensure no electrical current is flowing to the fixture. Test the fixture with a non-contact voltage tester to double-check that the power is off. Make sure to work in a well-lit environment, using a portable light if necessary.
It is advisable to wear safety goggles and gloves to protect against any debris or sharp edges that might be exposed during the removal process. If you’re working on a ladder, ensure it is stable and placed on a level surface. Finally, have another person nearby to assist you if needed, as some fixtures might be heavier or more cumbersome than anticipated. By following these precautions, you can proceed with confidence and focus on safely updating your bathroom’s lighting.
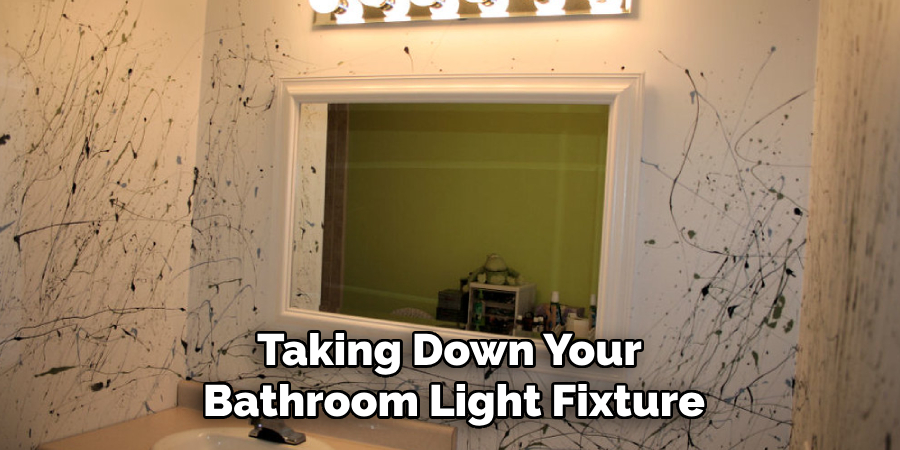
10 Essential Methods for How to Take down Bathroom Light Fixture
1. Gather Your Tools and Safety Gear
Before you begin, make sure you have all the necessary tools and safety gear. You’ll need a screwdriver (Phillips or flat-head, depending on the fixture), a voltage tester, wire strippers, wire nuts, and safety goggles. Having the right tools at hand helps streamline the process and ensures safety.
2. Turn Off the Power
Safety first! Head to your breaker box and turn off the power to the bathroom. This step is crucial to avoid electrical shocks. Use a voltage tester to confirm that the power is indeed off before proceeding with any work on the fixture.
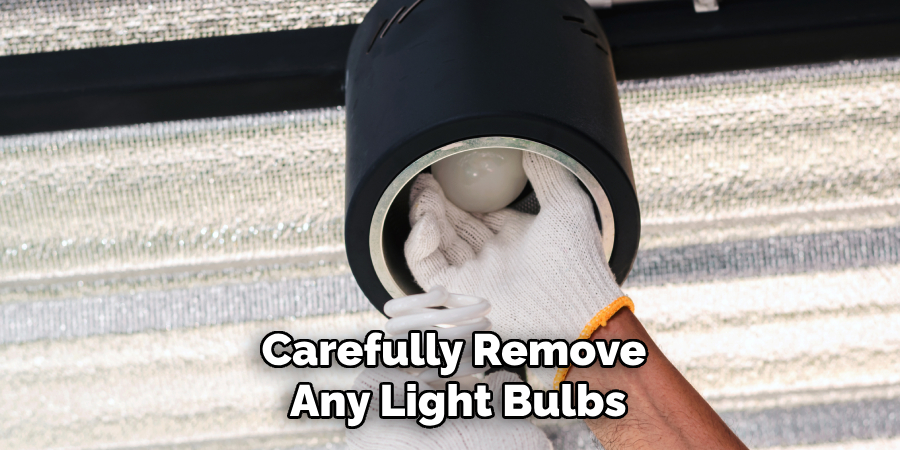
3. Remove the Bulbs and Shades
Carefully remove any light bulbs and shades from the fixture. This not only makes the fixture lighter and easier to handle but also prevents the risk of breakage. If the fixture has glass elements, handle them with care to avoid accidents.
4. Locate and Remove the Mounting Screws
Identify the mounting screws that hold the fixture in place. These are typically located on the base plate. Use your screwdriver to unscrew these, supporting the fixture with your other hand to prevent it from falling.
5. Detach the Fixture from the Wall or Ceiling
Once the screws are removed, gently pull the fixture away from the wall or ceiling. This will expose the wiring behind it. Proceed with caution to avoid pulling on the wires too hard, which can cause damage.
6. Identify and Disconnect the Wiring
Carefully examine the wiring connected to the fixture. You will generally find three wires—black, white, and green or copper (ground wire). Unscrew the wire nuts and gently separate the fixture wires from the house wires. It’s a good practice to take a photo of the wiring setup before disconnecting to aid in reinstallation.
7. Secure the Wires
Once the fixture is detached, use wire nuts to cap off the house wires. This step ensures safety by preventing any exposed wires from making contact, which could result in a short circuit when the power is turned back on.
8. Clean Up the Area
With the fixture removed, take the opportunity to clean the area, especially if you plan on installing a new fixture immediately. Dust, debris, or old drywall may have accumulated over time.
9. Inspect the Junction Box
Check the junction box for any signs of wear and tear, such as burned or frayed wires. If you notice anything unusual, it’s wise to consult a professional electrician before proceeding with any new installation.
10. Evaluate Your Next Steps
Decide whether you will install a new fixture yourself or hire a professional. If you choose to continue the DIY path, make sure to follow the manufacturer’s instructions for any new fixture installations closely.
Maintenance and Upkeep
To ensure your bathroom lighting remains functional and visually appealing, regular maintenance and upkeep are essential. Begin with routine cleaning of light fixtures, including dusting bulbs, shades, and any glass or metallic surfaces to maintain optimal brightness. Periodically check the fixtures for signs of wear, such as corrosion or loose fittings, and address any issues promptly to extend their lifespan.
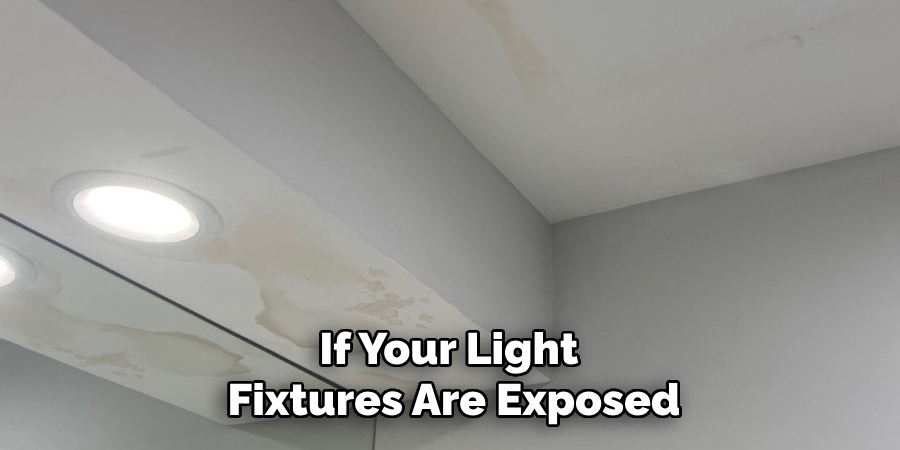
Replace burnt-out bulbs with energy-efficient alternatives, such as LEDs, to reduce energy consumption and enhance longevity. If your light fixtures are exposed to moisture, apply a gentle cleaning solution to prevent the buildup of mildew or rust. Additionally, inspect the wiring and connections periodically, especially after any power surges or renovations, to ensure safety and functionality. By investing time in regular maintenance, you can enjoy a well-lit and safe bathroom environment.
Things to Consider When Choosing New Bathroom Light Fixtures
Selecting the right light fixtures for your bathroom involves more than just aesthetics. First, evaluate the size of your bathroom, as this will influence the type and number of fixtures needed to adequately illuminate the space. Consider the placement and layering of lighting to achieve the perfect balance between ambient, task, and accent lighting. For instance, wall sconces can provide focused task lighting around mirrors,
while ceiling lights can serve as the primary source of ambient light. It’s also important to think about the color temperature and brightness level of the bulbs; ideally, a color temperature between 2700K to 3000K works well for bathroom settings to mimic natural light. Additionally, consider energy efficiency and opt for fixtures and bulbs that offer longevity and lower energy consumption.
Common Mistakes to Avoid
While updating bathroom light fixtures can be a rewarding DIY project, certain mistakes might lead to safety hazards, increased costs, or even unsuccessful installations. Firstly, one of the most frequent errors is failing to turn off the electricity at the breaker. Always double-check with a voltage tester before proceeding with any electrical work. Next, avoid rushing through the disconnection process without properly documenting the existing wiring setup;
a quick photo can serve as a reliable reference during reinstallation. Another common mistake is neglecting to use the correct tools for the task, which can damage fixtures or create safety risks. Additionally, many overlook the importance of securing wires with wire nuts, which could lead to electrical shorts. Lastly, ensure you choose a fixture that is suitable for bathroom environments, as certain materials might not withstand the room’s humidity and moisture levels.
By steering clear of these common pitfalls, you can confidently and safely refresh your bathroom’s lighting.
Conclusion
Updating the lighting fixtures in your bathroom can significantly enhance both the aesthetic ambiance and functionality of the space. By carefully following the steps outlined, from safely removing old fixtures to choosing new, energy-efficient ones, you can undertake this project with confidence. Whether you opt to install a fixture yourself or hire a professional, attention to detail and adherence to safety protocols are crucial for a successful outcome.
Thanks for reading our blog post on how to take down bathroom light fixture! We hope you found it helpful and informative.

