Whether you’re renovating your bathroom or simply replacing outdated fixtures, understanding how to take off a towel ring is an essential skill that can save you time and prevent damage to your walls. Towel rings, while small, play a significant role in the functionality and aesthetic of a bathroom space. Their removal, however, can be more complex than it appears. This guide will walk you through the nuances of removing a towel ring safely and efficiently.
Various challenges may arise during the process, such as dealing with concealed screws, adhesive mounts, or avoiding damage to the wall paint and texture. The key to overcoming these obstacles lies in the right techniques and tools.
Knowing how to take off towel ring correctly can make the difference between a smooth, successful removal and potential damage that requires costly repairs. Our step-by-step guide is designed to provide you with practical advice on navigating through these challenges, ensuring a hassle-free renovation or replacement project.
Assessing the Situation
Before proceeding with the removal of a towel ring, it’s crucial to conduct a thorough assessment to prevent any unintended damage to your wall surfaces. This involves understanding the specific characteristics of the towel ring’s installation.
A. Determining the Type of Mounting Hardware Used for the Towel Ring
Towel rings can be mounted using various methods, including screws and adhesives. Screw-mounted towel rings typically require a screwdriver or an Allen wrench for removal. On the other hand, adhesive-mounted rings demand a more delicate approach to loosen the bond without damaging the wall. Recognizing the type of mounting hardware is the first step in planning your removal strategy.
B. Inspecting the Condition of the Wall Surface and Surrounding Area for Damage or Wear
Closely examine the wall area around the towel ring for any signs of damage, wear, or peculiarities. This inspection can reveal potential challenges you might face during the removal process, such as weakened wall material or pre-existing damage that could influence your approach. Identifying these factors beforehand helps in choosing the most appropriate tools and techniques for removal.
C. Understanding the Construction and Design of the Towel Ring for Effective Removal
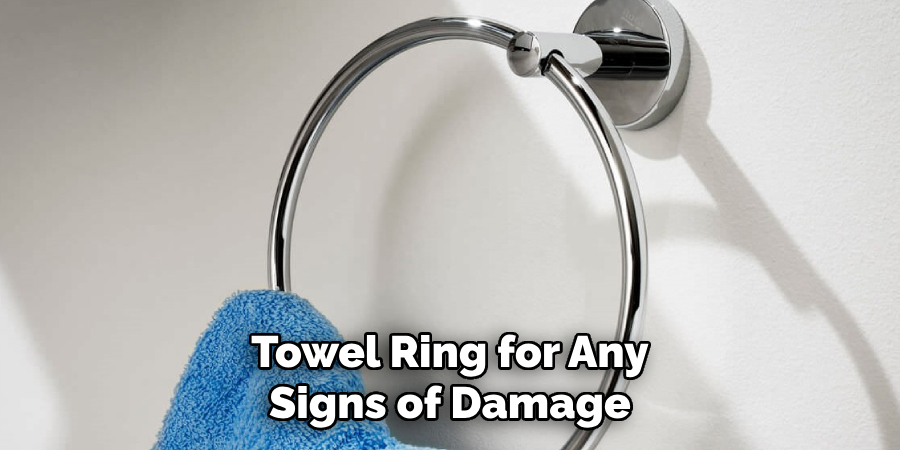
Different towel rings have unique designs and construction features. Some may have hidden screws or clips that secure them to the wall, while others could be integrated into larger fixtures. Familiarizing yourself with the towel ring’s design will allow you to predict how it is attached to the wall and plan the safest and most efficient way to remove it. This knowledge is vital in avoiding unnecessary force damaging the wall or the ring itself.
Gathering Necessary Tools
Before you begin the process of removing a towel ring, having the right set of tools is imperative. This doesn’t just ensure efficiency but also minimizes the risk of damage to both the fixture and the wall surface.
A. Recommended Tools for Removing Towel Rings
The primary tools required for this task include a screwdriver and an Allen wrench. These tools are essential for dealing with screw-mounted towel rings. For adhesive-mounted rings, a putty knife or a pry bar may be necessary to gently separate the ring from the wall without causing damage. Additionally, having a hair dryer or heat gun can be beneficial for loosening the adhesive before removal.
B. Additional Supplies for Patching or Repairing Wall Surfaces After Removal
Once the towel ring is removed, some minor wall repairs might be needed. Keeping spackle or wood filler on hand is wise for filling any holes left behind. Additionally, sandpaper will smooth out the patched areas, while paint or a touch-up marker can help in blending these repairs into the surrounding wall. For adhesive residue, an adhesive remover or a solution of soap and water is beneficial for cleaning the wall surface.
C. Ensuring Safety Gear and Protective Equipment for Handling Tools and Hardware
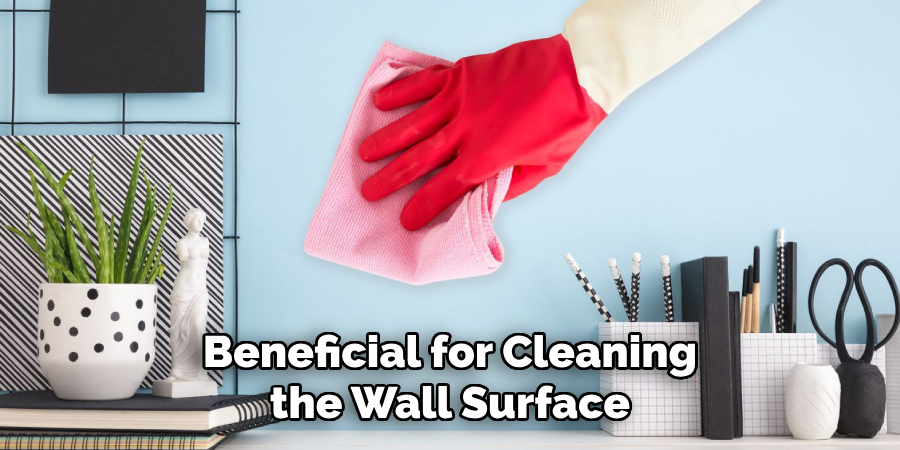
Safety cannot be overstated when working with tools and potentially sharp objects. Wearing gloves can protect your hands from cuts and abrasions. Safety goggles should be used to shield your eyes from any particulate matter that might be dislodged during the removal process. If you’re sensitive to dust or chemicals, a dust mask or respirator can provide an additional layer of protection.
Having these tools and supplies prepared in advance not only facilitates a smoother removal process but also prepares you for any unexpected repairs or adjustments that might be necessary. Ensuring you are equipped with the appropriate safety gear further guarantees that the project can be completed without personal injury.
Preparing the Workspace
Before you commence the task of removing the towel ring, it’s crucial to prepare your workspace to ensure both safety and efficiency. Start by clearing the area around the towel ring to provide easy access and maneuverability. Remove any bathroom toiletries, towels, or containers that could obstruct your movement or get damaged during the removal process. This step is essential for avoiding unnecessary clutter and creating a safe environment to work in.
Next, focus on protecting nearby surfaces and fixtures from potential damage or debris. Cover sinks, bathtubs, and countertops with thick cloth or plastic sheeting to shield them from dust, paint flakes, or tools that might accidentally drop. This precaution helps maintain the integrity of your bathroom fixtures and surfaces, ensuring that they remain unscathed.
Lastly, setting up adequate lighting and ventilation in your workspace is vital for comfort and safety. Adequate lighting will ensure you can see clearly, reducing the risk of mistakes or injuries. Meanwhile, proper ventilation is necessary to dissipate any dust or fumes that could arise, particularly if you’re using chemical adhesives or solvents for removal. Opening windows or running an exhaust fan can help maintain a breathable atmosphere, making the removal process more pleasant and safer overall.

How to Take Off Towel Ring: Removing Screw-Mounted Towel Rings
Once your workspace is adequately prepared, the process of removing a screw-mounted towel ring can begin. This type of removal entails a few precise steps focusing on the towel ring’s mounting hardware.
A. Loosening Set Screws or Mounting Hardware Using Appropriate Tools
Start by locating the set screws or mounting hardware that attach the towel ring to the wall. These are usually found at the bottom or the side of the ring’s base. Using a screwdriver or an Allen wrench, depending on the type of screw, gently loosen each screw. Ensure that you’re turning the tool in the correct direction (usually counterclockwise), and apply steady pressure to avoid stripping the screw heads.
B. Unscrewing Fasteners and Detaching Towel Ring from Wall Surface
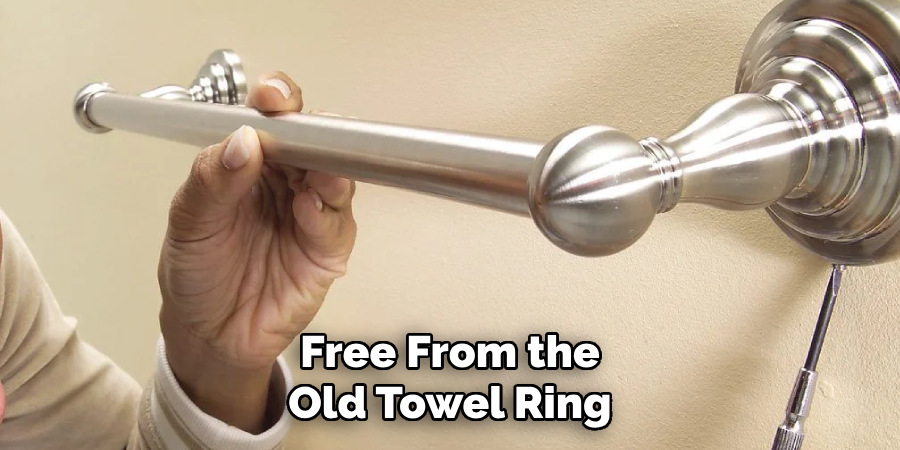
After loosening the screws, carefully unscrew them the rest of the way, taking care not to drop them or the towel ring. Hold the ring firmly with one hand while unscrewing with the other to prevent it from falling and causing damage or injury. Once all screws are removed, gently pull the towel ring away from the wall, paying attention to any adhesive pad that might have been used for extra stabilization.
C. Inspecting Wall for Any Damage or Marks and Addressing as Necessary
With the towel ring removed, inspect the wall for any damage, marks, or residue left behind. If there are holes in the screws, consider using spackle or wood filler to fill them in. Sand the area smooth once the filler is dry, and touch up with paint if necessary. For adhesive residue, use an adhesive remover or a soapy water solution to clean the wall surface. This ensures that your wall is restored to its original condition or ready for the installation of new hardware.
How to Take Off Towel Ring: Disassembling Adhesive-Mounted Towel Rings
Adhesive-mounted towel rings offer a straightforward installation process, but removing them requires careful attention to avoid damage to the wall surface. The key to a seamless removal lies in gradually loosening the adhesive bond without resorting to excessive force.
A. Applying Heat to Adhesive Bond Using a Hair Dryer or Heat Gun
Begin by focusing on the adhesive bond that secures the towel ring to the wall. Utilizing a hair dryer or a heat gun set on a low to medium setting, aim the warm air stream directly at the edge of the towel ring base. This application of heat helps to soften the adhesive, making it less rigid and more amenable to removal.
Maintaining a consistent but safe distance is essential to avoid any heat damage to the wall or the towel ring. Move the heat source in a gentle, sweeping motion to evenly warm the area for about a minute or until you feel the adhesive has softened sufficiently.
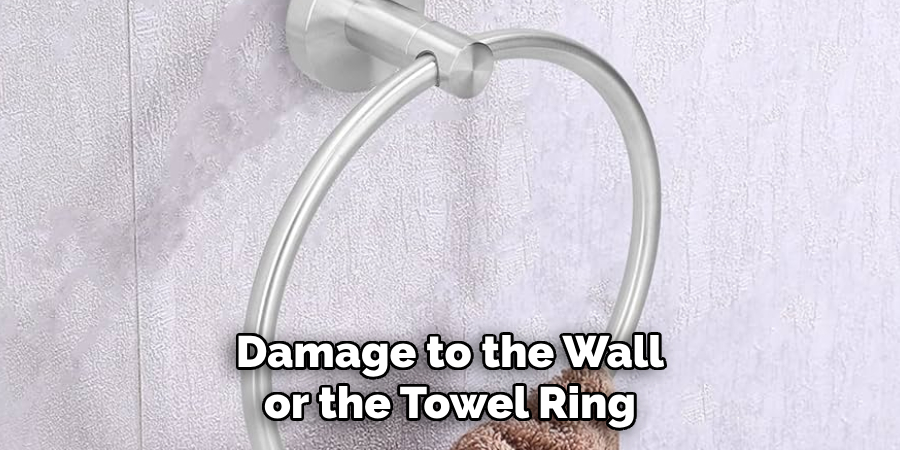
B. Gently Peeling Back Towel Ring from the Wall Surface Using a Putty Knife or Pry Bar
Once the adhesive is warmed and softened, take a putty knife or a pry bar and slowly insert it under the edge of the towel ring base. Exercise caution and patience as you gently pry the towel ring away from the wall.
Start from one edge and work your way around if necessary, taking care not to force the tool too far under or against the wall, as this could cause damage. The aim is to leverage the softened adhesive to detach the towel ring with minimal effort and harm to the underlying surface.
C. Removing Residual Adhesive and Cleaning Wall Surface with Adhesive Remover or Soap and Water
After successfully detaching the towel ring, the residual adhesive may remain on the wall. To address this, apply an adhesive remover according to the manufacturer’s instructions or use a solution of soap and warm water.
Using a soft cloth or sponge, gently rub the area in a circular motion to lift and remove the leftover adhesive. It might require several applications to fully clean the surface. Once the residue is removed, thoroughly dry the area with a clean, dry cloth to prevent any water damage or marks.
Patching and Repairing Wall Surfaces
After the removal of towel rings, whether screw-mounted or adhesive, it’s often necessary to repair damage to the wall surfaces. This section will guide you through the steps to restore your walls, making them look as good as new.
A. Filling Holes or Indentions Left by Screw-Mounted Towel Rings with Spackle or Wood Filler
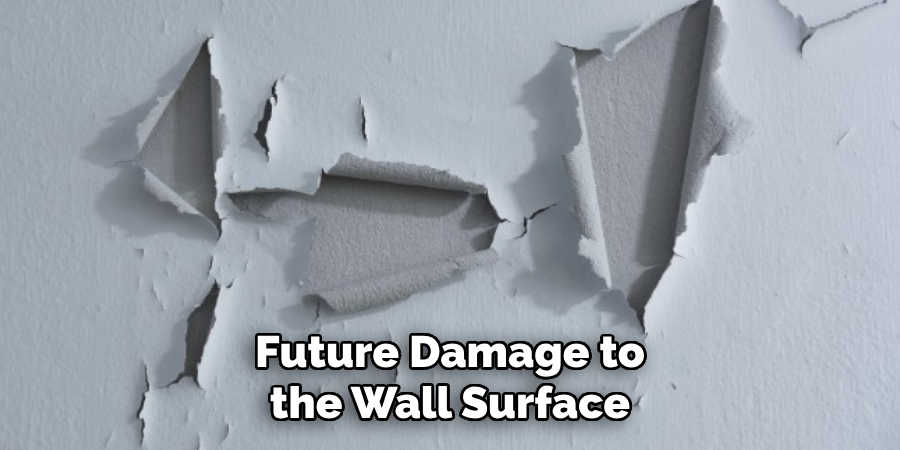
The first step in the repair process involves addressing any holes or indentations left behind. Choose a spackle or wood filler that is appropriate for your wall type. Apply the filler into the holes using a putty knife, ensuring it’s slightly overfilled to account for shrinkage as it dries. Allow the filler to dry completely, following the manufacturer’s recommended drying time. This process not only seals the holes but also prevents future damage to the wall surface.
B. Sanding and Smoothing Patched Areas for Even Finish and Texture
Once the filler has dried fully, the next step is to sand the area smooth. Using fine-grit sandpaper, lightly sand over the filled spots to create a flat and even surface. This process is crucial for removing any excess filler and blending the patched areas with the surrounding wall surface. Ensure to wear a dust mask and keep the room well-ventilated during this step to minimize inhalation of dust particles.
C. Painting or Touching Up Wall Surface to Blend Repairs with Surrounding Area
The final step in the repair process involves painting or touching up the repaired area to match the existing wall color and texture. If you have the original paint, apply it over the patched areas using a small brush or roller for a seamless blend. If the original paint is unavailable, try to match the color as closely as possible with a new can of paint. It might be necessary to paint a larger section of the wall, or even the entire wall, to ensure the color and finish match perfectly.
Final Touches and Clean-Up
After repairing the wall surfaces, attention now turns to the final touches and clean-up to round off the project seamlessly.
A. Inspecting Removed Towel Ring for Damage or Wear and Discarding or Repairing as Needed
First, evaluate the removed towel ring for any signs of damage or wear. If the fixture is still in good condition, consider repurposing it or donating it to prevent waste. However, if it shows significant wear or damage, responsibly discard it or explore options for recycling metal components.
B. Cleaning and Organizing Tools and Supplies for Future Use
Next, thoroughly clean all tools and supplies used during the removal and repair process. Wipe down surfaces to remove dust or adhesive residues, and ensure tools are dry before storing. Organize them in a manner that makes them easily accessible for future DIY projects, taking note to replenish any supplies that are running low.
C. Admiring Newly Freed Wall Space and Planning for Installation of Replacement or Alternative Fixture
Finally, stand back and admire the now pristine wall space, free from the old towel ring. This is the perfect opportunity to envision the space’s potential for a new or updated fixture. Whether choosing a modern replacement towel ring, an alternative storage solution, or a decorative element, the clean canvas allows for creativity in enhancing the functionality and aesthetic appeal of the room.
Alternative Removal Methods
When traditional methods fall short, exploring alternative removal techniques can provide a solution to stubborn or challenging towel ring removals.
A. Using Chemical Solvents or Lubricants to Loosen Stubborn Screws or Adhesive
In instances where screws are rusted, or adhesives prove too tenacious, applying chemical solvents or lubricants can be an effective strategy. Products designed to penetrate and break down rust or to dissolve adhesive bonds can be applied directly to the problem areas.
Allow the solvent to work according to the manufacturer’s instructions before attempting removal again. Always use these chemicals in well-ventilated areas and follow safety guidelines to prevent damage to the wall or injury.
B. Seeking Professional Assistance for Difficult or Complex Removal Situations
For towel rings installed in difficult-to-reach places or where removal risks significant damage to the surrounding area, consulting a professional may be the best course of action. Professionals bring expertise and specialized tools that can safely and efficiently handle complex removal situations without compromising the wall’s integrity.
C. Exploring Creative Reuse or Repurposing of Removed Towel Rings in DIY Projects
Rather than discarding old towel rings, consider repurposing them in creative DIY projects. For example, they can be transformed into unique plant holders, candle sconces, or even reimagined as a base for a small side table. Engaging in such projects not only recycles the old fixture but also adds a personalized touch to your home decor.
Safety Precautions and Considerations
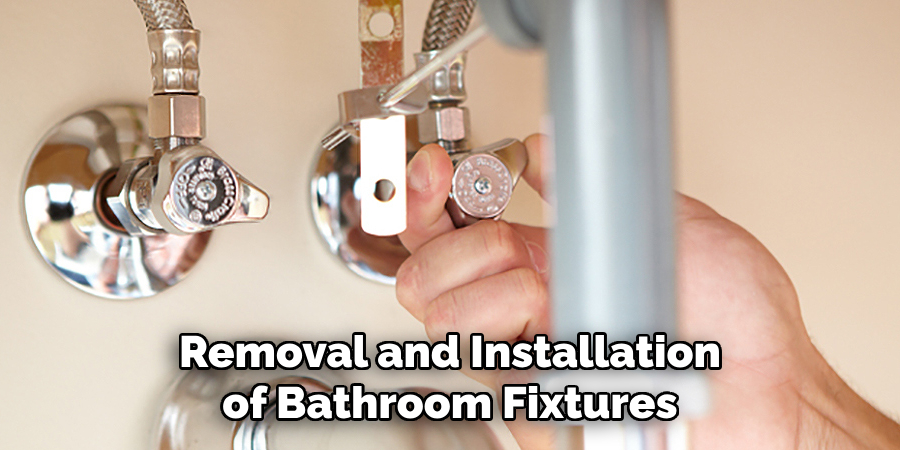
Ensuring the safety of everyone involved is paramount when undertaking any DIY project, including the removal and installation of bathroom fixtures. The following sections outline key safety precautions and considerations to keep in mind.
A. Ensuring Stability and Balance When Working at Height or on Unstable Surfaces
When working at height, such as fixing fixtures to walls above your head, always use a stable platform. If applicable, ladders should be placed on even ground and locked in position. Never overreach; move the ladder or platform instead to ensure you are always working within a safe and comfortable range. For unstable surfaces, consider using sheets of plywood or similar materials to distribute weight more evenly and provide a firmer standing area.
B. Wearing Protective Gear and Clothing to Prevent Injury from Falling Objects or Abrasions
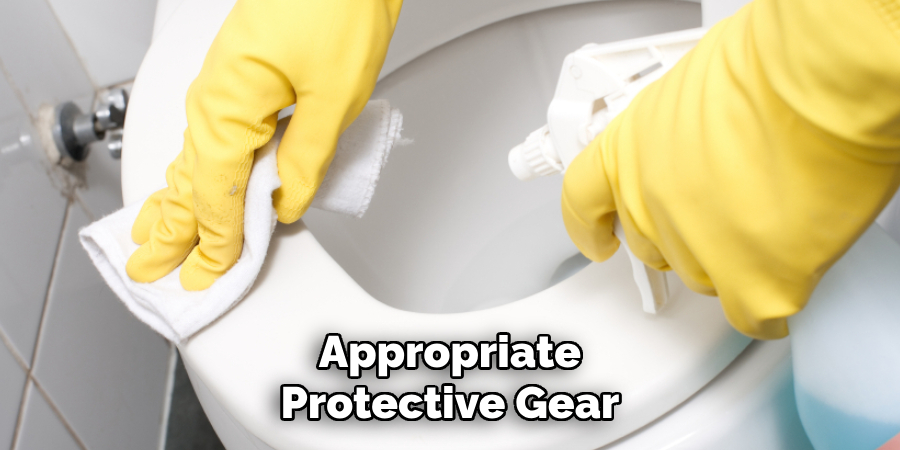
Protective gear is essential to prevent injury when working with tools and materials. Wear safety goggles to protect your eyes from dust, debris, or any unexpected flying objects. Durable gloves can safeguard your hands against abrasions, cuts, and exposure to harmful chemicals.
Additionally, wearing a helmet is advisable when working under conditions where objects may fall or when working at heights. Long sleeves and pants can also provide an extra layer of protection against scrapes and spills.
C. Following Manufacturer Instructions and Safety Guidelines for Safe Handling of Tools and Materials
Always consult and adhere to the manufacturer’s instructions and safety guidelines when using tools, materials, or chemicals. This ensures not only the effectiveness of your project but also your safety.
Ensure all tools are in good working condition before use, and familiarize yourself with their operation to avoid accidents. When handling chemicals, such as solvents or lubricants, use them in well-ventilated areas, wear appropriate protective gear, and store them safely after use to prevent accidents or exposure.
Conclusion
In this guide, we’ve explored comprehensive steps and vital considerations for safely removing a towel ring from a wall. From the initial assessment of the attachment method to the careful use of tools and techniques for removal, each stage plays a crucial role in ensuring a smooth and damage-free process.
Key to success is the preparatory steps, such as assembling the necessary tools, which might include screwdrivers, pliers, and possibly chemical solvents for more stubborn fixtures. These instruments, when used appropriately, facilitate a hassle-free removal.
We also emphasized the importance of careful planning and preparation, underscoring that knowing how to take off towel ring effectively hinges on understanding the specifics of the fixture’s installation. Additionally, the guide stressed the significance of safety precautions, from wearing protective gear to ensuring a stable working environment, ensuring that the project proceeds without injury or property damage.
By following the detailed steps and safety considerations laid out in this guide, readers are empowered to approach the task of towel ring removal confidently. Whether renovating, repairing, or simply refreshing the look of a bathroom, this guide offers an invaluable resource for hassle-free towel ring removal, ensuring that what might seem a mundane task is executed with the highest level of efficiency and safety.

