A leaking toilet at the flange can be a frustrating problem to deal with. Not only does it waste water, but it can also cause damage to your bathroom floor and create an unpleasant smell. In this guide on how to tell if toilet is leaking at flange, we will discuss how to tell if your toilet is leaking at the flange and what steps you can take to fix it.
Signs of a Leaking Toilet at the Flange
There are several signs that can indicate a leaking toilet at the flange:
- Water on the floor around the base of the toilet
- A foul odor coming from the toilet
- The toilet wobbles or shifts when you sit on it
If you notice any of these signs, it is important to take action right away to prevent further damage.
Necessary Items
Before you begin inspecting and fixing your toilet, make sure you have the following items:
- A bucket
- Towels or rags
- Rubber gloves
- A wrench or pliers
- Plumber putty or silicone sealant
These items will come in handy when diagnosing and fixing the problem with your leaking toilet at the flange.
12 Steps on How to Tell if Toilet is Leaking at Flange
Step 1: Shut off the Water Supply
The first step is to shut off the water supply to your toilet. Look for a valve near the base of the toilet or on the wall behind it and turn it clockwise until it stops. As an added precaution, flush the toilet to make sure there is no remaining water in the tank.
Step 2: Inspect the Flange
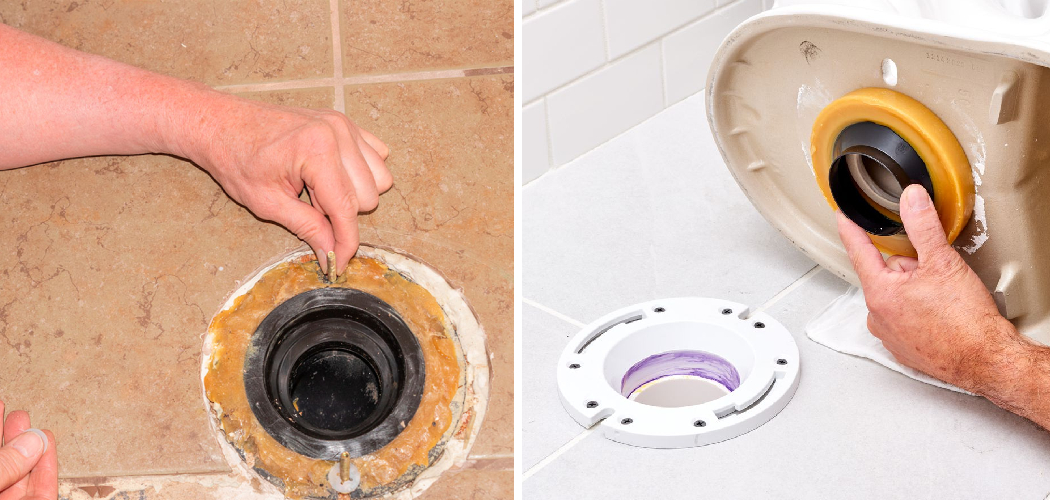
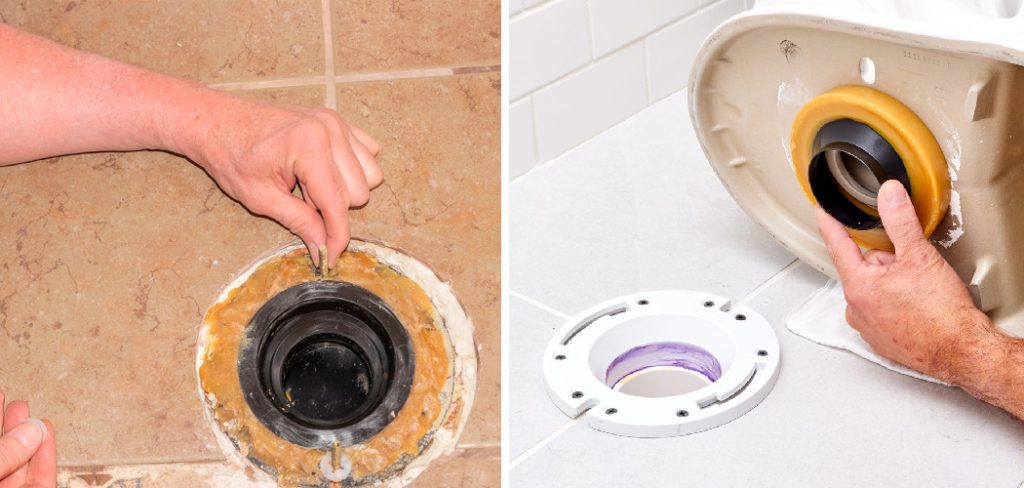
The flange is a circular piece that connects your toilet bowl to the floor and helps secure it in place. Carefully inspect the flange for any cracks or damage that could be causing leaks. Soak up any water or moisture around the flange with towels or rags.

Step 3: Check the Wax Ring
The wax ring is a seal that sits between the base of your toilet and the flange. If it becomes damaged or worn out, it can cause leaks. Use gloves to gently lift the toilet off of the flange and check the condition of the wax ring. If it is damaged, you will need to replace it.
Step 4: Look for Cracks in the Toilet Bowl
Cracks in the toilet bowl can also cause leaks at the flange. Inspect the entire surface of the toilet bowl for any visible cracks or damage. If you find any, you will need to replace the toilet. But before you do, make sure to check the flange and wax ring as well.
Step 5: Tighten Bolts or Screws
The bolts or screws that secure your toilet to the floor may have become loose over time. Use a wrench or pliers to tighten them and see if this stops the leaks. If not, move on to the next step. Even if tightening the bolts fixes the problem, it’s a good idea to replace the wax ring as well.
Step 6: Clean and Dry the Area
Before making any repairs, make sure the area around the flange is clean and dry. Any moisture or debris can affect how well your repairs will hold. Soak up any remaining water with towels or rags and use a mild cleaner to remove any dirt or grime.
Step 7: Apply Plumbers Putty or Silicone Sealant
To create a tight seal between the toilet and the flange, you can apply plumber putty or silicone sealant. Simply roll out a thin layer of putty or apply a thin bead of silicone around the base of the toilet before placing it back on the flange.
Step 8: Reinstall the Toilet
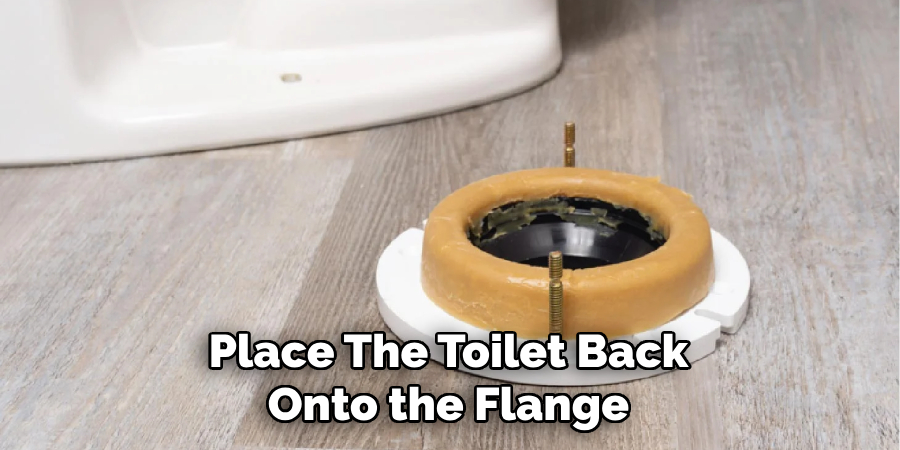
Carefully place the toilet back onto the flange, making sure it sits evenly and securely. You may need to use a little force to press down and create a tight seal with the putty or sealant. Once the toilet is in place, use your body weight to press down and secure it even further.
Step 9: Reattach Water Supply
Reconnect the water supply to the toilet and turn on the valve. Flush the toilet a few times to make sure there are no more leaks. If you still notice leaks, continue with the next step. Then, if there are no leaks, let the tank refill and flush again to make sure everything is working properly.
Step 10: Check for Leaks at the Flange
Use a dry towel or tissue to wipe around the base of the toilet and flange. If you notice any moisture or water on the towel, there may still be a leak. Continue with the next step to try and fix it.
Step 11: Replace the Flange
If you have tried all of the above steps and are still experiencing leaks at the flange, it may be time to replace the flange altogether. This may require some plumbing knowledge and tools, so if you are not comfortable with this step, it is best to call a professional plumber.
Step 12: Regularly Inspect and Maintain
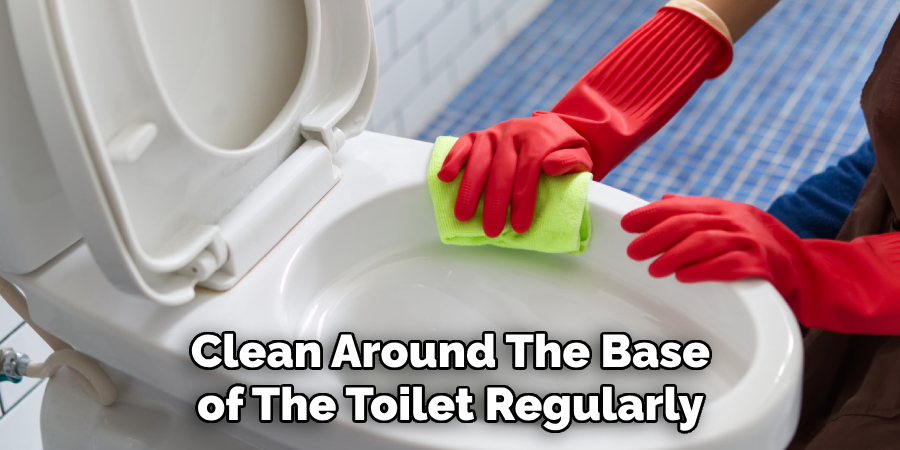
To prevent future leaks at the flange, it is important to regularly inspect and maintain your toilet. Check the condition of the flange, wax ring, and bolts every few months and replace them as needed. Also, be sure to clean around the base of the toilet regularly to prevent any buildup that may cause leaks.
A leaking toilet at the flange is a common problem that can lead to damage and unpleasant odors in your bathroom. By following these 12 steps on how to tell if toilet is leaking at flange, you can easily diagnose and fix the issue. Remember to regularly inspect and maintain your toilet to prevent future leaks at the flange.
If you are unsure or uncomfortable with any of these steps, it is always best to call a professional plumber for assistance. By addressing the problem promptly and taking proper precautions, you can ensure that your toilet remains in good condition and avoid any potential hazards or costly repairs.
9 Safety Measures
1) Wear Protective Gear
When working with toilets, it is important to protect yourself from any potential hazards. This includes wearing rubber gloves and safety glasses to prevent any harm from chemicals or debris. As an extra precaution, it may also be helpful to wear a face mask to avoid inhaling any harmful fumes.
2) Shut off the Water Supply
Before beginning any repairs or maintenance on your toilet, always remember to shut off the water supply. This will prevent any accidental flooding or injuries from pressurized water. For added safety, make sure to flush the toilet after shutting off the supply to release any remaining water in the tank.
3) Use Proper Tools
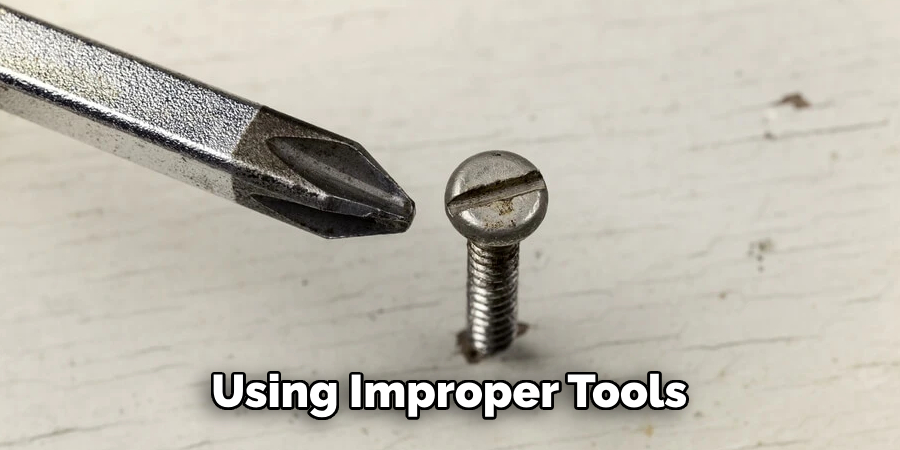
Using the correct tools for the job is not only important for efficiency but also for safety. Make sure you have a wrench, pliers, and other necessary tools on hand when working on your toilet. Using improper tools can lead to accidents and injuries.
4) Read Instructions Carefully
If you are following a DIY guide or using a specific product for repairs, be sure to read all instructions carefully. This will ensure that you are using the product correctly and avoid any potential hazards. If you have any questions or concerns, reach out to the manufacturer for clarification.
5) Beware of Chemicals
Some cleaning products and chemicals used for toilet repairs can be hazardous if not handled properly. Always read warning labels and use caution when handling these substances. Avoid mixing different chemicals together, as this can create dangerous reactions.
6) Have Proper Lighting
Working in a well-lit area is essential for your safety while working on your toilet. Make sure the bathroom is well-lit and that you have adequate lighting to see what you are doing.
7) Keep Children and Pets Away
When working on your toilet, it is important to keep children and pets away from the area. This will prevent any accidents or injuries from occurring. If possible, lock the bathroom door or block off access to the area until repairs are completed.
8) Take Breaks
It is important to take breaks and not overexert yourself when making repairs or performing maintenance on your toilet. This will prevent exhaustion or any accidents from occurring due to tiredness.
9) Know When to Call a Professional
If you are unsure or uncomfortable with making repairs on your toilet, it is always best to call a professional plumber. Attempting to fix complex issues without the proper knowledge and tools can lead to further damage and potential injuries. It is better to be safe than sorry when it comes to your plumbing system.
Remember, safety should always come first when working on any home improvement project. By following these measures, you can ensure that your toilet repairs are completed safely and efficiently. Lastly, remember to always clean up any debris or tools after completing the repairs to prevent any tripping hazards in your bathroom.
8 Things to Avoid
1) Using Harsh Chemicals
Avoid using harsh chemicals such as bleach, drain cleaners, or ammonia to clean your toilet. These chemicals can damage the porcelain and rubber seals in your toilet, causing cracks and leaks. However, if you do need to use these chemicals, make sure to follow instructions carefully and use protective gear.
2) Flushing Foreign Objects
Toilets are only meant for human waste and toilet paper. Avoid flushing any foreign objects, such as wipes, tissue paper, or feminine products, down the toilet. These items can clog your pipes and cause damage to your plumbing system.
3) Over Tightening Bolts and Connections
When making repairs or replacing parts on your toilet, avoid over-tightening bolts and connections. This can cause cracks in the porcelain or damage to the flange and other components. Use a wrench to tighten bolts just enough to create a secure fit.
4) Ignoring Leaks
It is important not to ignore any leaks coming from your toilet. Even small leaks can lead to bigger problems if left unattended. Address the issue as soon as possible to prevent further damage and potential health hazards.
5) Not Shutting off Water Supply
Always remember to shut off the water supply before making any repairs or maintenance on your toilet. This will prevent any accidental flooding or injuries from pressurized water.
6) Using Abrasive Cleaning Tools
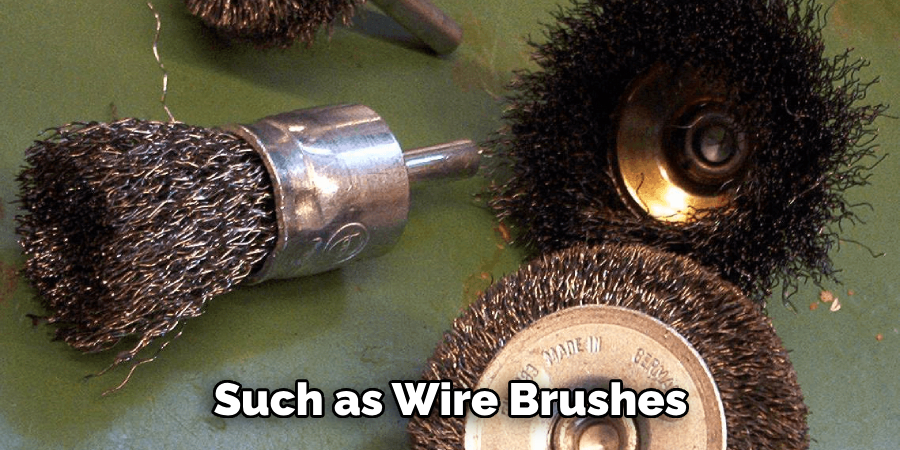
Avoid using abrasive cleaning tools such as wire brushes or harsh scouring pads to clean your toilet. These can scratch and damage the porcelain surface, making it more susceptible to buildup and leaks.
7) Neglecting Regular Maintenance
To prevent future issues with your toilet, it is important to perform regular maintenance. This includes checking for leaks, cleaning the tank and bowl, and inspecting the flushing mechanism. Neglecting these tasks can lead to larger problems down the line.
8) Dismissing Strange Sounds or Odors
If you notice any strange sounds or odors coming from your toilet, do not ignore them. These could be warning signs of a larger issue that needs to be addressed. It is better to address the problem early on rather than wait for it to escalate into a bigger and potentially more costly issue.
Overall, being aware of potential hazards and following proper safety measures on how to tell if toilet is leaking at flange can help you avoid common mistakes and ensure successful toilet repairs. Remember to take your time and always prioritize safety when working on your toilet.
8 Additional Tips for Toilet Repair
1) Check the Flapper
If you notice your toilet constantly running, it could be due to a faulty flapper. Checking and replacing the flapper can help solve this issue and save water. Then, the fill valve and float may also need to be replaced if the problem persists.
2) Clean the Jets
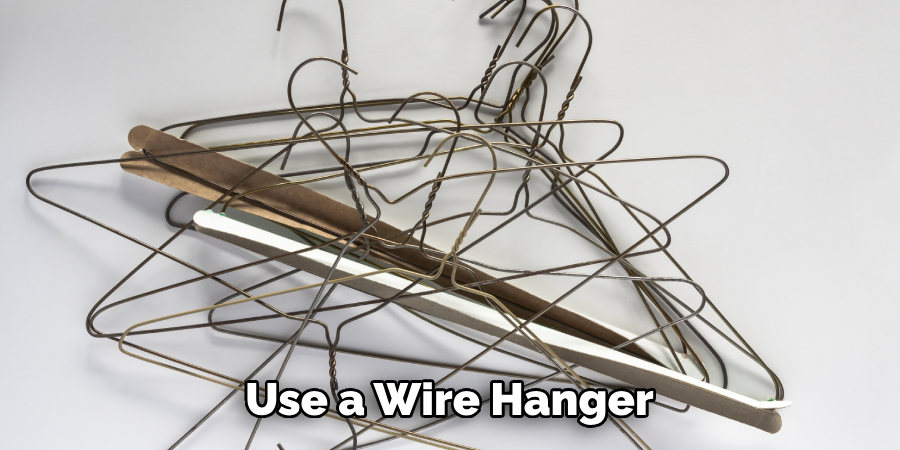
Over time, mineral deposits and other debris can clog the jets in your toilet bowl. Use a wire hanger or small brush to gently clean these areas and improve flushing efficiency. If the jets are severely clogged, you may need to use a commercial cleaner or call a professional plumber.
3) Adjust Water Level
If your toilet bowl is not filling up enough with water after flushing, you may need to adjust the water level. This can be done by adjusting the float arm or using the fill valve adjustment screw. Consult your toilet’s manual for specific instructions.
4) Replace Parts When Necessary
Toilets have many working parts that can become worn or damaged over time. If you notice any components, such as the flush handle or flapper, not working properly, it may be time to replace them. This will ensure your toilet continues to function efficiently.
5) Check for Leaks
Regularly check for any leaks in your toilet, including the tank, bowl, and connections. If you notice any water pooling or dampness, it could be a sign of a leak that needs to be addressed. For hidden leaks, add a few drops of food coloring to the tank and check if it appears in the bowl after 15 minutes. If so, you have a leak.
6) Use Plumber’s Tape
When replacing any parts or connections on your toilet, use a plumber’s tape to create a watertight seal. This will help prevent leaks and prolong the life of your repairs.
7) Know When to Replace Your Toilet
If you are experiencing frequent issues with your toilet or it is old and outdated, it may be time to replace it. This will not only improve functionality but also save on water and potentially prevent costly repairs in the future.
8) Educate Yourself
Lastly, educate yourself on basic toilet maintenance and repairs. Knowing how your toilet works and how to troubleshoot common issues can save you time and money in the long run. There are many online resources, tutorials, and videos available to help you become a more informed DIY plumber.
By following these tips on how to tell if toilet is leaking at flange, you can ensure that your toilet stays in good working condition and avoid any unnecessary repairs or replacements. Remember to always prioritize safety and consult a professional plumber if you are unsure about any repairs. With proper maintenance, your toilet can continue to serve its purpose reliably for years to come.
Frequently Asked Questions
How Often Should I Perform Maintenance on My Toilet?
It is recommended that basic maintenance tasks, such as checking for leaks and cleaning, be performed every 3-6 months. However, if you notice any issues or strange sounds/odors coming from your toilet, address them as soon as possible.
When Should I Call a Professional Plumber?
If you are unsure about any repairs, have complex issues, or do not feel comfortable working with plumbing components, it is best to call a professional plumber. They have the knowledge and experience to handle any toilet repair effectively and safely. Additionally, if you notice any major leaks or damage, it is important to call a plumber immediately to prevent further damage and potential health hazards.
Conclusion
Toilet repairs can seem daunting, but they can be easily managed with the right knowledge and precautions. By avoiding common mistakes and following proper maintenance practices, you can ensure your toilet stays in good working condition for years to come. Remember to prioritize safety, educate yourself on basic repairs, and don’t hesitate to call a professional plumber when needed.
With these tips on how to tell if toilet is leaking at flange in mind, you can confidently tackle any toilet repair and keep your bathroom functioning smoothly. So next time you encounter an issue with your toilet, don’t panic – take a deep breath and refer back to this guide.

