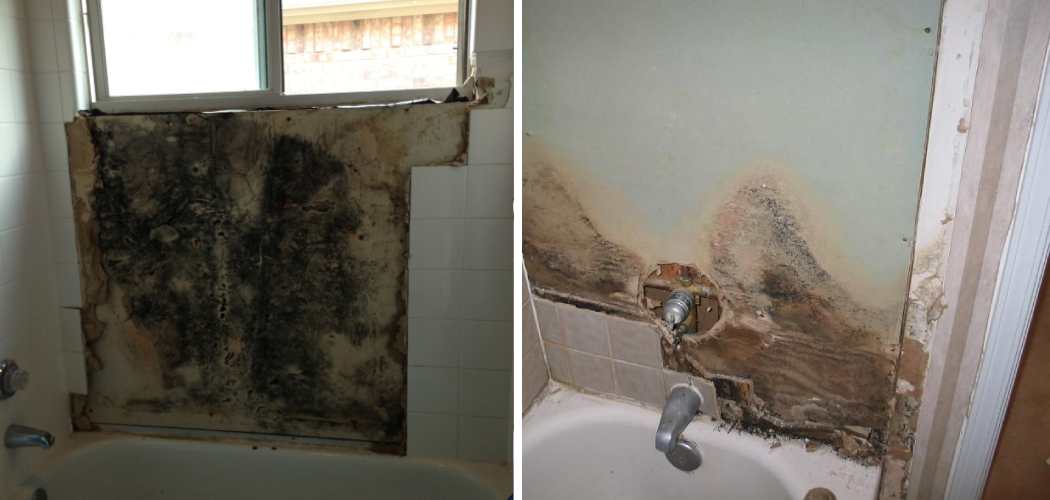
Are you worried about dangerous mold growing unseen behind your shower walls? Do you suspect mold behind the shower wall but don’t know how to test for it? Have you noticed a musty smell coming from the bathroom or seen discoloration of your grout and tiles that could indicate a serious problem? Testing for mold is something many homeowners are concerned about, as moisture in hidden areas can provide an ideal environment for fungal growth.
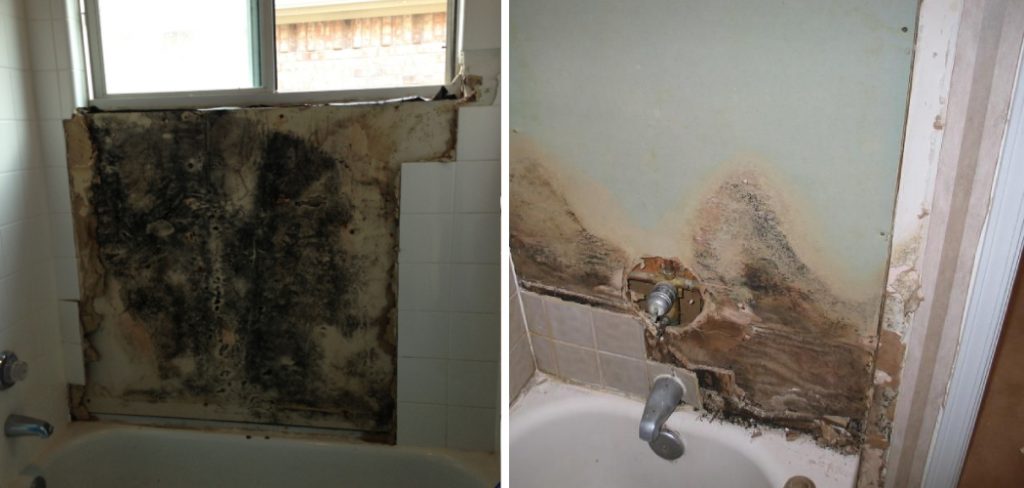
In this blog post, we’ll take you through the process of how to test for mold behind shower wall so you can get peace of mind and address any potential issues quickly. We’ll explore why testing for mold is important, as well as some of the techniques used by experts so that you can assess whether or not there is a possible mold issue in your own bathroom.
Why Do You Need to Test for Mold Behind Shower Wall?
1. To Prevent Health Problems
Mold can be a serious hazard in any home, and it’s important to keep an eye out for signs of possible growth. Moisture behind shower walls is often an ideal environment for fungal growth, as the space is typically dark and damp. If left unchecked, mold can cause a range of health problems, including allergies, respiratory issues, and skin irritation.
2. To Prevent Structural Damage
Another reason to test for mold behind shower walls is to prevent structural damage from occurring in your home. Mold can cause the weakening of the building materials that make up your bathrooms and, in extreme cases, can even lead to crumbling walls or floors. Testing for mold behind the shower wall will help you take preventive action before any serious damage takes place.
How To Test for Mold Behind Shower Wall in 10 Easy Steps
If you think there might be mold behind your shower walls, it’s important to take steps to test the area and see what your options are. Here are a few methods you can use to check for mold growth:
Step 1: Use an Infrared Camera
An infrared camera is an important tool for inspecting the area behind your shower walls. With this device, you can spot temperature changes that will indicate whether there is moisture seeping through the wall. Also, any potential mold will show up clearly on the infrared camera’s screen.

Step 2: Use a Moisture Meter
You can also check for moisture behind your shower wall by using a moisture meter. This device will indicate if there is excessive dampness in the area and give you an idea of what the humidity levels are like.
Step 3: Check for Discoloration
Another sign that there may be mold behind your shower walls is discoloration on the grout or tiles near the wall. If you notice any change in color, it could mean that there is water and mold present in the space.
Step 4: Take a Sample
If you find signs of mold in the area, it’s important to take a sample and have an expert analyze it. This will help you confirm whether or not there is indeed mold present and how serious the problem is.
Step 5: Check Behind Wall Plates
It’s also a good idea to check behind wall plates and other fixtures that may be blocking your view of the wall. You can use a flashlight to get a better look at any potential mold growth in these hidden areas.
Step 6: Clean Up Any Mold Spots
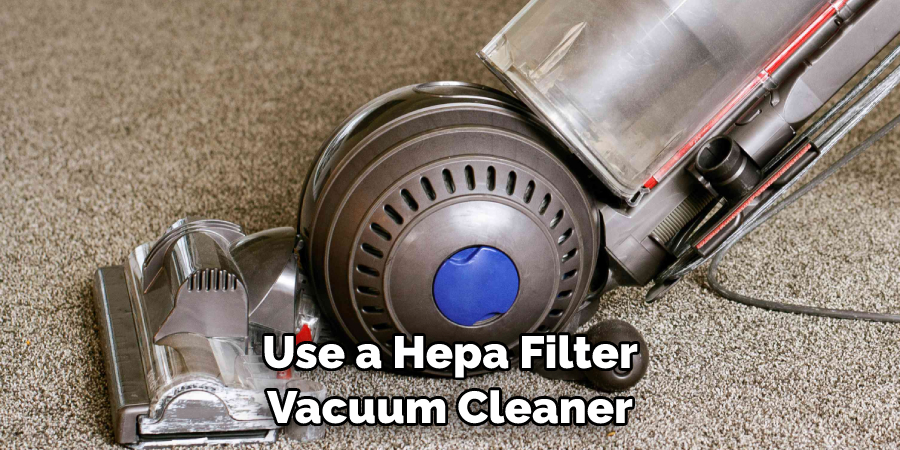
If you find mold spots on the shower walls, it’s important to clean them up right away using specialized products designed for this purpose. Make sure to wear protective clothing and use a HEPA filter vacuum cleaner to ensure that the mold spores don’t get spread around your home.
Step 7: Investigate Sources of Leaks
Leaking pipes or fixtures can be another source of moisture behind shower walls, so it’s important to investigate any potential sources of leaks. This could involve having your plumbing inspected or calling a professional plumber to check for any issues.
Step 8: Air Out the Room
If you have confirmed that there is mold behind your shower wall, it’s important to air out the bathroom as much as possible. This will help reduce moisture levels and discourage further growth of mold spores.
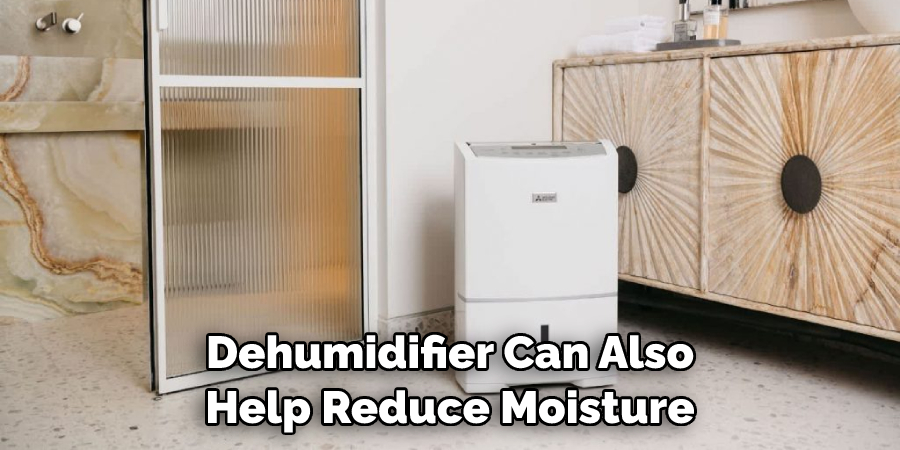
Step 9: Use a Dehumidifier
A dehumidifier can also help reduce moisture levels and prevent mold from growing in the area. Place it close to the shower wall, and make sure to empty out the water tray regularly.
Step 10: Consider Replacing Wall Materials
If your mold problem is serious, you may need to replace some of the wall materials behind your shower. This may involve removing tiles, drywall, and grout to make sure all signs of mold are eliminated.
Following these steps on how to test for mold behind shower wall will help you test for mold behind your shower walls and address any issues you discover. Remember, it’s important to take action quickly if you think there might be a problem, as mold can cause serious health and structural problems in your home.
8 Maintenance Tips for Keeping Mold at Bay
Mold grows in dark, damp places – like behind a shower wall. To make sure your bathroom stays healthy and clean, follow these 8 maintenance tips to keep mold at bay:
- Keep the air moving. Turn on a fan or open windows when taking showers to continually circulate air around the walls and floors.
- Use mildew-resistant paint or primer on your walls to help keep moisture from seeping in. The wall behind the shower should be painted with a paint that is formulated for humid bathrooms.
- Check your caulking at least once every year to make sure it is tight and intact. If you notice any gaps or cracks, replace the caulk immediately to prevent water damage and mold growth.
- Clean your shower frequently with natural, non-toxic cleaning solutions. A mixture of vinegar and water works well to break down soap scum and grime without releasing harsh fumes or toxic chemicals into the air.
- Take a look behind your shower walls to make sure there is no condensation or water damage. If you find any, contact a professional for repairs as soon as possible.
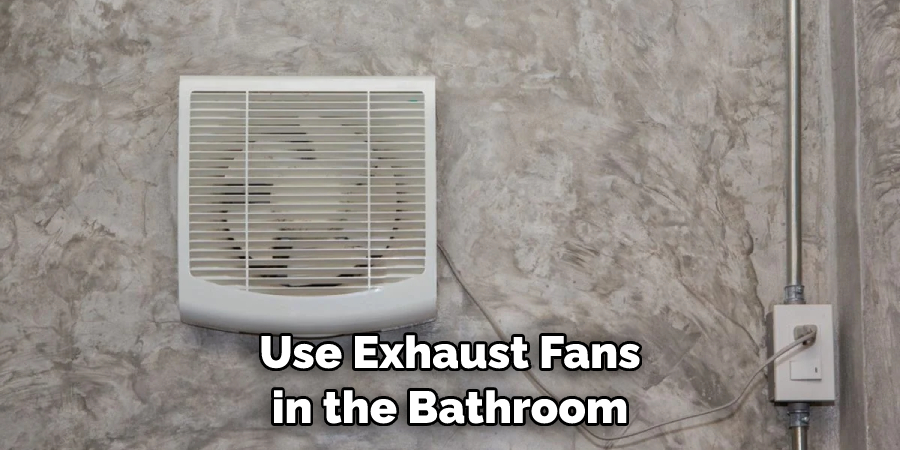
- Install and use exhaust fans in the bathroom to keep excess moisture from lingering in the air after every shower and bath. Also, consider ventilating your shower with an exhaust fan.
- Add a dehumidifier to your bathroom to help keep the air dry and prevent mold growth. Make sure you empty the water tray frequently.
- Check for any signs of mold regularly, such as dark spots or discoloration on walls, floors or ceilings. If you discover any patches of mold, clean it up immediately and fix the source of the moisture to prevent regrowth.
By following these simple steps on how to test for mold behind shower wall, you can help keep your bathroom clean and healthy – and protect it from mold growth. Your shower walls will thank you!
8 Safety Measures to Follow Before Testing for Mold Behind Shower Wall
Before you start testing for mold hiding behind shower walls, it is important to take safety measures to make sure you remain safe during the process.
- Wear a face mask and gloves. When dealing with mold, always wear a face mask and gloves to avoid accidentally inhaling or coming into contact with any spores.
- Plug holes in the tile. If there are any holes or cracks in your tile, be sure to plug them so that no mold spores can spread into other parts of your home.
- Disinfect the area. Before you begin testing for mold, always disinfect the area with a solution of 1/4 cup bleach and 1 gallon of water to kill any spores that may have been missed.
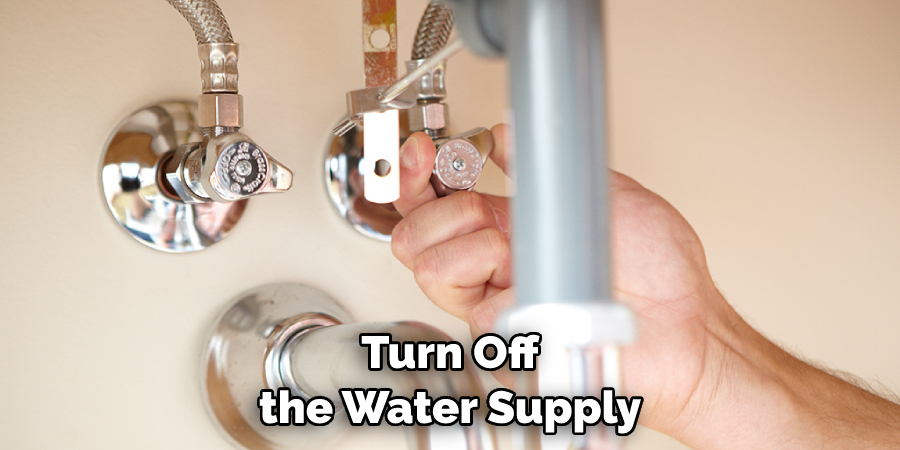
- Turn off the water supply. Before you start testing, make sure to turn off the water supply to the shower so as not to get any mold spores on your skin.
- Cover any exposed pipes. If there are any exposed pipes in the shower wall, cover them with plastic sheeting or some other material to make sure no mold spores get out.
- Open a window or two. Make sure to open some windows in the bathroom before you start testing for mold, as this will help keep your air clean and free of spores.
- Wear protective clothing. Always wear long sleeves and pants while testing for mold behind shower walls so that any spores you may come into contact with stay on your clothing instead of getting on your skin.
- Use a flashlight. To make sure you can see all the areas behind the shower wall, use a flashlight to illuminate dark spots or crevices where mold may be hiding. Flashlights are also useful for seeing any mold growth on the walls.
Testing for mold behind shower walls is a task that should be done carefully and with caution. Following these safety measures will help ensure your safety while testing for this invisible threat.
6 Tips for Removing Mold Behind Shower Wall
Mold removal is a delicate process that requires the right tools and knowledge to succeed. To help make sure you get rid of all the mold hiding behind your shower walls, here are a few tips to remember:
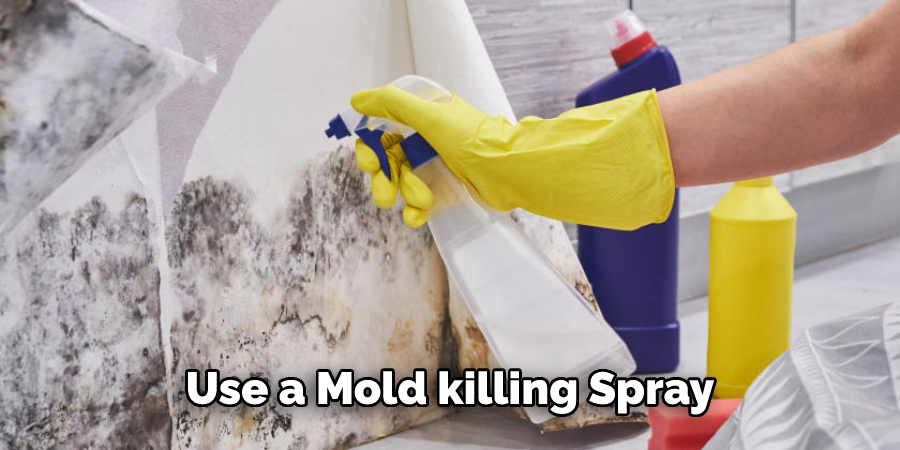
- Use a mold-killing spray. To make sure all the mold is killed, use a specialized mold-killing spray to treat the affected areas before scrubbing them clean.
- Scrub with a brush or cloth. Once you’ve treated the area with the anti-mold solution, scrub it with a brush or cloth to remove any remaining spores. Scrubbing in a circular motion is best.
- Use a vacuum cleaner to collect mold spores. After scrubbing, use a wet/dry vacuum cleaner to collect any remaining mold spores and discard the contents in an outside trash can or dumpster.
- Disinfect the area. Once all visible signs of mold have been removed, be sure to disinfect the area with a solution of 1/4 cup bleach and 1 gallon of water to kill any remaining spores.
- Dry the area thoroughly. Once you’ve disinfected, make sure to dry the affected area completely so that no new mold can start growing again due to moisture build-up.
- Replace damaged tiles or grout. If there are any cracked or missing tiles or grout, it is best to replace them with new ones as soon as possible to prevent future mold growth.
By following these tips on how to test for mold behind shower wall and taking proper safety precautions when dealing with mold behind shower walls, you can ensure the job is done right and keep your home free from harmful spores.
How Long Will It Take to Finish the Project?
The amount of time it will take to finish the project depends on the size and scope of the job. If you’re dealing with a minor mold infestation, the entire process could be done in a single day.
However, if there is widespread damage or multiple areas are affected, it may take several days to complete. Additionally, depending on what materials are needed to complete the job, such as new tiles or grout, it could take a few days to get them in place.
Overall, if you plan properly and have all the necessary materials on hand, removing mold behind shower walls is an achievable task that can be done with minimal disruption to your daily routine.
Conclusion
Testing for mold in the home can be a tricky process, and can cause a lot of worry and confusion – from worrying about what kind of test to use to how to start the testing process. We hope that this blog post has helped you make sense of how to test for mold behind the shower wall.
By following the steps on how to test for mold behind shower wall outlined in this blog post, you should be able to determine if there is mold present without having to tear down any walls or buy expensive equipment!
Remember, mold infection can cause serious issues for your family’s health, so early detection and regular inspections are key in preventing an outbreak. If you have any questions throughout your testing process, don’t hesitate to contact one of our experts – we are here to help answer all of your questions. Good luck with your tests!

