Maintaining a secure toilet seat is essential for both comfort and hygiene in your bathroom. Over time, toilet seats can become loose due to regular use, leading to unwanted movement and potential damage to the toilet itself. This guide will provide you with step-by-step instructions on how to tighten toilet seat on american standard model, ensuring it remains stable and functional. With just a few simple tools and a little bit of time, you can restore the seat to its proper position, enhancing your overall bathroom experience.

Why Toilet Seats Become Loose Over Time
Toilet seats may become loose due to several factors that affect both their installation and daily usage. First, regular use can cause wear and tear on the hinges, leading to a gradual loosening of the screws. Moisture from cleaning and humidity can also contribute, as it can corrode metal components, compromising their integrity. Additionally, if the toilet seat was not installed properly in the first place, it may have an increased likelihood of loosening over time. Finally, the weight and movement of users can exacerbate this issue, resulting in the gradual loosening of the seat. Understanding these factors can help homeowners take proactive measures to maintain a secure toilet seat.
Tools and Materials Needed
To successfully tighten your American Standard toilet seat, you will need the following tools and materials:
- Adjustable Wrench or Pliers: To help grip and turn the nuts securing the toilet seat to the toilet.
- Screwdriver: Depending on the type of screws used, you may need a flathead or Phillips screwdriver to adjust any loose screws.
- Replacement Washers or Screws: In case the existing components are worn out or damaged, having extra washers or screws on hand can be beneficial.
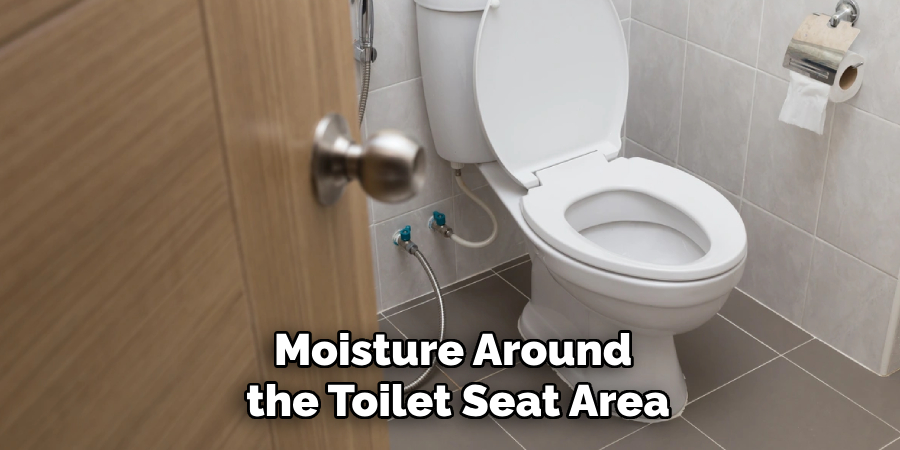
- Cleaning Cloth: To wipe down any dirt or moisture around the toilet seat area before you begin.
- Safety Gloves: To protect your hands from any sharp edges or harsh cleaning chemicals.
Having these tools ready will make the process smoother and more efficient, allowing you to secure your toilet seat with ease.

10 Methods How to Tighten Toilet Seat on American Standard
1. Check the Bolts and Tighten with a Flathead Screwdriver
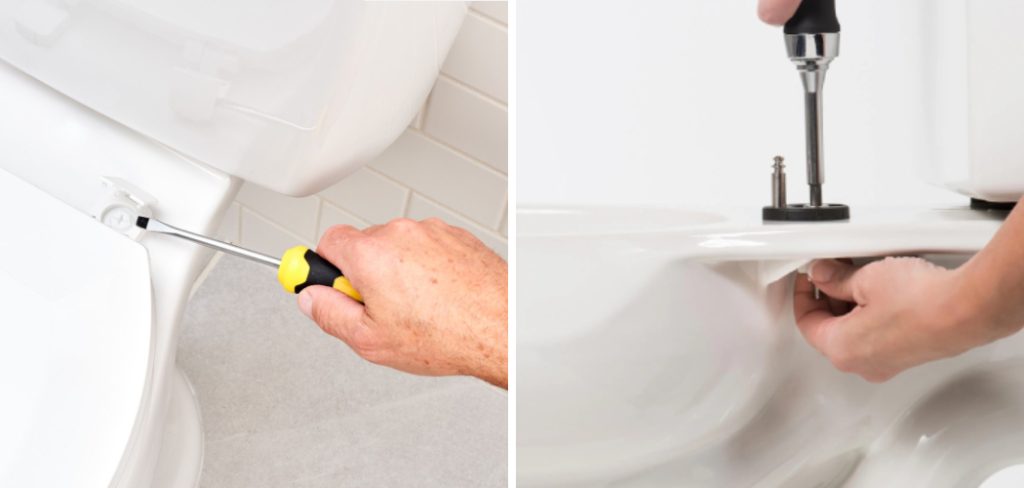
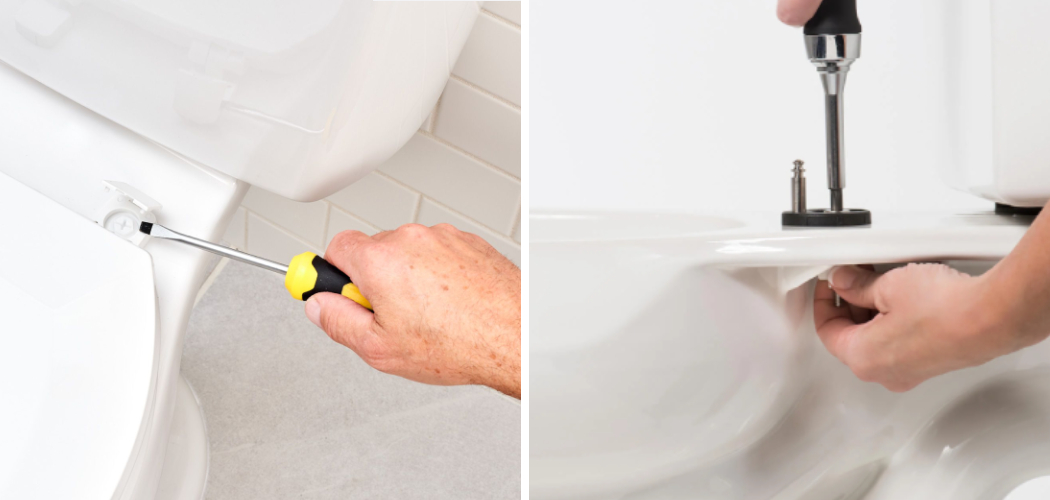
The first and most common method to tighten an American Standard toilet seat is to inspect the bolts securing the seat to the bowl. These bolts are typically located at the back of the seat and are often hidden under plastic covers. Start by gently prying open the plastic caps with a flathead screwdriver to expose the bolts underneath. Once visible, use the same screwdriver to tighten the bolts by turning them clockwise. Be sure to hold the nuts beneath the seat with your other hand or use pliers to prevent them from turning as you tighten. This simple tightening process often resolves most issues with loose toilet seats.
2. Use a Wrench to Secure the Nuts
If the bolts have become severely loose over time, tightening them by hand or with a screwdriver might not provide enough torque. In such cases, using a wrench is a more effective option. First, lift the toilet seat and locate the nuts underneath the toilet bowl. These nuts secure the bolts in place. Use a wrench to hold the nuts while tightening the bolts from above with a screwdriver. Be sure to use the correct size wrench to avoid stripping the nuts. Tighten the nuts and bolts gradually, ensuring they’re secure without overtightening, which could crack the toilet seat or the bowl.
3. Apply Rubber Washers to Prevent Loosening
One of the reasons toilet seats become loose over time is due to the hardware shifting during use. To prevent this, you can install rubber washers between the bolts and the seat. Rubber washers create a friction barrier that keeps the bolts from becoming loose again after tightening. Start by removing the bolts completely, then slip a rubber washer over each bolt before reinserting them into the seat and tightening as usual. The rubber washers will absorb the movement and reduce the chances of the seat loosening in the future.

4. Replace Old or Damaged Bolts
Sometimes, the bolts securing the toilet seat can become worn or corroded, especially if they are made of metal. If tightening the bolts doesn’t solve the problem, it may be time to replace them entirely. American Standard toilets typically use standard-sized toilet seat bolts that are easily available at hardware stores. To replace the bolts, first remove the old ones by unscrewing them from both the top and the bottom. Once removed, insert the new bolts into the same holes and tighten them securely with a screwdriver and wrench. New bolts will ensure a stronger hold and a longer-lasting solution.
5. Use Locking Plier for Added Stability
If you are struggling with bolts that keep turning as you attempt to tighten them, a pair of locking pliers can make the job much easier. Locking pliers, or vise grips, can firmly hold the nut in place while you tighten the bolt from above. This method is especially useful when the nuts are difficult to grip or have rounded edges. To use this method, position the pliers around the nut beneath the bowl and lock them into place. With the nut securely held, tighten the bolt with a screwdriver until the seat is stable. The locking pliers ensure the nut stays in place, making tightening more efficient.
6. Install Toilet Seat Stabilizers
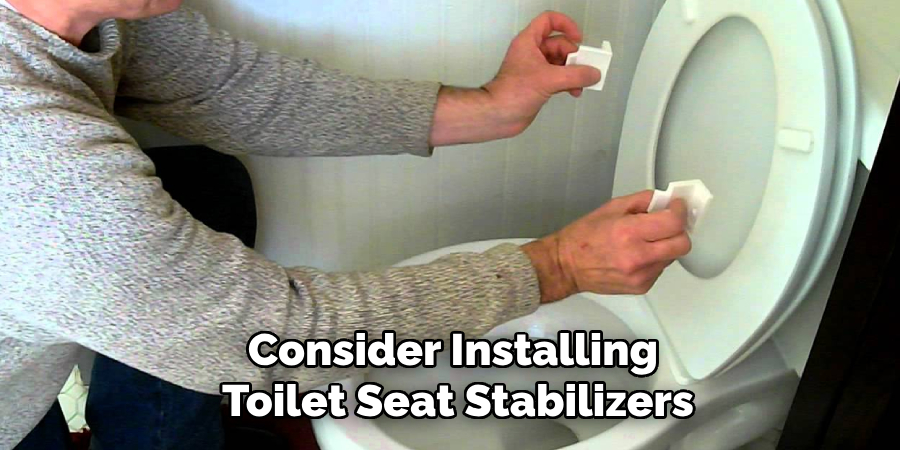
For particularly problematic toilet seats that frequently loosen, consider installing toilet seat stabilizers. These stabilizers are plastic or rubber bumpers designed to fit between the seat and the toilet bowl. They provide additional support and prevent side-to-side movement, which can cause the seat to loosen. To install stabilizers, first clean and dry the area where the seat contacts the bowl. Then attach the stabilizers to the bottom of the seat, following the manufacturer’s instructions. Once in place, they will help to distribute weight more evenly and reduce strain on the bolts, preventing future loosening.

7. Use Thread-Locking Compound on Bolts
For a more permanent solution, you can apply a thread-locking compound to the bolts before tightening them. Thread-locking compounds, such as Loctite, are adhesives that bond the threads of bolts and nuts together, preventing them from loosening due to movement or vibration. To use this method, apply a small amount of the compound to the threads of each bolt before screwing them into place. Once the bolts are tightened, the compound will harden, creating a secure bond that resists loosening over time. However, be aware that this method makes it more difficult to remove the seat in the future, so only use it if you’re confident the seat won’t need frequent adjustments.
8. Upgrade to a Quick-Release Toilet Seat
If your current toilet seat continues to loosen despite regular tightening, you may want to consider upgrading to an American Standard quick-release seat. Quick-release seats are designed with easy-to-remove hinges that make cleaning and maintenance more convenient. Additionally, these seats often come with more durable mounting hardware that resists loosening. To install a quick-release seat, follow the instructions provided with the new seat, which typically involve removing the old bolts, aligning the new seat, and securing it with the supplied hardware. The quick-release mechanism also allows for fast removal if further tightening is required.
9. Ensure the Toilet Seat is Aligned Properly
A toilet seat that is misaligned can put uneven pressure on the bolts, causing them to loosen over time. Before tightening the seat, check that it is properly aligned with the toilet bowl. If the seat is crooked, loosen the bolts slightly and adjust the seat until it sits evenly on the bowl. Once the seat is aligned, retighten the bolts using a screwdriver or wrench. Proper alignment reduces strain on the bolts and ensures a more stable fit, preventing future loosening.
10. Use Nylon Nuts for Durability
Metal nuts and bolts are common in many toilet seats, but they can rust and become difficult to tighten over time. Nylon nuts are a durable alternative that resist corrosion and provide a tighter grip on the bolts. To install nylon nuts, remove the existing nuts and replace them with nylon versions, which can be found at most hardware stores. Nylon nuts are less likely to loosen due to their non-metallic composition, making them an excellent long-term solution for keeping your American Standard toilet seat secure.

Conclusion
Keeping your American Standard toilet seat securely fastened is essential for both comfort and functionality. By implementing the methods outlined above, from installing rubber washers to using thread-locking compounds, you can effectively prevent loosening and ensure a stable seating experience. Regular maintenance and careful attention to alignment, as well as considering upgrades like quick-release seats, further enhance the longevity of your toilet seat. Thanks for reading, and we hope this has given you some inspiration on how to tighten toilet seat on american standard!

