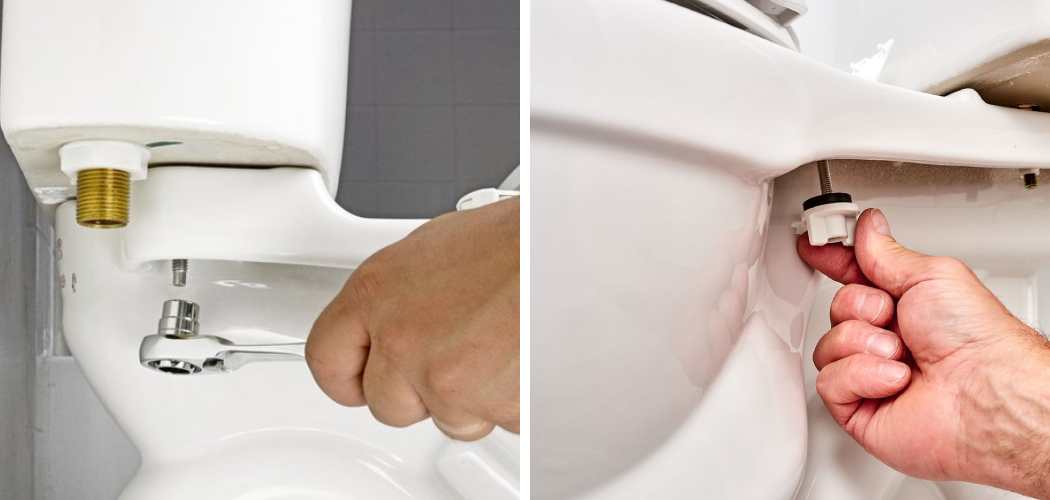
Do you have an annoying leak in your toilet tank? Are the bolts loose and need to be tightened? If so, stay tuned, as this article explains a cost-effective way of addressing the problem without needing to enlist professional help.
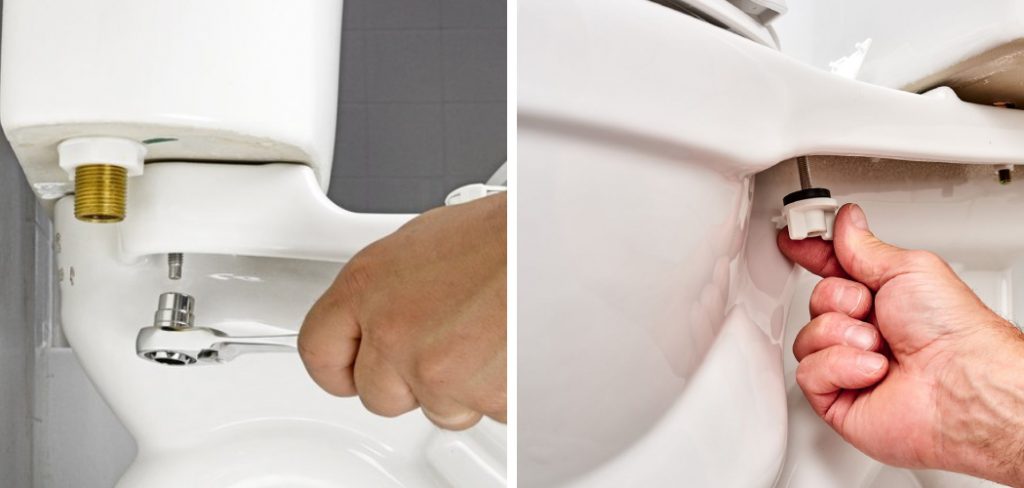
You’ll learn about what supplies you need for the job, instructions on how to tighten toilet tank bolts, and tips on how to identify other issues with your plumbing before they become more significant problems. With this simple guide at hand, you can now save money by DIYing your home repairs!
Will Tightening Toilet Bolts Stop Leak?
Tightening the toilet tank bolts will not necessarily stop a leak from the tank. A leak from the tank may be caused by several factors, such as an improperly installed wax seal, a broken flapper valve, or even a crack in the bowl.
If tightening the bolts does not stop the leaking, it is important to identify and address the underlying cause of the problem. If you are unable to do this yourself, then it is best to call a plumber for assistance. In most cases, if your tank is leaking because of loose bolts, then tightening them should easily solve your problem.
However, if you tighten them too much, they can strip out or break off, causing further damage that is more expensive and difficult to repair. Be sure to read instructions on proper tightening techniques for your toilet tank bolts and consult a professional if necessary.
That way, you can be sure that your toilet is sealed properly and not leaking from the tank. If done correctly, tightening the toilet tank bolts should help stop any leaks from occurring.
Additionally, it is important to inspect the toilet tank and bowl regularly for signs of wear and tear or damage. Regular maintenance can help prevent leaks and other costly repairs in the future. If you notice anything out of the ordinary, contact a professional immediately to resolve the issue.
9 Steps on How to Tighten Toilet Tank Bolts
Step: 1. Use a Wrench
The first step is to use a wrench to loosen the bolts that are holding the tank in place. Be sure to use a wrench that is the appropriate size for the bolts. If you do not have a wrench, you can use a pair of pliers. Start by unscrewing each bolt in a counterclockwise direction until the bolts are fully loosened. Then, remove the bolts from the tank. However, be sure not to remove the washers. To remove the washers, use a flat-head screwdriver.
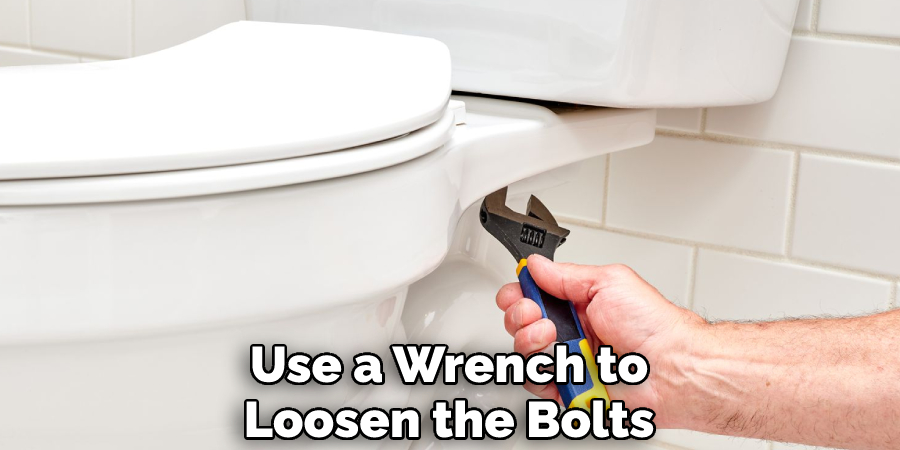
Step: 2. Unscrew the Bolts
Once the bolts are loosened, you will need to unscrew them completely and remove them from the tank. Be sure to keep track of where each bolt goes, as they will need to be replaced in the same order. Be sure to have a bowl or bucket handy to catch any water that may be released when the bolts are removed.
Once the old bolts are removed, inspect them for any signs of corrosion or damage, as this can affect the performance of your toilet. If necessary, replace the bolts with new ones. Be sure to use the same type of bolts as originally used. Although there are several types of bolts available, some may not be suitable for certain toilet tanks.
If you are unsure which type to use, consult your local hardware store for advice. Once the old bolts are removed, you may need to scrape off excess sealant from around the mounting holes in order to ensure a secure fit for the new bolts.
Step: 3. Remove the Tank
With the bolts removed, you can now lift the tank off of the bowl. Be careful not to drop it, as this could break the tank. If the tank is stuck, you can carefully tap the side with a rubber mallet to loosen it. Once you have removed the tank from the bowl, you can begin to inspect and clean the bolts and nuts.
Use a putty knife or other tool to scrape away any debris that may be clogging up the threads of the bolts. Additionally, check for any rust and corrosion that may be present. To clean the bolts and nuts, use a wire brush to remove any rust or corrosion.
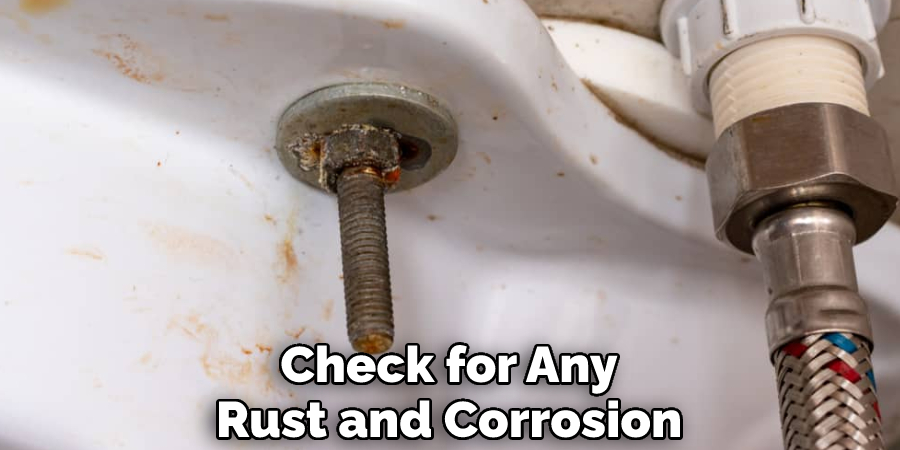
If necessary, you can also use a steel wool pad to buff out any rough surfaces on the bolts and nuts. Once these have been cleaned, you should apply some WD-40 lubricant to the threads of the bolt for an extra layer of protection against moisture.
Step: 4. Clean the Area around the Bolts
Now that the tank is removed, you can clean the area around the bolts. Be sure to remove any dirt or debris that may be present. This will ensure that the new bolts have a secure fit. While cleaning, also check for any signs of corrosion or other damage.
If you see any, these should be addressed before moving forward with the installation. To clean the area, use a cloth rag or paper towel and warm soapy water. Once the area is clean and dry, you can then begin to install the new bolts.
Step: 5. Apply Teflon Tape to the Threads
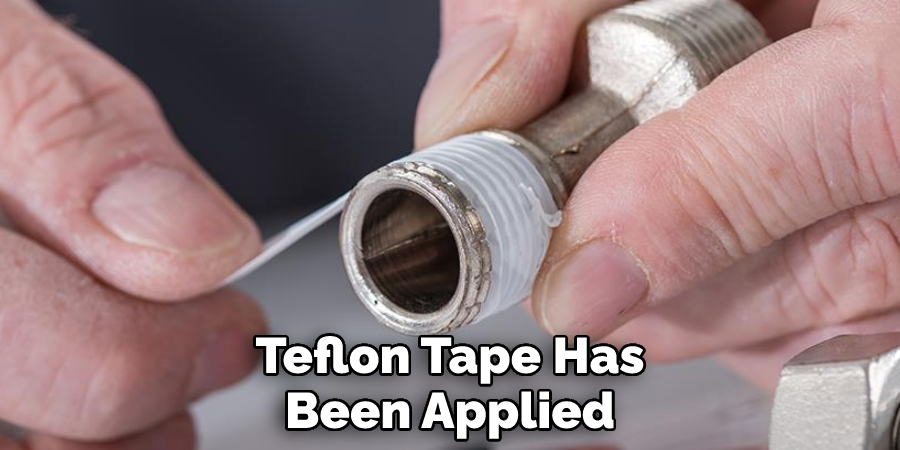
Next, you will need to apply Teflon tape to the threads of the bolts. This will help to create a seal and prevent leaks. Unroll a few inches of tape and wind it around the threads in a clockwise direction.
Start at the base of the thread and wrap it twice before continuing up the shaft. Make sure there are no gaps or overlaps as you wind it around. Once you reach the top, cut off the excess tape with scissors. Your bolts are now ready to be tightened.
However, make sure not to over-tighten them as this may cause them to strip or break. Once you are done tightening the bolts, check for any leaks. If there are none, your toilet tank is now secure and ready for use.
Step: 6. Replace the Bolts
Once the Teflon tape has been applied, you can replace the bolts and screw them back into place. Be sure to hand-tighten them before using a wrench to tighten them completely. Be careful not to overtighten the bolts, as this can crack the porcelain.
Once everything is secure, you can turn on the water supply again and test the toilet to make sure it is working properly. If all goes well, you have successfully tightened your toilet tank bolts!
Step: 7. Replace the Tank
Now that the bolts are tightened, you can replace the tank on top of the bowl. Be sure that it is level and secure before moving on. If the tank is not level, shim it with a thin piece of wood or other material to make sure it’s even.
Once the tank is in place and secure, tighten the nuts on the bottom of the tank to make sure it’s fully secured. Although it’s important to make sure the tank is level and secure, do not over-tighten the nuts. This could break the porcelain of the tank. Toilet tanks are very delicate and should be handled with care.
Step: 8. Reconnect Any Hoses or Pipes
If there are any hoses or pipes that were disconnected when removing the tank, be sure to reconnect them now. Make sure that they are tight and secure before moving on. Once they are all in place, turn on the water supply valve. If a new filler valve was installed, then the tank should fill back up with water.
However, you may want to open the toilet bowl lid and check if there is any water coming out of the overflow tube. If so, then adjust the float arm or water shutoff valve accordingly. Then your toilet will be good to go.
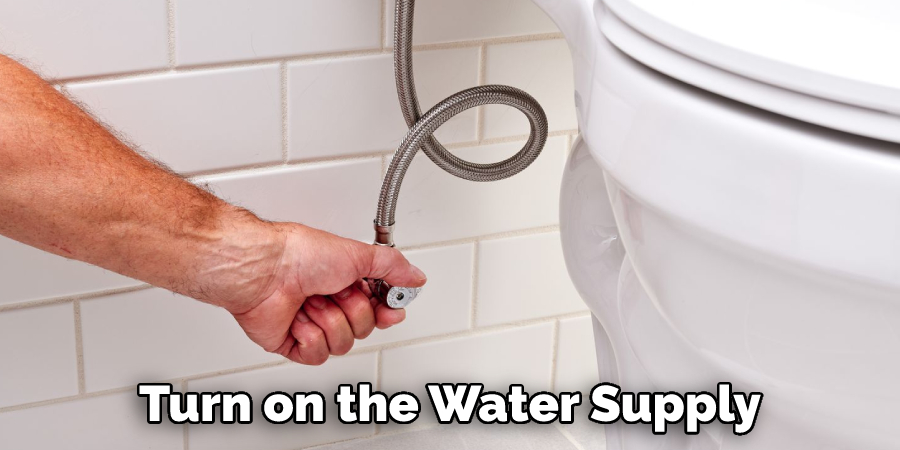
Step: 9. Turn on the Water Supply
With everything reconnected, you can now turn on the water supply and test for leaks. If there are no leaks, your toilet is now ready for use! If you do notice a leak, make sure to check that the wax ring is properly secured and all of your connections are tight. If everything appears secure, you may need to replace the wax ring or even the tank bolts. If this is the case, start over from Step 1 with new parts.
Conclusion
Tightening the bolts on a toilet tank is a quick and easy job that homeowners can complete in less than an hour. It’s simple to do, but it can make all the difference in preventing leaks.
Now that you know how to tighten toilet tank bolts, you can replace any leaking gasket and ensure that your bathroom plumbing system runs efficiently for years. Toilet tank bolts may require tightening occasionally, but with the right tools and techniques, you can have your toilet running perfectly in no time.

