Tiling a ceiling can create an attractive and luxurious look in a bathroom. It can also help protect the surface of the ceiling from water damage, mold, mildew, and other types of damage that commonly occur in bathrooms. In addition, tiling a ceiling will add insulation to the room, which will help keep it cooler in the summer and warmer in the winter.

The main advantage of tiling a bathroom ceiling is its water damage protection. Ceilings are more prone to becoming wet and accumulating moisture, leading to mold and other damage over time.
Tiles provide a waterproof barrier that prevents this kind of problem. Tiled ceilings also look much nicer than painted ones, creating an elegant finish for any bathroom. You can find step-by-step instructions on how to tile a bathroom ceiling in this blog article.
Tools You Will Need
- Tile saw
- Trowel
- Level and measuring tape
- Sponge, chisel, and grout float
- Notched trowel
- Marker or pencil
- Drywall screws and anchors
- Utility knife or scissors
- Dust mask and safety glasses
- Wet tile cutter (optional)
- Bucket
- Tile spacers
In most cases, you must prep the ceiling before tiling it. This includes removing any existing tiles or wallpaper, sanding down the surface of the ceiling, and cleaning off any dust or debris.
Step-by-step Instructions for How to Tile a Bathroom Ceiling
Step 1: Inspect the Ceiling
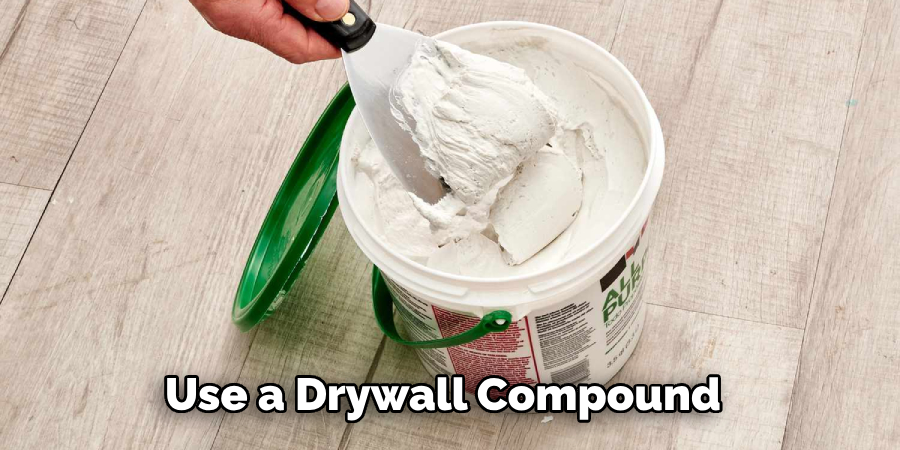
Before you begin tiling your bathroom ceiling, it is important to assess the state of the ceiling. Look for any cracks, gaps, or unevenness that may need to be repaired before you can start tiling. Use a drywall compound and sandpaper to fill in these imperfections and ensure the surface is smooth and even.
Step 2: Prepare the Ceiling
Once your ceiling is in good condition, you must prepare it for tiling. Start by applying a layer of primer or sealer on the ceiling. This will help the tiles adhere better and protect them from moisture. Allow the sealer to dry before proceeding.
Step 3: Lay Out Your Tiles
Let’s start by laying out your tiles on the floor to understand how they will look once installed. Measure the width and length of your tiling area, then use this information to determine how many tiles you need and what pattern or design you would like to create.
Step 4: Cut the Tiles
You can cut the tiles to fit the ceiling as needed using a tile cutter. Ensure your cuts are precise and accurate so that your tiling looks professional. To begin installing the tiles, apply a thin layer of adhesive to the back of each tile. You should use a notched trowel to spread the adhesive and ensure it adheres properly and evenly.
Step 5: Position the Tiles
Once your adhesive is ready, you can start positioning the tiles on the ceiling. Start from one corner or side and work outwards, using a level to ensure all your tiles are even. If necessary, use spacers to keep them properly aligned.
Step 6: Press the Tiles
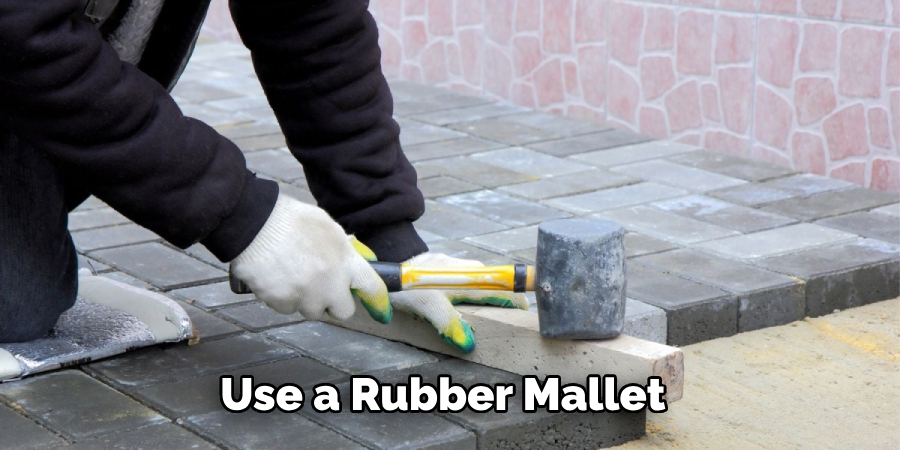
Once all of your tiles are in place, it is time to press them firmly against the ceiling so that the adhesive can dry properly. Use a rubber mallet or other soft tool to tap each tile into place lightly.
After your tiles have been pressed in place, you can begin grouting. As with the adhesive, use a notched trowel to spread your grout across the tiles evenly. Ensure you wipe off any excess and allow the grout to dry before continuing.
Step 7: Clean Up
Once all your tiles are installed and properly grouted, it is time to clean up. Use a wet sponge to remove excess adhesive and grout from the tiles. To ensure your tiling job lasts for a long time, it is important to seal the grout with either a silicone-based or water-based sealer.
This will help protect it from staining and moisture damage. Allow the sealer to dry before using your shower or bathtub.
Once you complete these steps, you should have a beautiful, professional-looking tiled bathroom ceiling. With proper preparation and care, it can last for many years to come.
Safety Precautions for How to Tile a Bathroom Ceiling
- Make sure the ceiling is properly reinforced before beginning to tile. Doing this will ensure that the ceiling is structurally sound and can support the weight of the materials used for tiling.
- Use a good-quality adhesive to attach the tiles to the ceiling. This will help ensure a secure fit and reduce water damage from steam or condensation.
- Wear safety goggles and gloves when cutting the tiles. This will help protect you from any flying shards or splinters while working with the materials.
- Make sure to wear a dust mask when sanding or sawing the tiles, as this can create a lot of airborne particles that can be harmful if inhaled.
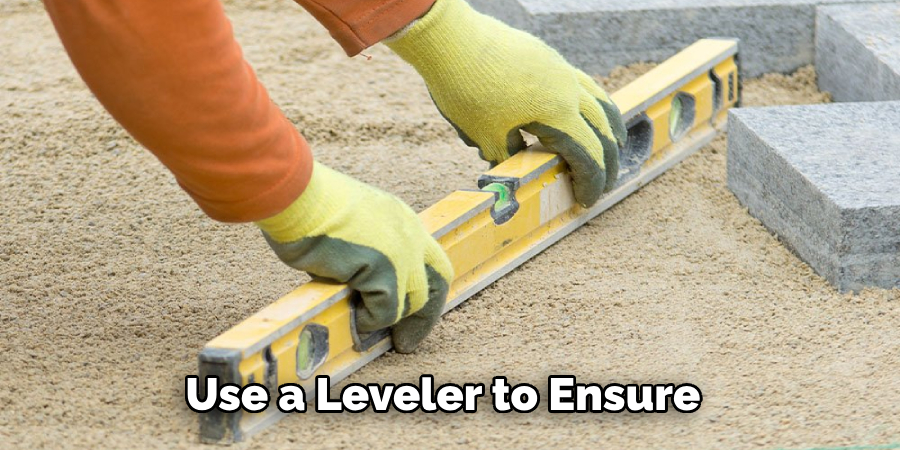
- Use a leveler to ensure that the tiles are laid evenly. This will provide the best results regarding the finished look of your tile ceiling.
- Ensure all exposed surfaces and grout lines are sealed with a waterproof sealant before the tiling is complete. This will help protect your tiles from moisture damage, staining, and other issues caused by water contact.
- If using electrical outlets or fixtures, ensure they are properly sealed off to prevent any shock hazards. This is particularly important when working with wet areas like bathrooms and showers.
By following these safety precautions, you can make sure that your tiling project is a success.
Is There a Special Technique That Should Be Used When Laying the Tiles?
The technique you need to use when tiling the ceiling of a bathroom is surprisingly similar to the process you would use for any other wall. The main difference is that you must be extra careful with your measurements and cuts since you are working on a vertical surface.
Start by measuring the space in which you plan to tile. Make sure to factor in any fixtures like lights or shelves which may need to be worked around. You should then mark the ceiling with a pencil for a clear reference point for where to cut the tiles.
Next, you must prepare your tiles for installation, ensuring each piece is properly spaced and cut using tile nippers if necessary. Once all the tiles are prepared, you can apply them to the ceiling.
When tiling a bathroom ceiling, starting from the bottom of the wall and working your way up is important. This will help ensure that all of your tiles are properly aligned. When you reach the top of the wall, make sure to use adhesive tape or tile spacers to secure them in place.
How Do You Clean and Maintain the Newly Installed Tile on Your Bathroom Ceiling?
Once the tile on your bathroom ceiling is installed, cleaning and maintaining it properly is important. To do so, you’ll need the following supplies: a bucket of warm water, a mild detergent solution or specialized tile cleaner, a soft cloth, and a mop.
Begin by mixing the detergent or specialized tile cleaner into warm water. Dip the soft cloth into the solution and use it to wipe down all the tiles, removing any dirt or dust that may have accumulated over time.
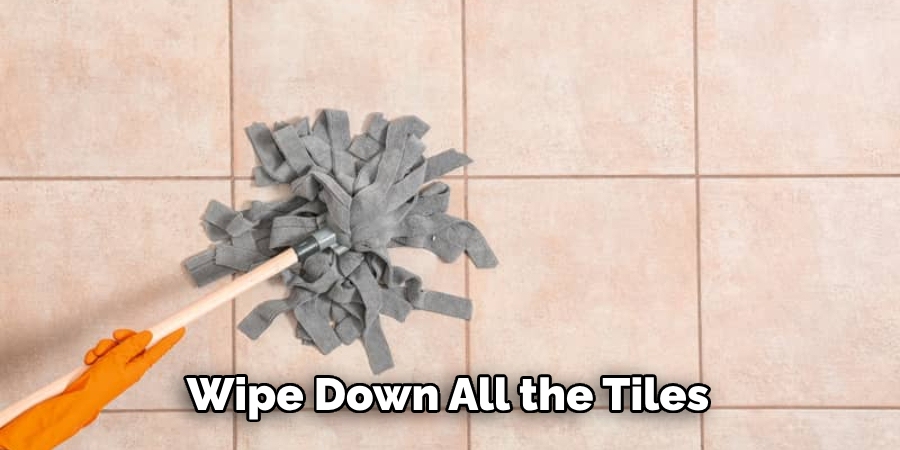
Once you’ve finished this step, dip your mop into the solution before wiping it across all of the tiles on your bathroom ceiling. After cleaning, let the tile air dry for a few minutes before applying a sealant.
This can help to protect the tile from staining and fading. Finally, regularly clean the bathroom ceiling tiles to maintain their beauty and extend their lifespan.
What Are Some Common Mistakes to Avoid When Tiling Your Bathroom Ceiling?
When tiling your bathroom ceiling, it is important to remember some common mistakes. Poorly laid tiles can result in a messy and sloppy look and potential structural problems down the line. Here are some mistakes to avoid when tiling your bathroom ceiling:
- Need to Prepare the Surface Properly: Before beginning your tile job, ensure the surface of your ceiling is adequately prepared. This includes ensuring the drywall or existing tiles are clean, sealed, and free from debris.
- Not Measuring Correctly: Make sure to measure the space you are working with so that you can buy enough materials and accurately lay out your tile pattern.
- Not Using Proper Adhesive: Use the correct adhesive for your tile and ceiling surface. Otherwise, your tiles may not adhere properly and could eventually fall off the ceiling.
- Not Using Spacers: When laying out tiles on the bathroom ceiling, it is important to use spacers to ensure even spacing between each tile. This will help create a professional, uniform look when you are finished tiling.
- Not Grouting Correctly: Grout is essential to giving your bathroom ceiling the professional look and feel it deserves. Make sure to apply the grout consistently for optimal results.
These tips can help you avoid common mistakes when tiling your bathroom ceiling and ultimately give you a beautiful, professional result. If you are still determining a particular step, seeking professional help is best to avoid costly mistakes.
Conclusion
In conclusion, learning to tile a bathroom ceiling can be daunting, but with the right tools and knowledge, it is possible to achieve a beautiful and long-lasting result. Follow all safety precautions when working with tiles and power tools.
Start by measuring your work area and purchasing the necessary supplies from your local hardware store, then follow the steps outlined in our guide.
Reading this post has helped you learn how to tile a bathroom ceiling. Make sure the safety precautions are carried out in the order listed.

