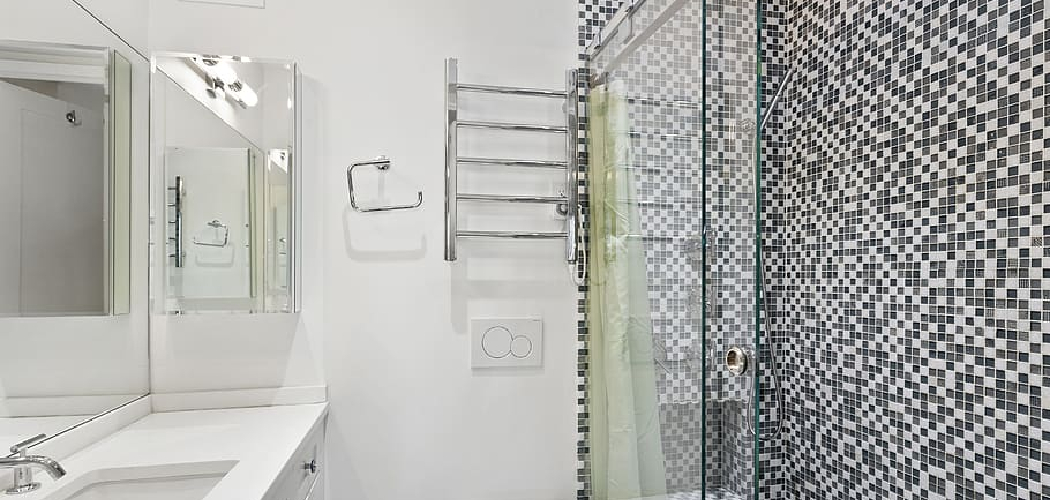
Transform your outdated bathtub into a modern, accessible walk-in shower and enjoy all the convenience of bathing without having to step over the side of a tub. Whether you’re considering this change for comfortability, accessibility needs, or simply because you want to update an old and outworn bathroom style, there are numerous options available that can make achieving your goal easy.
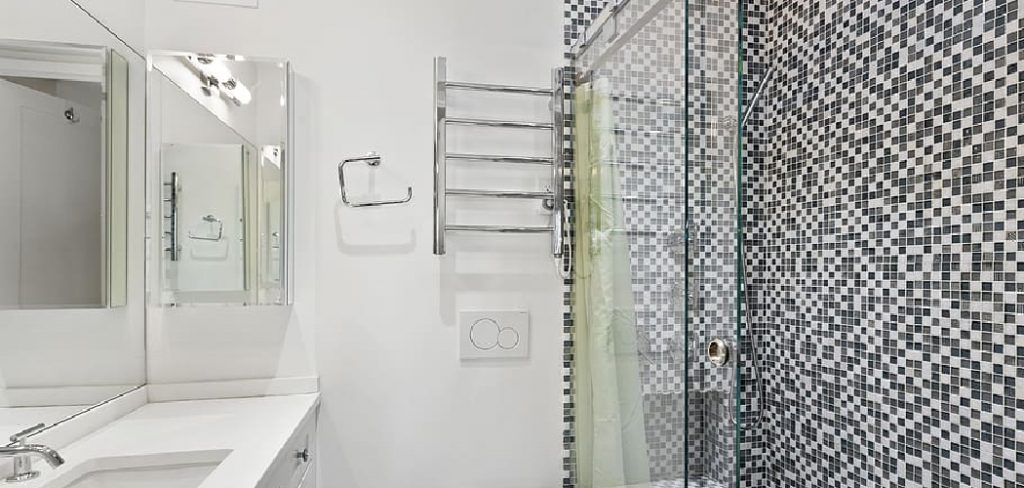
From making budgets friendly choices on fixtures to incorporating luxury designs, learn how to turn your old tub into a stylish and functional new walk-in shower with these simple steps! Keep on reading this article on how to turn a tub into a walk in shower.
Necessary Tools and Materials
Given below are the necessary tools and materials that you will require to turn your tub into a walk-in shower:
1. A Sledgehammer
This tool is needed to break up tile walls or floors for a new shower installation.
2. Measuring Tape
This tool is essential for measuring and cutting the correct size of materials you will need for your new walk-in shower.
3. Shower Pan Kit
The kit should include a base, liner, drain pipe and seals that are required when installing a new shower.
4. Shower Doors
This is an optional step, but adding doors to your walk-in shower can give it a modern look and make it easier to clean.
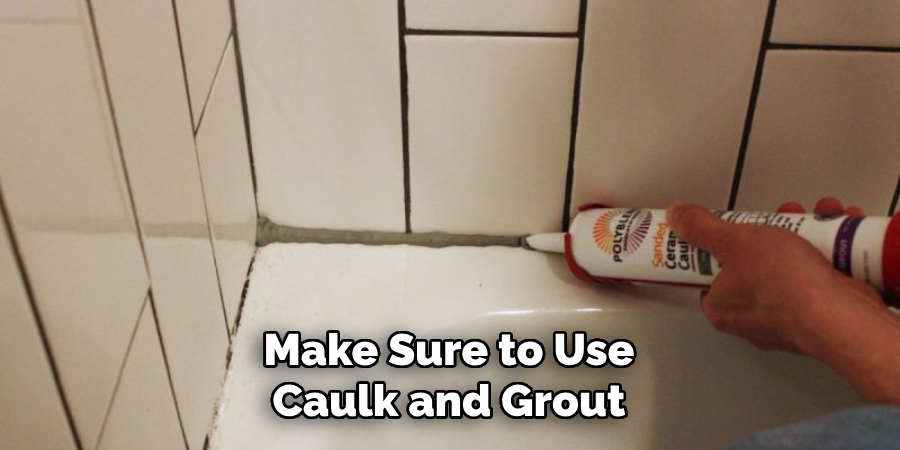
5. Grout and Caulk
These materials are necessary for sealing the joints between tiles, walls, and floors so that water does not leak out from your newly installed shower.
6. Leveler
The leveler helps you ensure that you have properly leveled surfaces when installing your walk-in shower pan and other fixtures.

11 Step-by-step Guidelines on How to Turn a Tub Into a Walk in Shower
Step 1: Remove the Old Tub and Surrounding Tiles
Using a sledgehammer, break up all of the existing tile walls or floors that are around the tub. Once all of the old tiles have been removed, disconnect and remove the existing tub from its plumbing connections. This is best done with the help of a professional plumber.
It is also important to remove any existing tile flooring before beginning the project. If you are not comfortable with breaking up tiles, it is probably best to hire a professional for this part of the project.
Step 2: Measure the Space for a New Shower Pan
Using a measuring tape, measure the space where your new shower pan will be installed. You will need to take into account factors such as wall thickness, drain location, and other objects in order to ensure that you buy a shower pan that fits correctly.
It is also important to measure the distance between the drain and the wall so that you can buy a shower pan with the right length of the drain pipe. This will help prevent any water from leaking out of the space. It is also important to measure how high you want the finished shower floor to be. But remember to leave some room for the thickness of the tiles.
Step 3: Install Your New Shower Pan
Place your new shower pan in place and connect it to your existing plumbing system. To secure it firmly in place, use mortar or adhesive caulk around the perimeter of the shower pan. It is also important to check the level of your shower pan to make sure it is even with the rest of the floor.
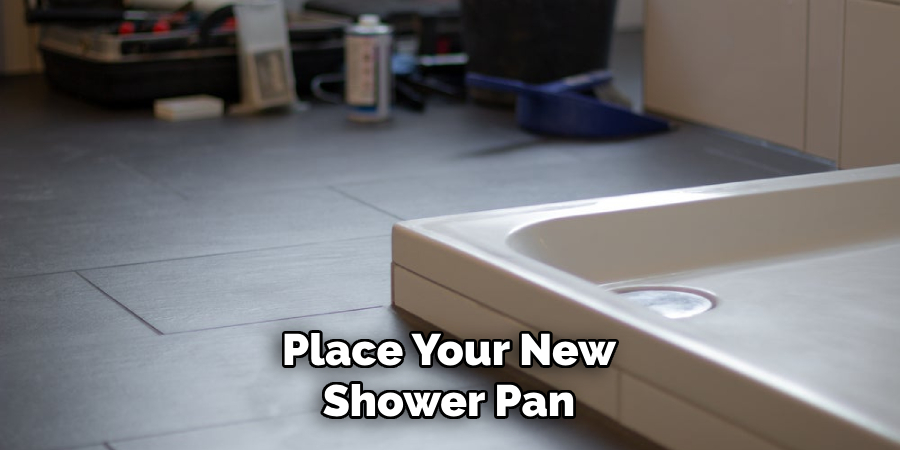
Once everything is secure and in place, you can move on to the next step. It is also important to use a sealant that is designed for the shower pan in order to make sure it remains waterproof. It is also important to make sure the shower pan liner is properly sealed. This will help to prevent water from seeping through the shower pan and causing damage.
Step 4: Add Supports for the Shower Walls
Using two-by-four boards, build a frame to support your shower walls. These supports should be placed along the edges of the shower pan and secured with nails or screws. But make sure to use screws that are designed for wet environments. Otherwise, your new shower walls may not be properly secured.
It is also important to make sure that the frame is level and plumb before you continue with the installation. This will ensure that your shower walls are even and straight. It is also important to make sure that the frame is strong enough to support the weight of the tiles and any other fixtures you plan on installing.
Step 5: Install the Wall Surrounds
Secure your wall surrounds onto the wooden frame that you just created. Depending on your preferences, you may choose to use laminate panels, tile, natural stone, or other materials for this step. Make sure to caulk all of the seams and corners around each wall panel to prevent water leakage.
This step is especially important if you plan on installing a shower door. It is also important to make sure that the wall panel and tile installation are level and that the panels are properly secured to the frame. This will ensure that your new shower walls are even and straight.
Step 6: Install Tiles
If you have chosen to use tiles for your shower surround, lay them out in an orderly pattern before adhering them to the wall.
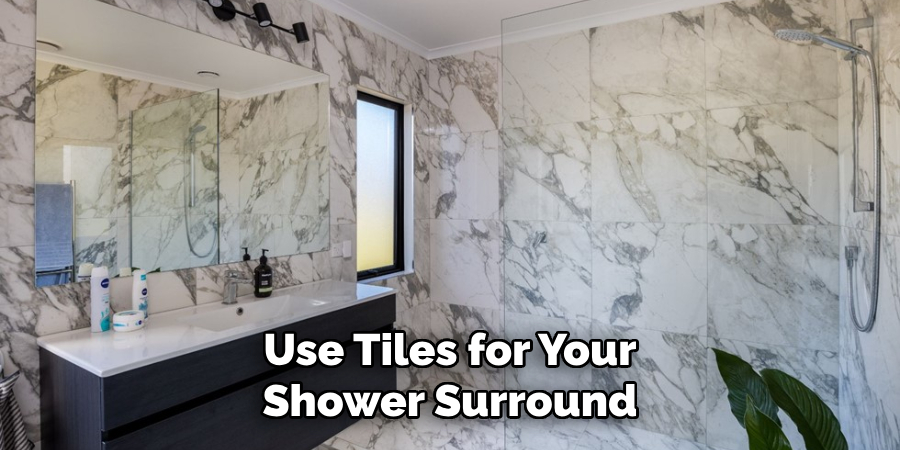
Ensure that the tiles are level using a leveler, and then grout and caulk the joints for additional protection against water leakage. It recommends using waterproof grout and caulk in order to ensure that your new shower is safe and secure. Otherwise, water may seep through the grout and caulk, causing mold and mildew growth.
Step 7: Install Your Shower Doors
Using your desired shower door kit, install the doors of your walk-in shower. Make sure to follow all of the included instructions carefully and adjust the height and width of the doors if needed.
It is also important to make sure that the door frames are properly secured and sealed in order to prevent any water from leaking out. This is especially important if you plan on installing a glass door. If you are not comfortable with this step, it is best to hire a professional.
Step 8: Install Fixtures
Install any fixtures you wish to add such as a hand-held showerhead or body sprays. This is also a good time to install grab bars if they are needed for accessibility purposes. It is also important to make sure that all of the fixtures are properly connected to the plumbing system.
If you are not comfortable with this step, it is best to hire a professional. It is also important to make sure that the fixtures are level and properly secured. It is also important to make sure that the fixtures are not protruding from the wall, as this can be a safety hazard.
Step 9: Inspect for Leaks or Damage
Carefully inspect all areas of the shower pan and walls to ensure that there are no leaks or damage. Make sure to use caulk and grout where necessary to prevent water from seeping out of your shower. But make sure to use a waterproof sealant or grout in order to ensure that your shower is protected.
Once everything is secure and in place, you can enjoy your new walk-in shower. This is the perfect way to upgrade your bathroom without having to purchase a brand-new shower. It is also an affordable way to get the luxury look you have always wanted.
Step 10: Add Accessories
Choose any accessories you wish to add such as soap dishes, shelves, or towel holders. Install these items according to the included instructions for each item. It is important to make sure that all of the items are properly secured and leveled.
This will not only enhance the look of your shower, but it will also help to prevent any accidents or injuries from occurring. It is also important to make sure that the items are not too heavy, as this can cause the wall panels or tiles to become unsecured. It is also important to make sure that all of the items are placed outside of the walking area, as this can be a safety hazard.
Step 11: Enjoy Your New Walk-In Shower!
Now that all steps have been completed, you can enjoy your new walk-in shower! With its updated style and convenient accessibility, this addition will enhance your bathroom experience for years to come.
Always make sure to inspect for any signs of water damage or leaks, and perform regular maintenance on all fixtures and accessories. This will help to ensure that your walk-in shower remains in top condition. Now that you know how to turn a tub into a walk-in shower, you can enjoy the convenience of a walk-in shower without the cost of replacing your tub. Enjoy!
Following these steps on how to turn a tub into a walk-in shower, you can successfully turn your old tub into a modern and stylish walk-in shower!
From choosing the right materials to installing fixtures and accessories, make sure to complete each step carefully for a successful transformation. With a little patience and attention to detail, you will be enjoying your new walk in shower in no time!
We hope this article has helped you understand how to turn your tub into a walk in shower. If you have any questions or comments regarding the process, please feel free to leave them in the comment section below. Thanks for reading!
Do You Need to Hire Professionals?
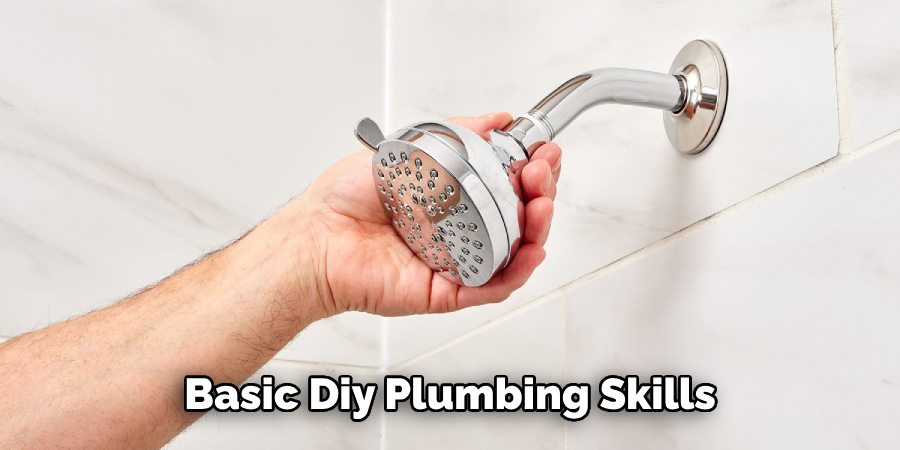
The steps outlined above are simple and can be completed by most homeowners with basic DIY plumbing skills. However, if you do not feel comfortable taking on this project yourself, it is always advised to hire a professional plumber to ensure that your new walk in shower is properly installed.
A professional will also make sure that all pipes and seals are correctly connected and provide any additional advice or tips for maintaining your shower in the future.
How Much Will It Cost?
The cost of turning a tub into a walk-in shower will depend on the materials and fixtures you choose to use. In general, most homeowners can expect to spend between $1,000 – $5,000 on this project.
We hope that this article was helpful in explaining how to turn a tub into a walk in shower. Do your research carefully before beginning any home improvement projects and be sure to contact a professional if needed.
Frequently Asked Questions
Q: What is the Best Material to Use for a Walk Shower?
A: The best materials to use for a walk-in shower are ones that are waterproof and durable. Ceramic tile, porcelain tile, acrylic, and stone are all popular choices for shower installations.
Q: What is the Average Cost to Turn a Tub Into a Walk-in Shower?
A: The average cost of converting a tub into a walk-in shower is between $1,000 – $5,000. This price range will vary depending on your chosen materials and fixtures.
Q: How Long Does It Take to Convert a Tub Into a Walk-in Shower?
A: Converting a tub into a walk-in shower typically takes around two days if completed by one person or around one day if done with help from another person. This time frame can be shortened or lengthened depending on the scope of your project.
Q: Do I Need a Professional to Convert My Tub Into a Walk-in Shower?
A: It is not required to hire a professional for this type of project, however, it is always advised. A professional can ensure that all fixtures are connected correctly and provide additional advice or tips for maintaining your shower in the future.

Conclusion
In conclusion, transforming a bathtub into a walk-in shower requires careful thought and consideration because it impacts both the look and functionality of the bathroom. It’s essential to research the process thoroughly before beginning and be sure to check local building codes. Don’t forget to call a professional throughout the conversion to ensure safety.
When correctly done, you can enjoy your brand-new upgraded spaces that look modern and are easier to use overall. If you’re brave enough to attempt this potentially overwhelming undertaking yourself, make sure you have everything you need to line up before proceeding.
It may seem like a huge hassle at first, but once it’s done properly it will be well worth it! So go ahead, take that leap of faith and get ready for your beautiful newly converted walk-in shower! Thanks for reading this article on how to turn a tub into a walk in shower.

