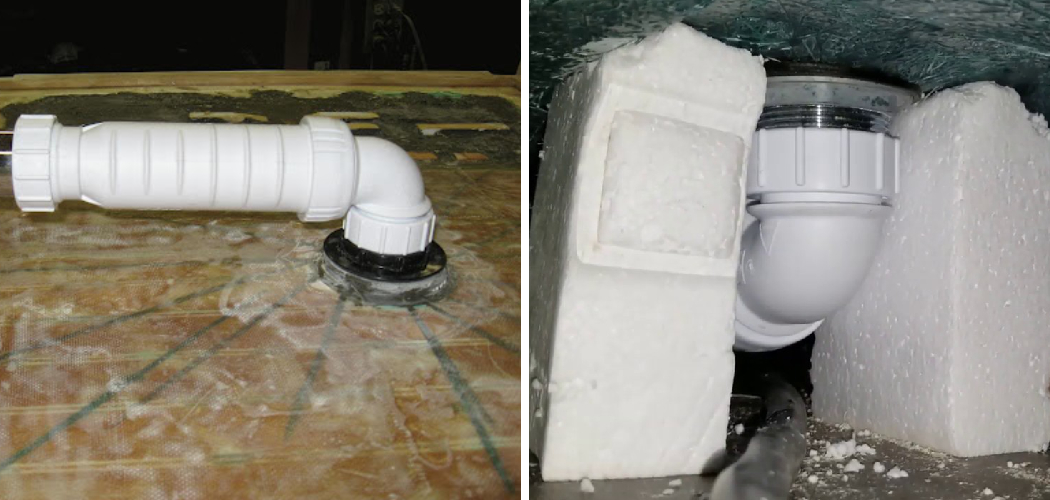
Experiencing a clogged shower drain in your RV can be a frustrating and inconvenient issue. Whether you’re on the road or parked at a campsite, a blocked drain can disrupt your routine and comfort. Fortunately, with some basic tools and a little effort, you can address this problem efficiently.
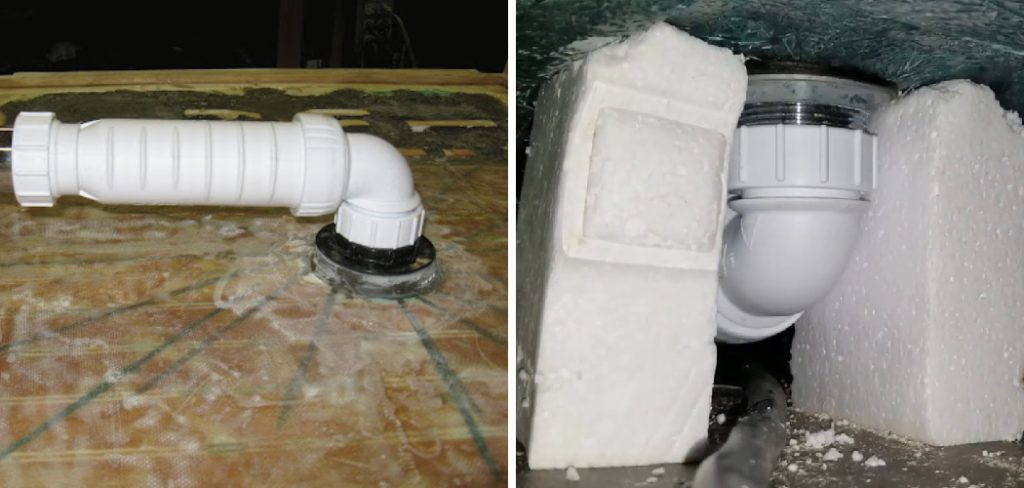
This guide on how to unclog rv shower drain will walk you through the steps to unclog your RV shower drain, ensuring a smooth and hassle-free experience.
Why Do RV Shower Drains Get Clogged?
Before we dive into the steps on how to unclog your RV shower drain, it’s essential to understand why it gets clogged in the first place. The most common reason for a blocked drain is a build-up of hair, soap scum, and other debris over time. As you shower, these particles can accumulate and form a blockage in the pipes, hindering proper water flow.
Another factor that contributes to clogging is hard water. If your RV’s water source has high mineral content, those minerals can stick to the inside of the pipes and create blockages over time.
Tools You’ll Need
Before you start unclogging your RV shower drain, make sure you have the necessary tools on hand. Here’s a list of essential items you’ll need:
Plunger:
A plunger is a must-have tool for any clogged drain situation. It creates suction and pressure that can dislodge the blockage in your pipes.
Zip-it Tool:
A zip-it tool is a long plastic stick with small barbs along its sides. It’s perfect for pulling out hair and other debris from your drain.
Baking Soda and Vinegar:
These two household items create a powerful chemical reaction that can dissolve and loosen clogs.
Hot Water:
Boiling water can be an effective way to break up stubborn blockages in your RV shower drain.
7 Simple Steps on How to Unclog Rv Shower Drain
Step 1: Remove the Drain Cover
The first step in unclogging your RV shower drain is to remove the drain cover. Typically, this cover is either screwed into place or simply sits atop the drain. If it is screwed in, use a screwdriver to carefully remove the screws and set them aside in a safe place.
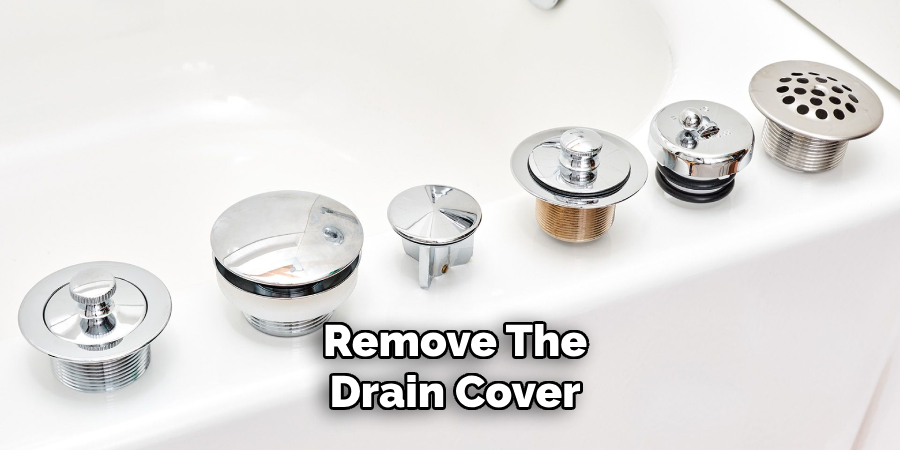
Once the screws are out, lift the drain cover and put it aside. If the cover is not screwed in, gently pry it off using a flathead screwdriver or your fingers. Removing the drain cover will give you direct access to the clog, allowing you to tackle the blockage more effectively.
Step 2: Remove Any Visible Debris
With the drain cover removed, take a moment to inspect the exposed drain for any visible debris. Common culprits include hair, soap scum, and other gunk that has accumulated at the surface.
Using rubber gloves to protect your hands, manually pull out any debris you can see and dispose of it in a trash bag. This initial removal can often significantly improve water flow and might resolve the blockage entirely. If the clog persists, proceed to the next steps to address deeper blockages.
Step 3: Use a Plunger
After removing any visible debris, the next step is to use a plunger to dislodge any blockage that might be deeper within the pipes. Start by filling the shower drain with a small amount of water, just enough to cover the bottom of the plunger’s cup. Place the plunger directly over the drain and press down firmly to create a tight seal.
Begin plunging with both downward and upward strokes, maintaining the seal around the drain. Continue this action for about 30 seconds to a minute, then remove the plunger to see if the water is draining properly.
If the water starts to flow more freely, you have successfully dislodged the blockage. If not, you may need to repeat the plunging process a few more times or move on to the next step for more stubborn clogs.
Step 4: Try the Zip-it Tool
If plunging doesn’t fully clear the blockage, it’s time to use the zip-it tool. Insert the zip-it tool into the drain as far as it will go. The barbs along the tool will catch hair and other debris trapped within the pipe. Once inserted to its maximum depth, slowly pull the tool out of the drain, ensuring you capture as much debris as possible.
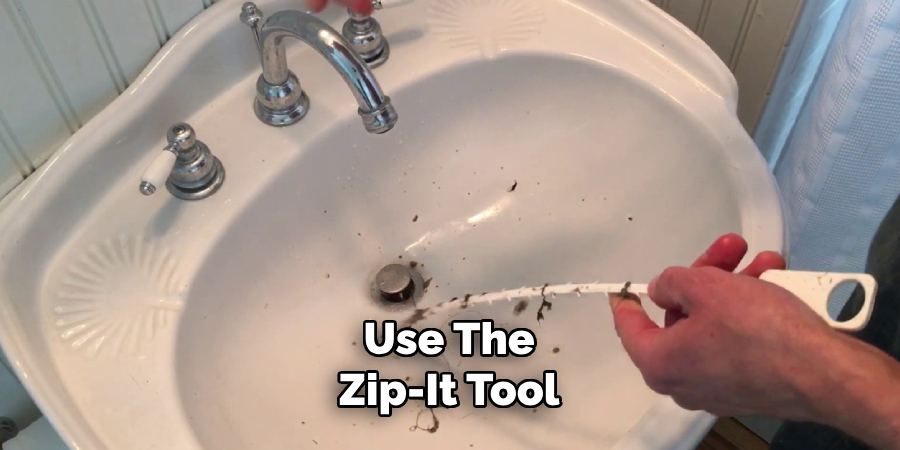
You might need to repeat this insertion and extraction process a few times to remove all the blockage. Dispose of the extracted debris into a trash bag. This method is particularly effective for clogs caused by hair and soap scum buildup. If your drain is still not running freely, proceed to the next steps.
Step 5: Try Baking Soda and Vinegar
The combination of baking soda and vinegar can effectively break down stubborn clogs in your RV shower drain. Start by pouring half a cup of baking soda into the drain, making sure to distribute it evenly across the surface.
Then follow this with one cup of white vinegar. The chemical reaction between these two ingredients will cause fizzing and bubbling, which helps to loosen the blockage. Let this mixture sit for about 15 minutes before flushing it down with hot water. If you have an especially stubborn clog, you might want to leave the mixture overnight before flushing it out with hot water.
Step 6: Use Boiling Water
Once you’ve allowed the baking soda and vinegar mixture to sit and work on the clog, it’s time to use boiling water to flush out the loosened debris. Heat a kettle or pot of water until it reaches a rolling boil.
Carefully pour the boiling water directly into the drain in a slow and steady stream. The hot water will help to dissolve any remaining blockage and wash away the residue that the baking soda and vinegar have loosened.
Be cautious while handling the boiling water to avoid burns. If the water flows smoothly down the drain, it indicates that the clog has been successfully cleared. If the drain is still sluggish, you might need to repeat the boiling water step once more or proceed to the final step for an even more thorough cleaning.
Step 7: Use a Plumbing Snake
If all the previous methods fail to unclog your RV shower drain, it’s time to use a plumbing snake. A plumbing snake is a long, flexible tool with a corkscrew-like end that rotates as you twist and push it into the drain. The rotation helps break up and dislodge stubborn blockages within your pipes.
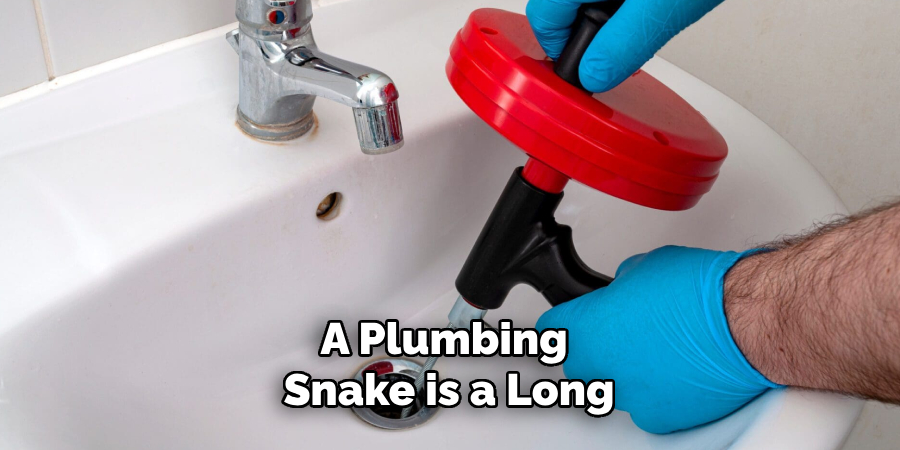
Insert the snake into the drain and slowly rotate it while pushing it further in. Once you feel resistance, continue rotating and pulling outwards to remove any debris caught by the corkscrew end of the snake. Repeat this process until you no longer feel any resistance, indicating that the clog has been successfully cleared.
Following these seven simple steps on how to unclog rv shower drain will help you unclog your RV shower drain and keep it running smoothly.
However, prevention is always better than cure. To avoid future clogs, consider installing a hair trap over your drain to catch any loose hair and regularly cleaning your shower drain with hot water and vinegar to prevent buildup. Happy camping!
Frequently Asked Questions
Q: How Often Should I Clean My Rv Shower Drain?
A: It is recommended to clean your RV shower drain at least once a month or more frequently if you notice slow draining. Regular cleaning can help prevent clogs from forming and keep your drain running smoothly.
Q: Can I Use Chemical Drain Cleaners in My RV Shower Drain?
A: It is not recommended to use chemical drain cleaners in your RV shower drain as they can be harsh on the pipes and potentially cause damage. Instead, try using natural methods such as baking soda and vinegar or a plumbing snake.
Q: What if None of These Methods Work to Unclog My RV Shower Drain?
A: If none of these methods are successful in unclogging your RV shower drain, it may be time to call a professional plumber for assistance. They will have the necessary tools and expertise to resolve any stubborn clogs. In the meantime, try to limit water usage in that shower to prevent further backup.
Q: Can I Use These Methods for Other Types of Drains?
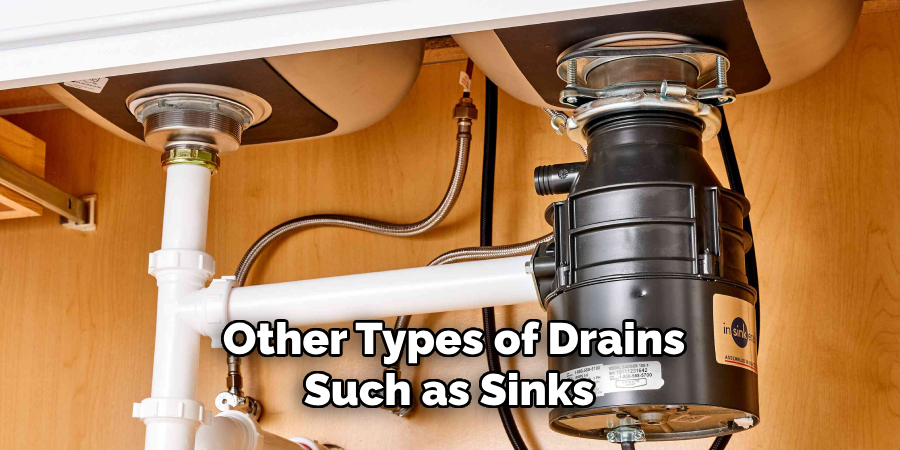
A: Yes, these methods can be used for other types of drains such as sinks and tubs. However, make sure to use proper equipment and techniques suitable for each specific drain type. For example, a plumbing snake designed for larger pipes may not work effectively on smaller drains like sink or shower drains.
Conclusion
With these simple steps on how to unclog rv shower drain, you can unclog your RV shower drain with ease and without having to call a plumber. Remember to regularly clean your drains and practice prevention measures such as using a hair catcher to avoid future clogs.
With proper maintenance, you can ensure your RV shower drain stays clear and functional, allowing you to enjoy a hassle-free camping experience. So next time you encounter a clogged RV shower drain, don’t panic – just follow these steps and get back to enjoying your trip in no time!
You can check it out Remove Oatey Shower Drain Cover

