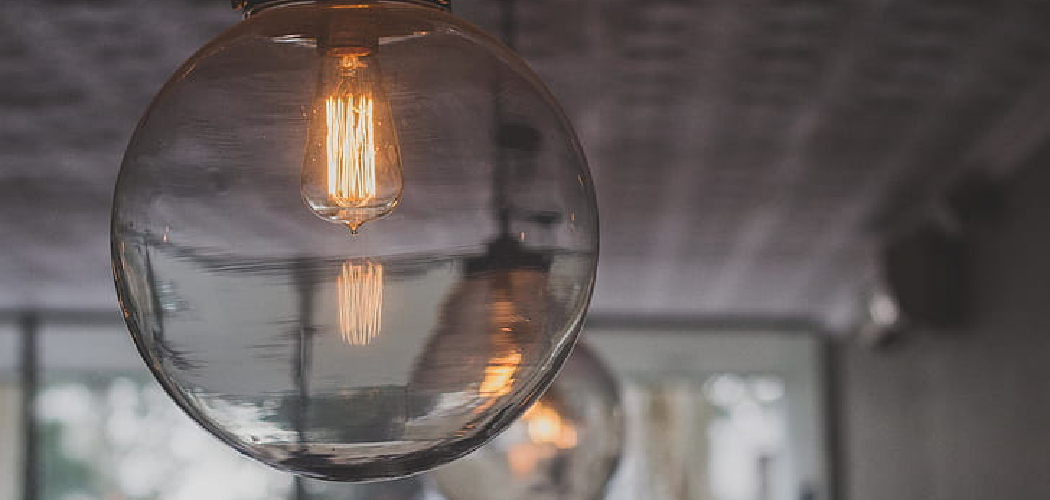
Are you looking for ways to add a touch of style and class to your bathroom? One of the quickest, most impactful upgrades you can make is replacing an outdated light fixture. Not only does this provide a boost in appearance, but it’s also easy enough for even the most novice DIYer to complete.
Here, we’ll show you everything you need to know about how to update bathroom light fixture: from assessing existing wiring and measuring dimensions, to identifying the right fixtures and safely installing them into place. Let’s get started!
A simple way to add some style and brightness is by updating your light fixture. Whether you are going for something that is more modern, or a fixture with an antique feel – there are many options to fit any decor! In this blog post, we will go over all of the necessary steps for replacing a light fixture in your bathroom. From taking out the old one, choosing what type of new one you want, and installing – read on for all of the information needed approach this task like a pro!
Why May You Want to Update Bathroom Light Fixture?
1. To Add More Light
Older light fixtures may not provide adequate lighting, and it might be beneficial to update the fixture in order to add more light. This will make it easier to do tasks like putting on makeup or shaving.
2. To Change the Look of Your Bathroom
You may want to change the style of your bathroom by updating the light fixture. This can add a sense of modernity and give a fresh new look to your space, as well as make it more attractive for potential buyers if you are considering selling your home.
3. To Make Your Bathroom More Energy-Efficient
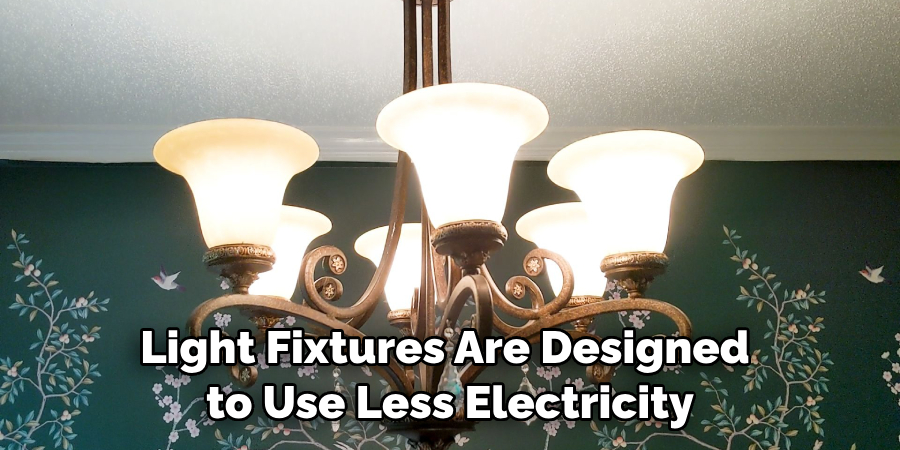
By replacing an older fixture, you can make sure that your bathroom is energy-efficient and save money in the long run. Newer energy-efficient light fixtures are designed to use less electricity and emit less heat, which can help lower your utility bills.
How to Update Bathroom Light Fixture in 6 Easy Steps
Now that you know why it may be beneficial to update your bathroom light fixture, here are some tips on how to do so.
Step 1: Turn off the Power
Before undertaking any kind of electrical work, make sure that all power is turned off and that all wires are disconnected before starting. This will ensure that you don’t get shocked or injured while working. Also, make sure to use insulated gloves when working with electricity.
Step 2: Measure the Current Fixture
Measure the current light fixture so you can ensure that your new light fixture will fit. This will also help you when purchasing a new light fixture and making sure that it is an appropriate size for the area. Also, measure the distance from the ceiling to make sure you have a light fixture that will be at an appropriate height.
Step 3: Purchase New Fixture
Once you have all of your measurements, you can purchase a new light fixture for your bathroom. Make sure to double-check that it fits within the space before purchasing and also check that it has the correct wattage.
Step 4: Install the New Fixture
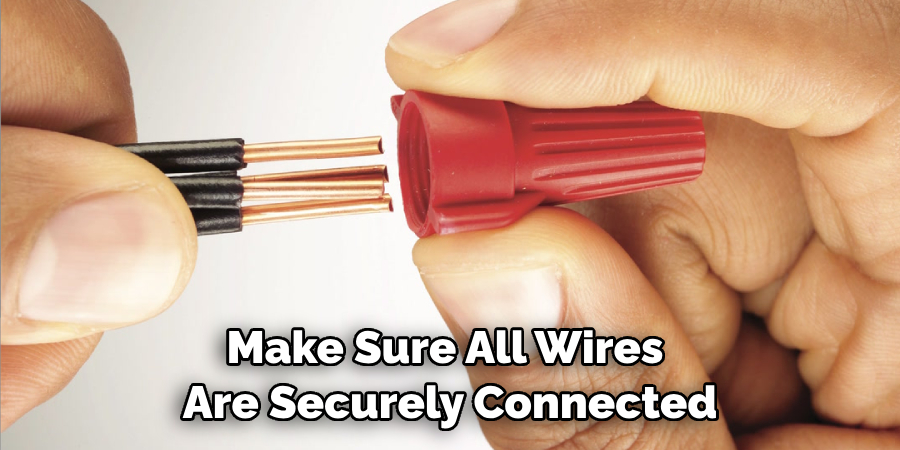
Once you have the new fixture, you can start installing it. Make sure to carefully follow all of the instructions that come with your light fixture for installation. It is important to use care when working with electricity and make sure all wires are securely connected before turning on the power.
Step 5: Test the Light Fixture
Once you have installed your new light fixture, you can turn on the power and test it out. Make sure that all of the connections are secure and that everything is working properly before using it.
Step 6: Enjoy Your New Look
After all of this work, you can finally enjoy your new look. You will be able to appreciate the style and brightness of your new light fixture and also enjoy the satisfaction of knowing that you successfully completed this project.
Following these steps will help you update your bathroom light fixture with ease. By taking the necessary safety precautions, purchasing the right fixture size, and carefully installing it, you can have a beautiful new look for your bathroom in no time.
Some Extra Tips to Update Bathroom Light Fixture
1. Do Not Overload the Fixture
This is especially true of older bathroom light fixtures. Try to limit the wattage of bulbs used in a single fixture to 75-100 watts and never exceed the maximum wattage rating listed on the fixture itself.
2. Remove Old Fixtures Carefully
When replacing an existing bathroom light fixture, remember that it may have been put together with screws or other permanent adhesives. Be sure to take proper precautions when removing it, such as wearing gloves and safety glasses.
3. Install New Fixtures Securely
Make sure to securely fasten the mounting plate or other necessary hardware of the new light fixture to the wall studs before attaching any wiring. This will help ensure that your new light is secure and safe for you and your family.
4. Choose the Right Fixture
When selecting a new light fixture for your bathroom, consider the size and shape of the room as well as any existing fixtures or other design elements. Make sure to choose a fixture that will provide ample illumination but also blend in with the room’s decor.
5. Use Appropriate Bulbs
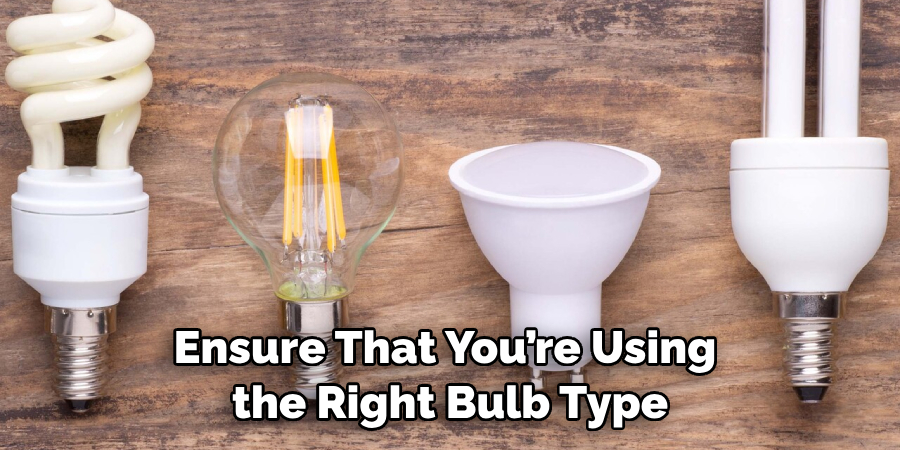
When selecting bulbs for a light fixture, make sure to look for the bulb type indicated on the packaging or in the manufacturer’s instructions. This will help ensure that you’re using the right bulb type and wattage for your particular fixture.
6. Test Wiring Before Finishing
Once all wiring is installed, double-check each connection to make sure it’s secure and that there are no exposed wires. Then, test the fixture for proper operation before installing the cover plate or any decorative features.
Following these simple steps will help ensure that you can update your bathroom light fixture safely and effectively. With a little bit of time and effort, you’ll be able to enjoy your new lighting in no time!

