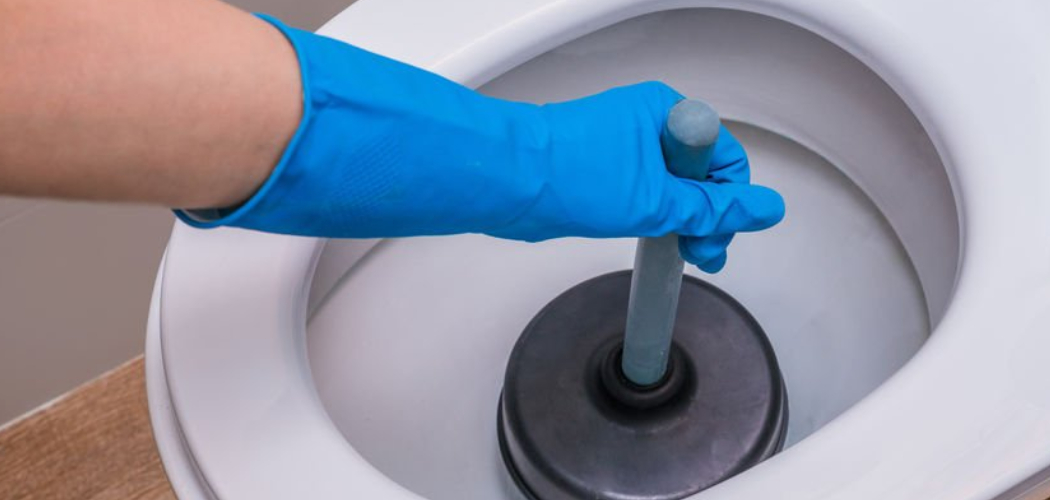
Plungers are indispensable tools in home maintenance, providing a quick and cost-effective solution for clearing clogged drains and toilets. While many people are familiar with the standard cup plunger, fewer may recognize the advantages of the bell-shaped plunger. Unlike its traditional counterpart, the bell-shaped plunger is specifically designed to create a stronger seal, making it significantly more effective at dealing with stubborn toilet clogs.
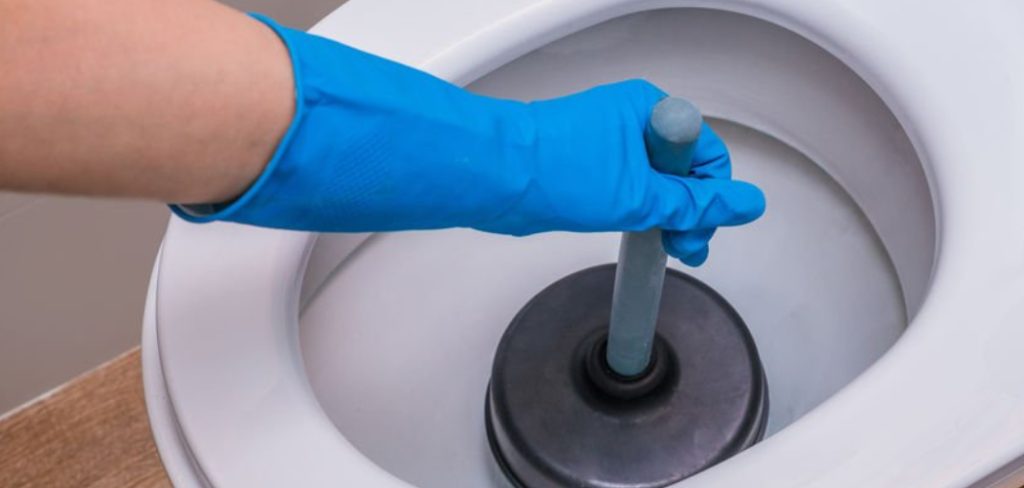
Its unique shape allows for optimal suction and force application, ensuring efficient results with minimal effort. The purpose of this article is to guide you through the step-by-step process of how to use a bell-shaped plunger properly, so you can resolve blockages quickly and confidently without needing professional assistance. By understanding the distinct benefits and techniques of the bell-shaped plunger, you’ll be better equipped to handle common household plumbing issues.
What Is a Bell-Shaped Plunger?
Design and Structure
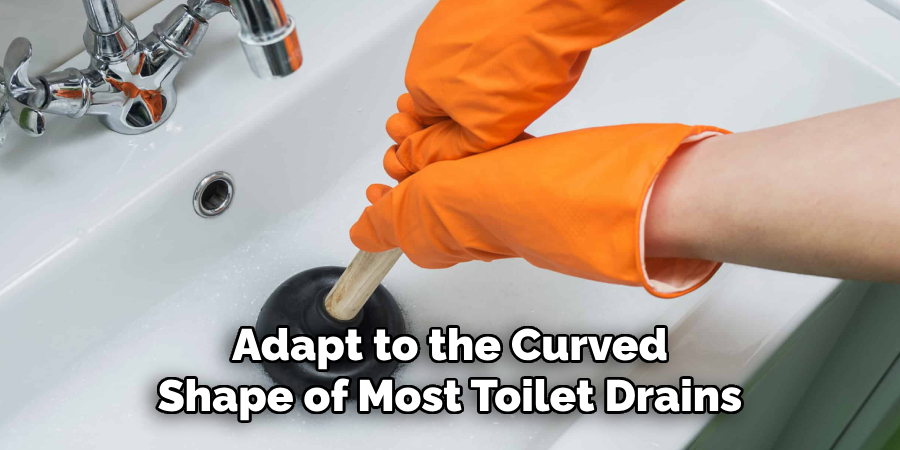
A bell-shaped plunger, or a flange plunger, is specifically designed for tackling toilet clogs. It features a dome-shaped rubber cup with an extended flange protruding from the bottom. This flange is flexible yet sturdy, allowing it to adapt to the curved shape of most toilet drains. The unique design ensures a snug fit within the drain, maximizing suction power and making it more effective for stubborn blockages.
Difference from Standard Plungers
Unlike standard cup plungers with a simple rubber dome with a flat edge, the bell-shaped plunger’s flange plays a key role in creating a stronger, more focused seal. This enhanced seal is particularly beneficial for toilet drains that curve, as it prevents air or water from escaping during plunging, resulting in greater force being applied directly to the clog.
Best Uses for Bell-Shaped Plungers
The bell-shaped plunger is most effective for unclogging toilets due to its ability to conform to their curved pipes. While it can also be used for certain floor drains, it is not ideal for flat surfaces such as sink or bathtub drains. A standard cup plunger is a more suitable and practical option for such flat surfaces.
When to Use a Bell-Shaped Plunger
The bell-shaped plunger is a versatile tool that proves invaluable in resolving many common toilet clogs. It is particularly effective for blockages caused by excessive toilet paper, organic waste, or issues arising from low-flush volume toilets. Its unique design allows for a secure seal on the toilet’s curved pipes, ensuring maximum suction and force to dislodge stubborn clogs effectively.
Common Problems It Solves
Bell-shaped plungers excel at tackling slow or incomplete toilet flushes caused by minor obstructions in the plumbing.
They are also ideal for resolving clogs that result in water rising back into the bowl instead of draining, a problem often attributed to buildup or improper flushing habits. Additionally, this type of plunger can help address gurgling sounds, which typically signal a partial blockage interfering with the flow of water and air in the drain.
Signs You Need a Plunger
If you notice that the toilet is draining more slowly than usual, water is rising dangerously close to the rim, or odd gurgling noises are coming from the pipes, it’s time to reach for your bell-shaped plunger. These signs often indicate a clog that requires immediate attention to prevent overflow or further complications.
Precautions Before Use
Before using a bell-shaped plunger, make sure to turn off the toilet’s water supply to avoid the risk of overflowing. It’s also essential to wear gloves and use disinfectant to maintain hygiene and prevent the spread of bacteria. Taking these precautions ensures that plunging remains an effective and sanitary process.
Preparing to Use the Plunger
When preparing to use a bell-shaped plunger, ensuring you have all the necessary supplies and take the right steps to achieve effective results is important. Proper preparation can save time and make the process more efficient.
Gather Supplies
Begin by collecting all the essential items you’ll need for the task. Wear sturdy rubber gloves to protect your hands and maintain hygiene.
Keep a few towels nearby to handle any accidental spills, as water displacement is common when plunging. A bucket may also come in handy if you need to add or remove water from the toilet bowl. Lastly, have cleaning products within reach so you can sanitize the area once the job is done.
Positioning the Plunger
To ensure the plunger works effectively, prepare it by pulling the flange out fully, allowing it to create a snug fit in the drain hole. Carefully insert the plunger into the toilet bowl, ensuring the flange is positioned directly over the drain opening. Proper placement is critical for maximizing suction and pressure during the plunging process.
Creating a Good Seal
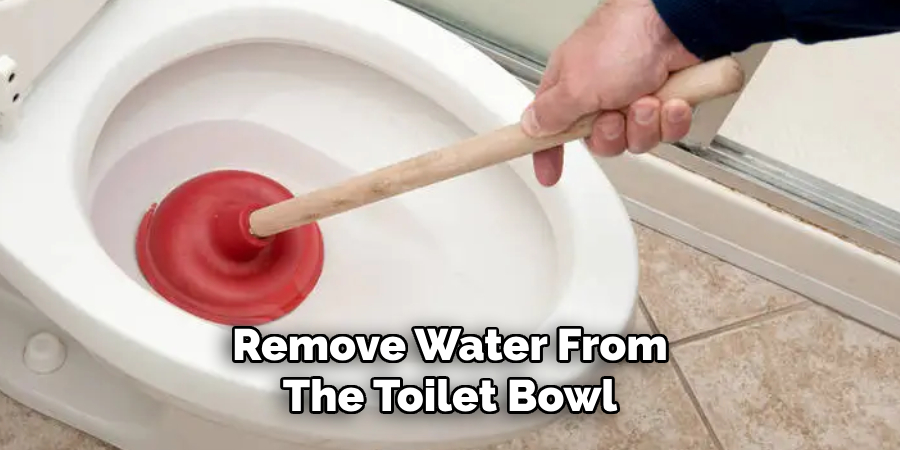
Achieving a tight seal is essential for efficient plunging. Ensure the plunger’s head fully covers the drain hole without any gaps. The plunger head should also be submerged in water to create the necessary vacuum for unclogging. If the water level in the bowl is too low, add enough water to ensure the plunger head is covered before you start. A good seal ensures the force you apply is directed where it’s needed most.
How to Use a Bell-Shaped Plunger: Proper Plunging Technique
Effectively using a plunger requires the correct technique to ensure fast and efficient results. Follow these step-by-step instructions to tackle stubborn clogs and clear your drain.
Step-by-Step Instructions
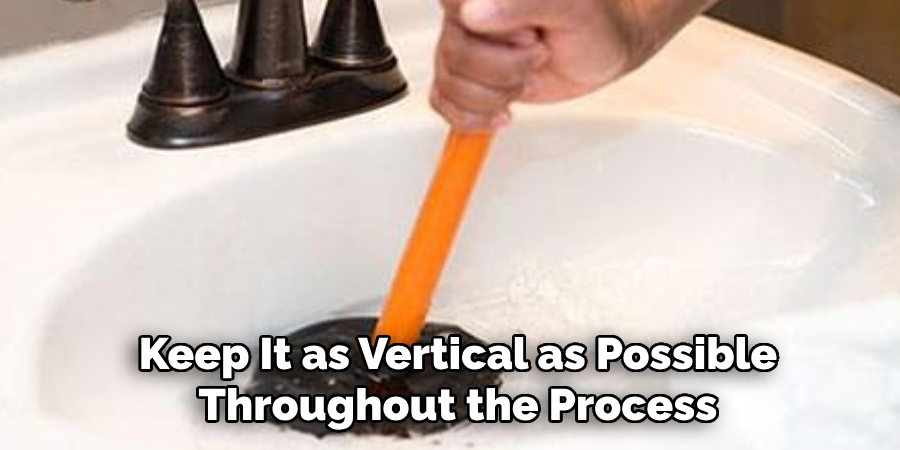
- Hold the Handle Vertically for Maximum Pressure
Ensure that you grip the plunger’s handle firmly and keep it as vertical as possible throughout the process. This helps apply straight, direct pressure to the drain for optimal results.
- Begin with Gentle Thrusts to Expel Trapped Air
Before plunging with full force, start with a few gentle pushes. This technique expels trapped air from the plunger head and allows a better seal to form against the drain.
- Follow Up with Firm, Consistent Plunges
Use firm and consistent pressure to plunge once the air is expelled and the seal is secure. Aim for 10 to 20 plunges in a sequence to create a powerful vacuum that can dislodge the clog.
Maintaining Seal and Water Level
Keeping the plunger submerged in water is crucial for creating effective pressure and suction. If the water level is too low, add enough water to cover the plunger head before you begin. While plunging, avoid lifting the plunger completely out of the water between thrusts, as this will break the seal and reduce the effectiveness of your efforts.
Check for Drainage
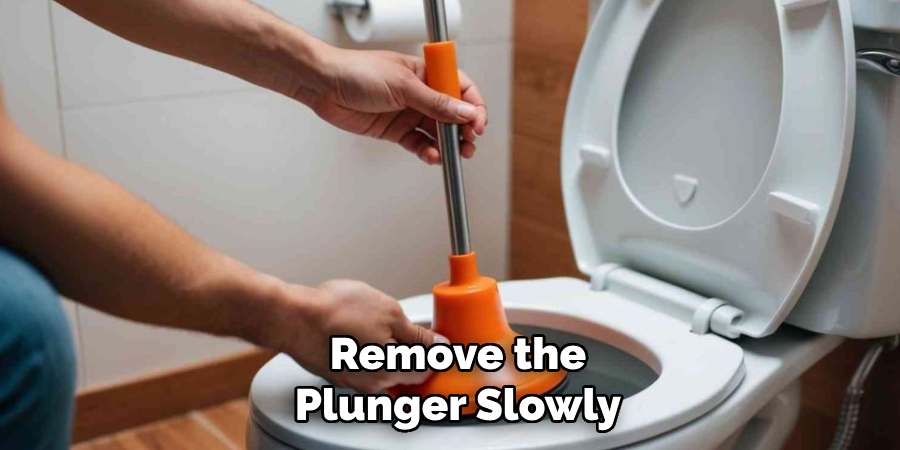
After completing the plunging sequence, remove the plunger slowly and listen for a “whoosh” sound, which indicates that the clog has been dislodged. To confirm, flush the drain or toilet to see if water flows freely and drains normally.
Repeat If Necessary
Some clogs, particularly stubborn ones, may require multiple rounds of plunging. If the drain remains clogged after your first attempt, repeat the process until the blockage clears. Patience and persistence are key when working with difficult clogs.
Post-Plunging Cleanup
After successfully clearing a clog, thorough cleaning and sanitization are crucial to ensure hygiene and prevent the spread of germs.
Sanitizing the Plunger
Begin by rinsing the plunger in clean toilet water to remove any residual debris. After rinsing, spray the plunger thoroughly with a disinfectant to kill bacteria and germs that may have accumulated during use. If the plunger is heavily soiled, consider soaking it in a bleach solution for 10 to 15 minutes for deep cleaning. This step helps to maintain the plunger’s condition while ensuring it is safe for future use.
Cleaning the Area
Once the plunger is sanitized, focus on cleaning the area around the toilet. Wipe down the toilet seat, rim, and any surrounding surfaces that may have come into contact with splashed water or the plunger. Use a disinfectant spray and disposable towels or rags to clean the area to avoid cross-contamination. If any cleaning tools like towels or sponges were used, dispose of or launder them properly.
Storage Tips
Before storing the plunger, make sure it dries completely to prevent mold or mildew growth. Place the plunger in a dedicated bucket or holder, keeping it separate from other household tools to maintain hygiene and prevent contamination.
Troubleshooting Common Issues
No Suction or Seal
If the plunger is not creating suction, check whether the flange is positioned correctly and fully extended. Ensure it is not folded inside the plunger’s bell, as this can prevent a proper seal. Additionally, inspect the plunger’s rim for any cracks or damage that could compromise its effectiveness.
Toilet Still Clogged After Plunging
If the toilet remains clogged even after several attempts, ensure enough water is in the bowl to submerge the plunger fully. This enhances the pressure needed to clear the clog. If plunging still doesn’t work, consider using a toilet auger for stubborn blockages beyond the reach of the plunger.
Water Overflow Risk
To avoid accidental water overflow during vigorous plunging, always shut off the water supply to the toilet before starting. This precaution ensures you have enough time to address the clog without worrying about flooding.
Tips for Long-Term Toilet Care
Preventative Habits
To prevent toilet clogs, avoid flushing excessive amounts of toilet paper, hygiene products, or wipes—even those labeled as “flushable.” These items can accumulate and cause blockages over time. Also, educate everyone in your household about proper flushing habits to minimize future issues.
Regular Maintenance
Using enzyme-based drain cleaners periodically can help break down organic matter in your toilet pipes, keeping them clear and functional. These solutions are environmentally friendly and safe for most plumbing systems, making them a great tool for long-term maintenance.
Know When to Call a Professional
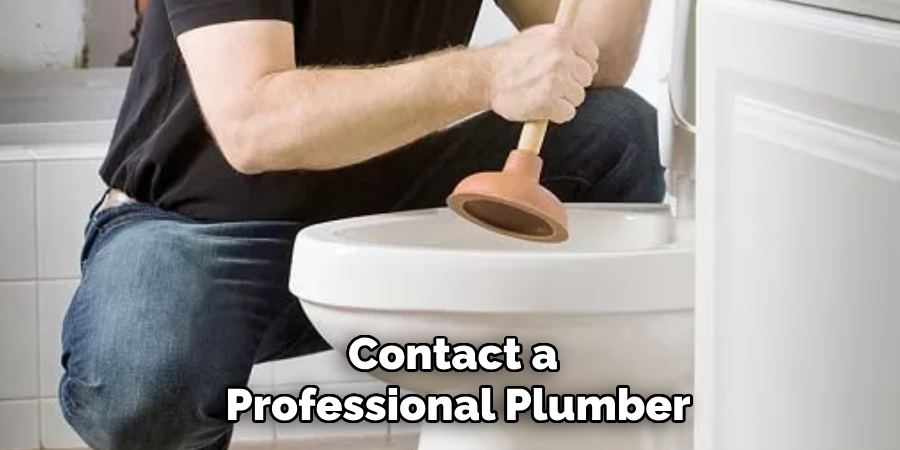
If plunging and augers fail to resolve a toilet clog or multiple drains in your home are experiencing blockages, it may be time to contact a professional plumber. Severe issues, such as deep pipe obstructions or damaged sewer lines, require expert assessment and tools to avoid further complications.
Conclusion
The bell-shaped plunger stands out as a highly effective tool for addressing toilet clogs, thanks to its stronger seal and superior functionality compared to standard plungers. For optimal results, it’s crucial to understand how to use a bell-shaped plunger correctly, ensuring proper technique and safety.
With the right approach, this household essential can save you valuable time, money, and the hassle of calling a plumber. By mastering its use, you can handle common clogs efficiently and maintain a smoothly functioning plumbing system in your home.

