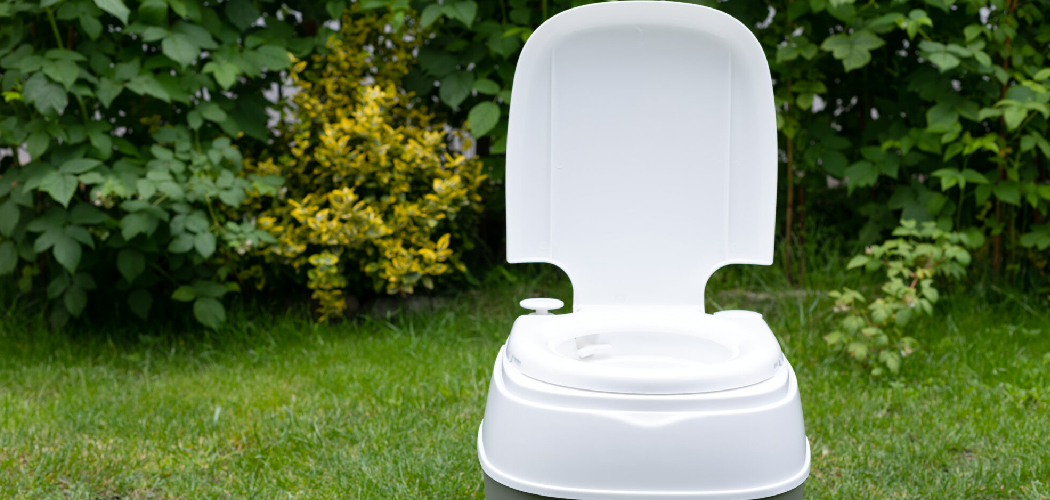
Camper toilets are essential for anyone embarking on an RV or camping adventure. They provide a convenient and hygienic way to handle waste while traveling, ensuring comfort and sanitation even in remote locations. There are several types of camper toilets available, including cassette toilets, composting toilets, portable toilets, and flush toilets, each catering to different needs and preferences.
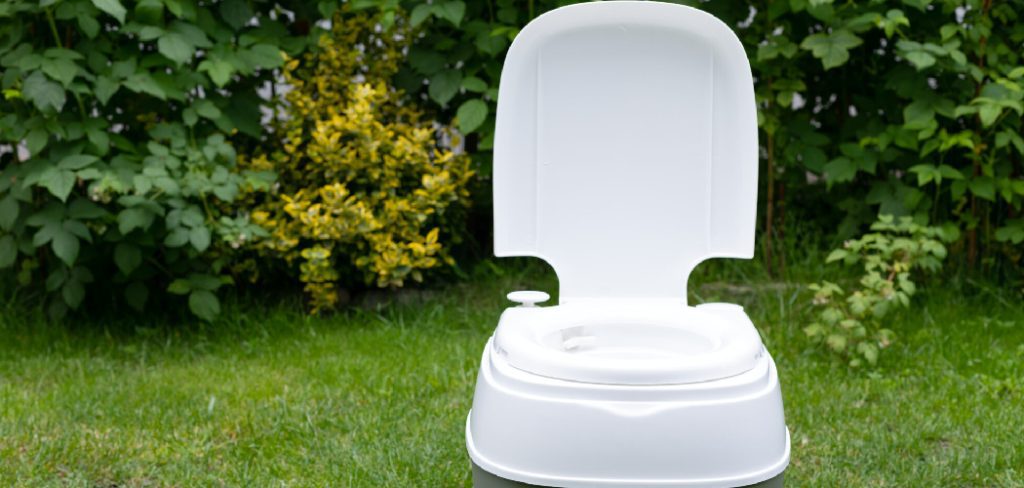
Understanding how to use a camper toilet is crucial for optimizing your experience and avoiding complications during your trip. This article aims to serve as a comprehensive guide, offering easy-to-follow instructions for using, maintaining, and cleaning a camper toilet effectively and hygienically. Whether you’re a seasoned camper or a first-time traveler, this knowledge will help you stay comfortable and ensure safe, responsible waste disposal throughout your journey.
Types of Camper Toilets Explained
Choosing the right camper toilet depends on your camping style, space availability, and environmental preferences. Below, we explore the main types of camper toilets, with their respective pros and cons:
Cassette Toilets
These are built-in systems with a removable waste tank, making them popular in RVs. Cassette toilets are convenient as they integrate seamlessly into your camper design, but the tank must be emptied regularly. Their compact design is ideal for maximizing space, though odors can become an issue if not properly maintained.
Portable Toilets (Porta Potties)
These standalone units are perfect for smaller campers or tent camping. Lightweight and easy to transport, they are practical for short trips. However, these toilets often have smaller waste tanks, requiring frequent emptying, and may not be as comfortable or odor-resistant as other options.
Composting Toilets
Eco-conscious travelers often prefer these toilets, as they separate liquids from solids and require no chemicals. They are low-maintenance and environmentally friendly but may have a learning curve, and finding the right conditions for composting might require extra planning.
Flush Toilets
Similar to standard household toilets, these require a freshwater source and a black water tank for waste storage. They provide maximum comfort and familiarity but demand careful water management and routine tank emptying.
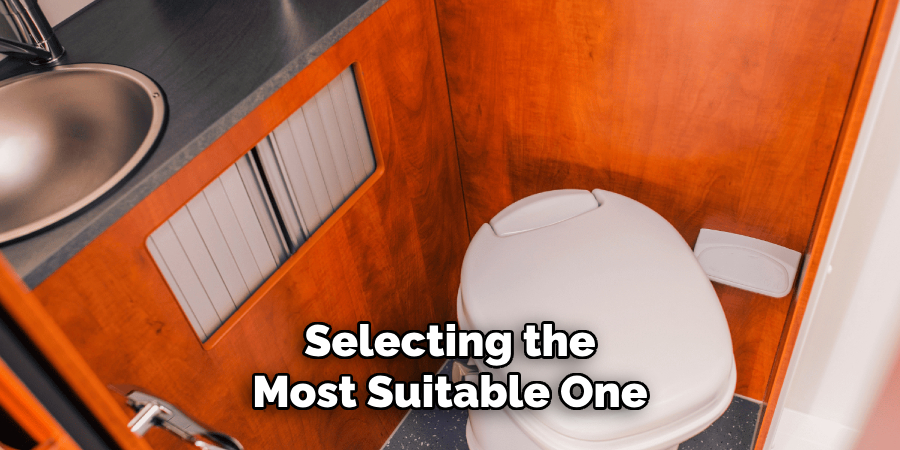
Each type comes with distinct benefits and challenges, and selecting the most suitable one will depend on your specific needs, preferences, and trip duration.
Supplies Needed to Use a Camper Toilet
Using a camper toilet efficiently requires a set of essential supplies that cater to convenience and hygiene. One of the most important items is RV-safe toilet paper, which is specially designed to break down quickly and prevent clogs in the system. For maintaining cleanliness and managing waste, you’ll need waste treatment chemicals or composting material, depending on the type of toilet you are using. These help in breaking down waste and controlling odors effectively.
When handling waste, it’s crucial to use disposable gloves for sanitary purposes. A reliable water supply is also essential for flush toilet models to ensure smooth operation. Additionally, a dump hose for connecting to designated disposal stations, or disposal bags for waste removal, will streamline the process.
For added comfort, you may consider using optional items like an air freshener or toilet deodorizer to keep the space smelling fresh. Having these supplies on hand ensures proper functioning of your camper toilet and helps maintain an odor-free and hygienic environment during your travels. Preparing in advance makes managing a camper toilet straightforward and hassle-free.
How to Use a Camper Toilet: Properly Use a Camper Toilet
Step 1: Prepare the Toilet
Before using the camper toilet, ensure it is properly prepared. Depending on the type of toilet you have, start by adding the necessary treatment chemicals or composting material. These materials are essential for breaking down waste, controlling odors, and maintaining proper operation. If your camper toilet uses a water flush system, check that the freshwater tank is filled adequately to allow for efficient flushing.
Step 2: Using the Toilet
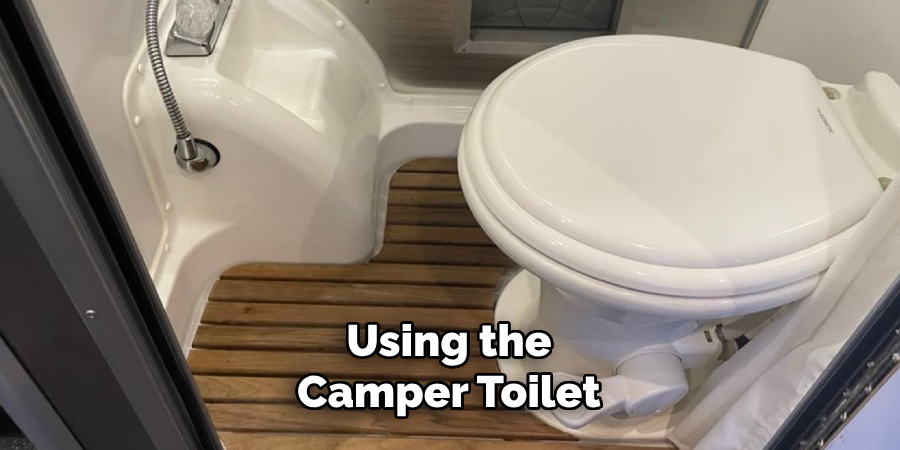
When it’s time to use the toilet, follow the appropriate steps for your model. For pedal-flush toilets, press the pedal gently to flush, while for manual pump models, operate the pump according to the instructions. Always use RV-safe toilet paper, as regular toilet paper can cause clogs and damage the septic tank. After use, ensure the bowl is clean and residue-free before closing the lid.
Step 3: Conserve Water (for Flush Toilets)
Conserving water is especially important when using a flush toilet, as excessive water usage can cause the black tank to fill up quickly. Only use the minimum amount of water necessary for an effective flush. Doing so will extend the time between tank cleanings and reduce the hassle of frequent waste disposal. Adopting mindful habits ensures smoother operation and greater efficiency during your travel adventures.
Emptying the Camper Toilet Waste
Properly emptying camper toilet waste is vital to maintaining a clean and functional system during your travels. Below are the steps for managing waste disposal for different types of camper toilets:
Cassette and Portable Toilets
Start by detaching the waste tank from the toilet base. Carefully carry the tank to an approved dump station to avoid spills or accidents. Once there, empty the contents into the designated receptacle. After disposal, thoroughly rinse the tank with clean water to remove any remaining residue. Once clean, add the recommended toilet chemicals to the tank to break down waste and manage odors. Finally, reattach the tank securely to the toilet base to ensure proper functionality.
Flush Toilets (Black Tank Systems)
When emptying a black tank system, first attach the dump hose to the black tank’s outlet. Position the other end of the hose securely into the dump station inlet. Open the valve on the black tank to allow waste to drain fully. Once emptied, use a flush hose to rinse the inside of the tank, ensuring it is as clean as possible. Close the valve after rinsing, then disconnect the hose and carefully store it to prevent contamination. Regular cleaning and proper disposal help maintain the system and prevent unpleasant odors.
Composting Toilets
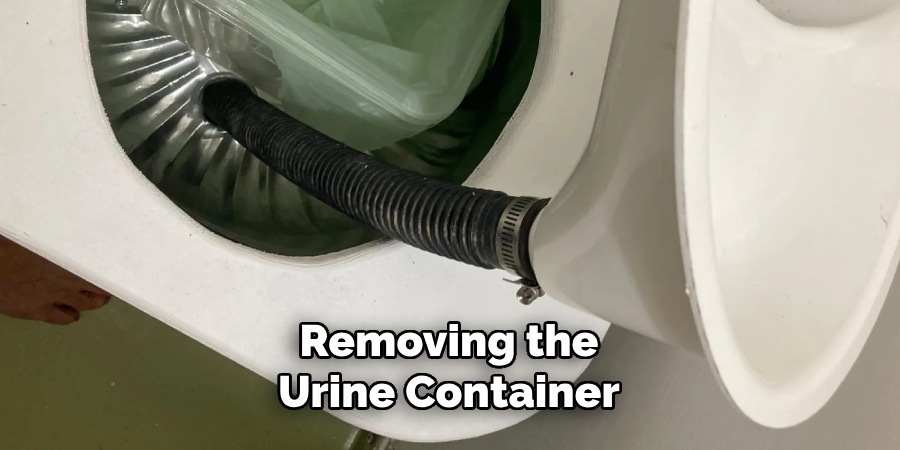
For composting toilets, waste is separated into two compartments. Begin by removing the urine container and emptying it into an approved waste or compost bin. Next, access the solids bin and empty its contents into an appropriate compost or waste disposal site. Rinse or clean the containers as directed in the manufacturer’s guidelines, then reassemble the system to continue usage. This eco-friendly option requires proper management to ensure hygiene and efficiency.
Cleaning and Maintaining the Toilet
Proper cleaning and maintenance are essential to ensure the longevity and hygiene of your RV toilet system. Always use RV-friendly toilet cleaners, as harsh chemicals can damage seals and plumbing components. Regularly clean the bowl and seat to prevent stains and odors, paying special attention to hard-to-reach areas. When emptying the waste tanks, make it a habit to rinse them thoroughly to remove any residual waste and reduce the risk of buildup.
Inspect seals, valves, and other parts of the toilet system frequently for signs of wear or leaks, and replace them as necessary to avoid potential malfunctions. Ensure vent fans and filters are cleaned routinely for composting toilets to maintain airflow and efficient odor control. Consistent maintenance enhances your toilet system’s performance and contributes to a cleaner and healthier RV environment during your travels.
Camper Toilet Tips for Odor Control and Efficiency
Proper care and thoughtful habits can go a long way in managing odor and ensuring the efficiency of your RV toilet system. Keep a small fan or vent open during and after use to maintain good airflow and reduce odor buildup. This simple step ensures that unpleasant smells are minimized within the confined space of your camper.
Using enzyme-based chemicals can further optimize waste breakdown and control odors effectively. These eco-friendly products not only treat waste but also help maintain the cleanliness of your tank. Make sure to flush only waste and RV-safe toilet paper to prevent blockages and damage to your system. Non-biodegradable items can disrupt the tank’s function and exacerbate odors.
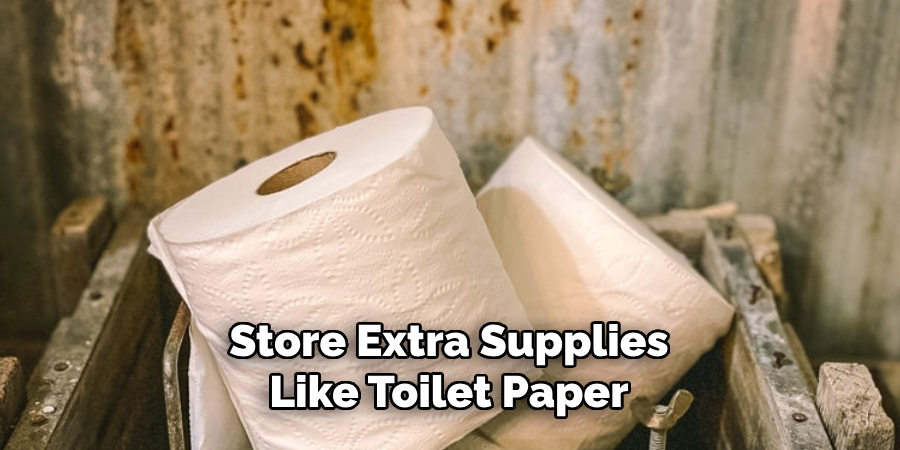
Store extra supplies like toilet paper, chemicals, and cleaning tools in a sealed container for improved organization and hygiene. Keeping these items separate and accessible helps maintain a clean living area. Lastly, always empty your waste tank before it becomes too full. A full tank increases the risk of overflow or leaks, creating unwanted messes and odors. By adopting these practices, you can enhance both odor control and the overall performance of your camper’s toilet system during your trips.
Conclusion
Understanding “how to use a camper toilet” is essential for making the most of your camping or RV trips. By familiarizing yourself with your toilet model, preparing it correctly, safely emptying waste, and maintaining cleanliness, you can ensure a comfortable and hygienic experience while effectively controlling odors. Proper usage improves your convenience and protects the environment by encouraging responsible waste disposal practices. Always adhere to local disposal rules and safety guidelines to keep your trips enjoyable and stress-free. With these tips, your camper’s toilet system will remain a reliable part of your adventures.

