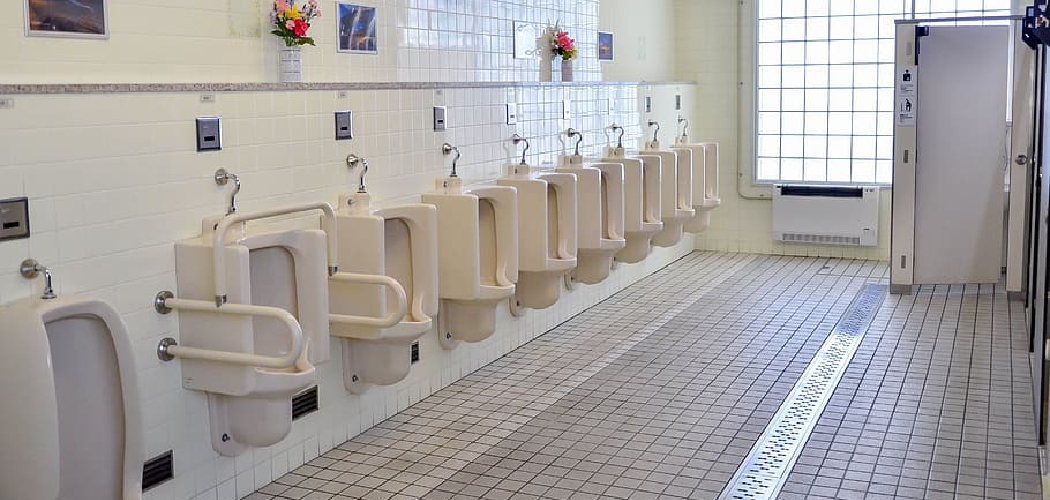
Have you ever been to Japan, or perhaps dreamed of visiting? If so, then you must have heard about the country’s infamous “Japanese toilet.” For those who are unfamiliar with Japanese culture and traditions, venturing into a restroom with this type of toilet can be quite daunting – but don’t fear!
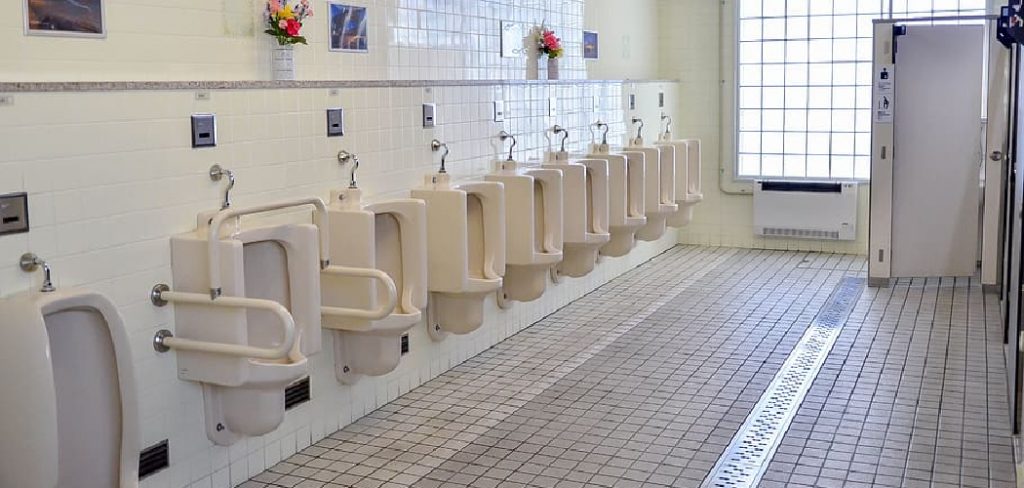
With a few simple steps on how to use a japanese toilet and some understanding of how a Japanese toilet works, you can quickly get over your anxiety and make use of one like an expert. So join us as we explore the ins and outs (pun intended) of using the iconic Japanese bidet!
11 Step-by-step Guidelines on How to Use a Japanese Toilet
Step 1: Enter the Restroom and Check Out the Toilet
Make sure you know which one is the Japanese toilet. This type of toilet looks similar to a Western-style one, but with some added features that differentiate it from other toilets. There will likely be a control panel somewhere close to the toilet, which you’ll need to use in order to work it.
But don’t worry, they usually have English instructions on how to use it. If not, ask a nearby Japanese person for help. Either way, make sure to take a look around before you start using the toilet.
Step 2: Adjust the Seat Temperature (Optional)
One of the defining features of a Japanese toilet is its ability to adjust the seat temperature according to your preference. On the control panel, find the button labeled “Temperature” and press it. You can choose between cold, warm, and hot temperatures.
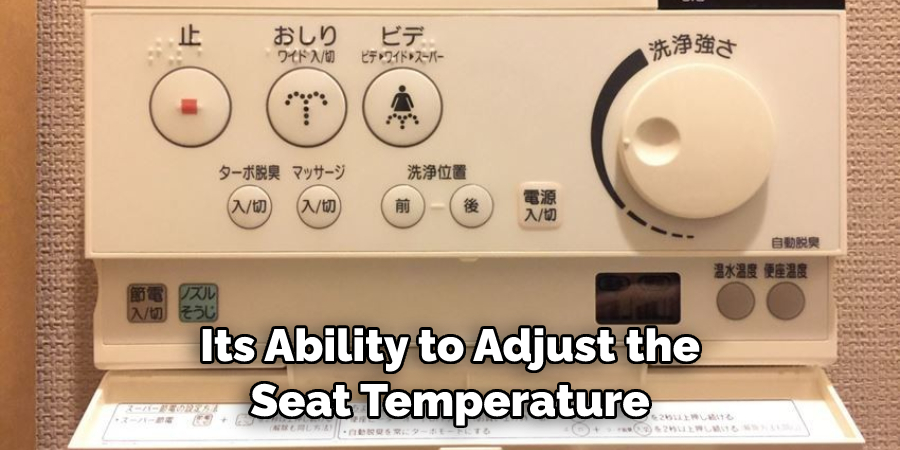
But keep in mind that the hot option can get quite hot, so it’s best to start with a lower setting and work your way up until you find one that is comfortable. It’s also a good idea to avoid the hot setting if you have any health issues related to heat. This feature is completely optional – if you’d rather not adjust the seat temperature, you can easily skip this step.
Step 3: Adjust the Water Pressure (Optional)
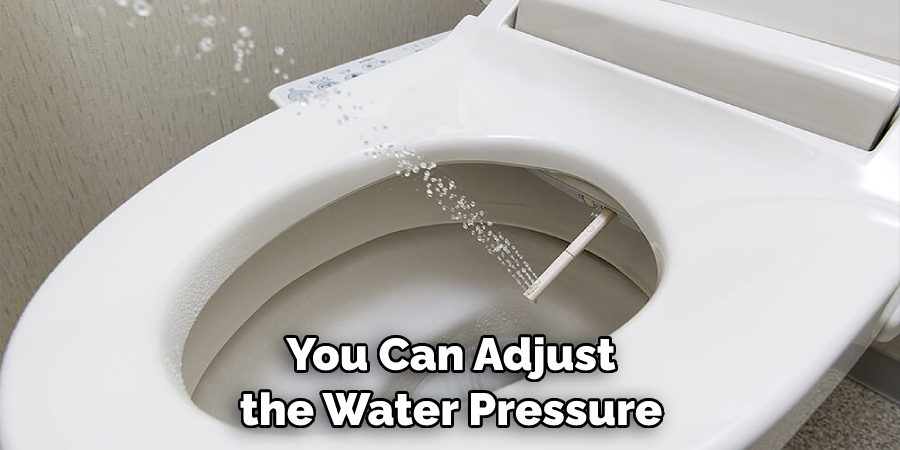
You may also adjust the water pressure. On the control panel, find the button labeled “Water Pressure” and press it to select either a low-pressure or high-pressure setting depending on your preference. It is important to adjust the pressure correctly as too low of a pressure won’t clean you properly, and too high of a pressure can be uncomfortable.
It is best to start with the low-pressure setting and work your way up until you find a pressure that works for you. This feature is also completely optional – if you’d rather not adjust the water pressure, skip this step. It is important to note that adjusting the water pressure will affect the amount of time you should spend using the toilet. Higher water pressures require less time, while lower ones require more.
Step 4: Turn on the Toilet (Optional)
Some Japanese toilets have an additional button or switch that needs to be turned on in order for it to work. Look for a button or switch labeled “Power” and press it to turn on the toilet. This feature is also completely optional, so if you don’t see this button or switch, skip this step. It is important to note that if you fail to turn on the toilet, you won’t be able to use the other features.
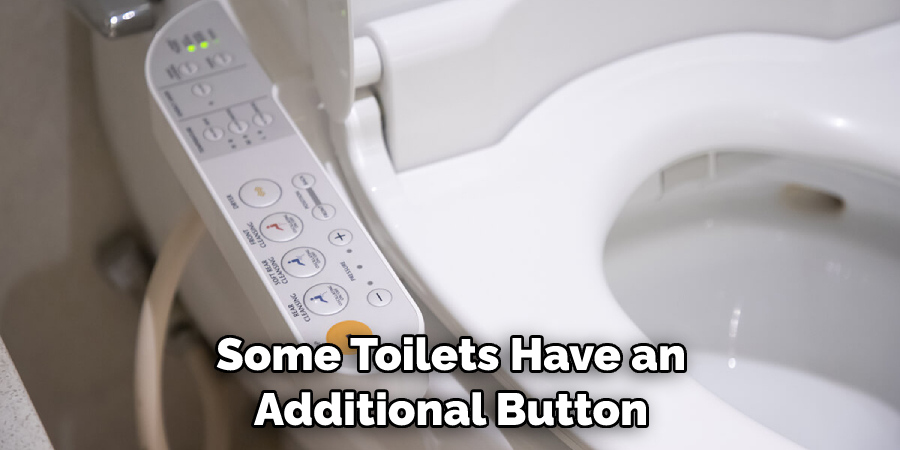
But don’t worry, the toilet will still flush normally without turning it on. This feature is there mainly as a convenience. It is important to note that if you do turn on the toilet, it will only remain on for a certain amount of time (usually around 10 minutes). After this period, the toilet will automatically turn off.
Step 4: Clean the Toilet Seat (Optional)
Another great feature of a Japanese toilet is that it can clean itself! On the control panel, find the button labeled “Clean” and press it. This will release a light mist onto the toilet seat, which can help sanitize it for your use. It is important to note that this feature is completely optional and can be skipped if you prefer not to use it.
It is also worth noting that the cleaning time may vary depending on the type of toilet you are using – some toilets require a few minutes for the cleaning process, while others will clean almost instantly.
However, you should always be aware of how long the cleaning process is taking in order to make sure that the seat is properly sanitized. It is also important to note that if you do choose to use this feature, you should always thoroughly dry the seat after it has finished cleaning.
Step 5: Do Your Business and Flush the Toilet
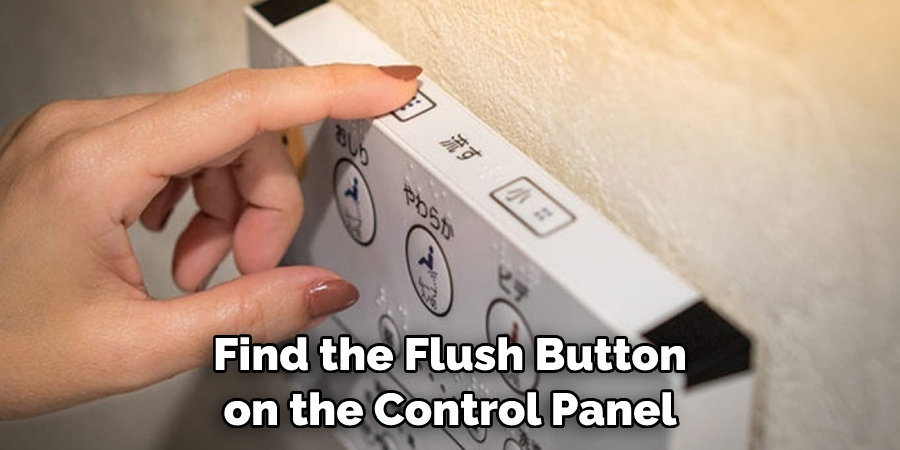
Once you’re done using the toilet, find the flush button on the control panel. Press it to flush away your waste. But make sure you flush before you leave the restroom as it is considered good etiquette. This will also ensure that the next person finds a clean and sanitary toilet. This step is the same as using a Western-style toilet, so no need to worry about any differences here.
Step 6: Clean Yourself (Optional)
One of the main reasons why Japanese toilets are so popular is their ability to clean the user after using the restroom. On the control panel, find the button labeled “Wash” and press it. This will activate a bidet that can be used to thoroughly clean yourself with water.
It is important to note that this feature is completely optional and can be skipped if you prefer not to use it. If you do decide to use it, make sure the bidet is adjusted correctly for your height before pressing the button. Also, some bidets may require a few seconds of warm-up time before they are ready to be used.
Step 7: Adjust Toilet Settings (Optional)
If you want to adjust any of the settings on your Japanese toilet once again, you can do so by pressing the corresponding buttons on the control panel. This includes the seat temperature, water pressure, and other settings. Remember to always adjust the toilet settings correctly for your comfort and safety. Once you’re done adjusting the settings, it is time to leave the restroom. But don’t forget to flush before you go!
Step 8: Activate Air Dryer (Optional)
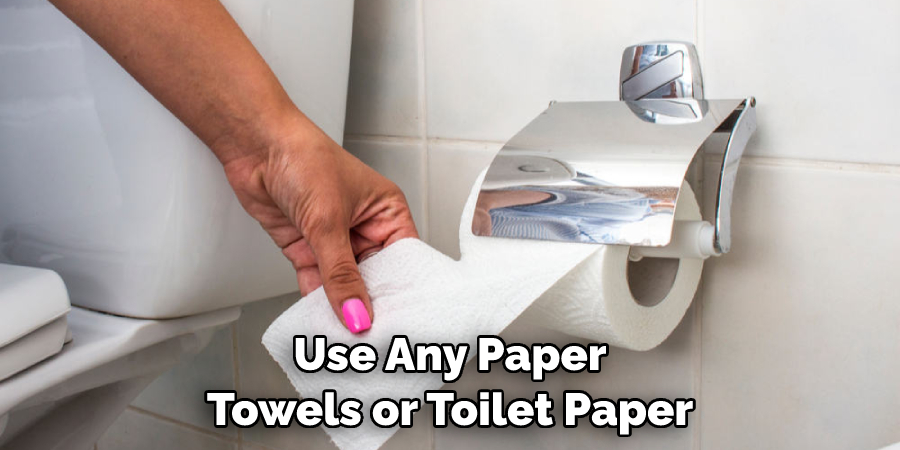
Once you’re done with your business and have cleaned yourself, press the button on the control panel labeled “Air Dryer.” This will activate a gentle gust of air which can help you dry off. This is a completely optional feature, so if you don’t want to use it, just skip this step. However, it can be a convenient way to dry off without having to use any paper towels or toilet paper.
Step 9: Activate Deodorizer (Optional)
If you want to deodorize the restroom, press the button on the control panel labeled “Deodorizer”. This will activate a pleasant scent to help keep the bathroom smelling fresh. It is important to note that this feature is completely optional and can be skipped if you prefer not to use it.
It is also worth noting that the deodorizer setting can be adjusted according to your preference – some toilets have low, medium, and high settings. This way, you can choose the right level of scent for your needs.
Step 10: Check and Lock the Toilet Lid (Optional)
You may want to check the toilet lid and lock it if necessary. Some Japanese toilets have an automatic locking system for added security, so make sure you’re familiar with how your particular model works before leaving the restroom. You may also want to check the lid for any debris that may have been left behind by other users. This is a completely optional step, so if you don’t feel it’s necessary, just skip it.
Step 11: Exit the Restroom and Enjoy!
Once you’ve completed all of these steps, you’re all set! Exit the restroom and enjoy your newfound knowledge of how to use a Japanese toilet. Always remember to flush and wash your hands before leaving the restroom. Wishing you a pleasant experience with Japanese toilets!
Using a Japanese toilet is not as intimidating as it may seem – with a little practice and understanding of the technology behind these toilets, anyone can become an expert in no time! So next time you visit Japan or find yourself near one of these toilets, don’t hesitate to give it a try. You might just find yourself enjoying the modern convenience of using a Japanese toilet!
Frequently Asked Questions
Q: Do I Need To Use Toilet Paper With a Japanese Toilet?
A: No, you don’t need to use toilet paper when using a Japanese toilet. Many of them have an integrated bidet that can be used for cleaning after using the restroom.
Q: Can I Adjust the Water Temperature of a Japanese Toilet?
A: Yes, you can adjust the temperature of the water used in a Japanese toilet. This is done by pressing the “Temperature” button on the control panel and selecting your desired setting.
Q: What If My Japanese Toilet Doesn’t Have a Flush Button?
A: Many Japanese toilets are equipped with an automatic flushing system, so you don’t need to press any buttons in order to flush the toilet. However, if yours doesn’t have this feature, then you may need to press the “flush” button on the control panel to initiate the flushing cycle.
Q: Can I Adjust the Water Pressure of a Japanese Toilet?
A: Yes, you can adjust the water pressure of a Japanese toilet. This is done by pressing the “Water Pressure” button on the control panel and selecting your desired setting. Low pressure is best for cleaning yourself, while high pressure can be used to clean the toilet bowl.
Conclusion
As you can see, using a Japanese toilet can be a bit of an adjustment. However, once you get the hang of it, you will undoubtedly enjoy this modern technology – and all the features that are included! Plus, you don’t need to worry about a language barrier – all the instructions are simple and easy to understand.
With the right preparation and knowledge on how to use a japanese toilet, using a Japanese toilet can turn from something strange and even intimidating into something fun and even relaxing. Embrace this cultural experience as a unique opportunity to explore Japan in a different way!

