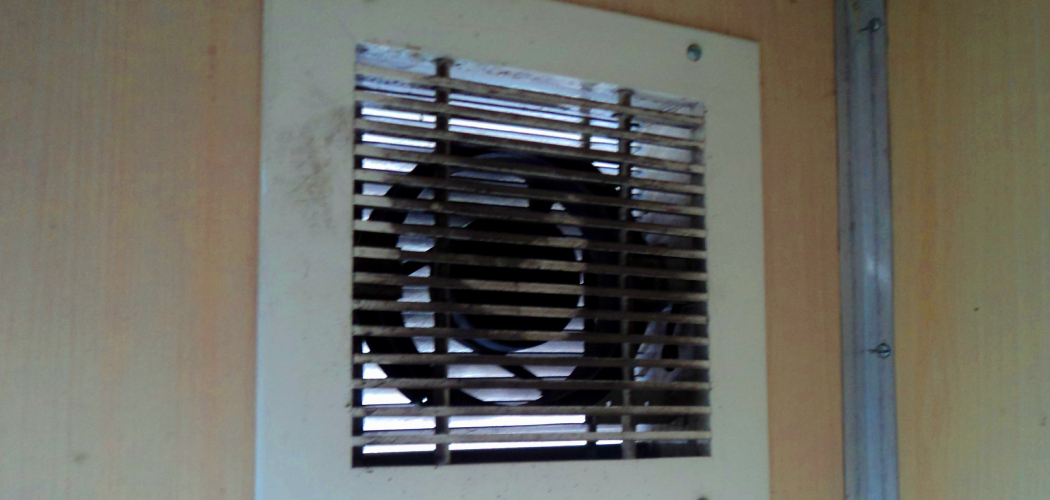
Proper ventilation is essential for maintaining air quality and preventing moisture buildup in a bathroom, especially when it’s located in a garage. Without adequate airflow, the space can quickly become a breeding ground for mold, mildew, and unpleasant odors. This not only impacts the functionality of the bathroom but can also lead to structural damage over time. By implementing the right ventilation solutions, you can ensure a comfortable and healthy environment in your garage bathroom.
In this blog post on How to ventilate a bathroom in a garage, we will discuss some effective ways to improve ventilation in your garage bathroom.
Why is Ventilation Important in a Garage Bathroom?
Ventilation is crucial in a garage bathroom because it prevents the buildup of excess moisture and humidity, which can lead to a host of problems. Without proper ventilation, water vapor from activities like showering can settle on walls, ceilings, and floors, creating the perfect environment for mold and mildew growth. Additionally, poor airflow can trap unpleasant odors, making the bathroom less inviting and more difficult to maintain.
Over time, the trapped moisture can damage building materials, leading to peeling paint, warped surfaces, and even structural issues. Beyond preserving the integrity of the space, good ventilation also ensures a healthier environment, reducing the risk of allergens and respiratory irritants caused by poor air quality.
Needed Materials
Ventilation Fan:
A ventilation fan is a crucial component of any bathroom, especially in a garage where proper airflow may be lacking. When selecting a ventilation fan, make sure to choose one with adequate power and size for your space. You can consult with a professional or use online calculators to determine the appropriate size for your bathroom.
Ducting:
Ducting is used to carry the air from the ventilation fan to the outside of your garage. It’s essential to choose high-quality ducting material that won’t easily bend or break, as this can lead to reduced airflow and potential leaks.
Roof Vent:
A roof vent is typically used to exhaust air from the ducting system into the outdoors. Make sure to select a roof vent that is compatible with your ducting material and can withstand harsh outdoor conditions.
Grille Cover:
A grille cover is placed over the ventilation fan to prevent any debris or animals from entering the system. It’s essential to regularly clean and maintain the grille cover to ensure proper airflow.
9 Steps on How to Ventilate a Bathroom in a Garage
Step 1: Determine the Location
The first step in ventilating a bathroom in a garage is to determine the optimal location for your ventilation fan and ducting. Choose a spot on the ceiling or wall that is central to the bathroom and close to the most moisture-prone areas, such as above the shower or near the toilet. This ensures maximum efficiency in removing humidity and odors from the room. Additionally, consider the path for the ducting to the exterior.
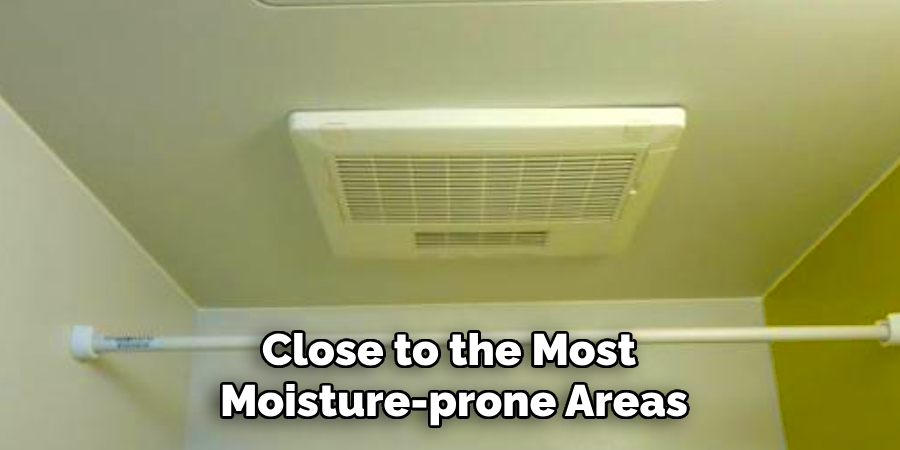
The shorter and straighter the duct path, the better, as this reduces airflow resistance and improves the fan’s performance. Ensure the location avoids structural components like joists, electrical wiring, or plumbing that could obstruct the installation. Mark this spot clearly before proceeding to the next step.
Step 2: Cut a Hole for the Fan
Once you have determined the location for your ventilation fan, the next step is to cut a hole in the ceiling or wall to accommodate it. Begin by using the fan’s template (usually provided by the manufacturer) to outline the exact size and shape of the hole. Ensure the template is level and positioned correctly before marking the edges with a pencil.
Using a drywall saw or a similar cutting tool, carefully cut along the marked lines. Be cautious not to damage any nearby wires, pipes, or structural elements behind the surface. Once the hole is cut, clear away any debris and test fit the ventilation fan to ensure it fits snugly. If necessary, make minor adjustments to the size of the hole to achieve a proper fit before proceeding to the next step.
Step 3: Install the Ducting
With the hole for the fan in place, it’s time to install the ducting. Begin by attaching one end of the duct to the exhaust port on your ventilation fan using metal foil tape or other appropriate sealant. Ensure a tight fit between the two and secure any joints with additional tape if necessary.
Next, feed the other end of the duct through the hole and extend it outside of your garage through a roof vent or exterior wall. Use metal brackets or straps to secure and support the duct along its length, especially where it exits the garage. Make sure there are no sharp bends or kinks in the ducting, as this can reduce airflow significantly. Once the ducting is in place, seal any openings or joints with appropriate sealant to prevent air leaks.
Step 4: Install the Roof Vent
If you are using a roof vent to exhaust air from your bathroom, now is the time to install it. Begin by measuring and marking a location on your roof that lines up with the end of your ducting. Use a roofing saw or similar tool to cut through the shingles and create an opening for the roof vent.
Next, attach the vent’s base plate to the roof using roofing nails or screws, making sure it is secure and watertight. Then, connect the top portion of the roof vent to the base plate and seal any gaps or joints with appropriate sealant. Finally, the vent’s functionality can be tested by running the fan and observing air movement through the roof vent.
Step 5: Install the Grille Cover
With the ducting and roof vent in place, it’s time to install the grille cover on your ventilation fan. Begin by removing any packaging or protective film from the grille cover before attaching it to the wall or ceiling using screws or other provided hardware. Ensure a secure fit that covers all sides of the hole without obstructing airflow.
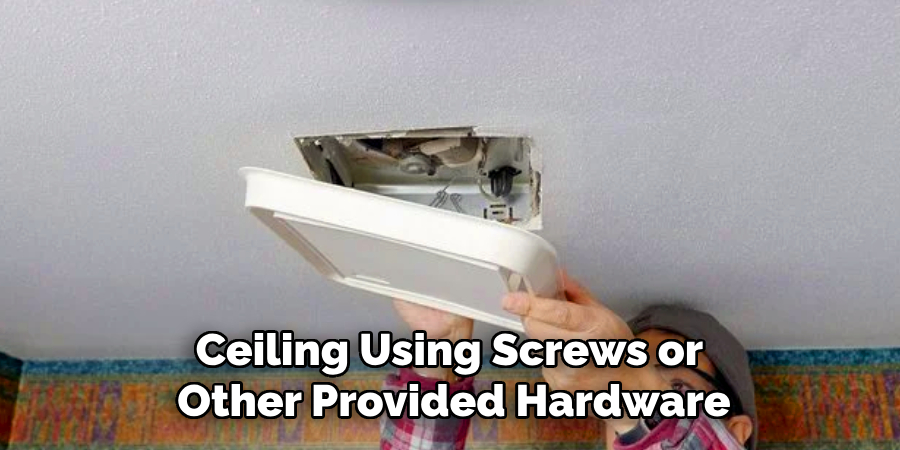
It’s essential to regularly clean and maintain the grille cover to prevent any buildup of debris or dust that could impede airflow. Refer to the manufacturer’s instructions for specific cleaning guidelines.
Step 6: Wire and Test Your Ventilation Fan
Next, you’ll need to wire your ventilation fan for power. If you are not familiar with electrical work, it’s recommended to hire a professional for this step. Begin by turning off the power to your garage at the circuit breaker and using a voltage tester to ensure no electricity is flowing.
Next, connect the fan’s wiring according to the manufacturer’s instructions, taking care not to mix up wires or overload your circuit. Once wired, restore power and test the fan’s functionality by turning it on and observing air movement through the grille cover.
Step 7: Seal Any Gaps
To ensure maximum efficiency in your ventilation system, it’s crucial to seal any gaps or openings around the fan and ducting. Use an appropriate sealant (such as caulk or foam) to fill in any spaces where air could escape, such as between the fan and ceiling or around the ducting.
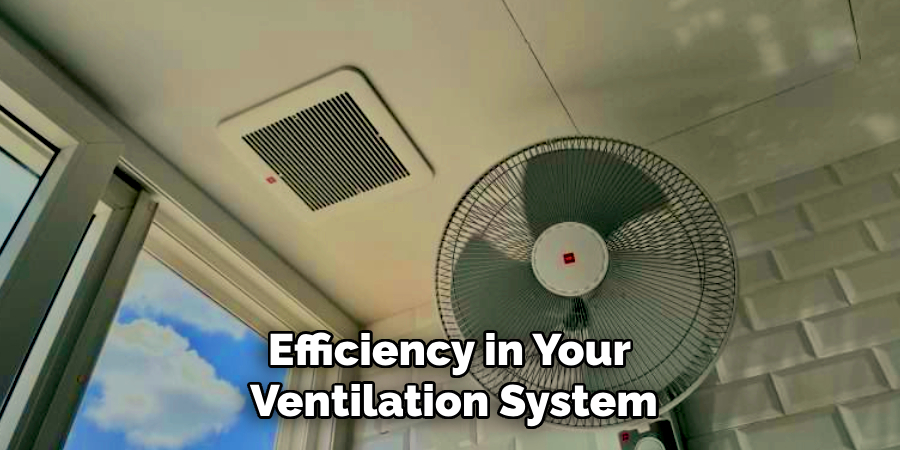
It’s also essential to insulate the ducting in colder climates to prevent condensation or frost from forming inside and reducing airflow. Use insulation sleeves or tape to cover any exposed portions of the ducting.
Step 8: Consider Additional Ventilation
If your garage bathroom has a shower, hot tub, or sauna, you may benefit from additional ventilation in these areas. Consider installing a separate exhaust fan near these moisture-prone areas for maximum efficiency in preventing mold and mildew growth.
But remember to consult with a professional electrician or contractor before making any major changes to your ventilation system.
Step 9: Monitor and Maintain Your Ventilation System
Regularly check your ventilation system for any potential issues, such as clogs or air leaks. Clean the grille cover and remove any debris that may have accumulated inside the fan or ducting.
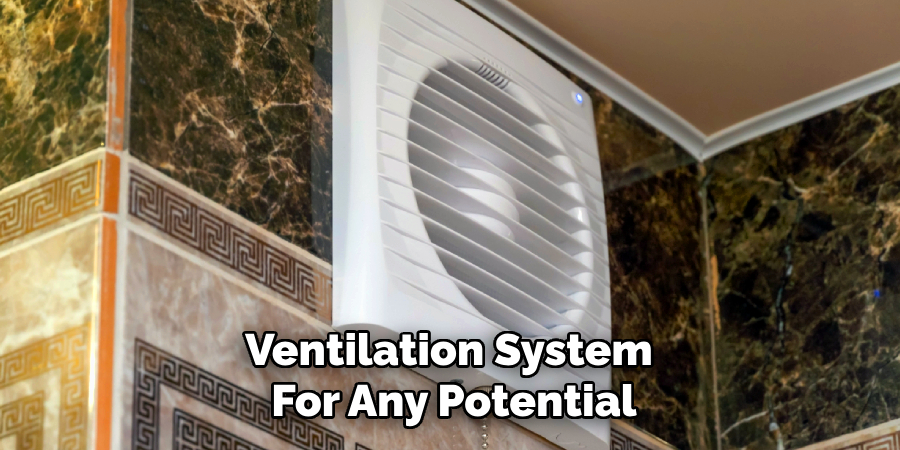
Replace any worn-out parts (such as the fan motor) to maintain optimal performance and energy efficiency. It’s also a good idea to schedule regular maintenance with a professional to ensure your ventilation system is functioning correctly.
Following these steps on How to ventilate a bathroom in a garage will ensure a successful installation of a ventilation fan in your garage bathroom, providing fresh air and improved air quality for years to come. Remember to always follow safety precautions and manufacturer’s instructions when installing any electrical or mechanical systems. Happy ventilating!
Frequently Asked Questions
Q: Can I Install a Ventilation Fan in My Garage Bathroom Without Cutting a Hole?
A: It is highly recommended to cut a hole in the ventilation fan as it allows for proper airflow and reduces any potential fire hazards. However, it is possible to install a ventilation fan without cutting a hole by using a through-the-wall vent kit.
Q: How Do I Know What Size Ventilation Fan to Use for My Garage Bathroom?
A: The size of the fan needed depends on the square footage of your garage bathroom. Generally, one CFM (cubic feet per minute) of air movement is required for every square foot of space. Consult with a professional or refer to the manufacturer’s guidelines to determine the appropriate size for your specific needs.
Q: Can I Install Multiple Fans in My Garage Bathroom?
A: Yes, it is possible to install multiple fans if your garage bathroom requires additional ventilation. It’s essential to consult with a professional and follow the manufacturer’s instructions for proper installation and wiring. Regular maintenance and cleaning of multiple fans may also be more time-consuming, so consider the potential upkeep before installing multiple units.
Conclusion
Installing a ventilation fan in your garage bathroom is not only essential for odor control but also for maintaining healthy air quality. By following these steps on How to ventilate a bathroom in a garage and considering additional measures, you can effectively ventilate your garage bathroom and prevent issues like mold, mildew, and excess moisture. Remember to consult with professionals if needed, and regularly monitor and maintain your ventilation system for maximum effectiveness.
With proper installation and maintenance, your garage bathroom will remain a comfortable and pleasant space for all to use. So, go ahead and make your garage bathroom an inviting and functional space with a proper ventilation system. Happy renovating!

