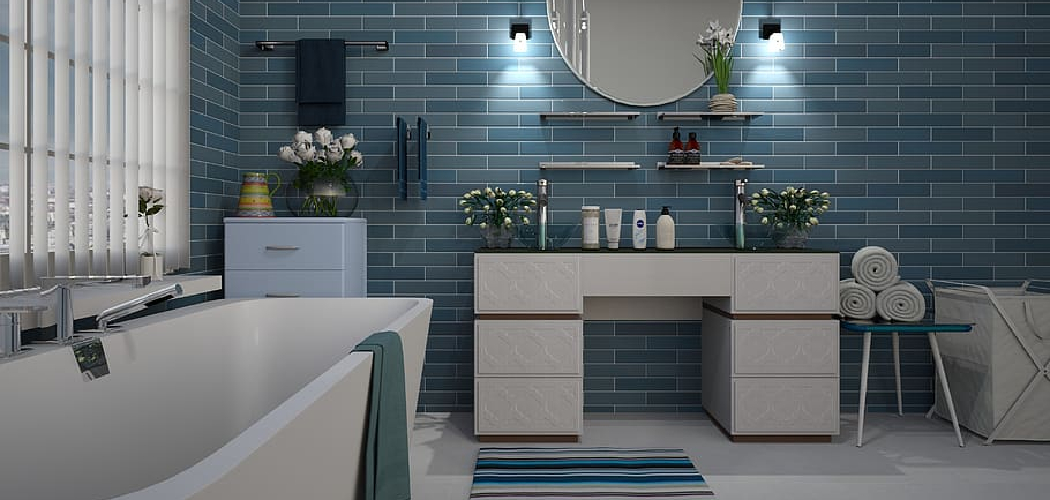
Transforming your bathroom into a stylish and inviting space can be achieved through the power of wallpaper. Wallpapering a bathroom allows you to add personality, color, and texture to the walls, creating a unique and visually appealing environment.
However, the bathroom presents its own set of challenges with high humidity and potential water splashes. In this article, we will guide you through the step-by-step process of how to wallpaper a bathroom, from selecting the right type of wallpaper to preparing the surface and applying the wallpaper correctly.
Learn how to overcome the moisture concerns and ensure a long-lasting and beautiful wallpaper installation that will elevate your bathroom’s ambiance and leave you with a sense of accomplishment in your DIY project.
Get ready to discover the secrets of wallpapering a bathroom like a pro and transform this functional space into a captivating oasis of style and charm.
The Appeal of Wallpaper as a Decorative Option for Bathrooms
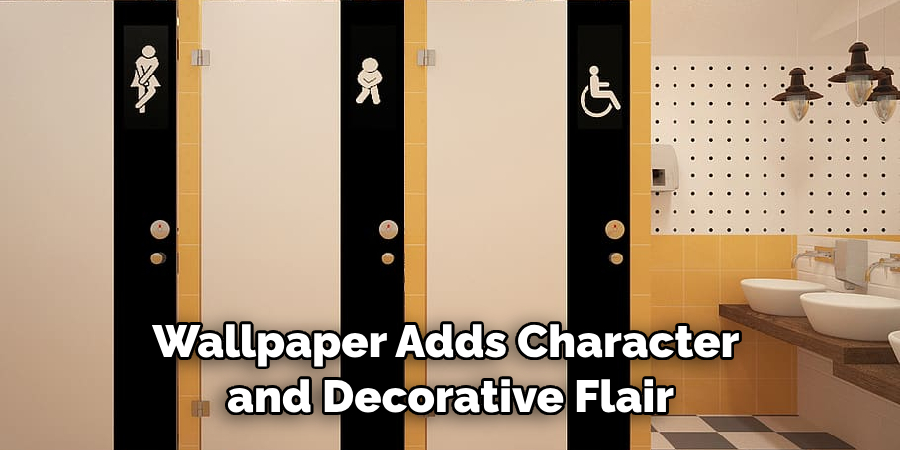
Wallpaper is a great choice for bathrooms as it adds character and decorative flair to the room. Wallpaper can instantly transform a dull, outdated bathroom into an inviting space with plenty of personality. With the wide range of wallpaper patterns available, you can incorporate bright colors or subtle details that complement any style of decor.
From traditional designs to modern graphics, there are endless possibilities when it comes to adding wallpaper to your bathroom. Not only does wallpaper provide visual interest and charm, but it also does a great job of protecting walls from steam damage and moisture buildup.
This makes it ideal for use in humid environments such as bathrooms – making wallpaper a great long-term solution to keep your walls looking beautiful for years to come!
The Different Types of Wallpaper Suitable for Bathrooms
It is important to choose the right type of wallpaper for your bathroom. There are different types of wallpaper that you can use depending on your preference or needs.
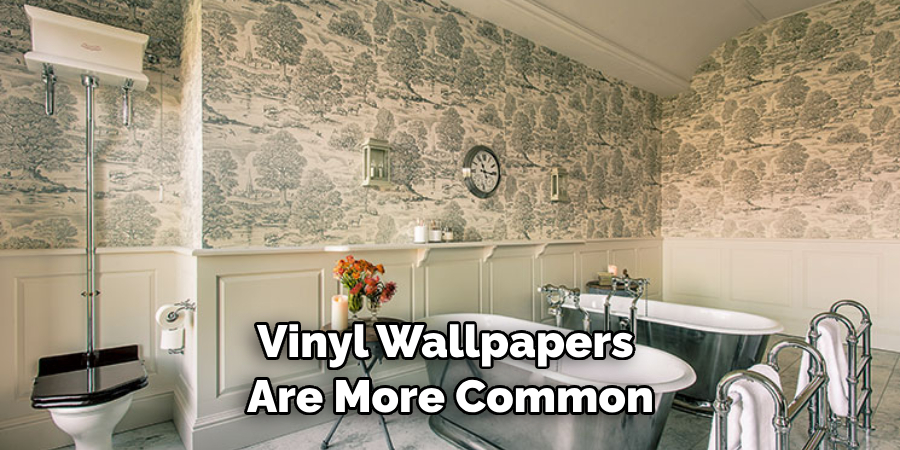
Vinyl wallpapers are more common and cost effective than other types, making them a popular choice for bathrooms. Vinyl wallpapers are moisture-resistant which makes them suitable for humid areas such as bathrooms. They also come in various colors and textures, allowing you to customize the look of your bathroom walls.
Foil wallpapers offer a unique texture and metallic shine to the walls and feature foil elements blended with paper backing. This type of wallpaper is mostly used in modern bathrooms and offers an elegant finish to the decor. Foil wallpapers are durable, fire resistant, and easy to clean.
Fabric wallpapers are a more expensive option but they provide a lush look that no other type of wallpaper can match. Fabric wallpapers give your walls a soft velvety feel and can be used to create stunning backdrops for bathrooms. They are not waterproof so in order to make them moisture-resistant you will need to apply special sealant or coatings.
Finally, there are nature wallpapers that feature designs such as flowers, plants, and landscapes that can make any bathroom look beautiful. Nature wallpapers come in both vinyl and paper backing materials depending on the brand you choose. They offer an ideal way to bring nature into your bathroom while still being water-resistant and durable enough for humid environments.
10 Methods How to Wallpaper a Bathroom
1. Choose the Right Wallpaper
Wallpapering a bathroom requires careful consideration of the type of wallpaper you select. Given the high humidity and occasional water splashes in a bathroom, it’s crucial to choose a wallpaper that can withstand these conditions without peeling, warping, or becoming damaged.
Vinyl-coated or vinyl wallpapers are excellent choices for bathrooms as they are more water-resistant and durable.
The vinyl coating creates a protective barrier that repels moisture, making these wallpapers more suitable for humid environments. Another option is to opt for peel-and-stick wallpaper, which is easy to install and remove if needed, offering flexibility and convenience for bathroom decor changes.
2. Prepare the Walls
Properly preparing the bathroom walls before applying wallpaper is essential for a successful and long-lasting installation. Start by removing any existing wallpaper, paint, or adhesive residue from the walls. Use a wallpaper scraper or a putty knife to gently remove old wallpaper or paint, taking care not to damage the underlying wall surface.
If there are any holes, cracks, or imperfections on the walls, fill them with spackling compound or wall filler and sand the surface to create a smooth and even finish. Cleaning the walls with a mild detergent and water will remove any dust, grease, or residue, providing a clean surface for the wallpaper to adhere to.
3. Prime the Walls
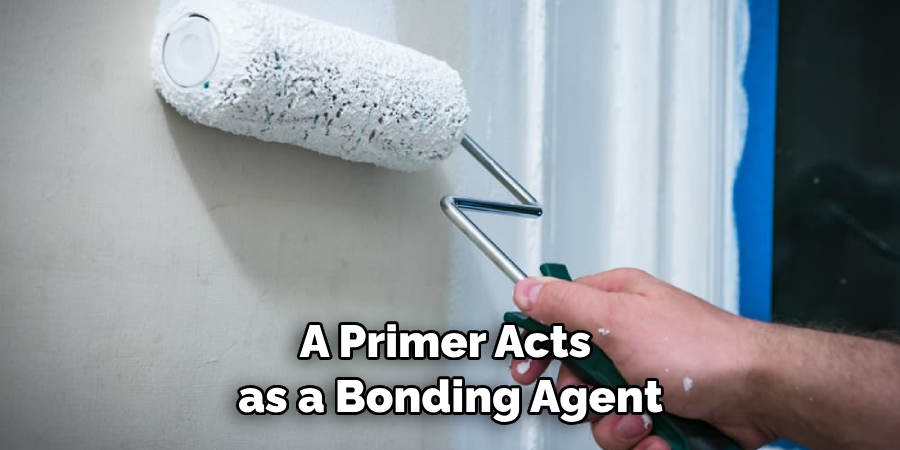
Priming the bathroom walls is a critical step in preparing them for wallpaper application. A primer acts as a bonding agent between the wall surface and the wallpaper adhesive, enhancing the wallpaper’s adhesion and preventing it from peeling over time.
For bathrooms, it’s essential to choose a primer specifically designed for moisture-prone areas or one that mentions moisture resistance on the label. Applying a moisture-resistant primer will create a sealed surface that helps protect the wall from water vapor and potential water splashes, ensuring the wallpaper’s longevity and preventing any moisture-related issues.
4. Measure and Cut the Wallpaper
Accurate measurements and precise cutting of the wallpaper are crucial for achieving a professional-looking installation. Measure the height of the bathroom walls, accounting for any baseboard or molding that may be in place, and add a few extra inches to allow for trimming and adjustments.
Use a straight edge and a sharp utility knife to cut the wallpaper into strips of the desired length, ensuring that the pattern, if applicable, lines up correctly. Double-check the measurements and cut each strip accurately to avoid wastage and ensure a seamless pattern match.
5. Apply the Wallpaper
The actual application of the wallpaper requires attention to detail and careful handling to achieve a smooth and flawless finish. Begin applying the wallpaper from the top of the wall and work your way down. Depending on the type of wallpaper you’ve chosen, use a wallpaper adhesive recommended for that specific material.
Apply the adhesive evenly on the back of the wallpaper strip, ensuring complete coverage to avoid bubbles and gaps. Carefully align the top edge of the wallpaper with the top of the wall and gently press it against the wall. Use a wallpaper smoother or a clean, damp cloth to remove any air bubbles or wrinkles, working from the center of the strip outwards.
6. Match the Patterns
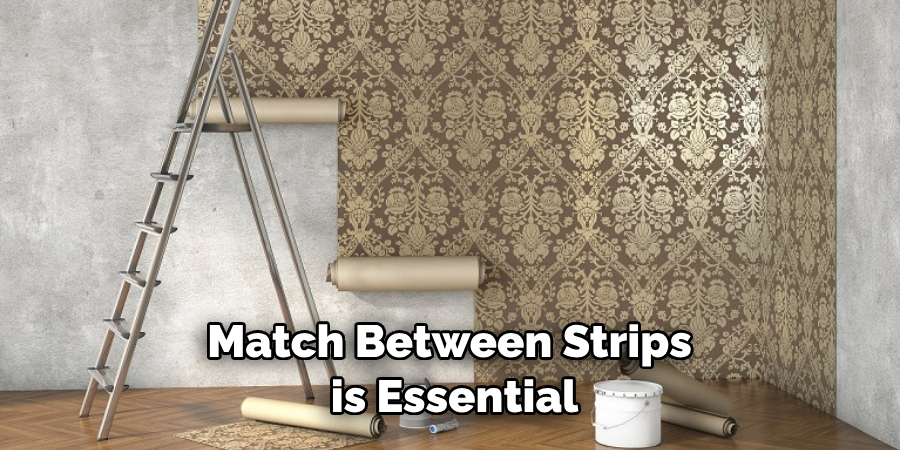
If you’re using patterned wallpaper, achieving a seamless pattern match between strips is essential for a polished and visually appealing result. Take your time to align the patterns precisely, ensuring that they flow seamlessly from one strip to the next.
This requires careful measuring and cutting to achieve a harmonious layout where the patterns align perfectly, enhancing the overall look of the wallpapered surface.
7. Trim Excess Wallpaper
Once the wallpaper is in place, carefully trim the excess from the top and bottom using a straight edge and a sharp utility knife. Be extra cautious when trimming around corners and edges to achieve clean and neat cuts. Well-trimmed edges will give your wallpaper a polished and professional appearance, elevating the overall aesthetics of your bathroom.
8. Install a Wallpaper Border or Molding
To protect the lower part of the wallpaper from splashes and moisture, consider installing a wallpaper border or molding along the baseboard. A waterproof border or molding not only adds a decorative element but also offers practical protection to the wallpaper in areas more susceptible to water exposure.
Choose a design that complements your wallpaper and overall bathroom decor, ensuring a cohesive and stylish look.
9. Seal the Edges
Adding an extra layer of protection to the wallpaper can be achieved by applying a clear waterproof sealer along the edges and seams. This final step further guards the wallpaper from moisture and potential damage, preventing peeling or lifting over time.
Use a small paintbrush to apply the sealer carefully, ensuring even coverage along the edges of the wallpaper. This step will contribute to the wallpaper’s durability and longevity in a bathroom environment.
10. Maintain the Wallpaper
Proper maintenance of your wallpaper is crucial for preserving its beauty and longevity. Avoid using harsh cleaning agents on the wallpaper, as they may damage the surface. Instead, opt for a soft cloth or sponge with mild soap and water to clean any spots or stains gently.
If the wallpaper becomes damaged or starts to peel, address the issue promptly to prevent further damage or water infiltration. Regularly inspect the wallpaper and address any issues promptly to ensure that it remains an attractive and durable feature in your bathroom decor.
Conclusion
Completing the task of wallpapering a bathroom may seem daunting at first, but with the right information and a lot of patience, you can have a beautiful result. You must be sure to measure correctly, purchase the right materials, and work carefully. If you take your time and pay close attention to detail, the results will undoubtedly be worth it.
Don’t forget to thoroughly clean the walls before applying the paste, purchases a quality wallpaper that manages humidity well, and use tools properly for cutting and trimming. Finally, hang the wallpaper section by section from top to bottom, with overlapping seams for additional strength and stability.
Now that you know how to wallpaper a bathroom, try it yourself today and feel good about completing such a big DIY job!

