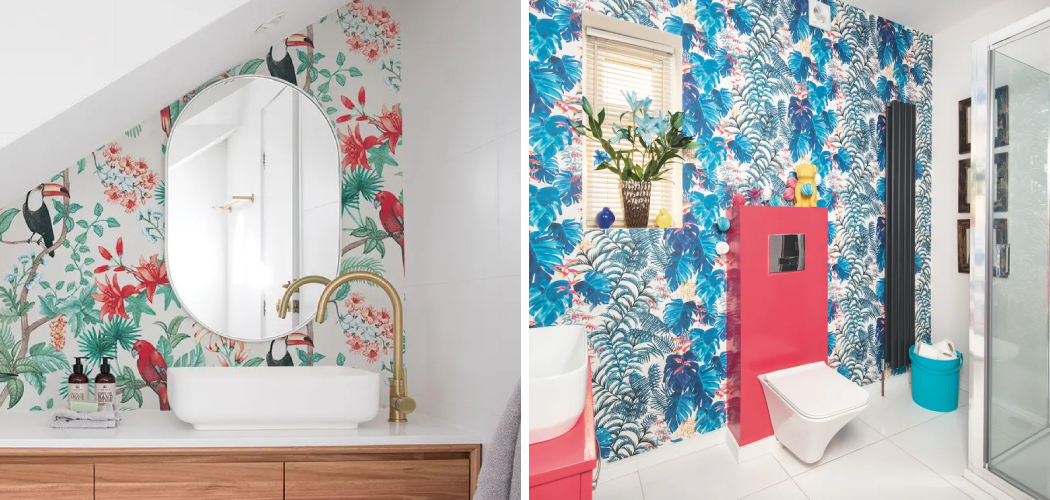
Wallpapering behind a toilet can seem daunting due to the challenge of working around fixtures and ensuring a seamless finish.
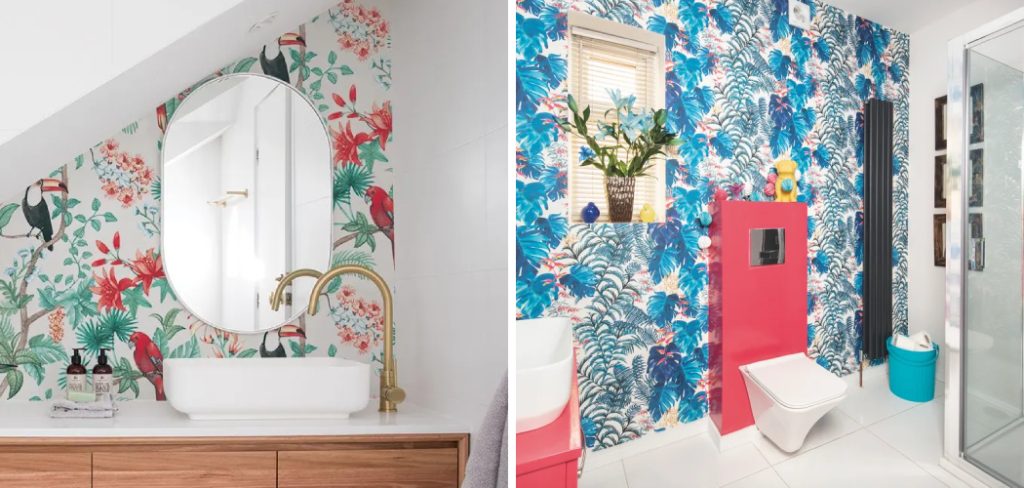
However, with the right preparation and technique, it’s entirely achievable to beautify this often-overlooked space in your bathroom. Properly wallpapering behind a toilet involves careful planning, including measuring the area, choosing suitable wallpaper material (vinyl or washable types are recommended for bathrooms), and preparing the surface to ensure adhesion.
Techniques such as using a wallpaper primer, cutting precise measurements around pipes and fixtures, and applying wallpaper adhesive evenly are crucial for a professional-looking result.
This guide will provide step-by-step instructions on how to wallpaper behind a toilet, addressing common concerns such as moisture resistance and durability. By following these tips and techniques, you can transform the wall behind your toilet into a stylish focal point that enhances the overall ambiance of your bathroom décor.
Enhancing Bathroom Aesthetics
A well-designed bathroom can provide a serene escape from daily stresses, and enhancing its aesthetics goes beyond just wallpapering behind the toilet.
Integrating elements such as modern fixtures, ambient lighting, and complementary color schemes can significantly elevate the space. Consider adding statement pieces like a unique mirror or stylish shelving to create visual interest.
Incorporating natural elements, such as plants or wooden accents, can introduce a refreshing touch of tranquility. Additionally, the use of high-quality textiles, such as plush towels and elegant bath mats, can enhance both the comfort and appearance of your bathroom.
By thoughtfully combining these elements, you can create a cohesive and inviting environment that transforms your bathroom into a personal oasis.
Considerations Before Wallpapering
Before embarking on your wallpapering project, there are several important factors to consider to ensure a successful outcome.
Firstly, assess the type of wallpaper that is best suited for a bathroom environment, where humidity and moisture levels are typically higher. Vinyl or washable wallpaper is highly recommended due to its durability and ease of maintenance. Additionally, evaluate the condition of your bathroom walls; they should be clean, dry, and free of any mold or mildew to ensure proper adhesion.
It’s also essential to measure the area accurately, taking into account any fixtures such as the toilet, sinks, or cabinetry, which may require precise cuts and careful placement of the wallpaper.
Consider using a high-quality wallpaper primer to prepare the surface, which can help in creating a smooth, even base that enhances adhesion. Planning the layout in advance, including the alignment of patterns or motifs, can help avoid any surprises once you start applying the wallpaper.
By thoroughly preparing and planning, you will be well-equipped to achieve a professional and lasting finish that stands up to the unique challenges of a bathroom setting.
10 Methods How to Wallpaper behind a Toilet
1. Prepare the Wall Surface
Before beginning any wallpapering project, thorough preparation of the wall surface is essential. Start by removing any existing wallpaper, adhesive residue, or loose paint using a wallpaper scraper or putty knife.
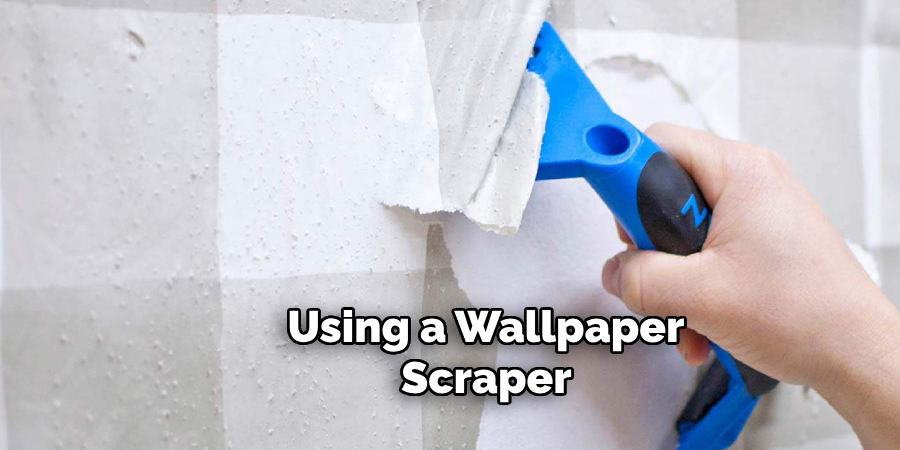
Clean the wall thoroughly with a mild detergent solution to remove dirt, grease, and debris. Allow the wall to dry completely before proceeding to ensure proper adhesion of the new wallpaper. Smooth out any imperfections or uneven areas on the wall with sandpaper or a sanding block to create a smooth and flat surface for wallpaper application.
2. Measure and Cut Wallpaper
Measure the height and width of the wall behind the toilet accurately using a tape measure. Add a few extra inches to each measurement to account for trimming and adjustments during installation.
Transfer these measurements to the wallpaper roll and use a utility knife or scissors to cut the wallpaper panels accordingly. Ensure that the wallpaper panels are cut to the correct size and aligned with any patterns or designs to achieve a seamless look once installed. Label each panel if necessary to maintain the correct sequence during installation.
3. Choose Suitable Wallpaper
Select wallpaper that is suitable for bathroom environments, as it should be moisture-resistant and washable to withstand humidity and occasional splashes. Vinyl and vinyl-coated wallpapers are excellent choices for bathrooms due to their durability and ease of maintenance.
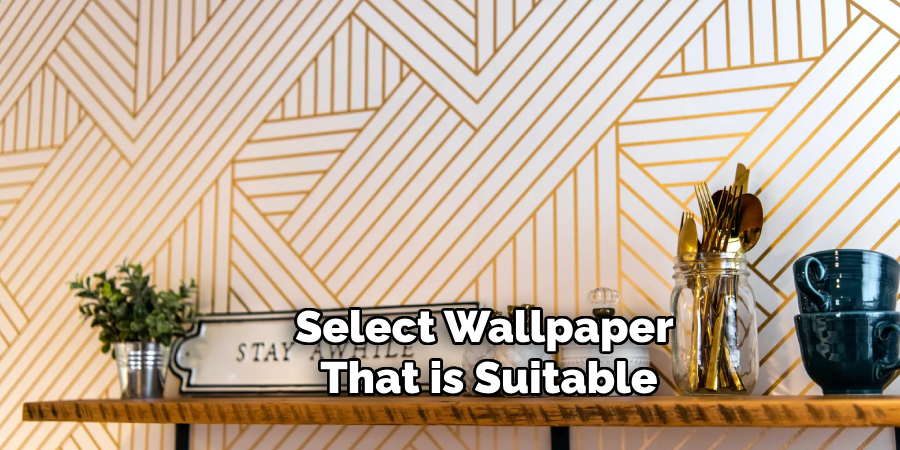
Consider the design, pattern, and color of the wallpaper to complement the overall decor of your bathroom. Opt for wallpaper with a smooth or textured finish, depending on your preference and the style you wish to achieve behind the toilet.
4. Remove Toilet Tank Lid and Cover Fixtures
Before wallpapering behind the toilet, remove the tank lid and cover any fixtures such as the toilet paper holder, flush handle, or plumbing connections with painter’s tape or removable masking tape. This precaution prevents accidental damage or staining from wallpaper adhesive during installation.
Place these items in a safe and accessible location to facilitate ease of wallpapering and ensure they remain clean and protected throughout the process.
5. Apply Wallpaper Adhesive
Prepare wallpaper adhesive according to the manufacturer’s instructions, ensuring it is mixed to the correct consistency for smooth application.
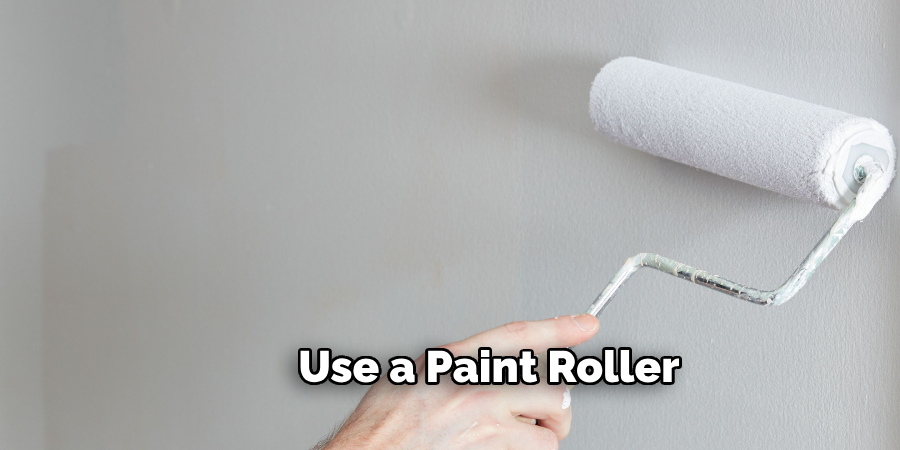
Use a paint roller or wallpaper brush to apply a generous coat of adhesive evenly onto the back of the wallpaper panel. Pay special attention to the edges and corners to prevent lifting or peeling after installation. Allow the adhesive to set for the recommended time specified by the manufacturer to activate its bonding properties effectively.
6. Position and Smooth Wallpaper Panels
Carefully position the first wallpaper panel at the top of the wall behind the toilet, ensuring it is aligned vertically and horizontally with the edges of the wall. Use a wallpaper smoothing tool or plastic squeegee to gently press the wallpaper onto the wall, starting from the center and working outward towards the edges.
Smooth out any air bubbles or wrinkles to achieve a flat and seamless finish. Continue this process with each subsequent wallpaper panel, overlapping the edges slightly for a tight fit without gaps.
7. Trim Excess Wallpaper
Once all wallpaper panels are applied and smoothed onto the wall, use a sharp utility knife or wallpaper trimming tool to trim excess wallpaper along the edges and around fixtures such as the toilet base and plumbing connections.
Take care to make precise cuts along the edges for a clean and professional appearance. Remove any excess adhesive or residue using a damp sponge or cloth to ensure the wallpaper edges are neat and seamless.
8. Reinstall Toilet Tank Lid and Fixtures
After wallpaper installation is complete and the adhesive has dried thoroughly, reinstall the toilet tank lid and uncover any fixtures that were previously covered with tape. Ensure that the tank lid is securely in place and properly aligned with the toilet tank.
Reattach any fixtures such as the toilet paper holder or flush handle according to their original positions. Verify that all items are securely fastened and functioning properly before using the toilet or resuming regular bathroom activities.
9. Allow Adequate Drying Time
Allow the wallpaper adhesive to dry completely according to the manufacturer’s instructions before exposing the wallpaper to moisture or handling the area behind the toilet. Adequate drying time ensures that the wallpaper bonds securely to the wall surface and prevents premature lifting or peeling. Avoid excessive humidity or moisture in the bathroom during the drying process to maintain the integrity of the wallpaper installation.
10. Maintain and Clean Wallpaper
Once the wallpaper behind the toilet is installed, maintain its appearance and longevity by practicing regular cleaning and maintenance. Use a soft cloth or sponge dampened with water to gently wipe away dust or smudges from the wallpaper surface.
Avoid abrasive cleaners or harsh chemicals that may damage or discolor the wallpaper. Periodically inspect the wallpaper for any signs of lifting, peeling, or damage, and address any issues promptly to preserve its aesthetic appeal.
Common Mistakes to Avoid
- Skipping Surface Preparation: Failing to properly clean and smooth the wall surface can result in poor adhesion of the wallpaper. Dirt, grease, and uneven areas can cause the wallpaper to bubble or peel over time.
- Incorrect Measurements: Not measuring the wall accurately or neglecting to add extra inches for trimming can lead to wallpaper panels that are too short or misaligned. Always double-check measurements and allow for adjustments during installation.
- Choosing the Wrong Wallpaper: Selecting non-moisture-resistant wallpaper for a bathroom can lead to damage from humidity and splashes. Ensure the wallpaper is suitable for bathroom environments to enhance durability and ease of maintenance.
- Applying Adhesive Unevenly: Inconsistent application of wallpaper adhesive can cause edges to lift or the wallpaper to fail to stick properly. Ensure even coverage, particularly around edges and corners, to prevent future issues.
- Improper Panel Positioning: Misaligning the wallpaper panels can disrupt the pattern or design, resulting in a less polished appearance. Take time to align each panel carefully, starting from the top and working your way down to ensure precision.
Conclusion
Wallpapering behind a toilet requires meticulous preparation, careful installation, and attention to detail to achieve a polished and professional finish. By following these ten comprehensive methods, you can successfully wallpaper behind a toilet while ensuring durability, moisture resistance, and aesthetic harmony in your bathroom decor.
Thoroughly prepare the wall surface, measure and cut wallpaper panels accurately, and choose suitable wallpaper materials for bathroom environments. Thanks for reading, and we hope this has given you some inspiration on how to wallpaper behind a toilet!

