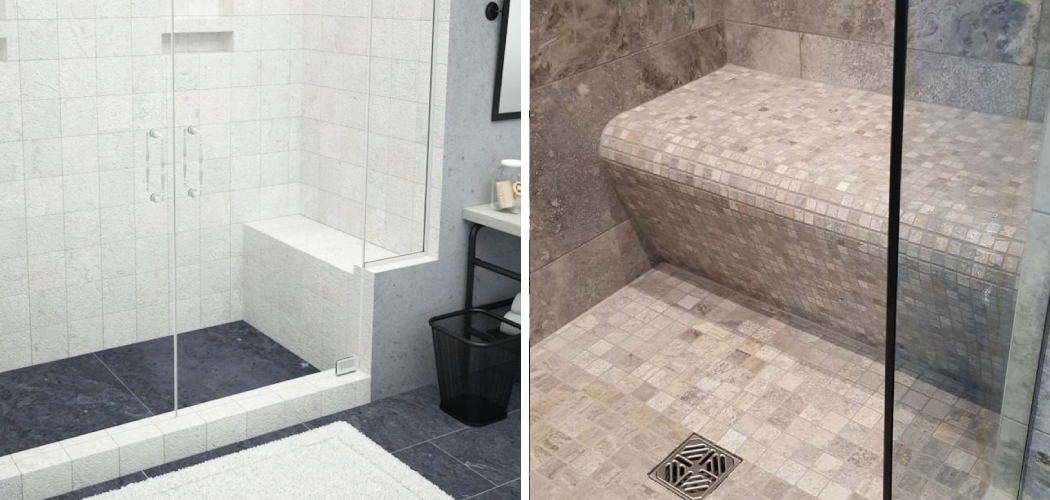
Waterproofing a shower bench is important if you want to keep your shower area safe and prevent water damage. A waterproof shower bench can provide extra seating while also ensuring that the bathroom’s walls, floor, and other surfaces remain dry.
Waterproofing a shower bench helps to protect against mold and mildew growth, which can be a health hazard. Additionally, waterproofing prevents the wood from warping or cracking due to water exposure.
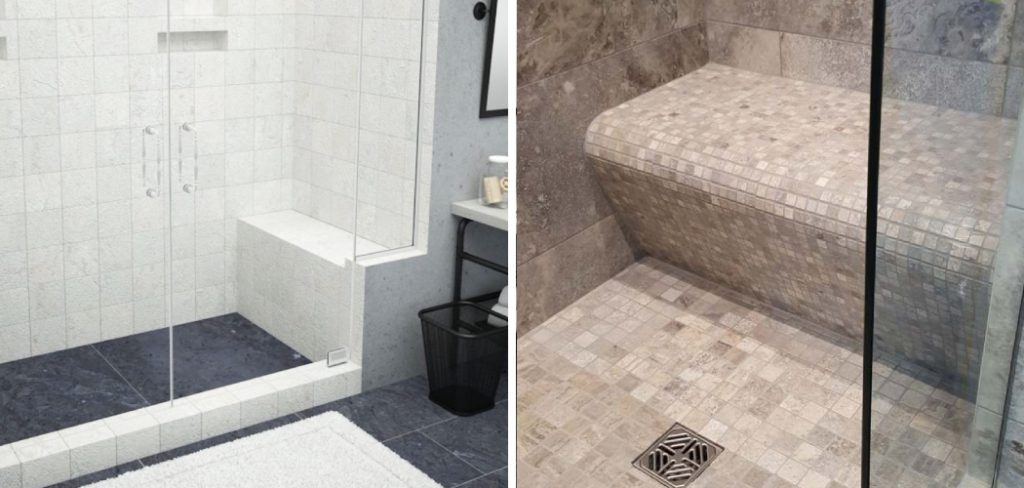
The biggest advantage of waterproofing a shower bench is that it provides protection from water damage and mold growth. Doing so not only increases the longevity of the bench but also keeps it looking and feeling like new for years to come.
Waterproofing a shower bench will also help keep it clean since dirt and grime won’t be able to seep into the cracks and crevices of the bench. In this blog post, You will learn in detail how to waterproof a shower bench.
Materials You Will Need
- Plastic Sheeting
- Caulk Gun
- Cement Board
- Tape Measure
- Plywood
- Utility Knife
- Circular Saw
- Jigsaw
- Drill and Bits
- Hacksaw or Reciprocating Saw
- Acrylic Sealant for Joints/Cracks
- Waterproof Membrane
To begin waterproofing your shower bench, you must gather all the materials mentioned above. Once you have them all together, the process can start.
Step-by-step Instructions for How to Waterproof a Shower Bench
Step 1: Inspect the Shower Bench
Before starting to waterproof the shower bench, it is important to check for any issues, such as cracks and holes. If there are any major defects or signs of rust, it may be best to replace the bench altogether rather than attempt a repair.
Step 2: Clean the Shower Bench
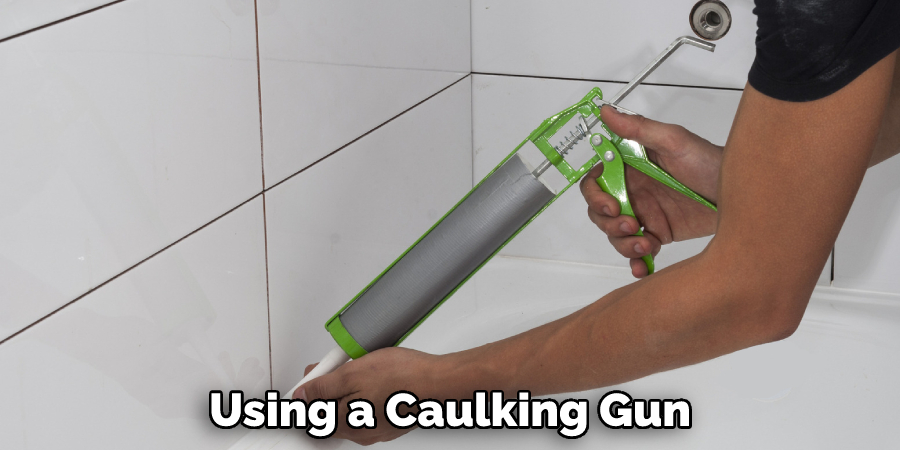
Thoroughly clean the surface of the shower bench with a damp cloth and mild soap. Be sure to remove any dirt, grime, or other debris that may have built up over time. Using a caulking gun, apply a bead of silicone caulk along all the seams of the shower bench, paying close attention to corners and other areas where water may collect. Allow the caulk to dry completely before moving on to the next step.
Step 3: Apply a Waterproofing Membrane
Using a paint roller, apply a waterproofing membrane such as RedGard or Hydroban to the surface of the shower bench. Be sure to follow package instructions for best results. Allow the waterproofing membrane to dry completely according to package instructions before moving on to the next step. Depending on the product, this can take anywhere from 8 hours to overnight.
Step 4: Apply a Second Coat of Membrane
Once the first coat has dried, apply a second coat of the waterproofing membrane to ensure complete coverage. Allow to dry completely before continuing. Position the shower drain grate over the opening in the shower bench and secure it with screws, washers, or other hardware as necessary.
Step 5: Apply Caulk around Drain Grate
Using a caulking gun, apply a bead of silicone caulk around the drain grate to ensure a watertight seal. Position the floor drain over the opening in the shower bench and secure it with screws, washers, or other hardware as necessary. Using a caulking gun, apply a bead of silicone caulk around the floor drain to ensure a watertight seal. Allow the caulk to dry completely before using the shower bench.
With these steps, you should now have a waterproofed shower bench that will help protect your bathroom from moisture and other types of damage.
Tips for How to Waterproof a Shower Bench
- Wear the appropriate safety gear – goggles, gloves, and a respirator to protect against the chemicals used for waterproofing.
- Make sure that the area is well-ventilated during the application of the sealant.
- Clean and prepare the surface of the shower bench before applying any sealant or paint. This includes sanding the surface to remove any nicks or scratches and removing all dirt and dust.
- Choose a sealant designed for wet areas such as showers, baths, and pools. The sealant should be safe for use around food products and not contain any harsh chemicals.
- Apply the sealant in a thin, even layer and allow it to dry completely before applying a second coat.
- When waterproofing the shower bench for outdoor use, apply a sealant designed for exterior use to withstand any exposure to extreme weather conditions.
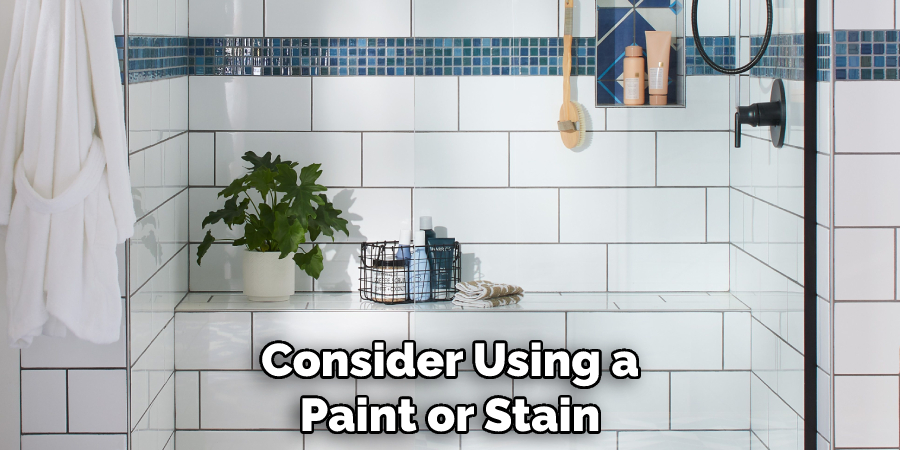
- Consider using a paint or stain with an added waterproofing agent or a polyurethane sealant for added protection.
- After the sealant is applied, test it by running water on the surface and checking for any seepage. If there are any leaks, reapply the sealant and wait for it to dry again before testing once more.
Importance of How to Waterproof a Shower Bench
- Safety: Waterproofing a shower bench helps ensure your safety and that of others in the bathroom. Without waterproofing, moisture can penetrate into the wood or other material used to make the shower bench and cause it to become weak, leading to potential collapse or breakage. By waterproofing the shower bench, you can be sure that it is structurally sound and safe to use.
- Durability: Waterproofing a shower bench helps make it more durable and ensures that its lifespan is longer. A waterproof sealant applied to the material of the shower bench will act as a barrier against water, mildew, mold, and other environmental elements that might otherwise cause damage. It helps ensure that your shower bench can last many years without having to be replaced or repaired frequently.
- Cleanliness: Waterproofing a shower bench also helps keep it clean and free of mold and mildew. Without waterproofing, moisture is able to penetrate the material used in the bench, leading to unsightly growths and stains. By waterproofing the bench, you can keep it clean and sanitary for much longer periods of time.
- Cost Savings: Waterproofing a shower bench also helps save you money in the long run by helping to prevent costly repairs or replacements over time. The cost of a one-time waterproofing application is much cheaper than the cost of repeated repairs or a full replacement due to water damage.
- Aesthetics: Waterproofing a shower bench can also help enhance its aesthetic appeal. The sealant used in waterproofing can give the surface of the bench a polished look, making it look more attractive and inviting.
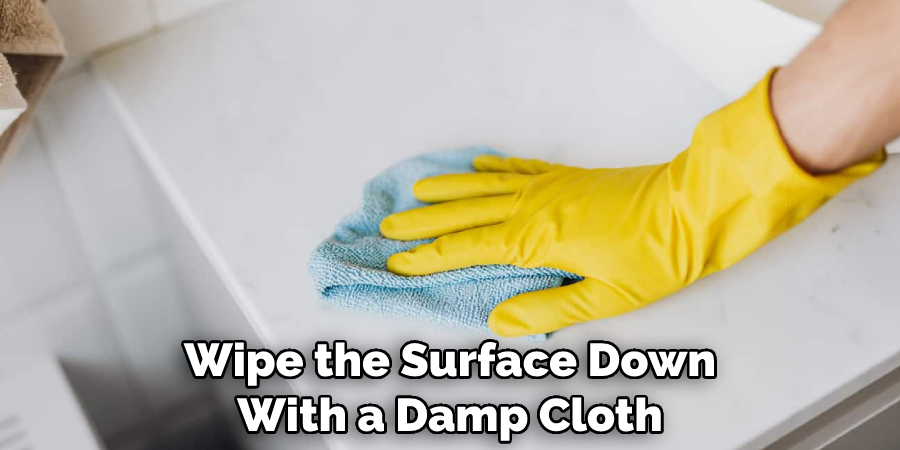
- Convenience: Waterproofing a shower bench makes it easier to clean and maintain. Without waterproofing, you would have to take extra steps or apply special cleaning products in order to get rid of mold and mildew growth. With waterproofing, you can just wipe the surface down with a damp cloth, and be done—no scrubbing or special products are necessary.
By waterproofing your shower bench, you can enjoy all these benefits and ensure that it remains safe, durable, clean, and aesthetically pleasing for many years to come.
How Long Will It Take to Finish the Job of Waterproofing a Shower Bench?
The amount of time it takes to waterproof a shower bench depends on the project’s size, materials, and complexity. Generally, a simple shower bench built from standard building materials can be waterproofed in 1-2 days. The process may take up to several days for larger or more complex benches made with custom elements.
It is also important to note that additional time may need to be factored in for the drying and curing of the waterproofing material.
Before beginning the project, it is necessary to ensure that all necessary materials are on-hand and ready. This includes the waterproofing material and backing boards, sealants, caulk, grout, tiles, or other decorative elements. Having all of the materials ready beforehand, it will help to reduce delays and speed up the project time.
To ensure that a shower bench is adequately waterproofed, it is important to read and follow all manufacturers’ instructions on the waterproofing material being used.
Are There Any Safety Concerns You Should Keep in Mind When Waterproofing the Bench?
When attempting to waterproof a shower bench, wearing gloves and safety glasses is important. This will protect your hands and eyes from any potential chemicals or grout that may be used during the process. Additionally, make sure that you are working in a well-ventilated area, as some of these solutions may produce fumes.

Lastly, always follow the directions outlined on the product labels and read through all the safety precautions. Taking these steps will help ensure that you are able to waterproof your shower bench safely and effectively.
Once all the safety measures have been taken, it’s time to apply the waterproofing solution. Start by cleaning off any mildew or dirt that may have accumulated on the bench. This can be done using a damp cloth or specialized cleaner, which will help ensure the solution adheres properly.
After cleaning, use a brush or roller to apply the waterproofing solution. Make sure to get into all of the nooks and crannies so that you are able to waterproof your bench as thoroughly as possible. Let the solution dry for at least 24 hours before using the shower bench again.
What Maintenance Should You Do to Keep Your Shower Bench Waterproofed Over Time?
You should perform regular maintenance to keep your waterproofed shower bench in good condition. This includes cleaning it regularly with a mild soap and warm water solution to remove any soap residue or dirt. You should also inspect the sealant around the edges of the bench for any damage or cracks and reapply if necessary.
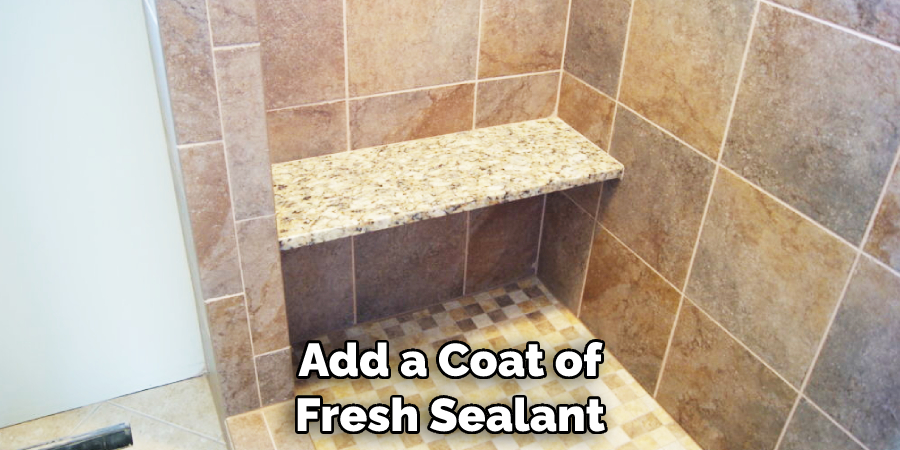
Additionally, you can add a coat of fresh sealant around the edges once every few months to keep it in good condition and extend its life.
If you are using grout to fill any gaps or cracks, be sure to check for any missing or cracked grout and reapply as needed. Finally, you should inspect the surface of the bench regularly for signs of damage from water or other sources and repair or replace it if necessary. Regular maintenance will help ensure your waterproofed shower bench remains in top condition for years.
Can You Waterproof a Shower Bench if It is Already Installed in the Bathroom?
Yes, it is possible to waterproof a shower bench that has already been installed in the bathroom. The key is to ensure that all surfaces are properly sealed with an appropriate penetrating sealer or water-resistant coating. First, check for any cracks or crevices where water could enter, and if found, apply a sealant to those areas.
Additionally, you can apply a waterproofing coating over the entire bench with a brush or roller. Ensure the coating is designed for wet areas and follow all product directions carefully.
Allow the coating to dry thoroughly before using the shower bench. For best results, consider applying two coats of waterproof coating for extra protection, allowing it to dry completely between coats. By taking these extra steps, you can help ensure that your shower bench will remain waterproof and durable for years to come.
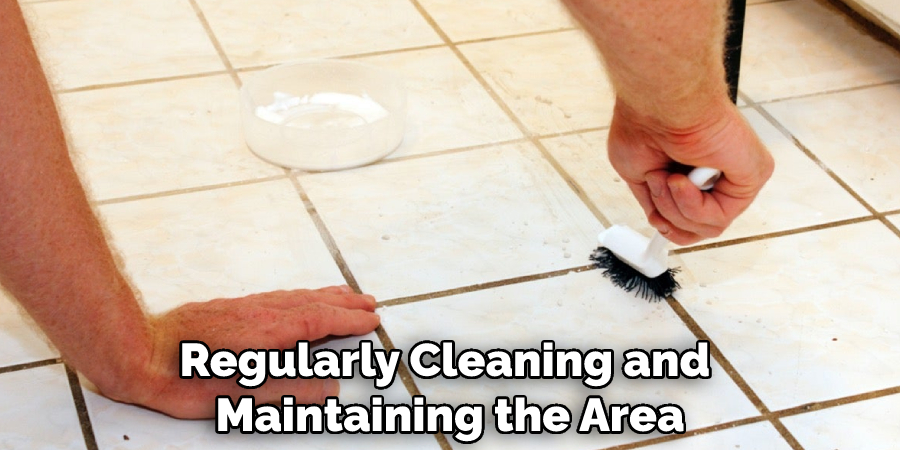
In addition to waterproofing your shower bench, regularly cleaning and maintaining the area around it is also important. This includes wiping up any standing water or residue immediately after each use and drying the bench off with a soft cloth or towel.
Conclusion
In conclusion, waterproofing a shower bench is important in protecting your bathroom from water damage. You can use several techniques to achieve this: using a vapor barrier, applying a sealer or caulk, and adding silicone-based products. Taking the time to waterproof your shower bench properly will help ensure its longevity and keep the overall quality of your bathroom high.
Don’t forget to inspect and reseal your shower bench if necessary regularly. I hope reading this post has helped you learn how to waterproof a shower bench. Make sure the safety precautions are carried out in the order listed.

