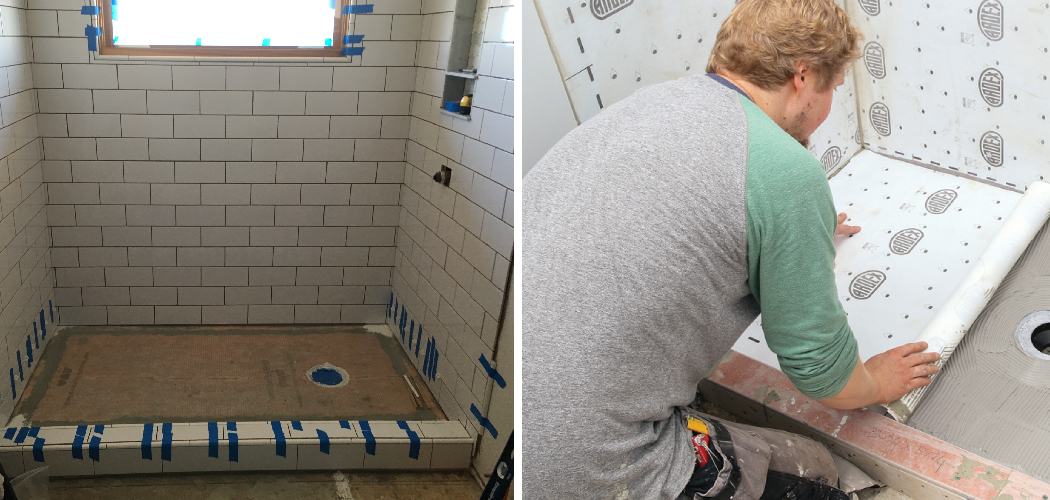
Waterproofing the shower floor is a critical step in bathroom renovation and construction. Water can seep into the floor and walls without proper waterproofing, leading to structural damage, mold growth, and costly repairs.
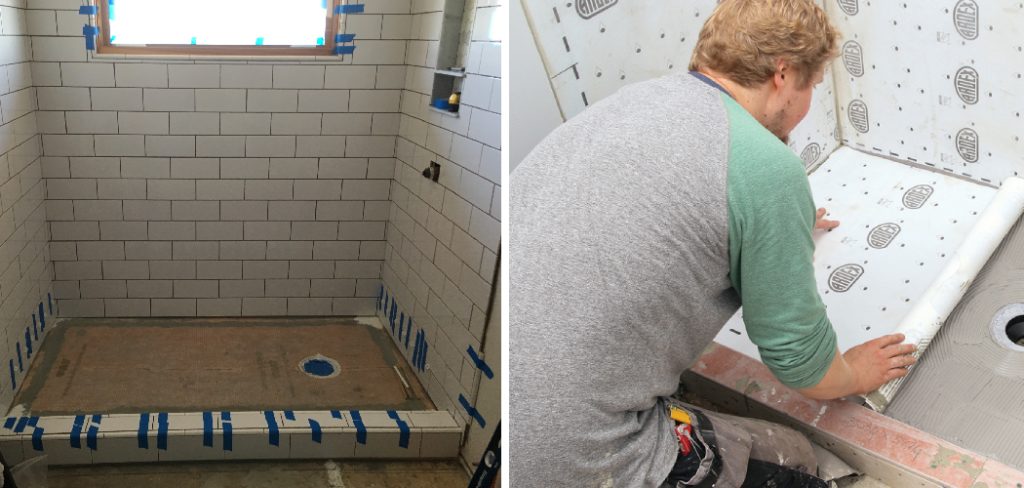
Ensuring that the shower floor is completely waterproof before tiling is essential for maintaining the integrity and longevity of the shower and the entire bathroom.
The process of how to waterproof a shower floor before tiling involves several key steps. Initially, assessing the shower floor for any existing damage or weaknesses is crucial. Next, choosing the right waterproofing materials that work well with tile adhesive and grout is important.
The process includes cleaning and prepping the surface, applying a waterproofing membrane, reinforcing seams and transitions, and allowing adequate drying time before conducting leak tests.
Investing time and effort into properly waterproofing the shower floor has numerous benefits. It significantly reduces the risk of water damage and mold growth, thereby protecting the household’s health.
Proper waterproofing also extends the life of the shower floor and maintains its appearance for longer. Finally, it can save homeowners money in the long run by avoiding the need for frequent repairs and maintenance.
Assessing the Shower Floor
Before the waterproofing process begins, a thorough assessment of the shower floor is imperative. This evaluation serves to identify any concerns that may compromise the effectiveness of the waterproofing application.
A. Checking for Existing Damage or Weaknesses
Examine the shower floor for any signs of damage or structural weaknesses. Look for cracks, holes, or areas where the floor feels spongy or unstable. These issues must be addressed before proceeding with waterproofing, as they could lead to more significant problems down the line.
B. Identifying Potential Leak Points
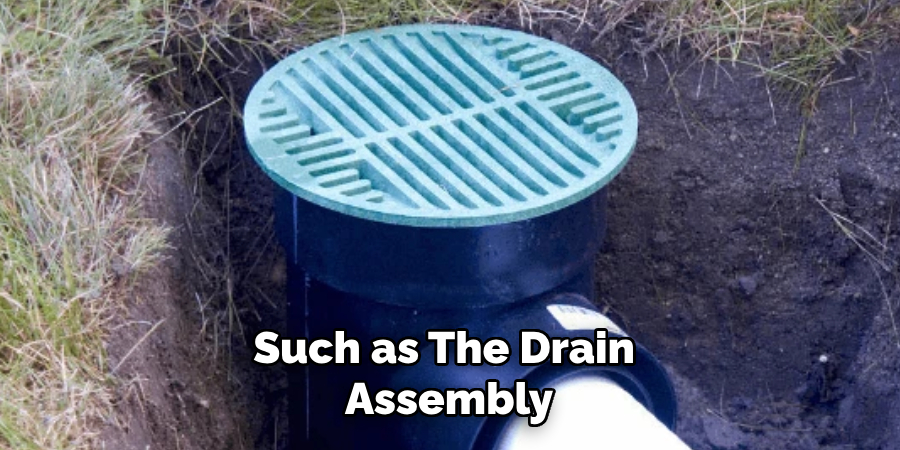
Pay special attention to areas that are most susceptible to leaks, such as the drain assembly, floor and wall junctions, and around any fixtures or piping that penetrate the shower floor. Water infiltration often occurs at these points, so ensuring they are thoroughly sealed during the waterproofing process is crucial.
C. Ensuring Proper Slope for Drainage
Adequate drainage is key to preventing water accumulation on the shower floor, which can lead to leakage and water damage over time. Ensure that the floor has a proper slope towards the drain, typically a gradient of at least 1/4 inch per foot (about 2%, 1:48 slope), to allow water to flow freely and not pool on the surface.
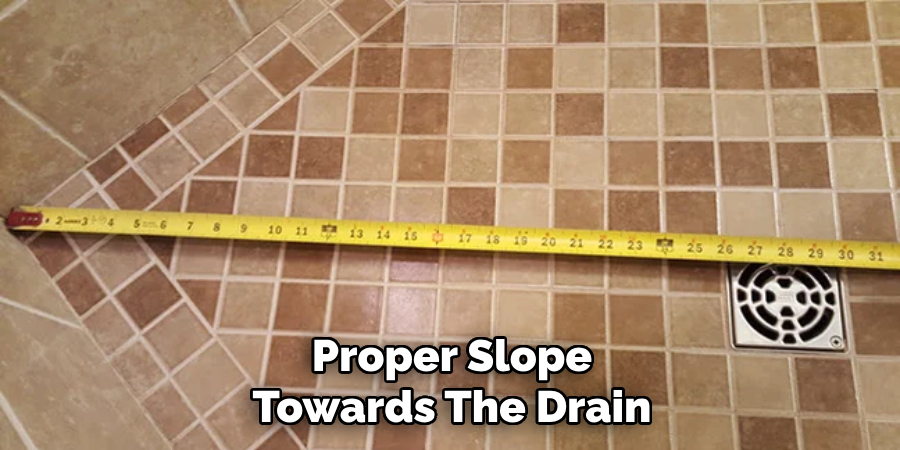
If the existing slope is insufficient, it may be necessary to adjust the floor level before waterproofing.
Choosing Waterproofing Materials
A. Waterproofing Membrane Options: Sheet vs. Liquid
When selecting waterproofing materials for a shower floor, one crucial decision is choosing between sheet and liquid membrane options.
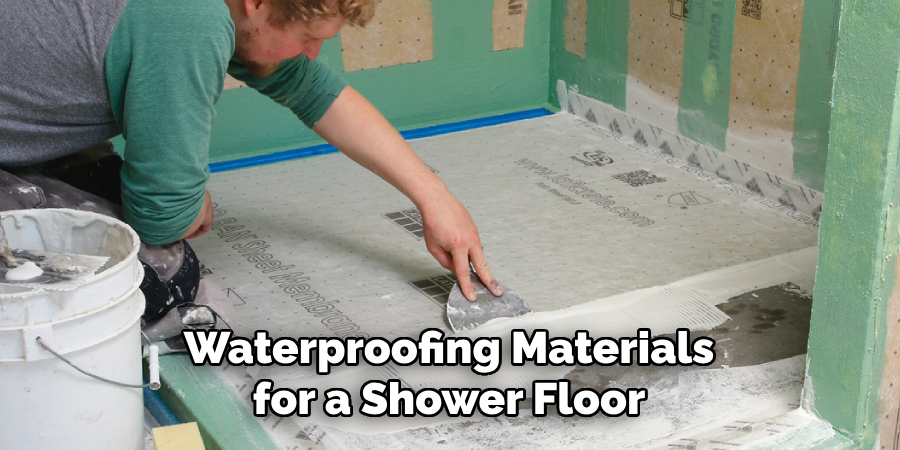
Sheet membranes, such as PVC or CPE (chlorinated polyethylene), offer a robust barrier and are physically laid onto the shower substrate. They require careful installation, ensuring overlap and seam sealing, but their pre-fabricated nature can simplify the creation of a uniform barrier.
On the other hand, liquid membranes, applied with a roller or brush, offer more flexibility in application. They can easily conform to irregular shapes and sizes, making them ideal for complex shower designs.
However, achieving the correct thickness for optimal waterproofing can be more challenging and may require multiple coats.
B. Considering Additional Waterproofing Products (e.g., Tape, Sealant)
In addition to the primary membrane, using waterproofing tape, sealants, and other products can enhance the integrity of the waterproofing system.
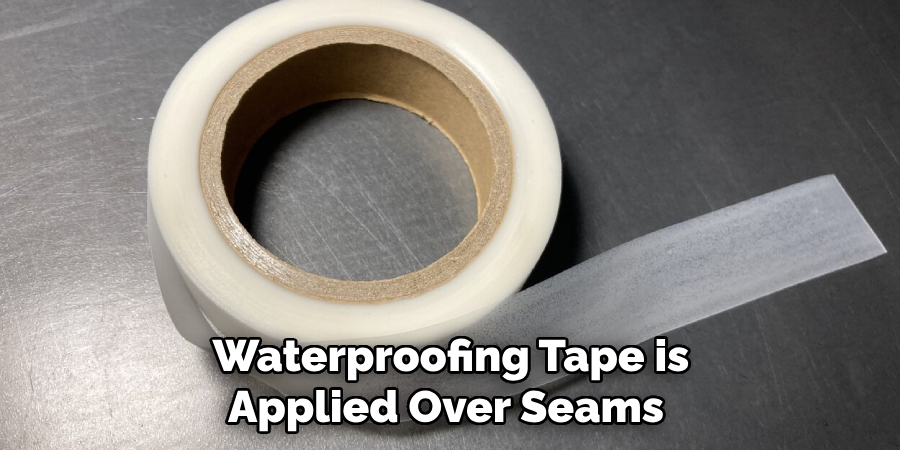
Waterproofing tape is applied over seams and junctions between different surfaces to prevent water infiltration at these potentially vulnerable points.
Sealants, particularly silicone-based ones, are used around the drain and where the floor meets the walls, providing a flexible, water-tight bond. When used correctly, these products significantly improve the overall effectiveness and longevity of the waterproofing layer.
C. Evaluating Compatibility with Tile Adhesive and Grout
An often-overlooked aspect of choosing waterproofing materials is their compatibility with the tile adhesive and grout planned for use. Not all materials bond well with every type of adhesive or grout, and incompatibility can lead to a failure in the waterproofing layer, causing leaks and water damage over time.
It is crucial to consult the product specifications and, if necessary, conduct a compatibility test before proceeding. Additionally, considering the chemical composition of the waterproofing material in relation to the type of tiles (e.g., ceramic, porcelain, stone) is important to prevent adverse reactions that could compromise the tile installation.
Preparing the Shower Floor
Once the assessment of the shower floor is complete and the waterproofing materials have been chosen, the next step in the waterproofing process is to prepare the surface for the application of the waterproofing membrane. Proper preparation is critical to ensure the membrane adheres correctly and provides a seamless barrier against moisture.
A. Cleaning and Degreasing the Surface
Begin by thoroughly cleaning the shower floor to remove any dirt, grime, and oily residues that could prevent the waterproofing membrane from adhering properly.
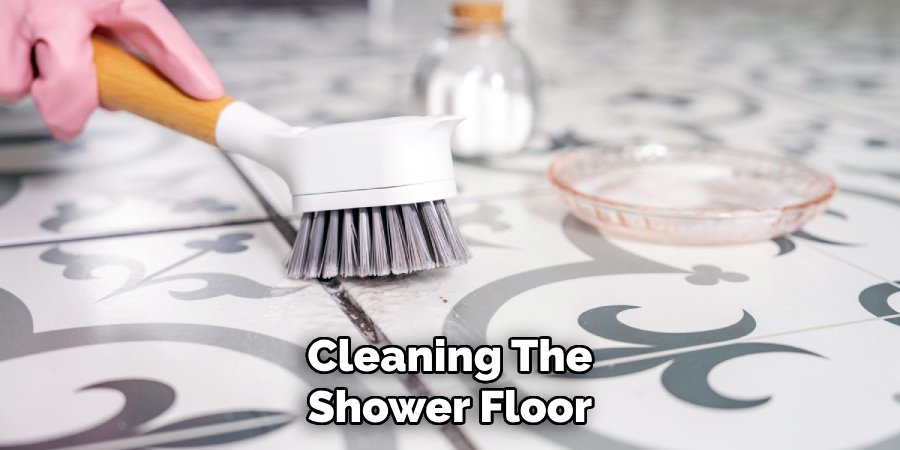
Use a non-residue cleaner and scrub the surface with a stiff brush to ensure it is completely clean. Rinse the area well with water and allow it to dry completely before proceeding. Special attention should be paid to removing any substances that could act as a bond breaker.
B. Patching and Repairing Cracks or Holes
Next, inspect the shower floor for any cracks, holes, or imperfections that might compromise the integrity of the waterproofing layer.
Use a suitable repair mortar or patching compound to fill these imperfections.
Choosing a repair material compatible with the waterproofing membrane and designed for wet-area applications is important. Apply the repair material according to the manufacturer’s instructions, smoothing it out evenly. As the manufacturer recommends, allow sufficient drying time before moving on to the next step.
C. Sanding or Smoothing Rough Surfaces
Any rough areas on the shower floor must be sanded or smoothed out to create a uniform surface to which the waterproofing membrane can adhere. This step is crucial, especially if patching compounds were used for repairs, as it ensures a smooth transition between the repaired areas and the rest of the floor.
Use a medium-grit sandpaper to remove any dust created during the process. The goal is to achieve a surface that is as smooth and level as possible, without sharp edges or rough patches that could potentially puncture or damage the waterproofing membrane.
Proper preparation of the shower floor requires attention to detail and patience. Skimping on this step can compromise the waterproofing system, which may result in leaks and water damage down the line. Ensuring a clean, smooth, and defect-free surface is crucial for the waterproofing process’s success and the shower floor’s longevity.
How to Waterproof a Shower Floor Before Tiling: Applying Waterproofing Membrane
A. Cutting and Fitting Sheet Membrane to Size
The waterproofing membrane will be applied once the shower floor is fully prepared. For sheet membrane options, measure the area of the shower floor and any vertical surfaces that require coverage.
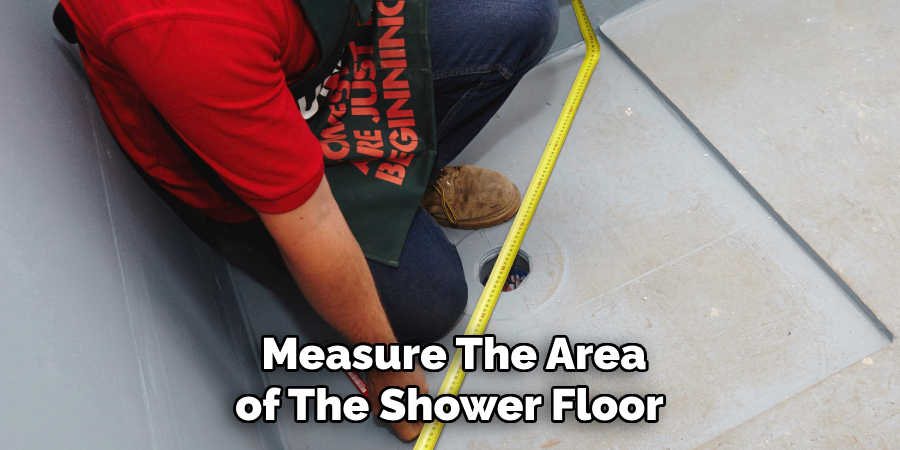
Transfer these measurements to the sheet membrane, adding a few inches to each dimension to allow for trimming and proper overlap at seams. Use a sharp utility knife to cut the membrane to size.
Carefully lay the membrane onto the prepared surface, starting from one side and gradually pressing it down to avoid air bubbles. At corners and edges, cut the membrane to create folds that fit snugly, ensuring no areas are left uncovered.
B. Mixing and Applying Liquid Membrane According to Manufacturer Instructions
Following the manufacturer’s mixing instructions is essential for liquid membrane options to ensure the product’s effectiveness.
Stir or shake the product as required to achieve a consistent mixture. Using a roller, brush, or trowel, apply the first coat of liquid membrane over the clean and dry shower floor, starting from the far corner and working towards the entrance. Pay special attention to seams, junctions, and areas around the drain.
Allow the first coat to dry thoroughly according to the product’s drying time before applying subsequent coats. Typically, at least two coats are necessary, with each coat applied perpendicular to the previous one to ensure uniform coverage.
C. Ensuring Complete Coverage and Proper Sealing of Joints and Corners
Achieving complete coverage and a proper seal is crucial for the effectiveness of the waterproofing system. For sheet membranes, ensure overlaps between sheets are at least 2 inches and use waterproofing tape at seams to reinforce the bond.
Apply a bead of silicone sealant or liquid membrane at the junctions between the floor and walls and around the drain to create a continuous waterproof barrier.
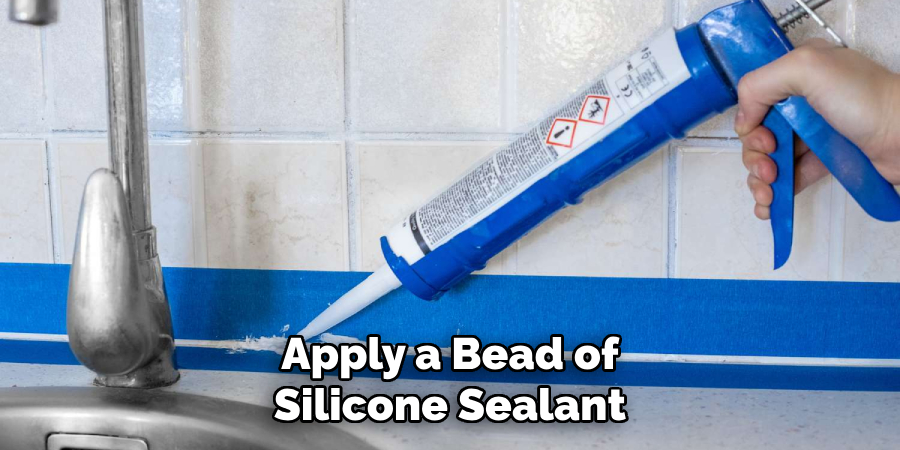
For liquid membranes, extra attention should be paid to corners, edges, and seams where the walls meet the floor.
A brush pushes the liquid membrane into these areas, fully covering them. Reinforce these critical areas with fabric mesh or waterproofing tape, embedding it into the wet membrane before it dries and then covering it with an additional layer of membrane to seal it in place.
Regardless of the type of membrane used, inspect the entire area to ensure there are no gaps, thin spots, or missed sections. Proper coverage and sealing are vital to prevent water leakage and to ensure the long-term durability of the shower waterproofing system.
After the final application, allow the membrane to cure as per the manufacturer’s recommended time before proceeding with tile installation. This step is pivotal in creating a moisture-resistant barrier that will safeguard the integrity of the shower structure against water damage.
How to Waterproof a Shower Floor Before Tiling: Reinforcing Seams and Transitions
A. Using Waterproofing Tape or Fabric over Seams
To reinforce the waterproof barrier further, waterproofing tape or fabric should be applied over all seams and transitions between the shower floor and walls.
Start by carefully placing the tape or fabric over the seam, ensuring it fully covers the area without any gaps. Press down firmly along the length of the tape to enhance adhesion to the underlying membrane.
This step is crucial as seams are potential weak spots leading to water penetration over time. The tape or fabric acts as an additional layer of protection, providing strength and flexibility where it’s most needed.
B. Installing Waterproofing Corners and Transitions
Special attention should also be given to corners and transitions, which are common points of failure in waterproofing. Pre-formed waterproofing corners can be used to seal these areas effectively. Begin by dry-fitting the corners to ensure a perfect fit, then apply a layer of liquid membrane or adhesive as the manufacturer recommends.
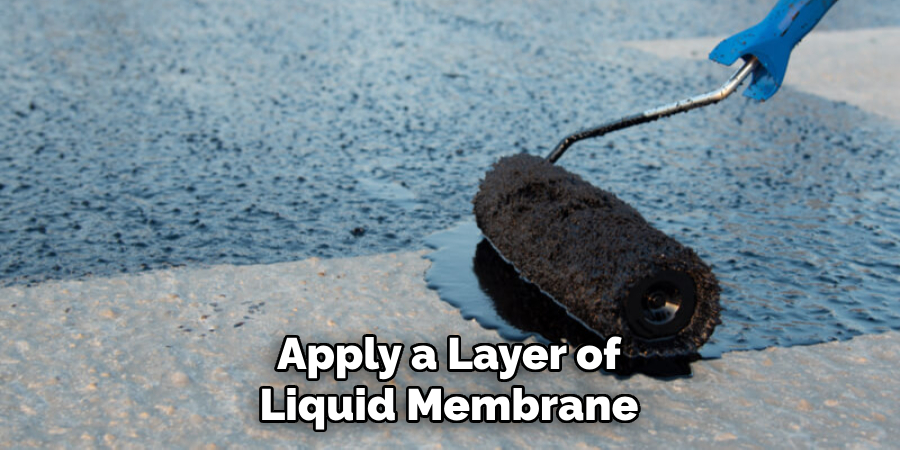
Press the corners into place, smoothing out any air bubbles or wrinkles. The seamless integration of these corners with the rest of the waterproofing system helps to maintain a continuous barrier against water ingress.
C. Double-Checking for Proper Adhesion and Coverage
After installing the waterproofing tape, fabric, and corners, it’s essential to go over the entire area to double-check for proper adhesion and coverage.
This includes inspecting the tape and fabric seams, ensuring they are fully adhered to the surface without any loose ends. Pay attention to the edges of the tape or fabric, as these areas are most prone to lifting or peeling. Use a roller or suitable tool to firmly press down on the seams, corners, and transitions to ensure they are tightly sealed against the substrate.
This meticulous inspection ensures that every square inch of the shower area is protected, providing peace of mind that the waterproofing system is robust and capable of withstanding the rigors of daily use.
Achieving a watertight seal in all shower areas, especially at seams and transitions, is paramount in successfully installing a waterproofing system. Although time-consuming, these steps play a crucial role in the longevity and effectiveness of the shower’s waterproofing, ensuring a leak-free performance for years to come.
Allowing Proper Drying Time
A. Following Manufacturer Guidelines for Drying Time
The key to ensuring the effectiveness of any waterproofing membrane lies in allowing it to dry and cure properly. Adhering to the manufacturer’s guidelines for drying time is critical. These guidelines vary significantly between products, ranging from a few hours to several days. During this period, the membrane undergoes chemical reactions that solidify its structure, making it impervious to water.
Rushing this stage can compromise the integrity of the waterproofing system, leading to potential leaks and water damage. Therefore, patience and adherence to the recommended drying timeframes are paramount for the long-term durability and effectiveness of the waterproof barrier.
B. Creating Adequate Ventilation in the Bathroom
Proper ventilation plays a crucial role in the drying and curing process of waterproofing membranes.
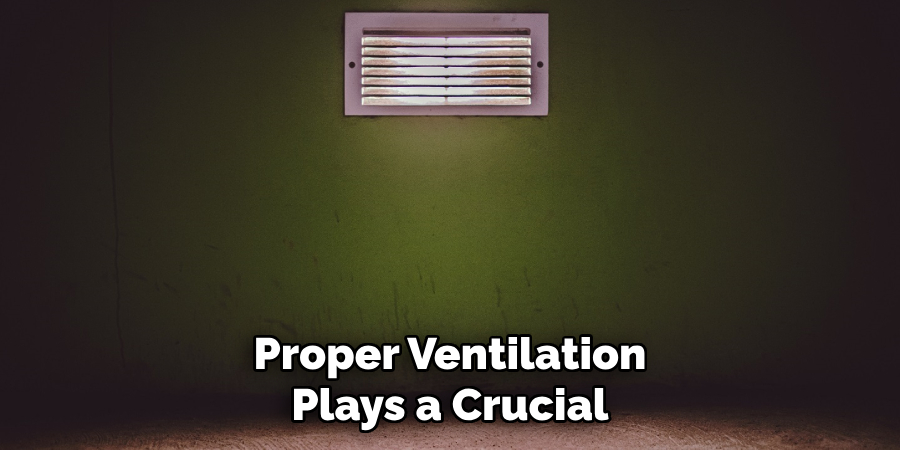
Ensuring good air circulation within the bathroom facilitates the evaporation of solvents and moisture trapped within or beneath the membrane. This can be achieved by keeping windows open or using fans to enhance air movement.
Not only does this help speed up the drying process, but it also prevents the buildup of fumes from liquid membranes, which can be harmful in poorly ventilated spaces. Adequate ventilation ensures a safer work environment and contributes to the optimal curing of the waterproofing system.
C. Avoiding Foot Traffic or Weight on the Membrane During Drying
Keeping the treated area free from foot traffic or any weight during the drying period is imperative. Applying pressure or weight on the waterproofing membrane before it has fully cured can cause deformations, tears, or debonding from the substrate. Such damage compromises the membrane’s integrity and its ability to function as a continuous barrier against water ingress.
To prevent accidental damage, clearly mark the area as off-limits and, if necessary, provide alternative routes to avoid disrupting the drying process. Respecting this no-traffic period ensures the membrane retains its optimal properties and functionality, safeguarding the bathroom against water damage effectively.
Conducting Leak Tests
After allowing the waterproofing membrane to dry and cure fully, the next crucial step before proceeding with tiling is conducting leak tests. These tests are vital for ensuring the waterproofing system is impermeable and ready to protect against water damage effectively.
A. Filling the Shower Pan with Water
Begin the leak testing process by filling the shower pan with water up to the level of the curb. It is advisable to mark the initial water level with a marker or a piece of tape. This will serve as your reference point to check for any water level drop over time, which could indicate a leak. Ensure that the drain is temporarily sealed to prevent water from escaping during this test.
B. Checking for Any Signs of Leakage or Seepage
Once the shower pan is filled, allow the water to stand for 24 to 48 hours. During this period, regularly inspect the area around the shower base and the adjacent walls for any signs of moisture or water seepage.
Pay particular attention to the seams, corners, and transitions where leaks are most likely to occur. Additionally, the water level in the shower pan should be observed to verify if there has been a significant decrease.
C. Addressing Any Detected Issues Before Tiling
If any leaks or signs of water seepage are detected during the test, it is crucial to address them immediately before moving on to tiling. This may involve reapplying waterproofing membrane or sealant in areas where breaches are found.
Once repairs are made, it is necessary to repeat the leak test to ensure that the waterproofing measures are now effective. You should proceed with the tiling process only once the shower pan passes this leak test with no signs of leakage.
Conducting thorough leak tests and addressing any issues are essential steps in ensuring the long-term durability and effectiveness of the shower waterproofing system. This meticulous approach helps avoid potentially costly and time-consuming repairs caused by water damage, ensuring a leak-free and durable shower installation.
Tiling the Shower Floor
Tiling the shower floor is crucial in creating a waterproof and visually appealing bathroom. This phase involves selecting the right materials and employing precise installation techniques to ensure durability and water resistance.
A. Choosing Suitable Tile and Grout for Wet Areas
Selecting the appropriate tile and grout is fundamental for wet areas like showers. Porcelain or ceramic tiles are recommended due to their low water absorption rates and durability in damp environments. Additionally, anti-slip tiles should be considered to enhance safety.
For grout, opting for epoxy-based products is wise as they offer superior water resistance and longevity compared to traditional cement-based grout. These choices are pivotal in avoiding water damage and ensuring the shower floor’s longevity.
B. Applying Tile Adhesive and Setting Tiles in Place
The application of tile adhesive is critical for securing tiles firmly to the shower floor. Use a notched trowel to spread an even adhesive layer, ensuring complete coverage without creating excessively thick beds that could affect tile leveling. Set the tiles firmly in place, using spacers to maintain consistent joint widths.
It’s important to periodically check for level and alignment, making adjustments as needed before the adhesive sets. This step requires patience and attention to detail to achieve a professional-looking outcome.
C. Grouting and Sealing Tile Joints
After the adhesive has cured, remove the spacers and proceed to grout the joints. Thoroughly mix the epoxy grout to a consistent paste and apply it into the gaps using a grout float. Work the grout firmly into each joint, ensuring there are no voids or gaps. After the grout sets slightly, clean the surface of excess grout with a damp sponge, being careful not to disturb the freshly packed joints.
Once the grout has fully cured, apply a sealer to the grout lines to enhance moisture resistance and ease of cleaning. Sealing the tile joints is an essential final step in safeguarding against water penetration and extending the life of the shower floor.
Post-Tiling Maintenance and Care
Proper maintenance and care are critical to extending the life of your newly tiled shower floor and ensuring it remains waterproof and aesthetically pleasing. Regular inspections and timely repairs can prevent minor issues from escalating into major problems. Here is a guide to preserving the integrity and beauty of your tiled shower floor.
A. Inspecting Grout and Caulking Regularly for Signs of Wear
Regularly inspect the grout and caulking in your shower to identify any signs of wear, such as cracks, crumbling, or discoloration. These are often the first indicators of water damage or potential leaks.
Early detection allows for timely repairs, keeping the waterproofing integrity of your shower intact. It is recommended that these inspections be performed every few months or more frequently if you notice any rapid deterioration.
B. Repairing Any Cracks or Damage Promptly
Should you discover any damage to the grout or caulking, it’s essential to repair these areas promptly. Remove the damaged portion and reapply a matching epoxy grout for grout repair.
For caulking issues, carefully remove the old caulking, clean the area to ensure it’s free from mold, mildew, or soap scum, and apply a new bead of silicone caulk. Performing these repairs quickly can prevent water from seeping behind the tiles and causing more extensive damage.
C. Keeping the Shower Floor Clean and Dry to Prevent Mold and Mildew
Maintaining cleanliness and dryness in your shower is essential for preventing the growth of mold and mildew. Regular cleaning with the appropriate bathroom cleaners can remove soap scum and body oils that contribute to mold growth.
After use, ventilate the area well and consider using a squeegee to remove excess water from the walls and floor. This routine maintenance keeps your shower looking new and helps identify any potential issues early on.
By adhering to these maintenance and care tips, you can ensure your shower floor remains durable, waterproof, and visually appealing for years to come. Regular inspections, prompt repairs, and diligent cleaning are key practices that contribute to the longevity and functionality of your tiled shower floor.
Conclusion
The process of waterproofing the shower floor before tiling is crucial in the overall construction of a durable and leak-free bathroom. This comprehensive guide has outlined the steps involved, from preparing the substrate and conducting leak tests to selecting the appropriate materials for waterproofing. Each stage ensures the shower is well-prepared for the subsequent tiling work.
Proper preparation of the shower floor cannot be overstated in its importance in ensuring long-term durability. This groundwork prevents potential water damage that could compromise the structure of your home and necessitate costly repairs.
Adhering to the best practices during the pre-tiling phase lays a solid foundation for a shower that remains waterproof and aesthetically pleasing over the years.
Remember that attention to detail and adherence to product instructions is key when considering how to waterproof a shower floor before tiling. Ensure that all surfaces are clean, dry, and debris-free before applying any waterproofing membrane or sealant.
Using quality materials and allowing adequate curing time prior to tiling can significantly enhance the effectiveness of the waterproofing measures.
Regularly revisiting and maintaining these waterproof layers will safeguard your shower against leaks and extend its lifespan, ensuring it remains a highlight of your home for years.

