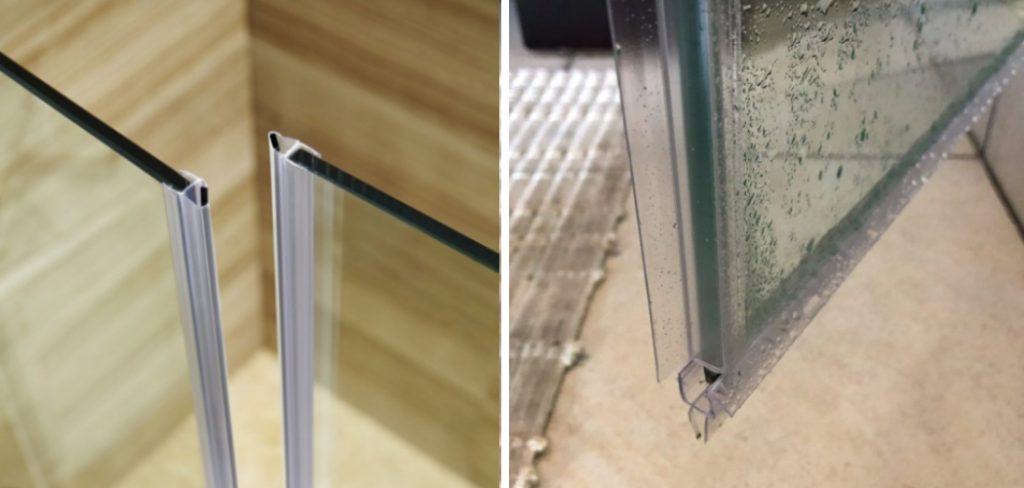
Are you looking for a way to keep your glass shower door free from moisture and mold? Waterproofing your glass shower door is an effective solution. Here’s how to waterproof glass shower door.

The bathroom is one of the most heavily used areas in any home, and having glass shower doors can quickly lead to the buildup of hard water stains, soap scum, or even mold. Waterproofing your glass door is an easy way to help protect it from damage caused by moisture and other sources.
This blog post will share some tips on effectively waterproofing a glass shower door to keep it looking like new for years to come!
Read on to learn more about the different types of sealants available, the preparation steps needed before applying the sealant, and simple maintenance strategies that will help maintain its protection.
What is the importance of waterproofing a shower door?
Waterproofing your glass shower door is important for two reasons. First, it helps to keep moisture out, which can lead to mold or mildew growth. Secondly, it helps protect from scratches and other damage caused by hard water deposits. By waterproofing your glass shower door, you’ll be able to keep it looking like new for many years to come.
Waterproofing your glass shower door is a great way to protect it from damage and keep it looking great. It’s also an easy job that can be done in just a few simple steps.
What Will You Need?
Before waterproofing your glass shower door, you must gather a few materials. These include:
- A silicone-based sealant
- A caulking gun
- Painter’s tape
- A cloth or sponge
- Mild detergent
- Rubbing alcohol
It’s time to get started once you’ve gathered the necessary supplies.
10 Easy Steps on How to Waterproof Glass Shower Door
Step 1. Clean the Surface:
Start by cleaning the surface of the glass shower door. Use a mild detergent and a cloth or sponge to remove any dirt, dust, or soap scum that may have built up over time. Once the surface is clean, wipe it with rubbing alcohol and let it dry completely.
Step 2: Apply Painter’s Tape:
Next, apply painter’s tape along both sides of the shower door frame. This will help protect the surrounding area from any sealant that might get onto it during application. Press the tape firmly against the glass so there are no gaps in which sealant can seep through.

Step 3: Cut the Tip off Caulking Gun:
Once you have prepared your work area, you must cut the tip off your caulking gun to fit into a nozzle attachment for precise application. Start by cutting about one-eighth of an inch off the spout. This will ensure that you don’t apply too much sealant and create a mess.
Step 4: Apply the Sealant:
Once your caulking gun is ready, it’s time to apply the silicone-based sealant along both sides of the shower door frame. Use slow and even strokes to ensure that the sealant is applied evenly and smoothly throughout. When finished, remove any excess sealant with a cloth or sponge before it can dry.
Step 5: Allow Time for Drying:
Allow at least 24 hours for the sealant to fully cure before using your glass shower door again. Once enough time has passed, the sealant should be completely dry and water-resistant. If you have followed all the steps, your glass shower door should now be waterproofed and ready to use.
Step 6: Remove Painter’s Tape:
After your sealant has dried, it’s time to remove the painter’s tape from around the shower door frame. Pulling the tape away slowly will ensure no residue is left behind on the glass or frame. If any sealant has gotten onto the surrounding area, simply wipe it away with a damp cloth.
Step 7: Check for Leaks:
Once you have removed all the tapes, it’s a good idea to turn on your shower and check for leaks. If there are none, you can rest assured that your glass shower door is waterproof! Be careful not to use abrasive cleaners or scrubbers on the shower door, which could damage your sealant.
Step 8: Apply Maintenance Products:
A few times a year (or as needed), you can apply a maintenance product to the glass shower door. This will help keep it looking like new and extend its lifespan. When applying these products, make sure that you are using one specifically designed for glass shower doors to achieve the best results.
Step 9: Clean Regularly:
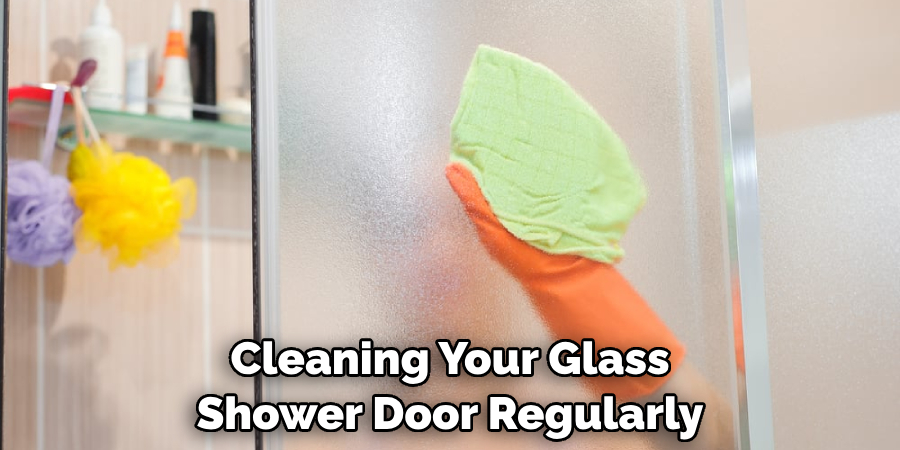
In addition to applying a maintenance product, cleaning your glass shower door regularly is important. Use a mild detergent, warm water, and a soft cloth or sponge to remove any soap scum or hard water deposits that may have built up over time. Ensure you rinse the shower door thoroughly after cleaning to avoid leaving any residue behind.

Step 10: Enjoy!
Once your glass shower door is waterproofed and properly maintained, you can sit back and enjoy an attractive, durable shower door that lasts many years. Remember to keep up with regular cleaning and maintenance, as this will help ensure your shower door looks new for years!
By following these simple steps, you can waterproof your glass shower door in no time. This will protect it from water damage and hard water deposits and help keep the glass looking like new for years to come.
5 Additional Tips and Tricks
- Invest in high-quality sealant specifically designed for glass shower doors. Although it may cost more than other varieties, it will surely have a longer-lasting, watertight seal.
- Use primer on the glass door before applying the sealant to ensure better adhesion between them both.
- Clean the surface of the shower door thoroughly to remove all prior residue or grime that can prevent a watertight seal from forming.
- Test the area for leaks after waterproofing by running a hose over it at low pressure for several minutes and looking for visible signs of moisture around the edges of your glass shower door.
- Regularly check for chips or cracks in your glass shower door’s waterproof seal to avoid potential water damage over time. Be sure to reapply for new sealant as soon as possible if any is found!
These tips and tricks make waterproofing your glass shower door a breeze. So remember to take the time to ensure its longevity and prevent any future water damage!
5 Things You Should Avoid
- Avoid using a sealant that is not designed for use on glass shower doors.
- Refrain from using silicone sealants if you intend to paint your glass shower door, as these will prevent the paint from adhering properly.
- Don’t apply too much pressure when coating the edges of the glass door with sealant, as this can weaken the waterproofing effect.
- Avoid using harsh cleaning products when removing any residue or grime from the glass shower door before waterproofing, as these can damage the seals and degrade their effectiveness over time.
- Remember to check for chips or cracks in your glass shower door’s sealant regularly, as these can lead to water leakage if left unchecked for long periods.

Waterproofing your glass shower door doesn’t have to be difficult; just follow these simple tips and tricks to protect it from water damage!
What are the Types of Sealants?
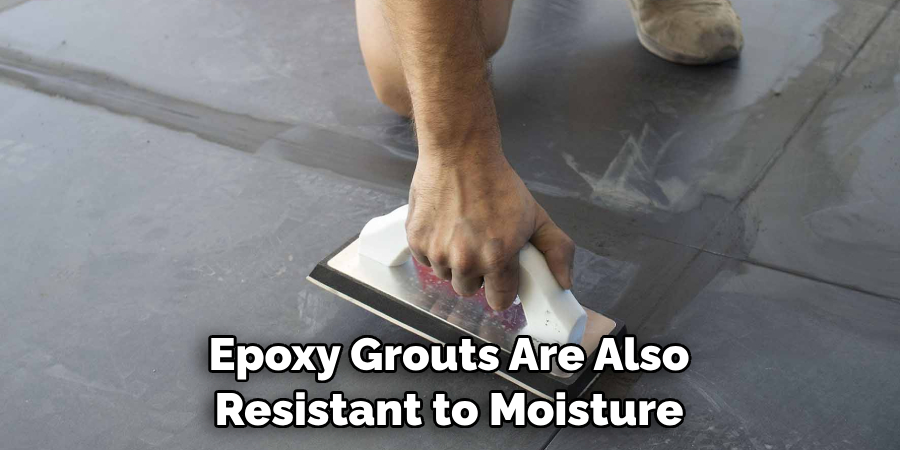
There are several types of sealants available that can be used on a glass shower door. These include silicone sealants, urethane-based sealants, and epoxy grouts. Silicone sealants provide excellent protection against water but may not last as long as other varieties.
Urethane-based sealants offer longer lasting protection while still being resistant to moisture and chemicals. Epoxy grouts are also effective at providing waterproofing but require more maintenance and care. These sealants should be applied under the manufacturer’s instructions to ensure a successful waterproofing job.
In conclusion, waterproofing your glass shower door is an important step that will help protect it from potential water damage. When choosing the type of sealant to use, select one specifically designed for glass shower doors and follow all the necessary steps when applying it.
With proper waterproofing techniques in place, you can be sure your shower door will last for many years!
What Can I Use Instead of Silicone for Waterproofing?
Aside from silicone, urethane-based sealants and epoxy grouts are two other effective options for waterproofing. Urethane-based sealants provide a longer lasting waterproof effect, while epoxy grouts are also resistant to moisture and chemicals. Both of these can be used instead of silicone if preferred. However, whichever type of sealant you choose, follow the manufacturer’s instructions for best results!
Always remember that protecting your glass shower door from water damage is essential for its longevity. With the help of these tips and tricks, you can now confidently waterproof your glass shower door with ease!

Conclusion
In conclusion, you can waterproof a glass shower door using two coats of clear waterproof sealant. This simple and easy process can prevent damage caused by water leaking through the cracks around the shower’s edges. Not only will this help keep your shower in great condition for years to come, but it will also ensure that your bathroom remains clean and dry.
Although it may seem stressful now, taking the time to waterproof correctly will save you from making unneeded repairs down the line!
By following these steps and being cautious of leaks, you’ll have no trouble keeping your glass shower door safe from future damage. With these tips in mind, all left for you to do now is gather the supplies and get started on the project!
Hopefully, the article on how to waterproof glass shower door has helped provide you with the knowledge needed to ensure that your glass shower door is waterproofed correctly. Good luck!

