Winterizing your toilet when you have a septic system is a prudent step to ensure its functionality and longevity during the cold months. Freezing temperatures can wreak havoc on plumbing, and a septic system requires special attention to prevent any potential damage. Properly preparing your toilet and the associated plumbing can save you from costly repairs and inconvenience.

In this comprehensive guide, we’ll explore how to winterize a toilet with a septic system. From insulating exposed pipes to using antifreeze, we’ll provide you with a detailed walkthrough, empowering you to safeguard your septic system and toilet through winter’s chill. Let’s delve into the crucial measures to keep your toilet and septic system in optimal condition during the colder seasons.
The Importance of Winterizing a Toilet with a Septic System
Winterizing a toilet with a septic system is an important step in protecting your plumbing from damage during the cold winter months. Not only can freezing temperatures cause the pipes to crack and burst, but it can also lead to backups and flooding of the septic tank if proper steps are not taken. Here are some tips for winterizing your toilet with a septic system to ensure your plumbing is protected.
First, make sure that all the water lines connected to your septic system are properly insulated and sealed. This will help prevent water from freezing inside the pipes which can cause them to burst or crack. Additionally, if there are any leaks in the pipes, they should be repaired as soon as possible before winter arrives.
Second, make sure that all the vents connected to your septic system are properly sealed and insulated. This will help keep cold air from entering the pipes and freezing the water within them. Additionally, any blockages in the vents should be cleared out before winter arrives to ensure they do not become clogged with snow or ice.
Benefits of Winterization in Preventing Septic System Damage
Winterizing a toilet with a septic system can have several positive impacts, particularly when it comes to preventing damage. First, it prevents water from freezing and expanding in pipes, which can cause them to burst or crack. Additionally, the additional insulation added around the tank and pipes helps keep plumbing fixtures warm during cold winter days.
This is important as frozen water can also cause the fixtures to crack or otherwise break. Finally, winterizing a toilet with a septic system helps reduce the chances of clogs and blocked lines resulting from accumulated snow and ice in the area. All of these benefits can help to increase the lifespan of your septic system and keep it running efficiently throughout the cold season.

In addition to preventing damage, winterizing a toilet with a septic system can also help keep repair costs down. By taking the proper steps to winterize your toilet and plumbing fixtures, you are able to reduce the chances of needing costly repairs during the winter months. This is particularly beneficial for those who may not be able to afford major repairs due to their financial situation.
Finally, winterizing a toilet with a septic system can also help to conserve energy. By adding insulation around the tank and pipes, it helps keep warm air from escaping and cold air from entering. This helps to reduce the amount of energy needed to heat your home during cold weather months, leading to a more efficient heating system as well as lower utility costs.
10 Steps How to Winterize a Toilet with a Septic System
1. Check the Septic Tank
Before beginning any winterizing process, it is important to check the septic tank for any signs of damage or leaks. If there are any issues, they should be addressed as soon as possible in order to prevent further damage during the winter months.
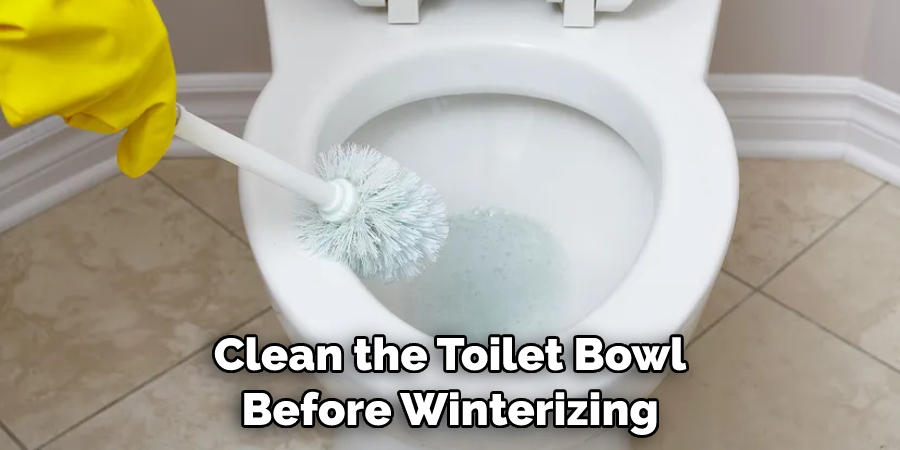
2. Clean the Toilet Bowl
It is important to clean the toilet bowl before winterizing it. This will ensure that no debris or bacteria remain in the bowl and can cause problems later on. Use a standard toilet cleaner and a brush to scrub away any dirt or residue from the bowl.

3. Flush Out Any Remaining Water
Once the toilet bowl has been cleaned, flush out any remaining water from the tank and bowl by holding down the handle until all of the water has been emptied out of both components. This will help to ensure that no water remains in either component which could freeze and cause damage during cold weather months.
4.Turn Off the Water Supply
The next step is to turn off the water supply valve located behind or beside your toilet. This will prevent any more water from entering your toilet while it is being winterized and will help keep your pipes from freezing during cold weather months as well.
5. Disconnect All Hoses
After turning off the water supply valve, disconnect all hoses leading into your toilet such as those for flushing or filling up with fresh water after use. Make sure that these hoses are completely disconnected so that no water can enter through them while your toilet is being winterized.
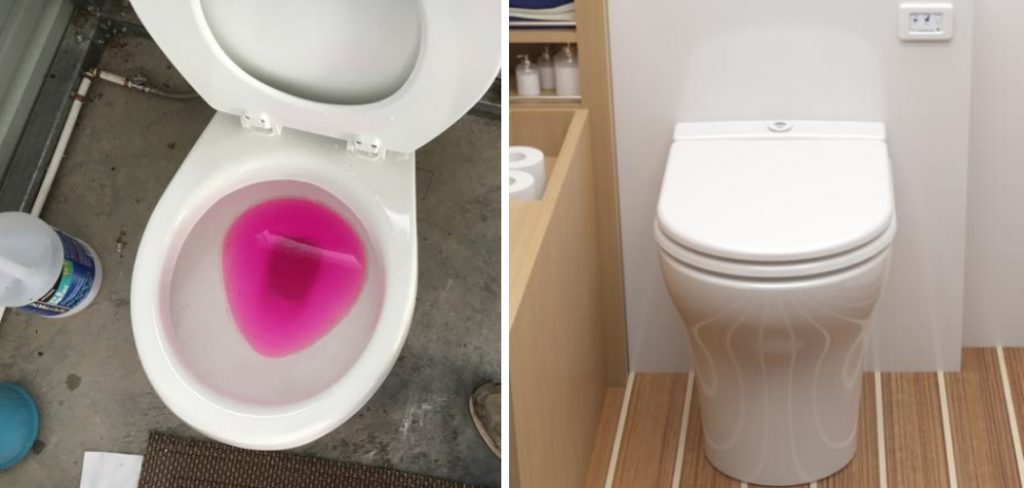
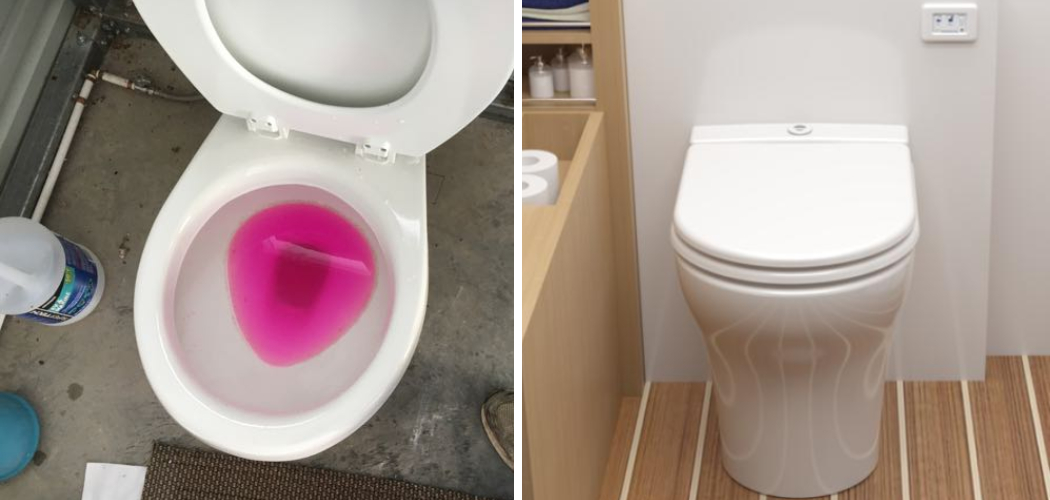
6. Pour Antifreeze Into The Toilet Bowl
Once all hoses have been disconnected, pour antifreeze into both your toilet tank and bowl until both components are full of antifreeze liquid which will help protect them against freezing temperatures during cold weather months.
Make sure to use an approved antifreeze solution specifically designed for toilets with septic systems so you don’t risk damaging your system with other types of liquids like oil or gasoline which could be toxic if ingested by humans or animals living near your septic system area..
7. Reattach All Hoses
Once you have filled both components with antifreeze liquid, reattach all hoses back onto their respective connections so that they are ready for use once again when warmer weather arrives again in springtime months ahead.
8. Turn On The Water Supply Valve
After reattaching all hoses, turn on your water supply valve located behind or beside your toilet so that it can begin supplying fresh water once again when needed throughout the colder winter months ahead.

9. Test The Toilet Flush
After turning on your water supply valve, test out how well your toilet flushes by pouring a small amount of clean fresh drinking water into its tank and then flushing it out several times in succession until you’re satisfied with its performance.
10. Monitor Your Septic System
Finally, monitor how well your septic system works throughout the colder winter months ahead by periodically checking its levels inside its tank lid or access point outside of house walls every few weeks if possible. By doing this regularly throughout colder seasons ahead you’ll be able to catch any potential issues early on before they become serious problems later on down the road.
Things to Consider When Winterizing a Toilet with a Septic System
When winterizing a toilet with a septic system, there are several things that you should consider. First, make sure to use an approved antifreeze solution specifically designed for toilets with septic systems so as not to risk damaging your system with other types of liquids like oil or gasoline which could be toxic if ingested by humans or animals living near your septic system area.
Second, make sure to add insulation around the tank and pipes helps keep plumbing fixtures warm during cold winter days as frozen water can also cause the fixtures to crack or otherwise break.
Finally, monitor how well your septic system works throughout the colder winter months ahead by periodically checking its levels inside its tank lid or access point outside of house walls every few weeks if possible. Doing this will help you catch any potential issues early on before they become serious problems later on down the road.
Some Common Mistakes to Avoid
- Not using a septic-safe RV antifreeze: While it may seem like a cost-effective decision to not use an RV antifreeze, not doing so can lead to expensive repairs. Septic systems are sensitive and need the correct type of antifreeze to avoid damage.
- Forgetting about the toilet’s water supply: It’s important to also winterize the water supply line that connects to the toilet. If you leave this line open and exposed, it can allow cold air into the tank and freeze, leading to potential damage.
- Failing to use a check valve: A check valve will prevent backflow of water or sewage from coming through your lines if your system is exposed to freezing temperatures.
- Not properly insulating the tank: Insulating your septic tank, pipes and other components will help reduce the risk of freeze damage and keep your system functioning optimally during winter months.
- Neglecting regular maintenance: One of the best practices for protecting a septic system in the winter is to make sure it is regularly maintained and inspected for any signs of damage or blockages. Doing this can prevent a number of costly repairs in the future.Properly winterizing your septic system is an important step to maintaining its longevity and avoiding potential problems. Following these steps will ensure that you have a well-functioning septic system all year round.

Conclusion
Winterizing your toilet with a septic system is an important part of protecting your plumbing from cold weather damage. Taking the time to do this step now will help you to save money and time down the road when it comes to repairing or replacing components that may have frozen during winter months. It’s a good idea to be ready for winter prior to harsh weather arriving.
Turn off the water supply, disconnect all hoses leading into the toilet, remove any additional water, and add antifreeze or glycerin as needed. If you’re at all uncertain as to how to winterize a toilet with a septic system, don’t hesitate to consult with an experienced plumber who can guide you through this process.

