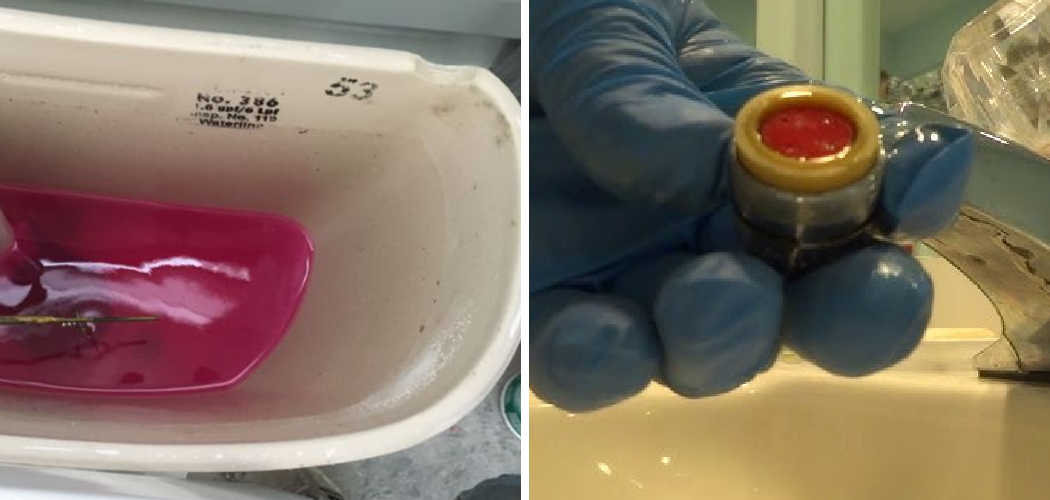
Winterizing plumbing fixtures, including toilets and sinks, is crucial to protecting your home or seasonal property from freezing temperatures and potential water damage. When temperatures drop, water left in pipes or fixtures can freeze and expand, leading to bursts, leaks, and costly repairs. This is especially important in unheated spaces such as cabins, trailers, or vacation homes that are left unused during the colder months.
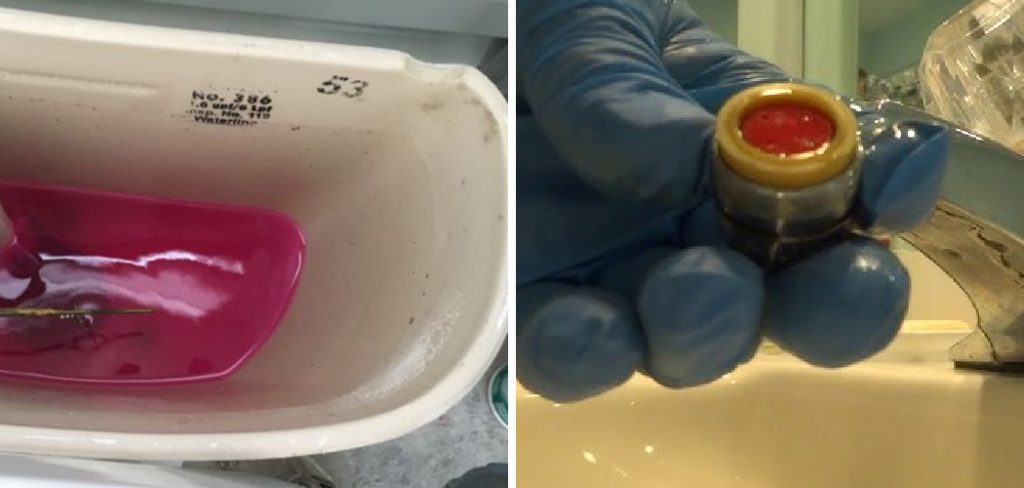
Learning how to winterize toilets sink and other plumbing systems ensures that your fixtures remain safe through the harsh winter. Key steps, such as draining residual water, insulating exposed pipes, and checking shut-off valves, can effectively prevent damage. Taking these preventative measures extends the lifespan of your plumbing system and helps you avoid unwanted expenses and stress caused by pipe failures. Proper winterization is essential for preserving the integrity of your home’s plumbing during freezing weather.
Why Winterizing Toilets and Sinks Is Important
Preventing Frozen Pipes
When water freezes, it expands, exerting pressure on the walls of pipes and plumbing fixtures. This expansion can lead to devastating consequences, such as burst pipes. A burst pipe can result in significant water damage to your property, with costly repairs to both the plumbing system and any structural damage caused by flooding. Winterizing your pipes by draining water and insulating them is key to avoiding such scenarios.
Protecting Plumbing Fixtures
Water left in toilets and sinks during freezing temperatures can solidify, causing cracks in porcelain fixtures designed to hold liquid but cannot withstand ice expansion. Additionally, seals and gaskets within plumbing systems risk becoming brittle or damaged when subjected to extreme cold. Proper winterization ensures that fixtures remain intact, saving you from the expense and inconvenience of replacing damaged components.
Maintaining Home Value
Properly maintaining your home’s plumbing system, including winterization, is critical in preserving your property’s overall condition and value.
By preventing water damage, cracked fixtures, and potential flooding, you protect your investment and maintain the structural integrity of your home. Winterizing is essential in ensuring that your property remains in excellent condition throughout the colder months.
Tools and Materials Needed
Basic Tools
You’ll need a few essential tools to winterize your plumbing system. These include wrenches, pliers, and a screwdriver to easily disconnect hoses, loosen valves, and perform minor adjustments. Having these tools on hand will make the process smoother and more efficient.
Materials
Gather materials such as pipe insulation, towels, plastic bags, and antifreeze to protect and prepare your plumbing system. Pipe insulation helps prevent freezing, while towels and plastic bags can be used to cover and secure areas vulnerable to the cold. Antifreeze designed for plumbing systems is also vital to prevent water from freezing in traps or other parts of the system.
Optional Supplies
For added security, consider using heat tape to wrap around pipes, which provides additional warmth in areas prone to extreme cold. Portable space heaters can also be useful for maintaining a safe temperature in utility spaces during winterization.
How to Winterize Toilets Sink: Winterizing Toilets
Properly winterizing your toilets is essential to prevent freezing and damage during cold weather. Below are step-by-step instructions to help safeguard your plumbing system from the harsh winter temperatures:
Turn Off the Water Supply
Begin by turning off the water supply valve to the toilet. This valve is typically located on the wall just behind or beside the toilet. Turning it off prevents additional water from flowing into the toilet during winterization.
Drain the Toilet Tank and Bowl
Flush the toilet to drain as much water as possible from the tank and the bowl.
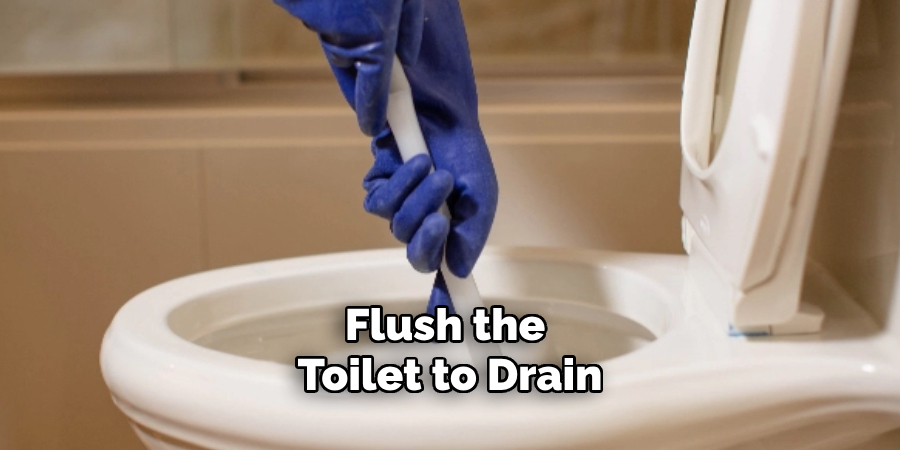
After flushing, use a sponge, towel, or wet/dry vacuum to soak up any residual water left in the tank and inside the bowl. This step is crucial to ensure that water doesn’t freeze and crack the porcelain.
Add Antifreeze to the Toilet
Pour RV or plumbing antifreeze, which is designed explicitly for winterization, into the toilet bowl and the remaining portion of the tank. The antifreeze helps prevent any leftover water from freezing, which could cause damage. Be sure to follow the manufacturer’s instructions for the antifreeze to ensure proper use.
Remove the Water Supply Line
Detach the water supply line connected to the toilet. To do this, use a wrench or pliers to disconnect the line where it connects to the toilet carefully. Drain any water left in the line into a container or bucket. This ensures that no water remains in the supply line, where it could freeze.
Seal the Toilet
Cover the toilet seat with a plastic bag or wrap to prevent moisture buildup or unwanted odors inside the toilet. Secure the bag tightly to create a barrier. This step is especially helpful when winterizing toilets in homes or buildings that will remain unoccupied for long periods.
Consider Toilet Storage
If you’re winterizing a seasonal home or planning to leave the property unoccupied for months, consider removing and storing the toilet entirely. While this step requires more effort, it reduces the risk of damage to the toilet from prolonged exposure to freezing temperatures. Consult a professional plumber for assistance if needed.
By following these steps carefully, you can protect your toilet from the risk of freezing, cracking, or other costly damage during the winter months. Proper winterization saves you from expensive repairs and ensures that your plumbing system is ready for use when warmer weather returns.
Additional Steps for Winterizing Plumbing Fixtures
Check the Drainage System
Ensure that any drains leading outside are clear of debris and ice, allowing water to flow freely. Obstructions in these drains can lead to water backup, increasing the risk of freezing and causing costly damage. Regularly checking and clearing these areas is essential during the winter months.
Protect Exposed Outdoor Pipes
Protect outdoor piping and faucets by insulating them with foam covers or wrapping them with insulated tape. This additional layer of insulation helps prevent freezing in extreme
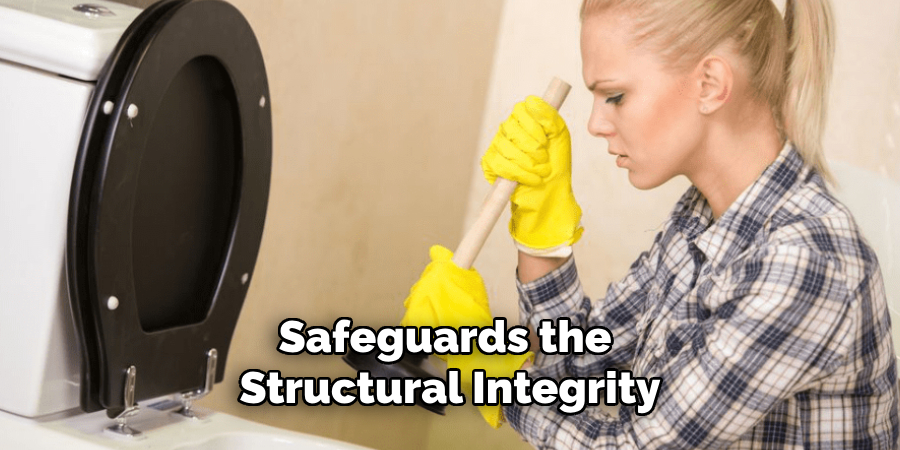
temperatures and safeguards the structural integrity of the pipes. Don’t forget to disconnect garden hoses and drain outdoor faucets to eliminate any residual water.
Keep the Area Warm
If your plumbing fixtures are located in unheated spaces, such as basements or crawl spaces, consider using a small heater or heat tape to maintain a temperature above freezing. This precaution can significantly reduce the risk of freezing and ensure your plumbing system functions properly throughout the winter.
Troubleshooting and Common Issues
Inadequate Drainage
Ensuring proper drainage is crucial for preventing trapped moisture in pipes, which can lead to freezing or damage. Begin by inspecting all outdoor and indoor drains to confirm they are free of obstructions such as leaves, dirt, or ice. Regularly clean gutters, downspouts, and drainage channels to allow water to flow seamlessly away from your home. Additionally, adjust the grading around your property if water pools near the foundation or pipes.
Frozen Pipes
If you encounter frozen pipes, act quickly to prevent further damage. Begin by turning off the water supply to minimize pressure buildup. Use a hairdryer, heat gun, or warm towels to thaw the frozen sections closest to the faucet gently. Avoid using open flames or any extreme heat sources, as they may damage the pipes. Once thawed, run a small trickle of water to prevent refreezing.
Sealing Leaks
Even small leaks around pipes or faucets can allow cold air to penetrate and freeze water inside. Inspect all areas where pipes enter your home for gaps or cracks. Seal any identified leaks with caulk or apply pipe insulation to create a protective barrier. This simple measure can enhance energy efficiency and reduce the likelihood of frozen or burst pipes during winter months.
Preventative Maintenance for Winterizing
Regular Inspections
Inspecting plumbing fixtures and pipes every fall is essential in preparing your home for winter. Look for signs of wear, corrosion, or minor leaks, as these can worsen under extreme weather conditions. Early detection and repair can prevent costly damage and ensure your plumbing system stays in optimal condition.
Routine Flushing and Draining
Draining and flushing toilets and sinks at least once a month during off-seasons is a smart preventative measure. This practice prevents water stagnation, which can lead to
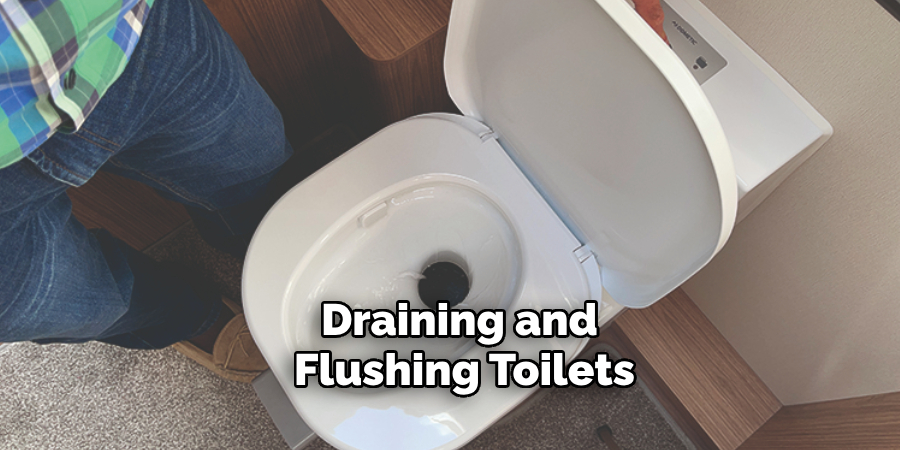
unpleasant odors, buildup of harmful bacteria, or freezing in colder temperatures. Keeping your plumbing active even during less frequent use ensures consistent performance and extends its lifespan.
Upgrade Insulation
Upgrading insulation for pipes, especially those located in unheated or exposed areas, is a worthwhile investment. Use foam pipe sleeves, heat tape, or other durable insulation materials to safeguard against freezing. Proper insulation enhances energy efficiency, minimizes heat loss, and ensures that your plumbing system remains functional and reliable throughout winter.
Conclusion
Winterizing toilets and sinks is essential to protect your plumbing system during the colder months. Key measures such as draining water systems, sealing leaks, and insulating exposed pipes ensure that your plumbing stays in optimal condition. By following these steps on how to winterize toilets sink, you can prevent freezing, blockages, and costly repairs caused by winter weather. Taking the time to winterize before the first frost sets in is a small effort that pays off by safeguarding your home and ensuring your plumbing remains reliable throughout winter. Stay proactive to avoid plumbing disasters!

